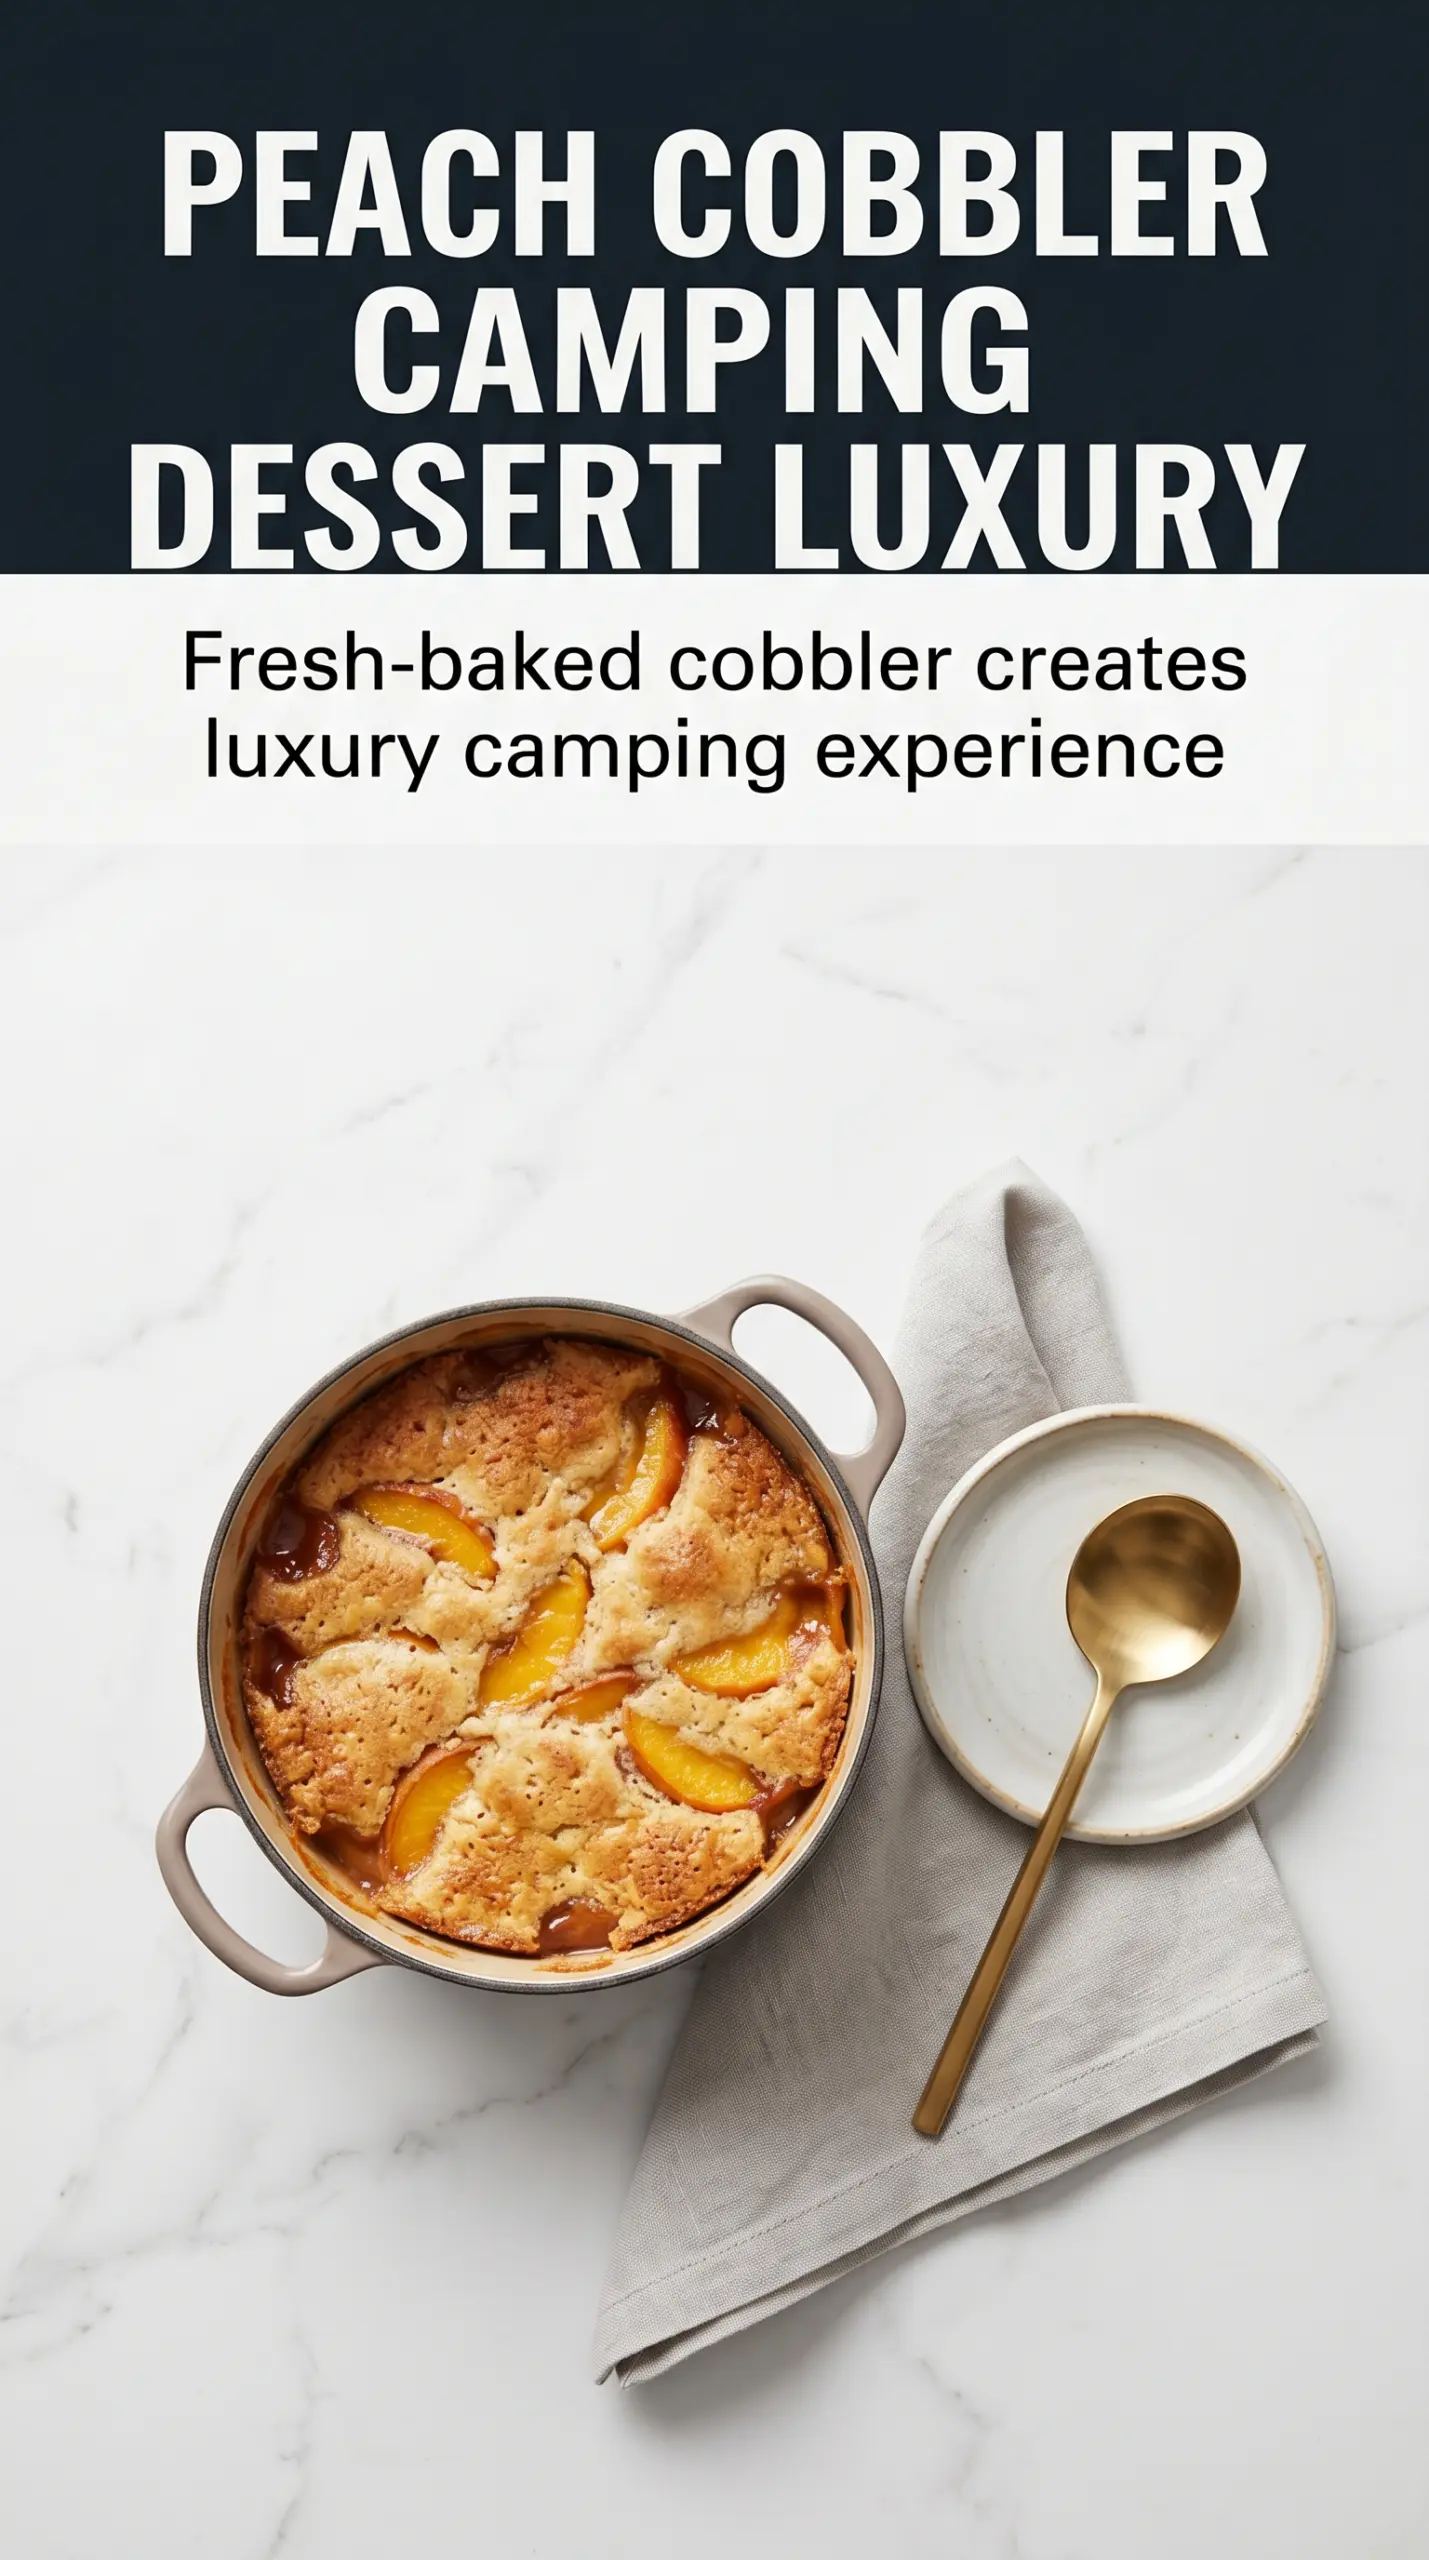
Golden biscuit-like topping, bubbling peaches underneath, and a scoop of vanilla ice cream melting into the edges — that’s the kind of Dutch oven peach cobbler that disappears fast. The top bakes up crisp in spots and tender where the butter runs through the cake mix, while the fruit underneath stays syrupy and warm. It’s the kind of dessert people hover around with a spoon before it even makes it to the table.
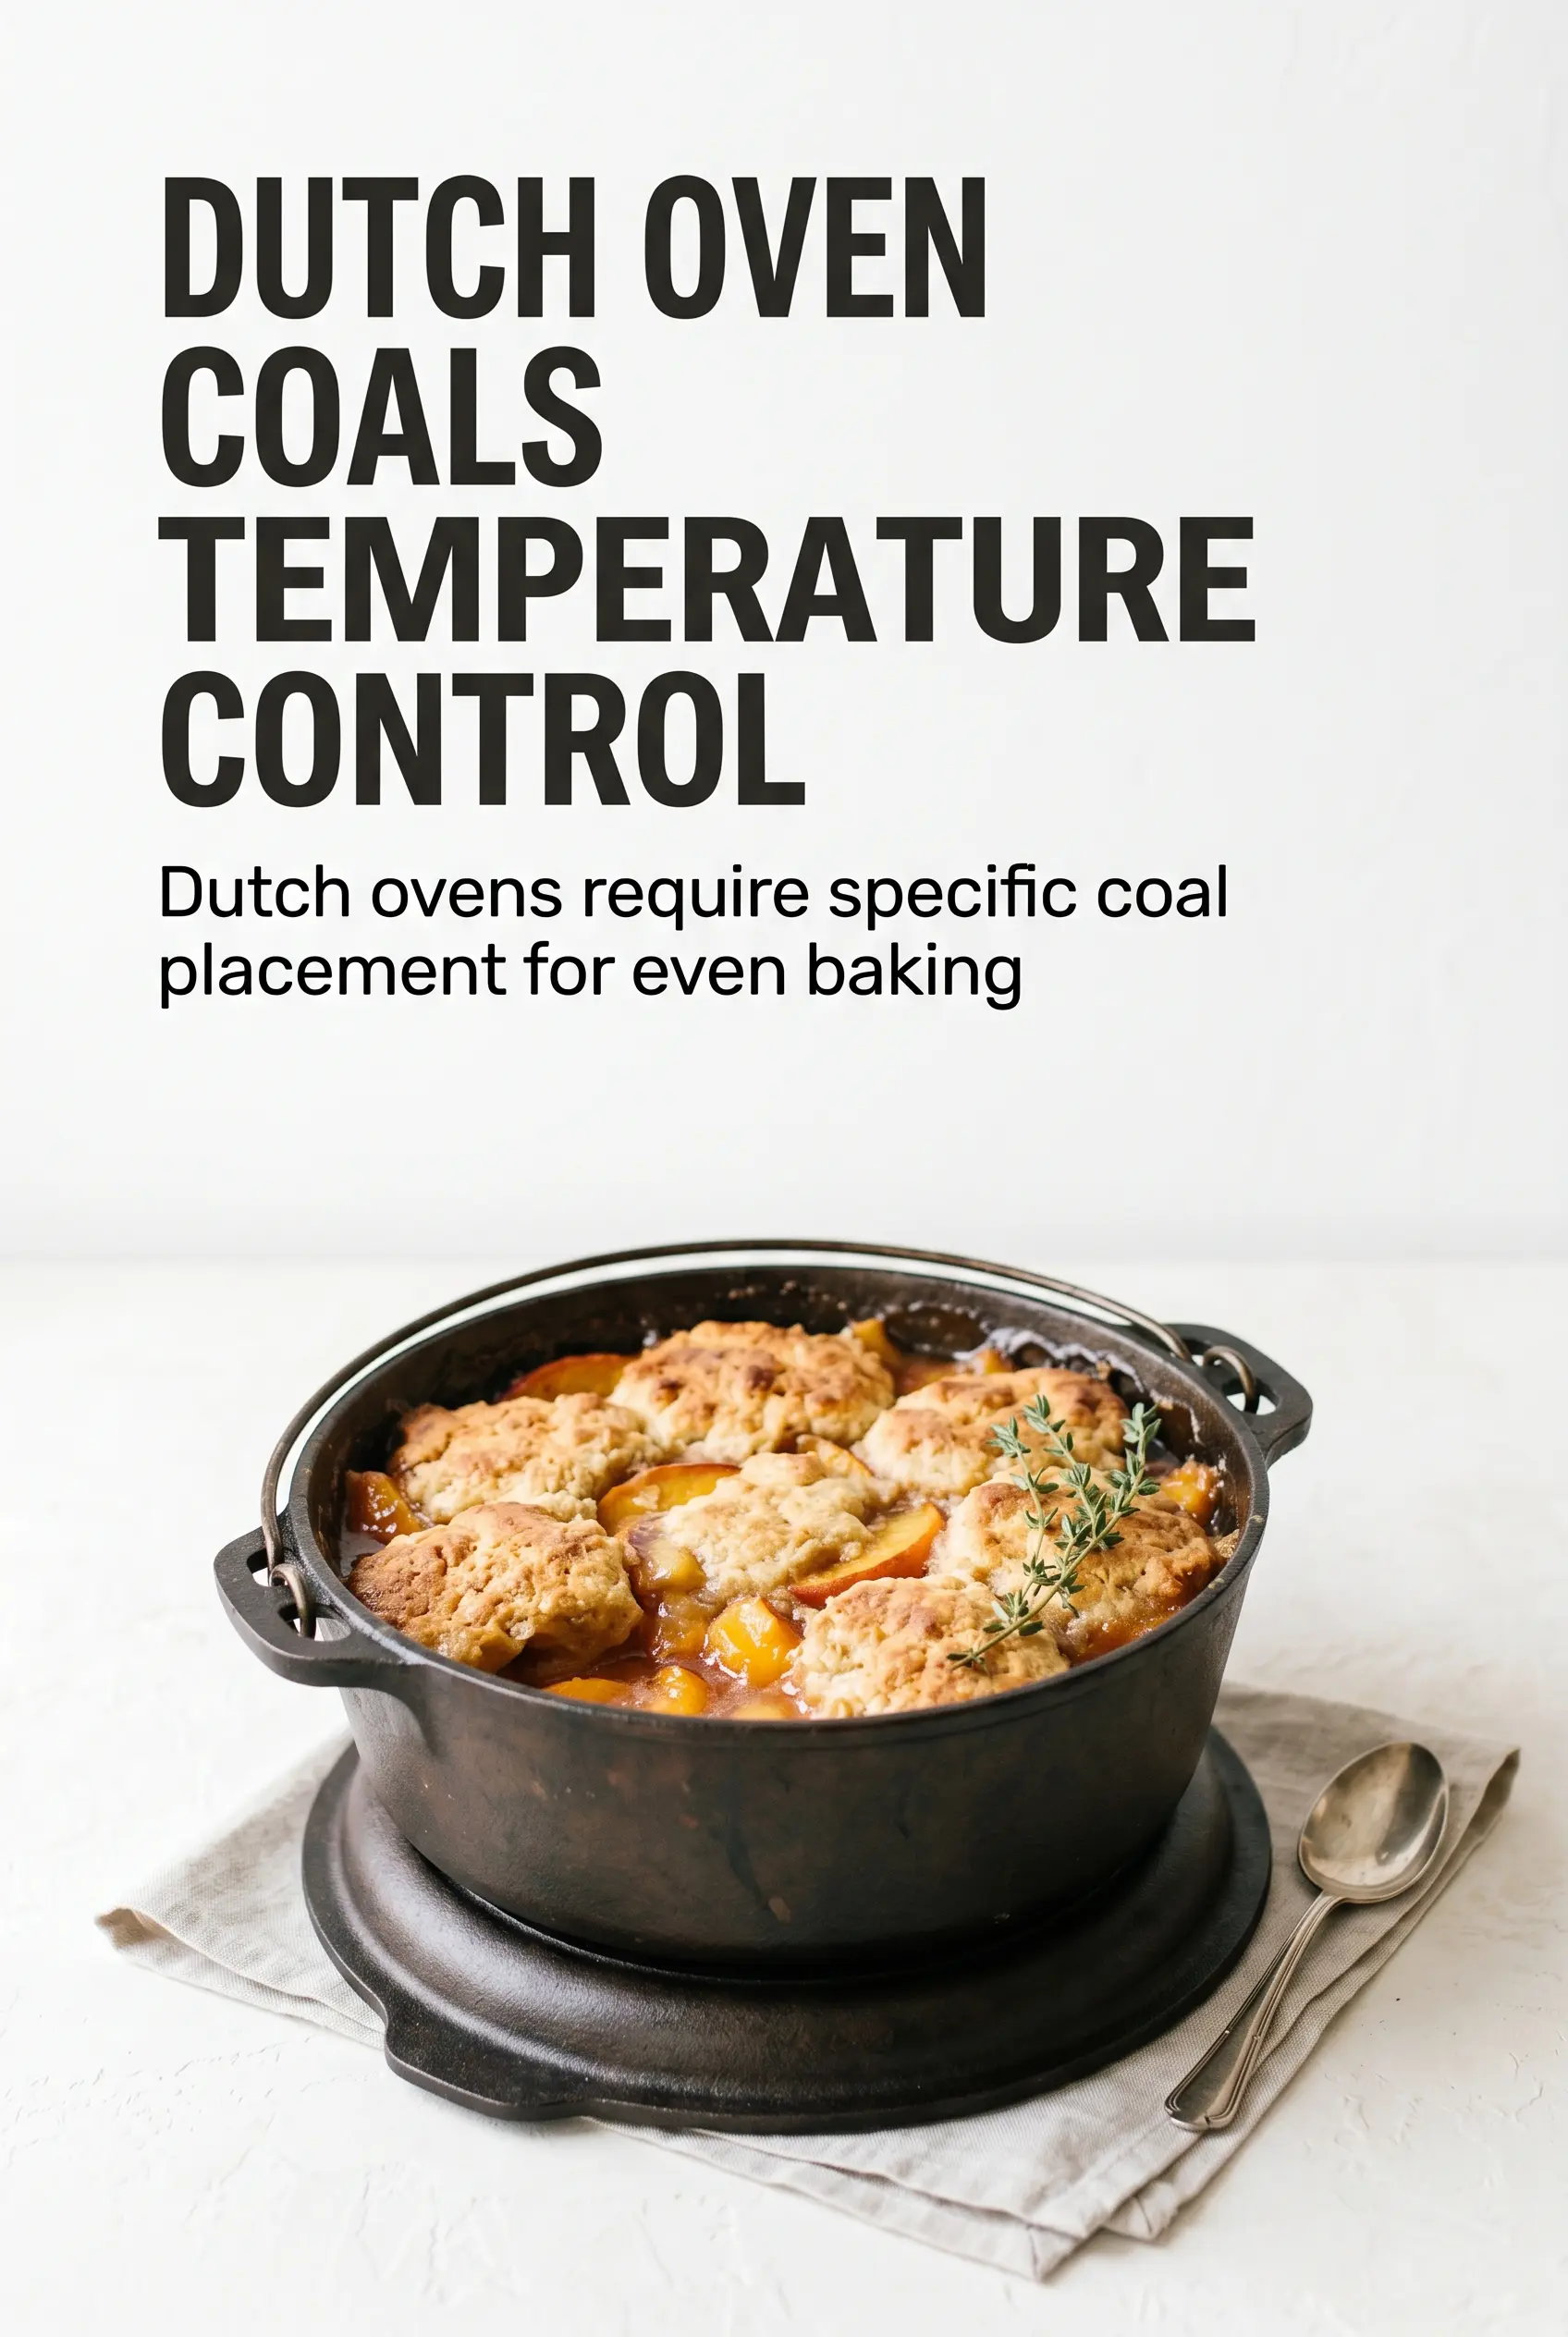
This version works because it leans into heat from both directions. Coals under the Dutch oven drive the filling to a bubble, while coals on the lid help the topping brown instead of staying pale and doughy. Draining the peaches keeps the cobbler from turning watery, and scattering the melted butter over the dry mix gives you those better baked patches instead of a wet, gummy layer.
Below, I’ve included the few details that matter most — how to keep the topping from baking up pasty, what to watch for when the peaches start bubbling, and a couple of easy ways to adapt it if you’re cooking at camp or bringing dessert to a crowd.
The topping turned out crisp on top but still soft underneath, and the peaches bubbled up around the edges just like they should. I brought it to a cookout and everyone went back for seconds before it had even cooled all the way.
Save this Dutch oven peach cobbler for campfire nights when you want bubbling peaches and a crisp, buttery topping with almost no fuss.
The Trick to Keeping the Topping from Turning Gummy
The biggest mistake with Dutch oven cobbler is stirring everything together. That turns the cake mix into paste before it has a chance to bake, and you lose the craggy, crisp topping that makes this dessert worth serving. Leaving the layers alone lets the melted butter seep down in uneven pockets, which is what gives you those browned patches and tender spots.
Drain the peaches well, too. A little syrup is fine; a puddle at the bottom is not. Too much liquid steams the topping from underneath and keeps the center from setting, especially if your coals are running cooler than expected. You want the filling to bubble at the edges and the top to look dry in the pale spots before you call it done.
What Each Ingredient Is Doing in the Dutch Oven
- Canned sliced peaches — These bring reliable sweetness and enough juice to create that syrupy filling. Drain them well, but don’t rinse away all the flavor. Fresh peaches can work when they’re in season, but you’ll need to peel, slice, and add extra sugar because their sweetness varies a lot.
- Sugar — This deepens the peach filling and helps the juices turn glossy as they bake. If your peaches are packed in heavy syrup, you can reduce it a little, but don’t skip it entirely or the cobbler will taste flat.
- Cinnamon and nutmeg — These are the warm background notes that make the peaches taste like a proper cobbler instead of just warm fruit and cake. Nutmeg is strong, so keep it light; too much takes over fast.
- Yellow cake mix — This is the shortcut that gives you a tender, biscuit-like topping without mixing a batter. It also browns nicely in the Dutch oven, which is part of the charm here. A butter yellow mix works best because it has enough richness to stand up to the fruit.
- Butter — Melted butter is what turns the dry cake mix into a crust in patches. Drizzle it evenly and cover as much surface as you can; the dry spots will stay powdery if you miss too much of the top.
How to Build the Cobber So It Bakes Evenly Over Coals
Laying in the Peaches
Spread the drained peaches in an even layer across the bottom of the Dutch oven. If the fruit is piled high on one side, the topping bakes unevenly and the thickest spot stays wet longer. The goal is a flat bed of fruit so the heat can move through the cobbler at the same pace.
Adding the Spices and Dry Mix
Sprinkle the sugar, cinnamon, and nutmeg over the peaches first, then pour the cake mix over the top without stirring. That order matters because the sugar pulls a little juice from the fruit while the spices cling to the filling instead of disappearing into the topping. The dry mix should sit in a loose, even layer; if you dump it in clumps, those spots bake up floury.
Getting the Butter Coverage Right
Drizzle the melted butter slowly over the cake mix, trying to hit as much of the surface as possible. Any dry floury patches will stay pale and powdery, so go back over the top if needed. You’re looking for a patchwork of wet and dry spots before the lid goes on.
Cooking Over the Coals
Set the Dutch oven over hot coals with some on the lid, then cook until the top is golden and the peach filling is bubbling at the edges, about 40 to 45 minutes. If the top browns too fast before the fruit bubbles, the coals on top are too hot; pull a few off and let the heat even out. The cobbler needs that bubbling center because that’s the sign the filling has thickened and the raw cake mix underneath has cooked through.
Letting It Set Before Serving
Give the cobbler 10 minutes to cool before scooping. That short rest lets the juices thicken a little, so you get servings that hold together instead of collapsing into peach soup. It’s still meant to be warm and spoonable, especially with vanilla ice cream on top.
How to Adapt This for Different Camps, Crowds, and Diets
Fresh Peach Version
Use about 8 to 10 cups peeled, sliced peaches instead of the canned fruit. Toss them with a bit more sugar if they’re tart, and expect a looser filling because fresh peaches release more liquid as they cook. The flavor is brighter, but the texture takes a little more attention while it bakes.
Dairy-Free Cobbler
Swap the butter for a plant-based butter that melts well and has a high fat content. The top won’t brown quite the same way, but it still bakes into a crisp-tender layer if you cover the cake mix evenly. Avoid thin margarine spreads; they don’t give the same baked texture.
Gluten-Free Option
Use a gluten-free yellow cake mix in the same amount. The method stays the same, but gluten-free mixes can brown a little faster on top, so start checking early. Let it rest the full 10 minutes because the topping firms up as it cools.
Storage and Reheating
- Refrigerator: Store leftovers covered for up to 4 days. The topping softens as it sits, but the flavor stays good.
- Freezer: It freezes, but the topping loses some of its texture after thawing. Freeze in portions wrapped well, then thaw in the fridge before reheating.
- Reheating: Warm portions in a 325°F oven until heated through, or use a skillet over low heat if you’re at camp. The common mistake is microwaving it too long, which makes the topping rubbery and the peaches watery.
Answers to the Questions Worth Asking
Dutch Oven Peach Cobbler
Ingredients
Equipment
Method
- Spread the drained sliced peaches in the bottom of a Dutch oven so they form an even layer. Visual cue: peaches should cover the base without dry spots.
- Sprinkle sugar, cinnamon, and nutmeg evenly over the peaches. Visual cue: the fruit should look lightly coated with speckled seasoning.
- Pour the yellow cake mix evenly over the peaches without stirring. Visual cue: dry, pale mix should sit on top like a blanket.
- Drizzle the melted butter over the cake mix, covering as much of the surface as possible. Visual cue: butter should darken patches of the topping.
- Cover the Dutch oven and place it on campfire coals with additional coals on top of the lid. Use a steady heat so the oven cooks evenly.
- Cook for 40-45 minutes until the topping is golden and the peaches are bubbling. Visual cue: bubbling should be visible around the edges and the top should look crisp-golden.
- Let the cobbler cool for 10 minutes before serving. Visual cue: bubbling should slow and the topping should set slightly.
- Serve warm with vanilla ice cream. Visual cue: ice cream should partially melt into the cobbler for a creamy contrast.