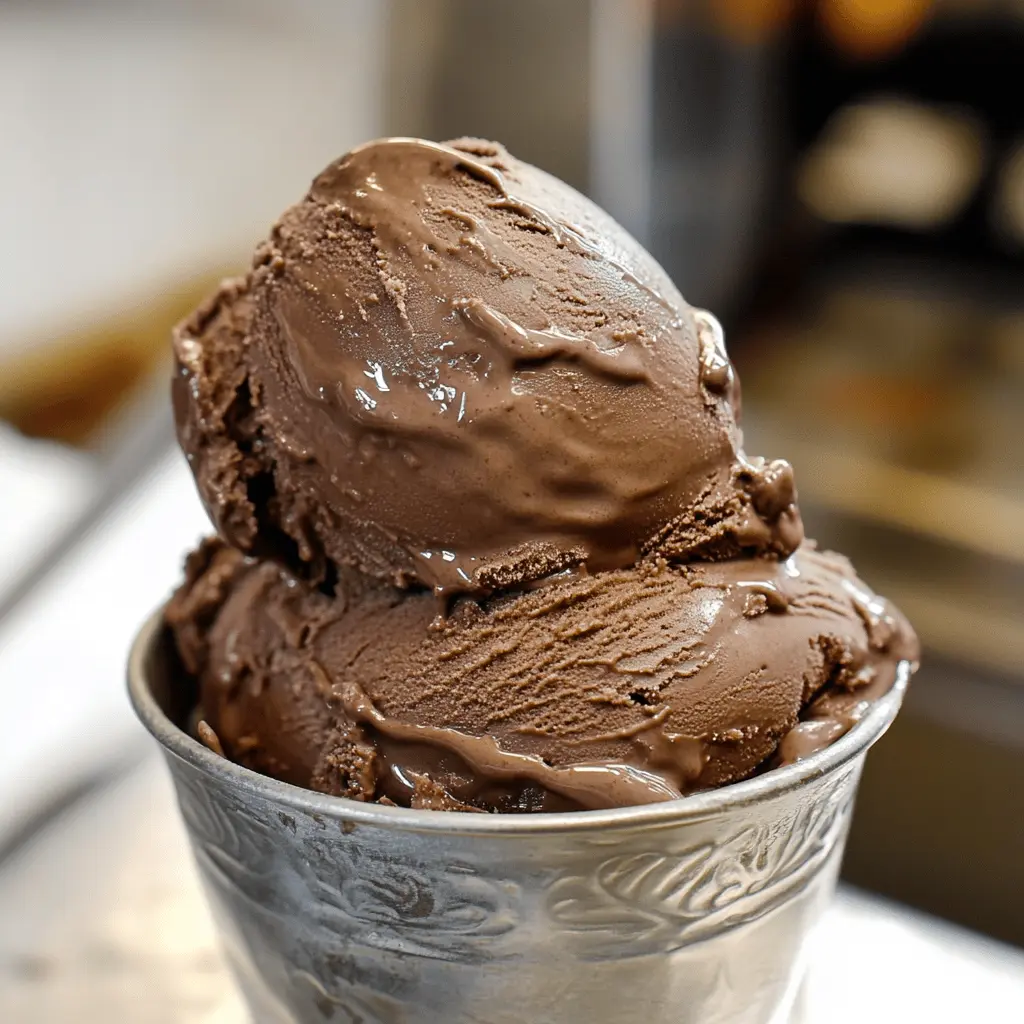
This easy chocolate ice cream is rich and creamy, perfect for hot days or anytime you need a sweet treat. No ice cream maker? No problem—this recipe is simple!
The best part? You can enjoy it fresh from the freezer or scoop it over a warm brownie. I love making it when I have a chocolate craving, and it always hits the spot! 🍦
Key Ingredients & Substitutions
Heavy Cream: This gives the ice cream its rich and creamy texture. If you want a lighter version, you can use half-and-half, though the creaminess won’t be the same. I’ve tried it with heavy whipping cream for the best results!
Whole Milk: Whole milk is best for flavor and creaminess. You can swap it with 2% milk, but it will be less creamy. In a pinch, almond milk or oat milk can work, but your ice cream may turn out a bit icier.
Sugar: Granulated sugar is crucial for sweetness. You can use brown sugar for a deeper flavor or sugar substitutes like Stevia, but be aware that they can change the texture.
Cocoa Powder: Unsweetened cocoa powder gives the chocolate flavor. Dutch-process cocoa can be used for a more complex taste. If you’re out, consider using a chocolate drink mix, but it will change the flavor somewhat.
Semi-sweet Chocolate: This adds richness to your ice cream. Dark chocolate can be used for a richer taste, while milk chocolate will make it sweeter. I prefer semi-sweet for a good balance!
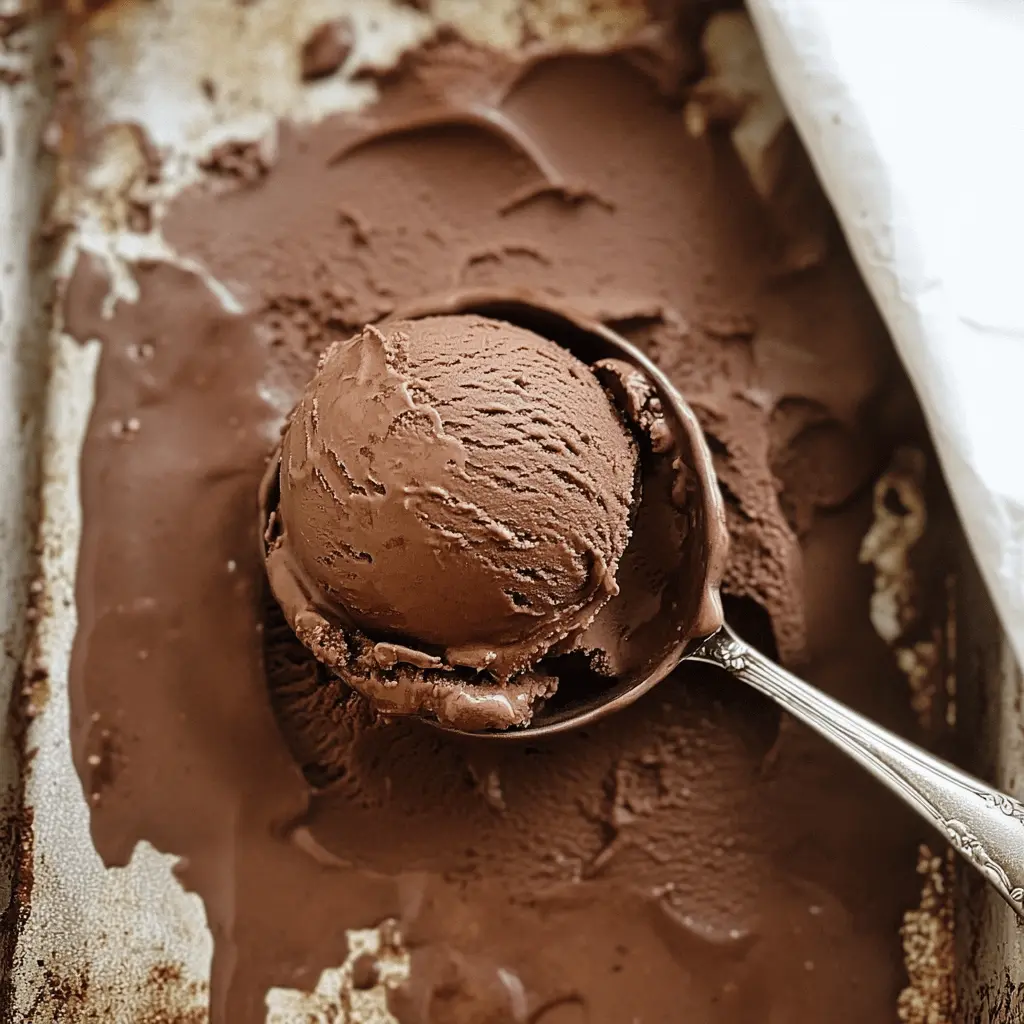
How Do I Get Smooth and Creamy Ice Cream Without an Ice Cream Maker?
If you don’t have an ice cream maker, you can still make this recipe! After chilling the mixture, pour it into a shallow dish and freeze it.
- Every 30 minutes for about 2-3 hours, stir the mixture with a fork. This breaks up any ice crystals and keeps it creamy.
- Once the ice cream reaches your desired texture, serve it. It may need a few minutes out of the freezer to soften before scooping!
Easy Classic Chocolate Ice Cream
Ingredients You’ll Need:
- 2 cups heavy cream
- 1 cup whole milk
- 3/4 cup granulated sugar
- 1/2 cup unsweetened cocoa powder
- 4 oz semi-sweet chocolate, finely chopped
- 1 teaspoon pure vanilla extract
- A pinch of salt
Time Needed:
This recipe takes about 15 minutes of prep time. After that, you’ll need at least 2 hours to chill the mixture, plus another 4 hours in the freezer after churning. So, plan for a total of around 6 hours before you can enjoy your homemade ice cream!
Step-by-Step Instructions:
1. Combine Your Base:
In a medium saucepan, mix together the milk, sugar, cocoa powder, and a pinch of salt. Turn the heat to medium and stir constantly until the mixture is smooth and the sugar dissolves. Just remember, we don’t want it to boil!
2. Melt the Chocolate:
Once smooth, take the saucepan off the heat and add the finely chopped semi-sweet chocolate. Stir it in until the chocolate is completely melted and the mixture is silky. Yum!
3. Add Cream and Vanilla:
Next, pour in the heavy cream and add your vanilla extract. Mix everything together well until smooth. It should smell heavenly already!
4. Cool it Down:
Transfer the mixture to a heatproof bowl and let it cool to room temperature. If you’re in a hurry, you can speed things up by placing the bowl in an ice bath. It’s like a mini spa for your ice cream!
5. Chill in the Fridge:
Once cooled, cover the bowl and pop it in the fridge for at least 2 hours, or until it’s super cold. This helps the flavors meld beautifully.
6. Churn the Ice Cream:
After chilling, pour your mixture into an ice cream maker. Follow the manufacturer’s instructions to churn it up—this usually takes about 20-25 minutes. You’ll start to see it fluff up!
7. Freeze to Firm Up:
When it reaches a soft-serve consistency, scoop the ice cream into a lidded container. Freeze it for at least 4 hours to let it set completely. Patience is key here!
8. Serve and Enjoy:
Once it’s firm, scoop it into bowls or cones and enjoy your classic, creamy chocolate ice cream! You deserve it!
FAQ for Easy Classic Chocolate Ice Cream
Can I Use Low-Fat Milk Instead of Whole Milk?
Yes, you can use low-fat milk, but keep in mind that the ice cream may be less creamy. Whole milk provides a richer texture and flavor, so if you’re looking for that classic creaminess, whole milk is the way to go!
How Can I Make This Ice Cream Vegan?
You can easily make this recipe vegan by substituting the heavy cream and whole milk with coconut cream or any plant-based milk like almond or oat milk. Use dairy-free chocolate as well to keep it all vegan-friendly!
What’s the Best Way to Store Leftover Ice Cream?
Store any leftover ice cream in an airtight container in the freezer. To keep it from getting icy, press a piece of parchment paper directly onto the surface before sealing the container. It should stay fresh for up to 2 weeks!
What Can I Add for Extra Flavor or Texture?
Feel free to mix in goodies like chocolate chips, crushed cookies, or nuts right before transferring the ice cream to the container! This adds a delightful crunch and enhances the chocolate flavor.