Layered nachos only work when every chip gets a little of everything: melted cheese, seasoned beef, and a few bright toppings to cut through the richness. The best trays come out with crisp edges, gooey pockets of cheese, and just enough heat from the jalapeños to keep each bite interesting. When they’re built right, they disappear fast because nothing sits heavy on the plate.
What makes this version reliable is the way the cheese is layered. Half goes down first so it melts into the chips and helps anchor the toppings, then the rest goes on top to trap the beef and beans underneath. That short broil is the part that matters most. You want bubbling cheese, not a scorched sheet of chips, so the tray needs to stay close enough to the heat to melt fast.
Below, I’ll walk through the one broiler mistake that turns nachos from crisp to sad in a minute, plus the ingredient swaps that still give you a strong, loaded platter when you’re using what’s in the fridge.
The cheese melted into every layer and the chips stayed crisp under the toppings. I’ve made nachos before, but adding the beef and beans between two layers of cheese made such a difference.
These loaded nachos are built for maximum cheese pull and crisp edges, so every bite lands with beef, beans, and fresh toppings.
The Cheese Goes on Twice for a Reason
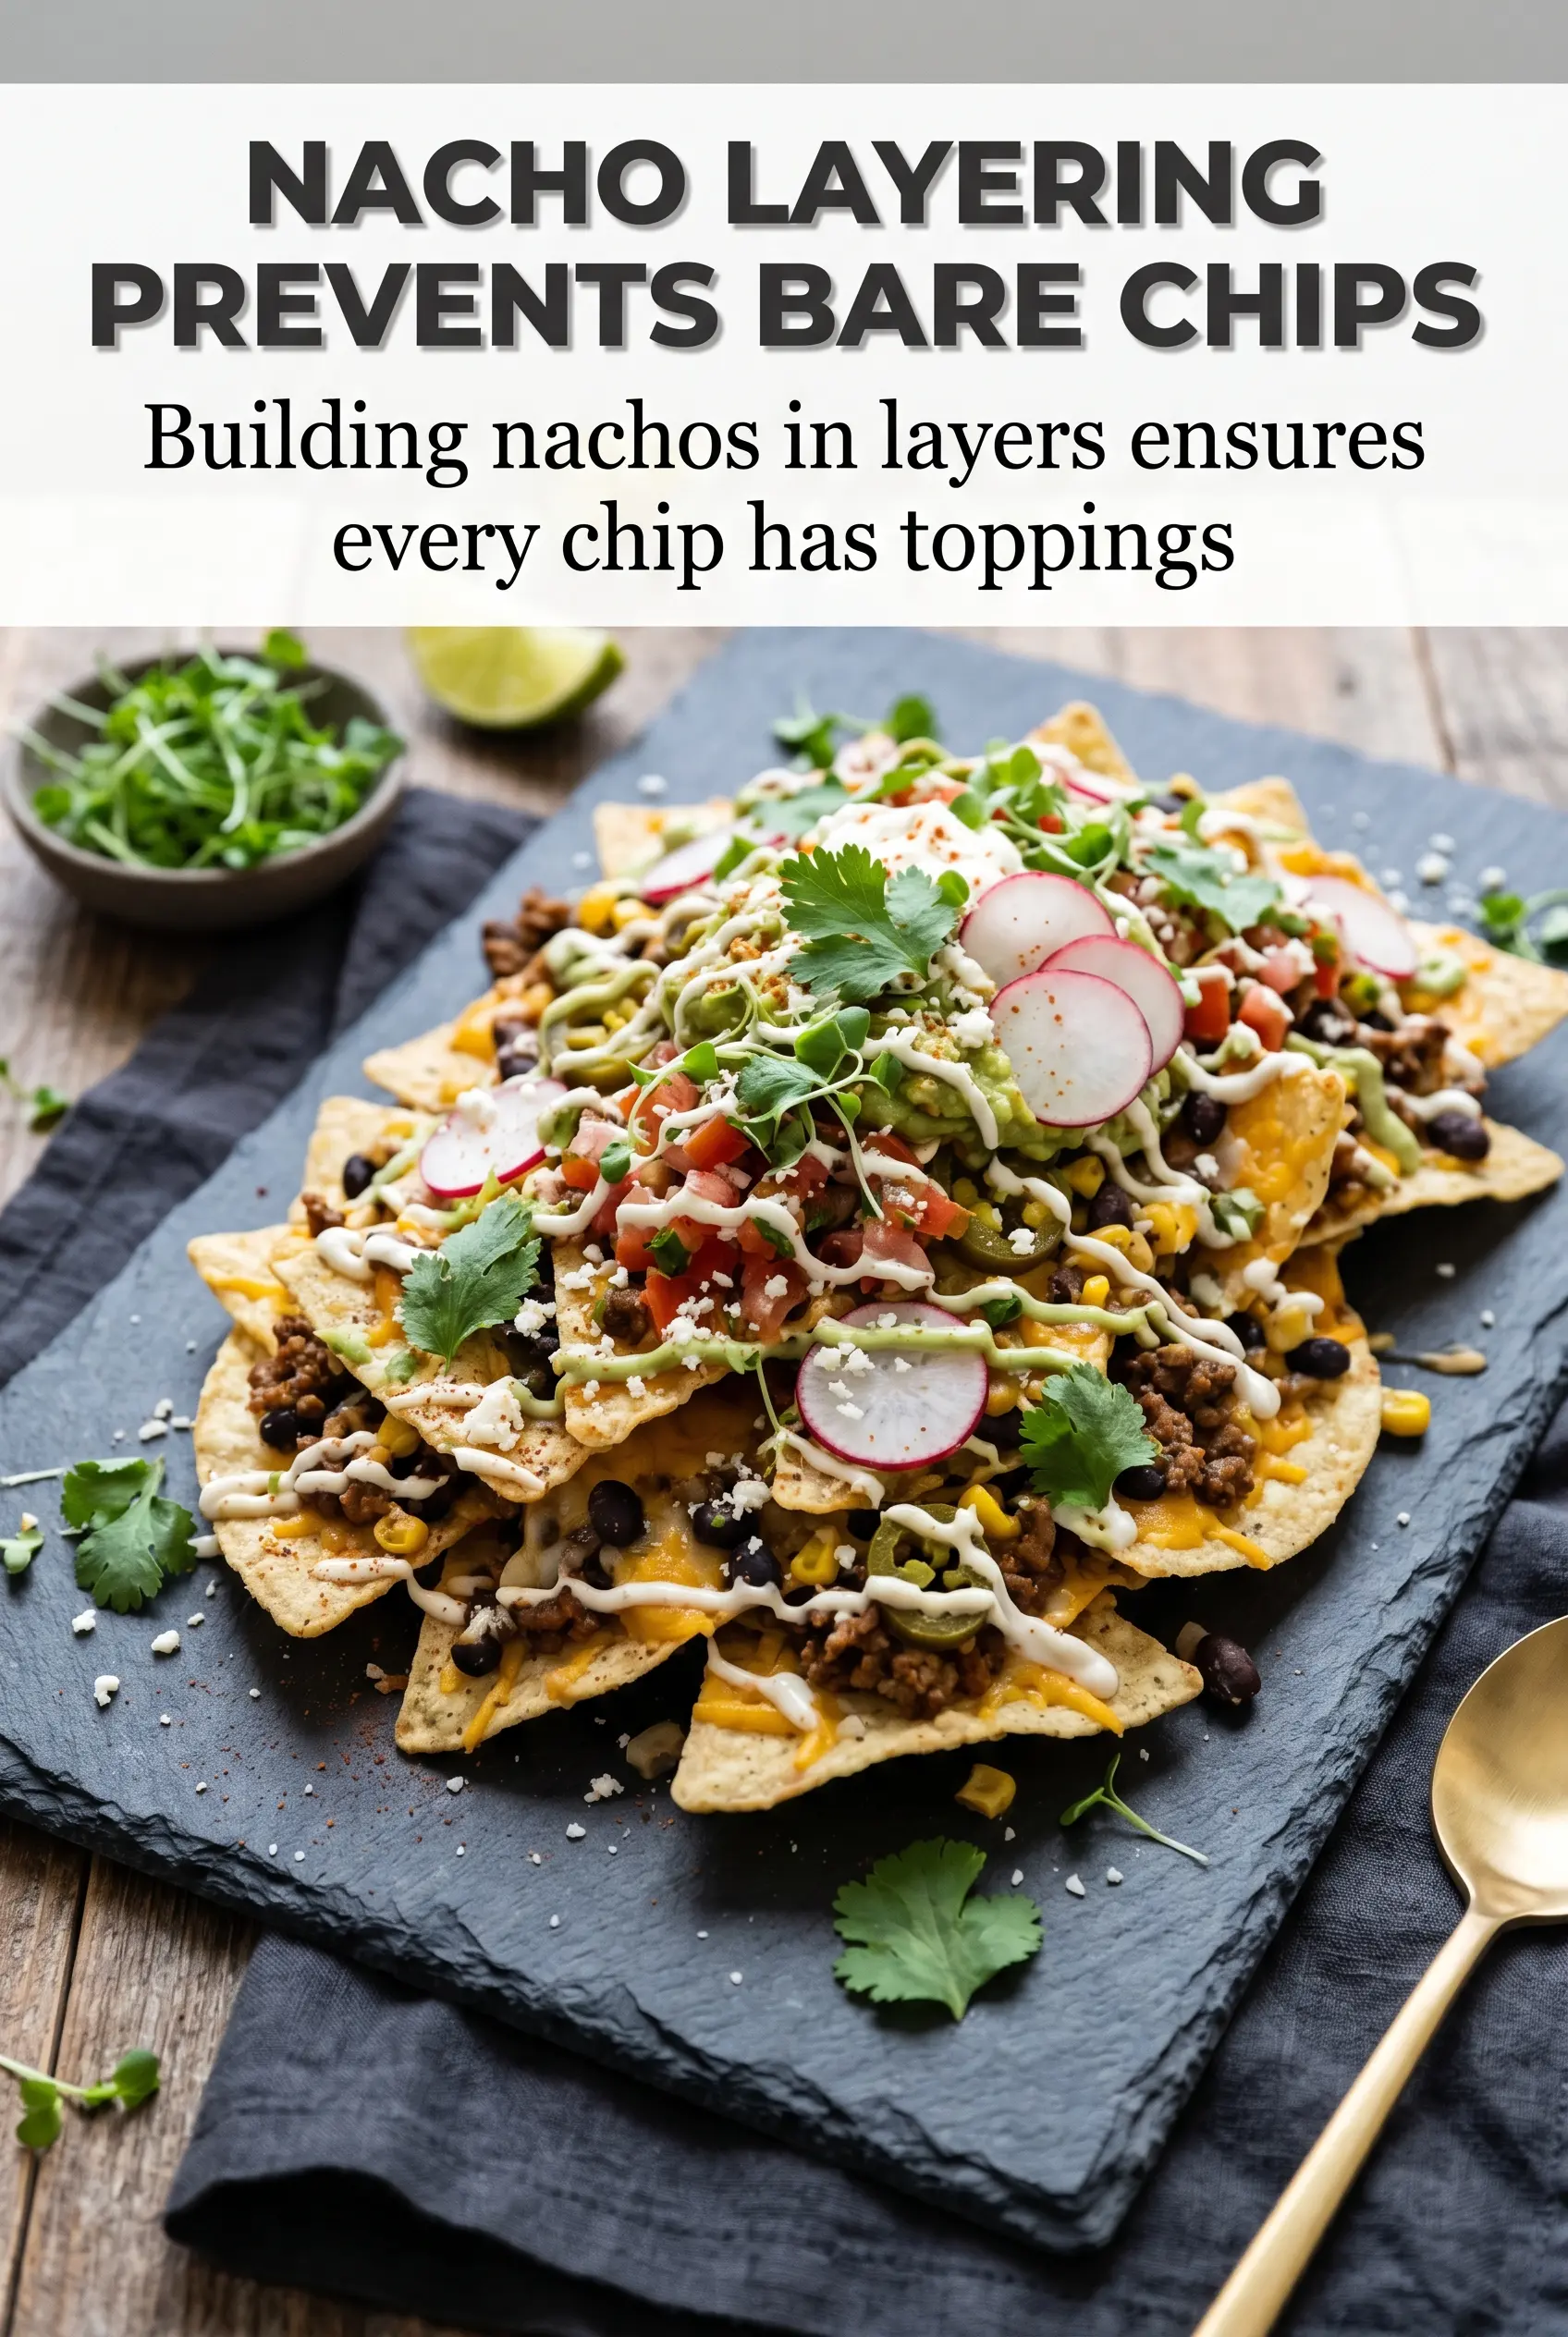
Most nacho trays fail because the toppings sit only on top of the chips. That leaves the bottom layer dry and the top layer overloaded, so every bite tastes uneven. Splitting the cheese solves that problem. The first layer melts into the chips and gives the beef and beans something to cling to, while the second layer seals the filling in and helps the whole tray come out cohesive instead of scattered.
The other thing that matters is how tightly you pack the chips. A little overlap is good. Piling them too high creates dead spots where the cheese never reaches the chips underneath. Spread them in a single, roomy layer so heat can move across the tray fast and the chips on the edges don’t burn before the center is ready.
What Each Layer Is Doing in These Nachos
- Tortilla chips — Use sturdy chips with enough structure to hold the toppings. Thin chips collapse under the beef and beans, and once they steam, they turn limp fast. If you only have fragile chips, keep the topping layer lighter and broil for the shortest possible time.
- Mexican cheese blend — This is what gives you the stretch and the melt. A pre-shredded blend works fine here, though freshly shredded cheese melts a little smoother because it doesn’t carry the anti-caking coating. If you swap in cheddar alone, expect a sharper flavor and a slightly less silky melt.
- Ground beef — The taco-seasoned beef brings the savory base that keeps the nachos from tasting like cheese on chips. Lean beef is best because excess grease pools on the tray and softens the chips. If your skillet has a lot of fat after browning, drain it before adding the seasoning.
- Black beans — These add body and make the tray feel fuller without needing more meat. They also catch the cheese between the chips, which helps every scoop feel loaded. If you want to skip them, add a little extra beef or jalapeños so the top doesn’t turn one-note.
- Fresh toppings — Tomatoes, olives, sour cream, guacamole, salsa, cilantro, and lime all go on after broiling. That timing matters because anything wet added too early steams the chips and dulls the cheese. Keep those toppings cold and add them the second the pan comes out so the contrast stays sharp.
How to Keep the Chips Crisp Under All That Cheese
Season the Beef First
Brown the beef in a skillet until there’s no pink left and the crumbles are well broken up. Drain off excess fat if needed, then stir in the taco seasoning with the amount of water listed on the packet and cook it until the mixture looks thick and clings to the meat. If the beef is wet when it goes onto the chips, the bottom layer turns soggy before the broiler even starts.
Build a Flat, Even Tray
Spread the tortilla chips across a large baking sheet in one even layer. Sprinkle on half the cheese first, then scatter the beef, black beans, and jalapeños over the top. Finish with the rest of the cheese so the toppings are tucked in. If the chips are stacked too deeply, the center never heats evenly and you end up with hot edges and cold middle pockets.
Broil Until Bubbling, Not Burned
Set the tray close to the broiler and watch it the whole time. In 3 to 5 minutes, the cheese should be melted, glossy, and bubbling at the edges. Pull it before the chips darken, because the line between perfectly melted and scorched is short under broil heat. If your broiler runs hot, the cheese may be done before the top starts to brown.
Finish Fast with the Cold Toppings
The second the pan comes out, add tomatoes, olives, sour cream, guacamole, salsa, cilantro, and lime wedges. That contrast of hot cheese and cool toppings is what makes the platter taste complete. Don’t wait around after broiling, because the chips soften quickly once the steam starts rising from the pan.
How to Adjust These Nachos Without Losing the Good Part
Make Them Vegetarian
Leave out the beef and double the black beans, or add seasoned crumbled tofu or sautéed mushrooms for more heft. You’ll lose a little of that savory taco flavor, so lean harder on the seasoning, jalapeños, salsa, and cilantro to keep the tray bold.
Make It Gluten-Free
Use certified gluten-free tortilla chips and check the taco seasoning packet, since some blends contain wheat-based fillers. The method stays the same, and the final tray still gets the same crisp-cheese contrast as long as the chips are sturdy.
Swap the Beef for Chicken or Turkey
Ground turkey or shredded chicken works cleanly here if you want a lighter tray. Turkey benefits from a little extra seasoning, while chicken needs enough moisture to keep it from tasting dry, so mix it with the taco seasoning until it’s well coated and juicy before layering.
Storage and Reheating
- Refrigerator: Store leftover toppings separately if you can. Assembled nachos keep for about 1 day, but the chips soften fast.
- Freezer: Don’t freeze assembled nachos. The chips and fresh toppings won’t recover well after thawing.
- Reheating: Reheat the chips, beef, beans, and cheese on a baking sheet in a 375°F oven until the cheese melts again. Add the cold toppings after reheating, not before, or the chips will go limp.
Questions I Get Asked About This Recipe
Easy Nachos
Ingredients
Equipment
Method
- Heat a cast iron skillet over medium-high heat and brown the ground beef until no longer pink. Add taco seasoning and cook according to the package directions, stirring for even seasoning.
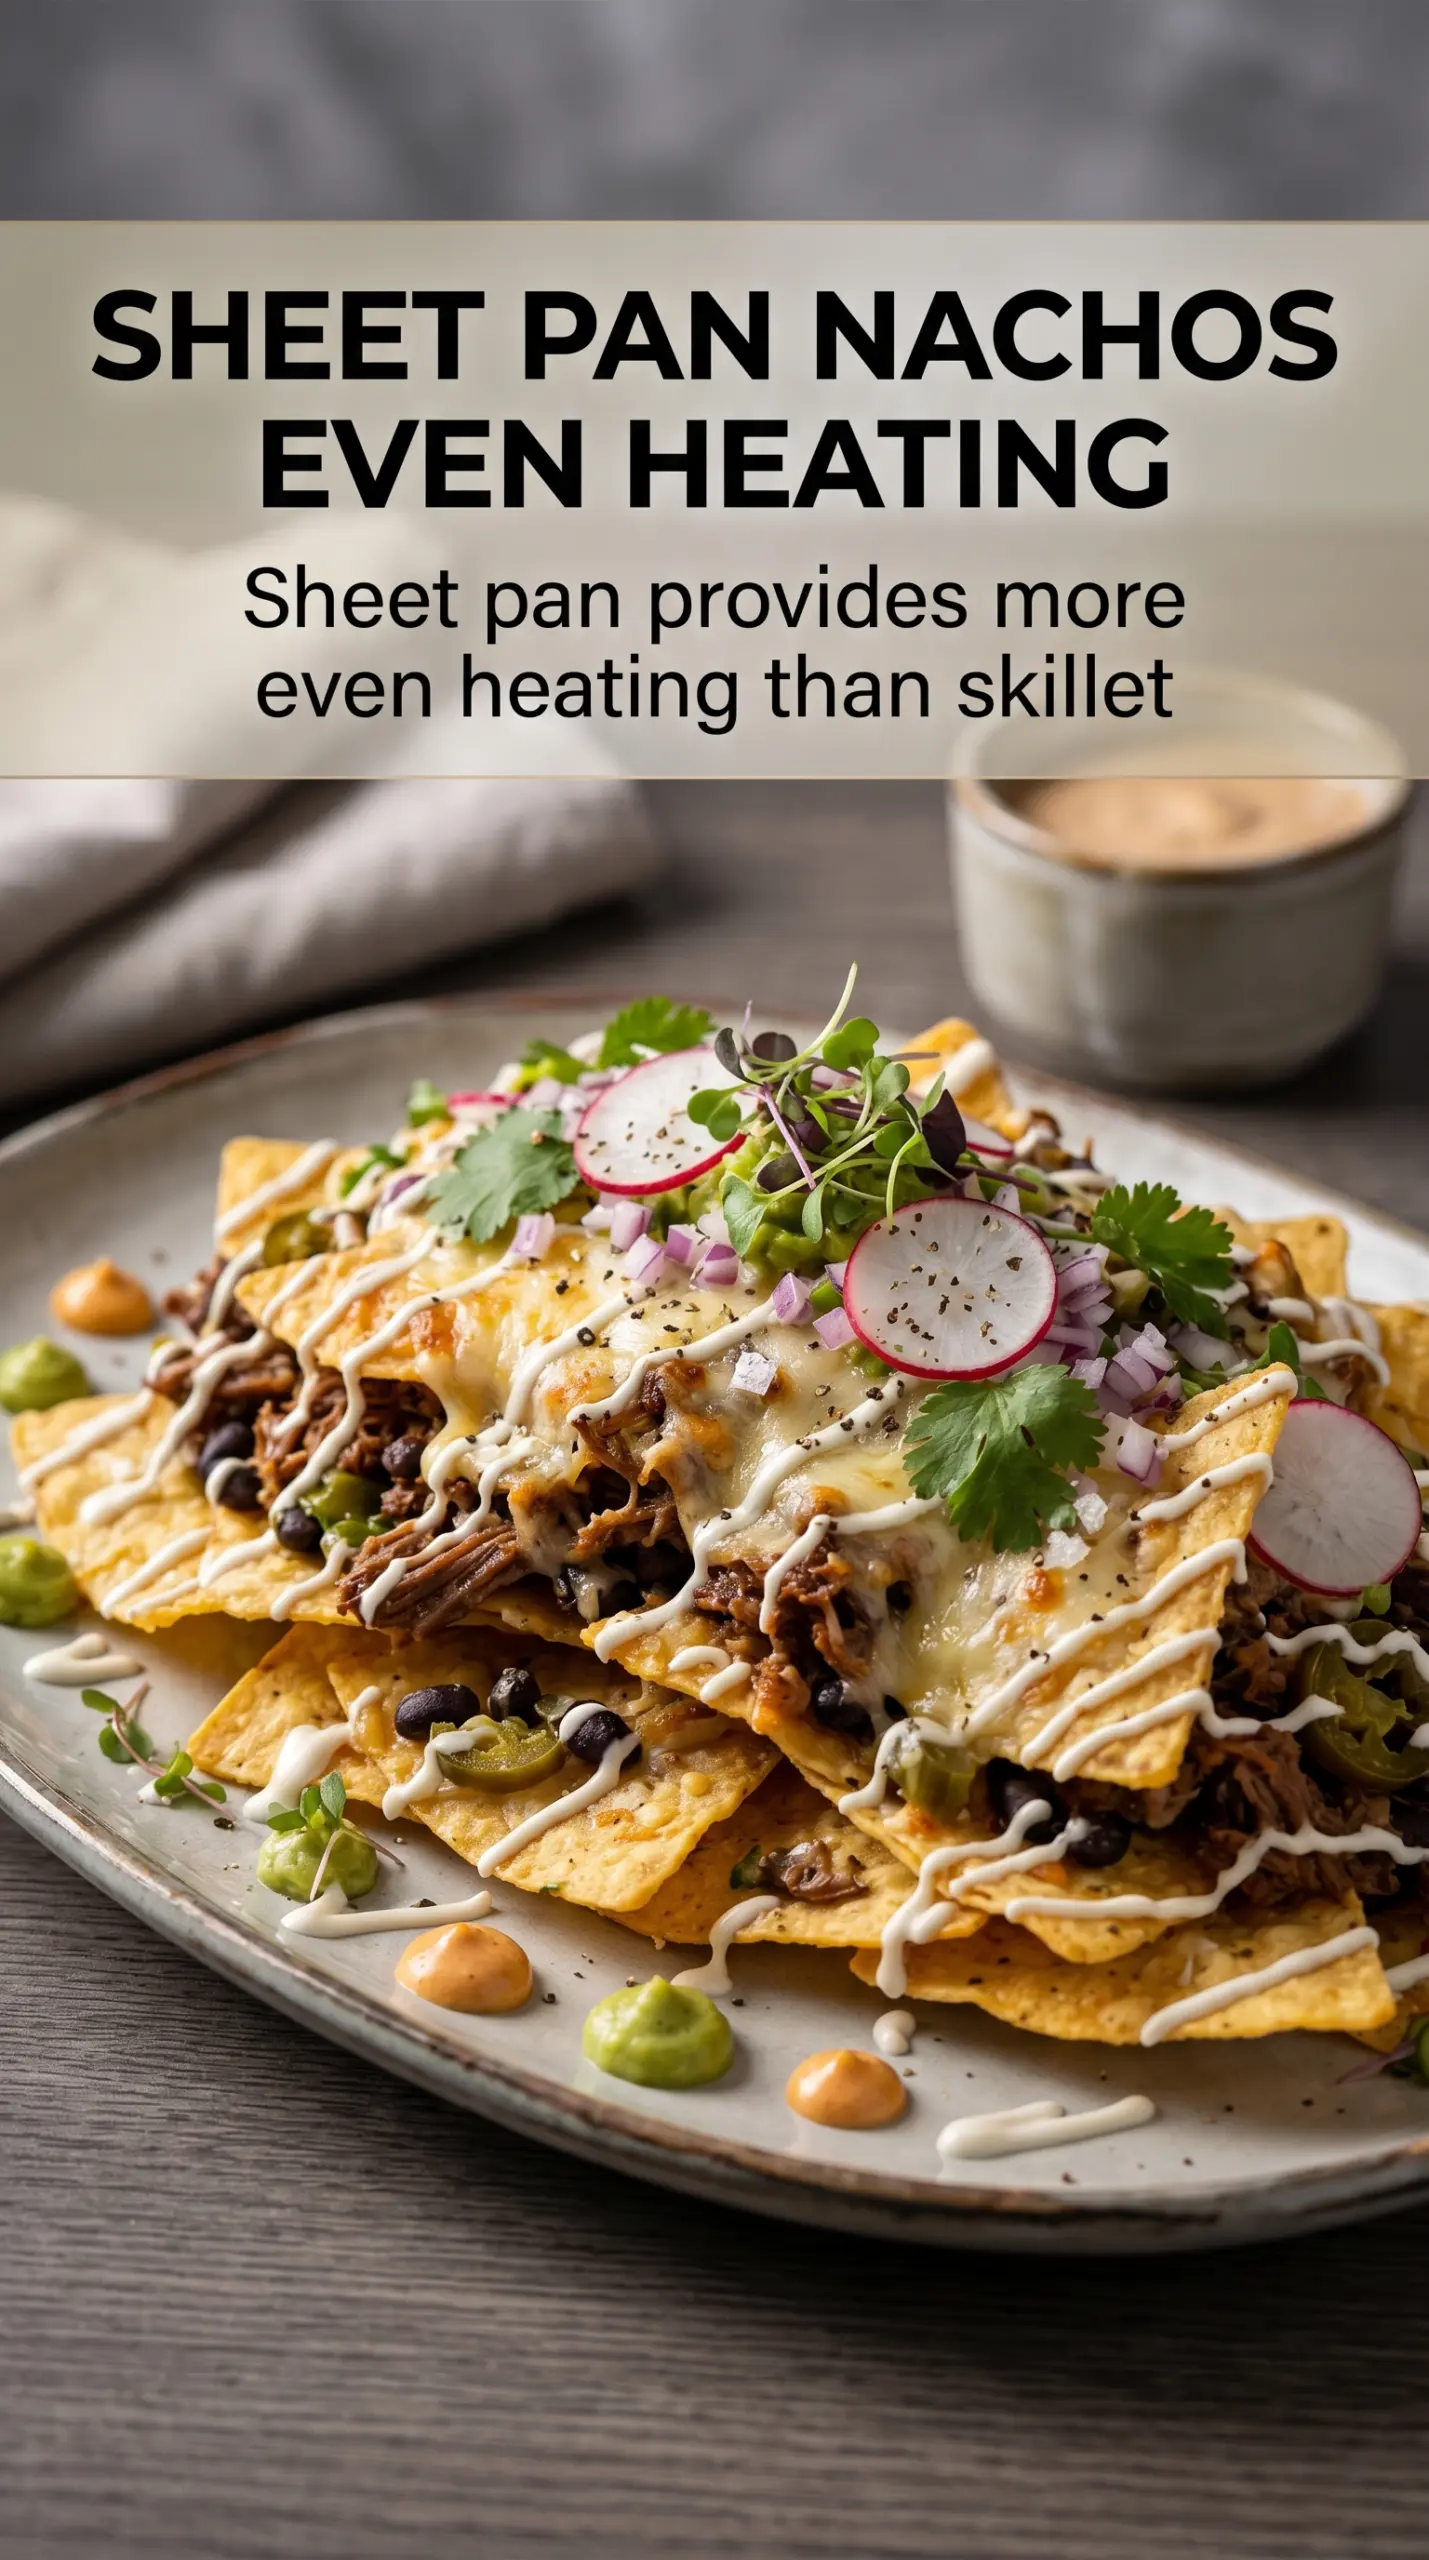
- Preheat the broiler. Spread tortilla chips on a sheet pan in an even layer so the cheese can melt across the surface.
- Sprinkle half the shredded Mexican cheese blend over the tortilla chips to help everything stick together. Add the seasoned beef, black beans, and sliced jalapeños in an even layer.
- Sprinkle the remaining shredded Mexican cheese blend over the top for a fully covered, melty finish. Broil for 3-5 minutes until the cheese is melted and visibly bubbly.
- Remove the nachos from the oven immediately to prevent toppings from wilting. Top right away with diced tomatoes, sliced black olives, sour cream, guacamole, and salsa while the cheese is still hot.
- Garnish with fresh cilantro for a fresh green finish. Serve with lime wedges for squeezing over each bite.