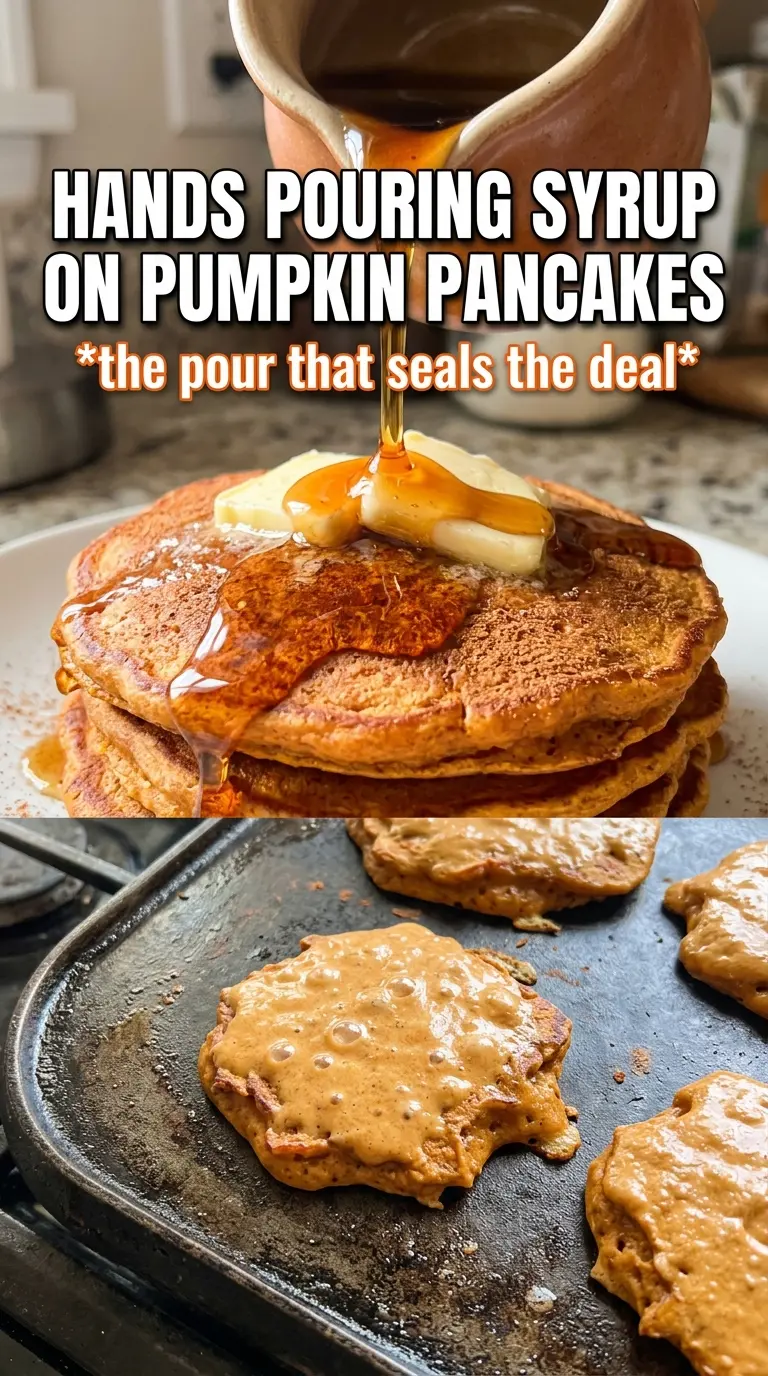
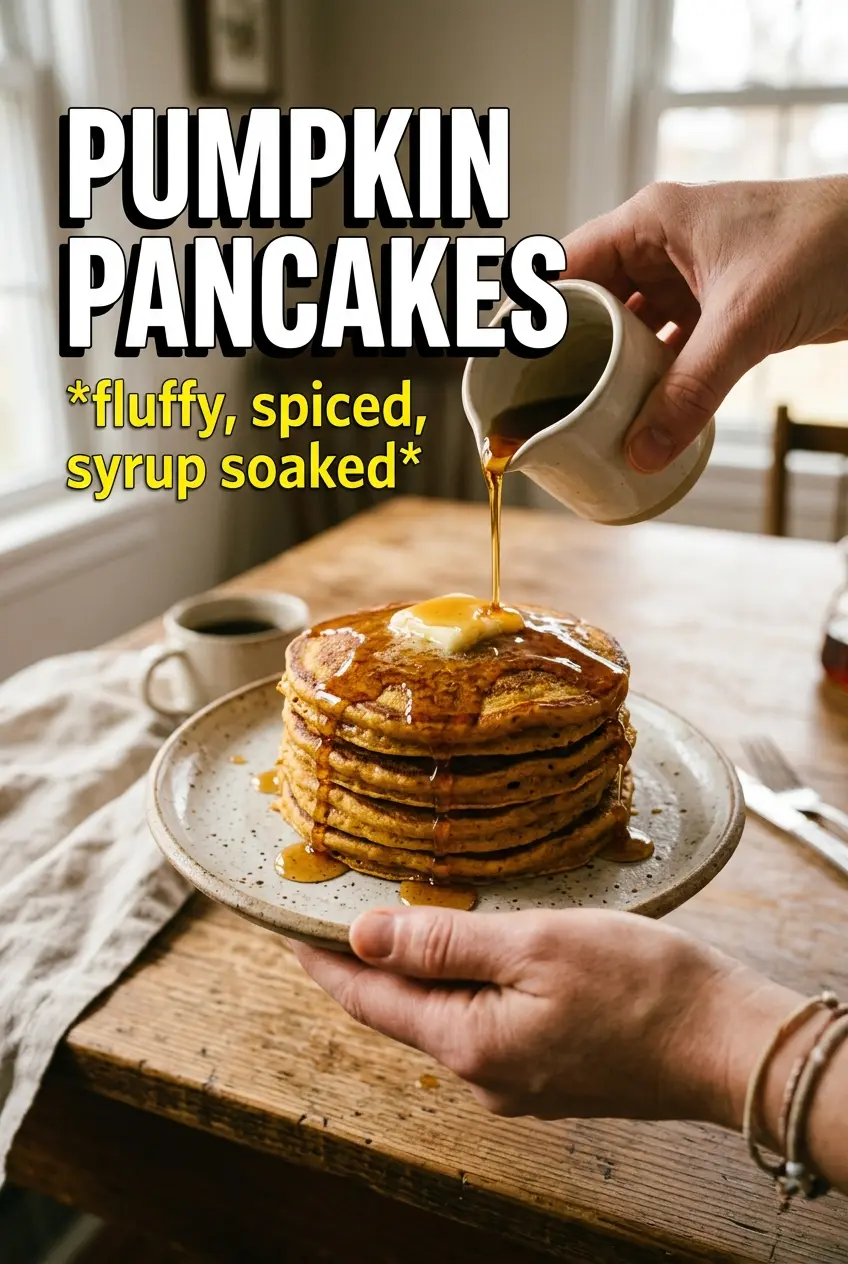
These pumpkin pancakes come off the griddle thick, tender, and softly spiced, with just enough structure to hold a puddle of maple syrup without turning soggy. The edges set up with a light, golden crust while the centers stay fluffy and moist, which is exactly what you want when pumpkin is in the batter. They taste like breakfast that took more effort than it did.
The trick is balancing the pumpkin puree with enough buttermilk and leavening to keep the pancakes from turning dense. Pumpkin adds body and moisture, so the batter needs a short rest and a hot enough griddle to puff properly. Too much mixing tightens the batter, and too much heat browns the outside before the middle has a chance to cook through.
Below, I’ve laid out the one step that keeps these pancakes light, plus the ingredient notes that explain what each part is doing. If your pumpkin pancakes have ever come out heavy or flat, the fixes here matter.
The batter rested exactly 5 minutes like you said, and the pancakes cooked up fluffy instead of gummy. The pumpkin spice came through without tasting heavy, and the centers stayed tender all the way through.
Save these fluffy pumpkin pancakes for the mornings when you want a golden stack with maple syrup and cinnamon on top.
The Reason Pumpkin Pancakes Go Dense
Pumpkin puree is the thing that makes these pancakes taste like pumpkin, but it’s also what can weigh them down. The mistake most people make is treating pumpkin batter like regular pancake batter. It isn’t. Pumpkin brings extra moisture and thickness, so if you overmix it or crank the heat too high, you get pancakes that brown fast and stay a little raw in the center.
The other thing that matters here is the rest. Those five minutes give the flour time to hydrate and the baking powder time to start working, which means the pancakes puff instead of spreading thin. You’ll also notice the batter thickens slightly as it sits. That’s a good sign, not a problem.
- Pumpkin puree — Use plain pumpkin puree, not pumpkin pie filling. Pie filling is already sweetened and spiced, which throws off both the texture and the balance.
- Buttermilk — This keeps the pancakes tender and gives the baking soda something acidic to react with. If you don’t have it, mix 1 tablespoon lemon juice or vinegar into 1 1/4 cups milk and let it sit 5 minutes.
- Baking powder and baking soda — You need both. Baking powder gives lift, while baking soda reacts with the buttermilk and pumpkin for a little extra rise and browning.
- Brown sugar — It adds a deeper, molasses note that works better with pumpkin than white sugar alone. The small amount also helps the pancakes brown without tasting sugary.
What Each Ingredient Is Actually Doing in This Recipe
- Primary ingredient (the star) — Quality matters most. Choose the best you can find.
- Cooking medium (oil, butter, or broth) — This carries flavors and prevents dryness.
- Seasonings (salt, pepper, spices, herbs) — Layer flavors so nothing overpowers. Build depth gradually.
- Aromatics (garlic, onion, herbs) — Cook with fat to bloom flavors. Become the foundation.
- Supporting ingredients — Complement the main ingredient without overpowering it.
- Sauce or liquid (if applicable) — Brings flavors together. Balance richness with acid.
- Acid (lemon, vinegar, wine, or other) — Brightens and prevents flat-tasting results.
- Final finish (garnish, glaze, or sauce) — Prevents one-dimensional taste and adds visual appeal.
How to Keep the Batter Light and the Center Cooked
Mix the Dry Ingredients First
Whisk the flour, sugars, leaveners, spices, and salt together until everything looks even. That matters because baking soda and baking powder need to be distributed well or you’ll get uneven lift and little bitter pockets in the finished pancakes. Break up any brown sugar clumps with your fingers before you stop whisking.
Fold, Don’t Beat
Pour the wet ingredients into the dry and fold just until the flour disappears. The batter should still look a little rough, with some small lumps left behind. If you stir until it looks smooth, the gluten tightens and the pancakes turn chewy instead of soft.
Let the Batter Rest
Five minutes is enough. The batter thickens, the flour hydrates, and the lift starts to wake up. If you skip this rest, the first pancakes tend to spread too much, while the last ones can end up thicker because the batter changes as it sits.
Cook Over Medium Heat
Lightly butter the pan and keep the heat at medium, not high. Pumpkin batter needs enough time for the center to set before the surface gets too dark. Flip when bubbles appear across the top and the edges look matte and set; if you flip too early, the middle can collapse and smear in the pan.
Make Them Dairy-Free
Swap the buttermilk for an unsweetened non-dairy milk mixed with 1 tablespoon lemon juice or vinegar. Use melted coconut oil or a neutral oil instead of butter. The pancakes will still rise well, but they’ll taste a little less rich and the edges will be a touch softer.
Make Them Gluten-Free
Use a 1:1 gluten-free baking flour that includes xanthan gum. The batter may look slightly thicker, so let it rest and only add a splash more milk if it seems too stiff to pour. The texture will be a little more delicate, but the flavor stays the same.
Add Chocolate Chips or Chopped Pecans
Fold in up to 3/4 cup of chocolate chips or toasted pecans at the very end. This adds pockets of sweetness or crunch without changing the batter structure. Don’t overload it, or the pancakes won’t spread and flip cleanly.
Storage and Reheating
- Refrigerator: Store cooked pancakes in an airtight container for up to 4 days. They soften a little as they sit, but they hold up well.
- Freezer: These freeze nicely. Cool completely, layer with parchment, and freeze in a zip-top bag for up to 2 months.
- Reheating: Warm in a toaster, 325°F oven, or dry skillet until hot. The common mistake is microwaving too long, which makes them rubbery and damp instead of fluffy.
Questions I Get Asked About This Recipe
Pumpkin Pancakes
Ingredients
Equipment
Method
- In a large bowl, whisk all-purpose flour, granulated sugar, brown sugar, baking powder, baking soda, pumpkin pie spice, cinnamon, and salt until evenly combined. Stop when no dry streaks remain.
- In a separate bowl, whisk pumpkin puree, buttermilk, eggs, melted unsalted butter, and vanilla extract until smooth. Look for a uniform orange color.
- Pour the wet ingredients into the dry and fold until just combined, with lumps still visible. Do not overmix so the batter stays thick and airy.
- Rest the batter for 5 minutes to hydrate the flour. The batter should thicken slightly during this rest.
- Heat a griddle or skillet over medium heat and grease lightly with butter. Wait until the surface is hot but not smoking.
- Pour 1/4 cup batter per pancake and cook for about 3 minutes, until bubbles form on the surface and the edges look set. The centers should look slightly matte, not wet.
- Flip and cook for 1-2 minutes more, until cooked through. The second side should be golden and spring back lightly.
- Serve the pumpkin pancakes with a pat of butter and warm maple syrup. Let the syrup pool over the top and run down the sides.