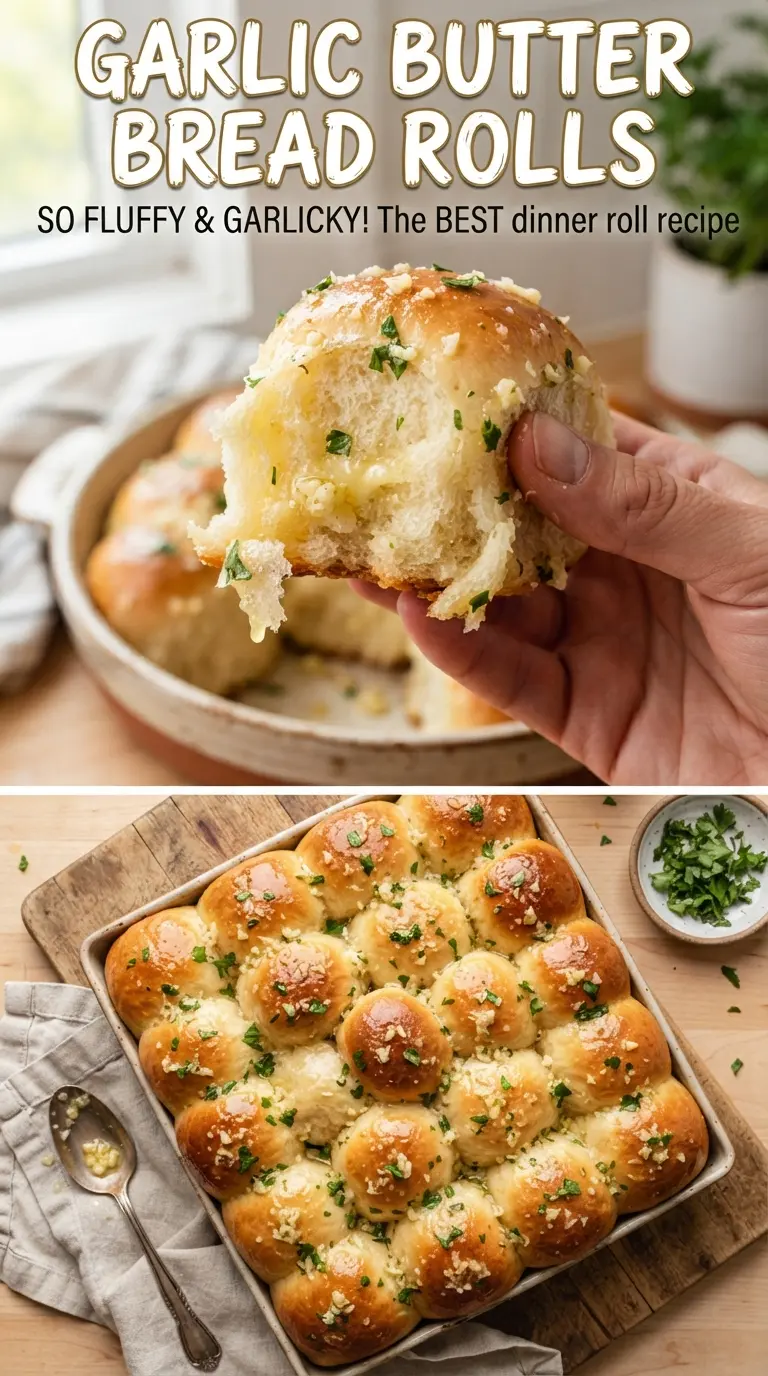
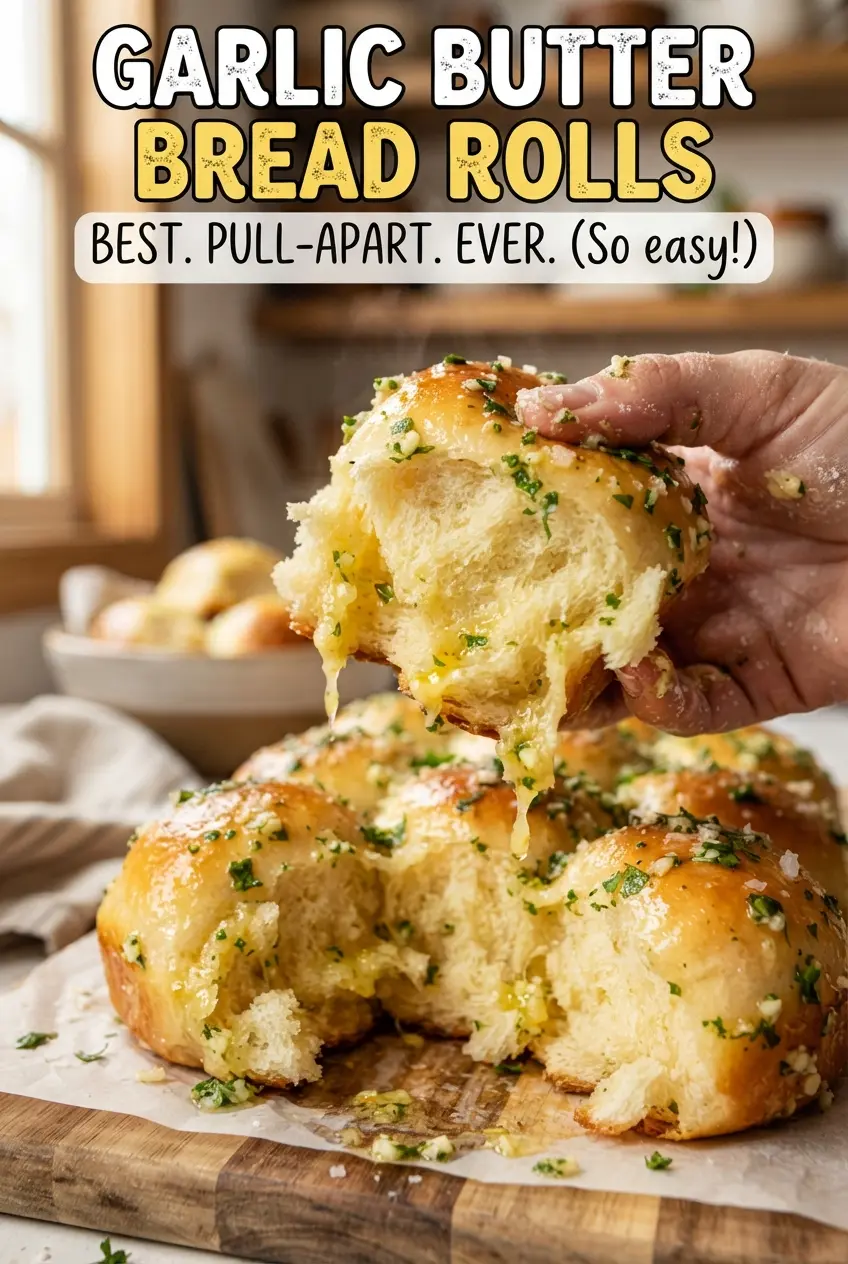
Garlic butter bread rolls come out with a soft, fluffy crumb, bronzed tops, and that glossy finish that makes people reach for a second one before dinner even starts. The best part is the pull-apart texture: the rolls bake snug in a pan, so the sides stay tender while the tops turn golden and the garlic butter sinks into every little seam.
This version keeps the dough simple and dependable. Warm milk helps the yeast move quickly, and the dough gets just enough kneading to build structure without turning tough. The first rise gives the rolls their lift, and the second rise in the pan helps them bake into tall, pillowy buns instead of squat ones. The garlic butter goes on while the rolls are hot, which matters more than people think — that’s when it melts into the crust instead of sitting on top.
Below, I’ve included the one timing detail that keeps the centers light, plus a few ways to adapt the rolls if you want to change the finish, the shape, or the dairy.
The dough rose right on schedule and the rolls baked up extra soft in the middle. Brushing the garlic butter on while they were still hot gave them that shiny top and the flavor soaked all the way through.
Save these garlic butter bread rolls for the side dish that disappears the moment the butter hits the warm loaf.
The Part That Keeps These Rolls Soft Instead of Dense
The dough needs enough hydration to stay tender, but not so much that the rolls spread flat in the pan. Warm milk gives the yeast a head start and also keeps the crumb softer than water ever will. The other thing that matters is the second rise in the pan: if you bake them before they look puffy and close together, they’ll still taste fine, but they won’t have that pull-apart texture people want from bread rolls.
The biggest failure point is adding too much flour during kneading. The dough should feel soft and a little tacky at first, then smooth out as you work it. If it turns stiff early, the rolls bake up tighter and drier than they should.
- Instant yeast — This gives you a fast, reliable rise without a separate proofing step. If you only have active dry yeast, bloom it in the warm milk and sugar for a few extra minutes before adding the rest.
- Milk — Whole milk gives the richest crumb, but any milk with fat will work. Keep it at about 110F; too hot and you’ll slow or kill the yeast.
- Butter — Melted butter goes into the dough for tenderness and into the topping for that glossy, savory finish. You can use salted butter if that’s what you have, but pull back slightly on the added salt in the dough.
- Flour — All-purpose flour gives these rolls enough structure without making them chewy. Add it gradually and stop once the dough is smooth and elastic, not dry.
What Each Ingredient Is Actually Doing in This Recipe
- Primary ingredient (the star) — Quality matters most. Choose the best you can find.
- Cooking medium (oil, butter, or broth) — This carries flavors and prevents dryness.
- Seasonings (salt, pepper, spices, herbs) — Layer flavors so nothing overpowers. Build depth gradually.
- Aromatics (garlic, onion, herbs) — Cook with fat to bloom flavors. Become the foundation.
- Supporting ingredients — Complement the main ingredient without overpowering it.
- Sauce or liquid (if applicable) — Brings flavors together. Balance richness with acid.
- Acid (lemon, vinegar, wine, or other) — Brightens and prevents flat-tasting results.
- Final finish (garnish, glaze, or sauce) — Prevents one-dimensional taste and adds visual appeal.
Building the Dough So It Bakes Up Light and Pull-Apart
Waking Up the Yeast
Whisk the warm milk, yeast, and sugar together and let it sit until foamy. That foam tells you the yeast is alive and moving; if the surface stays flat after 5 to 10 minutes, the milk was too hot, too cold, or the yeast is old. Don’t rush past this part, because weak yeast shows up later as dense rolls that never quite fill the pan.
Kneading to the Right Texture
Add the egg, melted butter, salt, and flour, then knead until the dough turns smooth and elastic, about 6 to 8 minutes. It should pull away from the bowl but still feel soft when you press it. If it tears easily or looks rough and tight, it needs more kneading; if it feels sticky enough to smear, add a spoonful of flour at a time instead of dumping in a pile.
Letting the Pan Do the Work
After the first rise, divide the dough into 12 even balls and place them snugly in a greased 9×13-inch pan. That close spacing is what gives you soft sides and a tender edge where the rolls touch. After the second rise, they should look puffy and almost shoulder to shoulder; if they still look loose and separated, give them more time before baking.
Finishing with Hot Butter
Bake until the tops are golden brown and the rolls sound hollow when tapped lightly. Stir the garlic and parsley into the melted butter, then brush it over the rolls while they’re still hot so the butter melts into the cracks. Finish with flaky salt right away; that last pinch wakes up the garlic and keeps the tops from tasting flat.
How to Adapt These Rolls Without Losing the Soft Center
Dairy-Free Rolls with the Same Tender Crumb
Use an unsweetened non-dairy milk with some body, like oat or soy, and swap in a plant-based butter that melts cleanly. The rolls will still rise and brown well, but the flavor will be a little less rich, so the garlic topping matters even more here.
Cheesy Garlic Rolls
Add a small pinch of finely grated Parmesan to the garlic butter or sprinkle it over the rolls right after baking. It adds a salty, savory edge, but don’t mix too much cheese into the dough or you’ll weigh down the rise.
Herb Butter Finish with More Bite
Swap part of the parsley for chopped chives or a little dried Italian seasoning if that’s what you have. Fresh herbs give the cleanest finish, but dried herbs work if they’re stirred into the butter and left to sit for a few minutes so they soften before brushing.
Make-Ahead Rolls for a Busy Dinner
Shape the dough, place the balls in the pan, then cover and refrigerate overnight after the first rise. Let them sit at room temperature until puffy before baking the next day. That slow chill gives you a little more flavor, but don’t bake them cold or the centers will lag behind the tops.
Storage and Reheating
- Refrigerator: Store in an airtight container for up to 4 days. The rolls will firm up a bit, but they soften again when warmed.
- Freezer: Freeze baked rolls tightly wrapped for up to 2 months. Thaw at room temperature, then warm before serving.
- Reheating: Warm in a 300F oven for about 8 to 10 minutes, covered loosely with foil so the tops don’t over-brown. The common mistake is microwaving too long, which turns the crumb gummy instead of soft.
Questions I Get Asked About This Recipe
Garlic Butter Bread Rolls
Ingredients
Equipment
Method
- Whisk warm milk, instant yeast, and sugar together, then let sit 5 minutes until foamy (about 110°F starter temperature).
- Add the large egg, melted butter, salt, and all-purpose flour, then mix until a shaggy dough forms.
- Knead the dough 6-8 minutes until smooth and elastic, using firm hand pressure to develop gluten.
- Cover the dough and let it rise 1 hour until doubled, keeping it in a warm, draft-free spot.
- Divide the dough into 12 balls and place them in a greased 9x13-inch pan.
- Cover and let rise 30 minutes until puffy, with noticeably increased volume in the pan.
- Preheat the oven to 375°F, then bake the rolls 18-20 minutes until golden brown.
- Stir melted butter with minced garlic and chopped parsley, then brush generously over the hot rolls while they’re still warm.
- Sprinkle flaky sea salt over the top and serve warm.