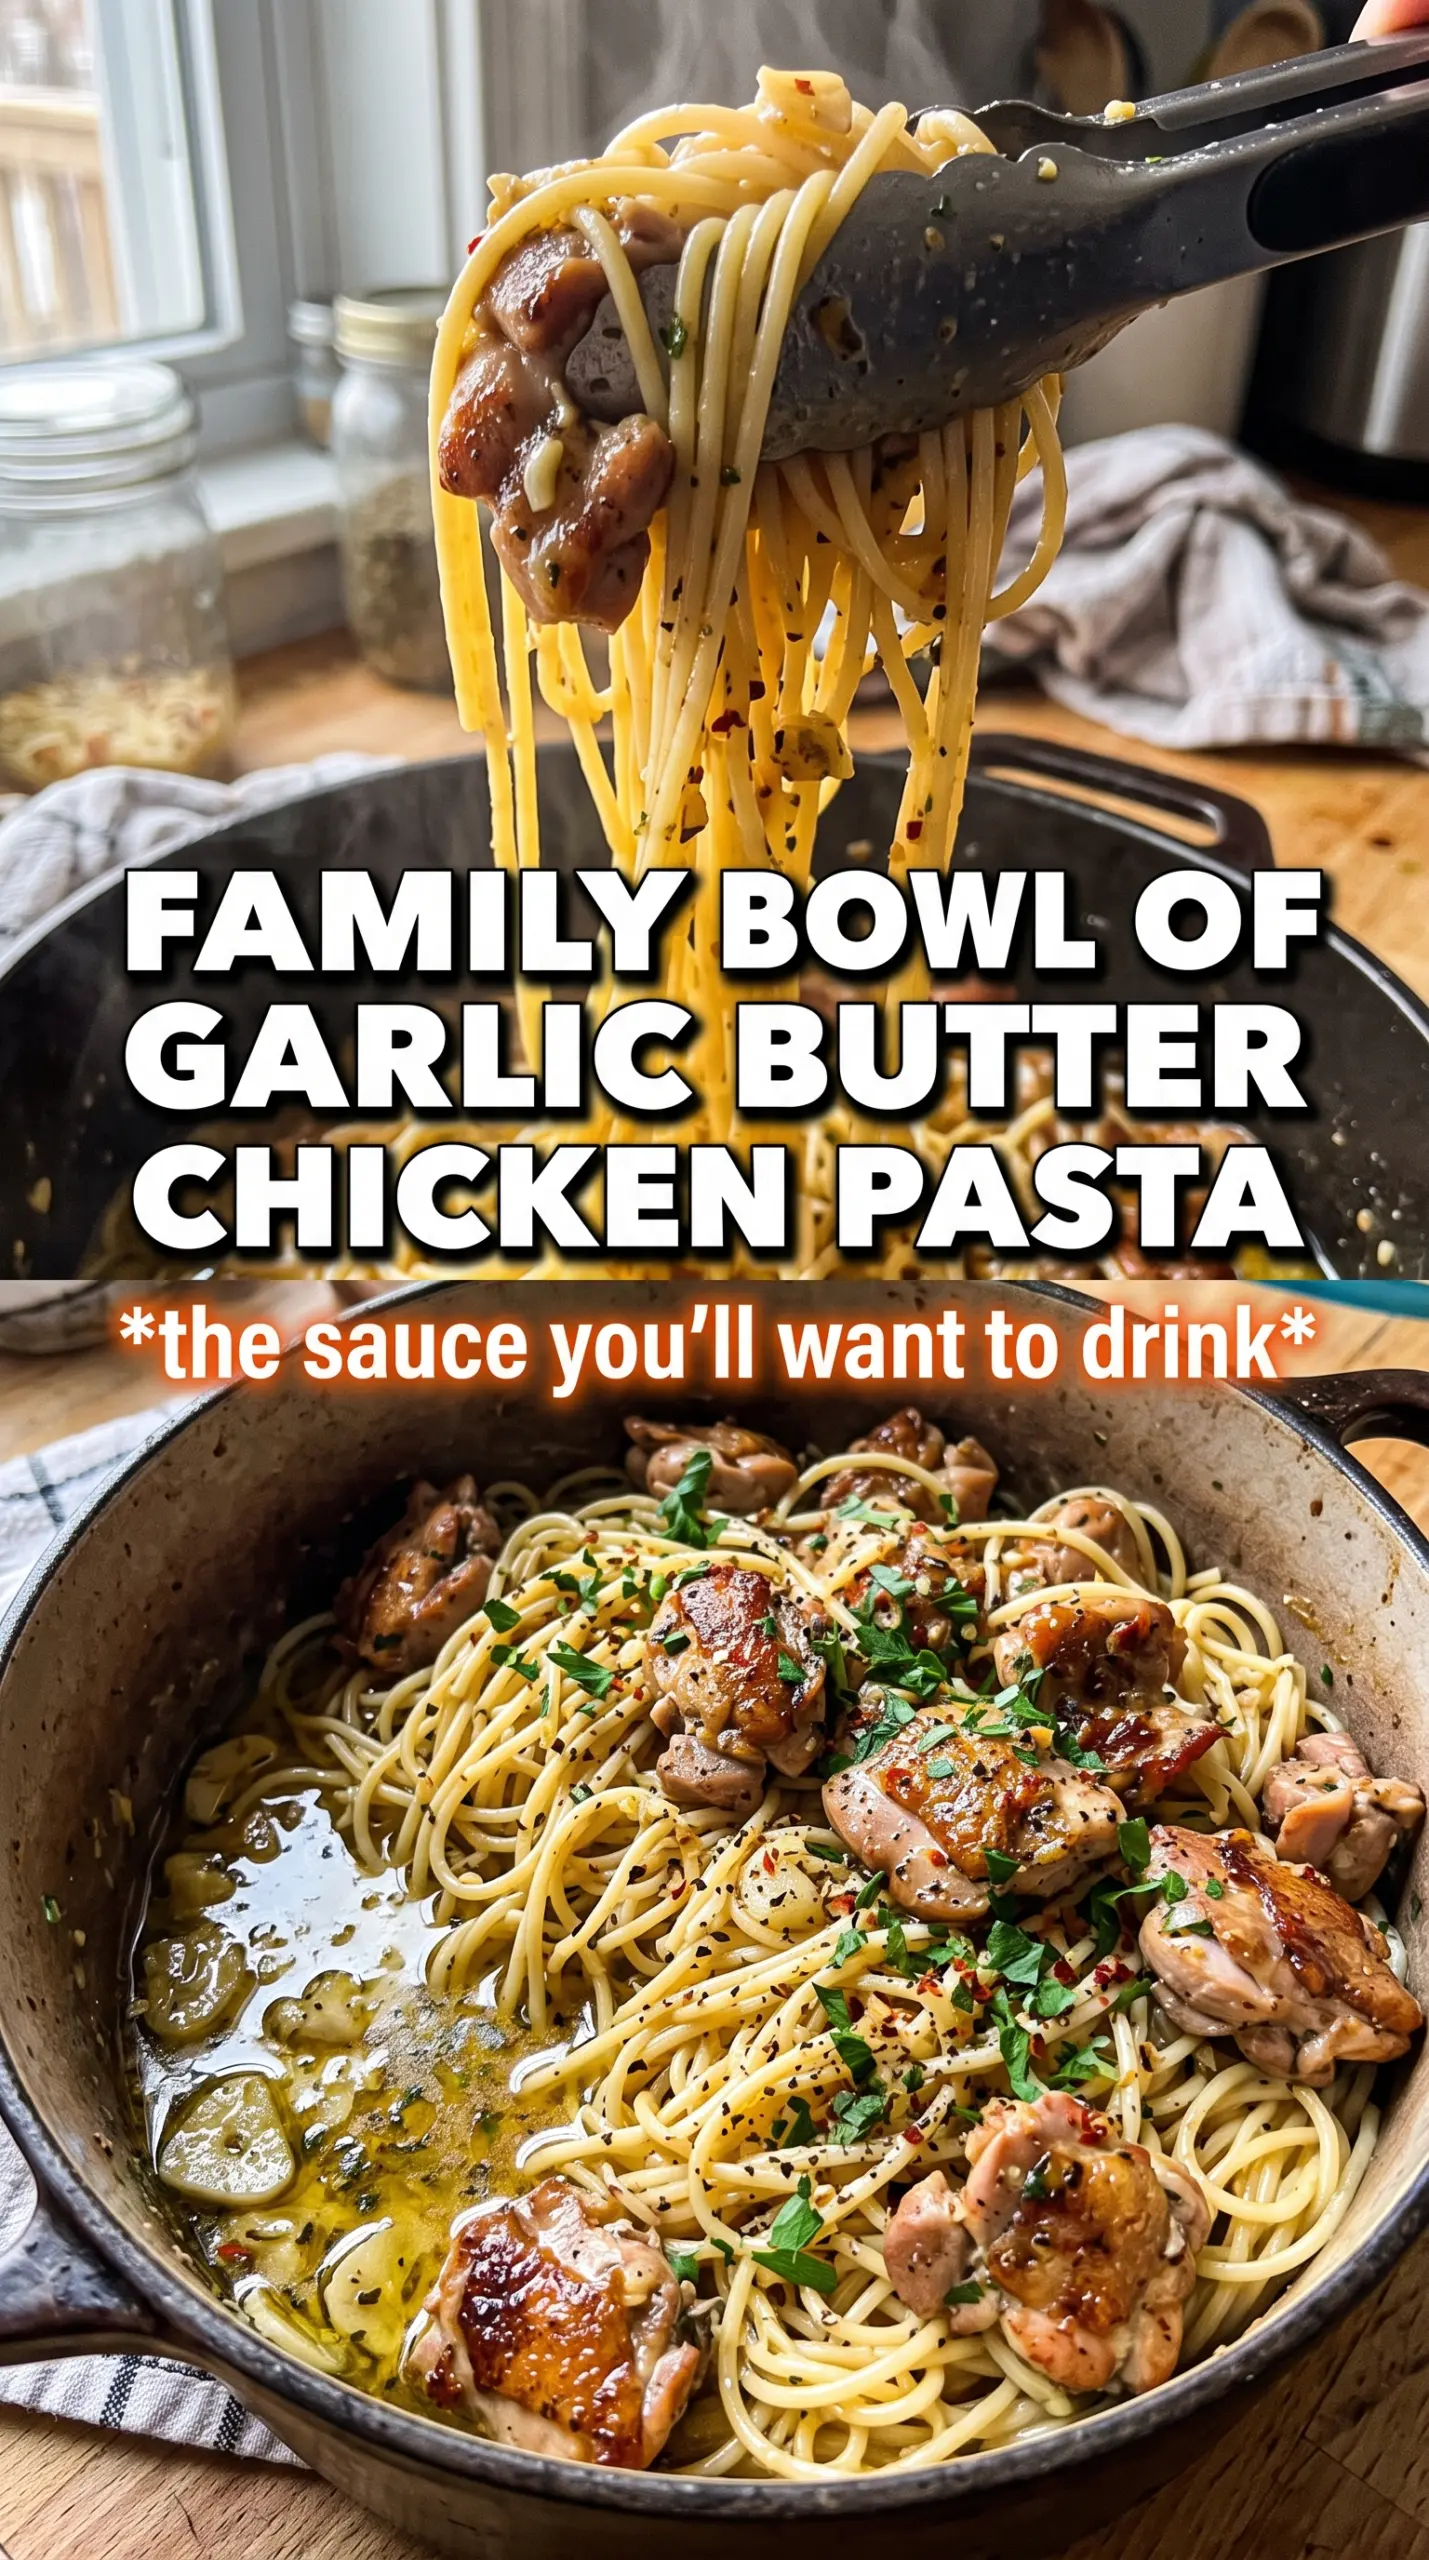
Garlic butter chicken pasta lands right in that sweet spot between comfort food and a smart weeknight dinner. The spaghetti gets coated in a glossy garlic butter sauce, the chicken stays golden and juicy, and the Parmesan melts just enough to cling to every strand without turning the whole pan heavy. It tastes rich, but it still feels balanced and fresh.
The trick is building the sauce in the same skillet you used for the chicken. Those browned bits left behind are where the depth comes from, and the pasta water helps turn butter and garlic into something that coats instead of pooling. Lemon juice keeps the sauce from tasting flat, and adding the Parmesan off the heat keeps it smooth instead of gritty.
Below, I’ll walk you through the small details that matter most: how to keep the garlic from burning, how much pasta water to add, and the easiest way to adapt this dish if you need a gluten-free version.
The chicken stayed juicy and the sauce clung to the spaghetti instead of sliding off. I added a little more pasta water at the end and it turned silky fast.
Save this garlic butter chicken pasta for the nights when you want spaghetti, seared chicken, and a glossy Parmesan sauce in one pan.
The Part That Keeps the Sauce Silky, Not Greasy
This dish lives or dies on heat control. Butter, garlic, lemon juice, and Parmesan sound simple, but if the skillet is too hot when the cheese goes in, the sauce can turn grainy or slick instead of coating the pasta. The fix is straightforward: cook the garlic until it smells sweet and looks just barely golden at the edges, then pull the pan back a bit before tossing in the spaghetti and finishing with the cheese.
Using the reserved pasta water is not optional here. The starch in that water helps the butter emulsify, which is what gives the sauce that clingy, glossy finish. Add it gradually. If the noodles look dry, another splash of pasta water is better than adding more butter, which only makes the sauce heavier.
- Chicken breasts — Slice them into even strips so they cook quickly and stay tender. Thin, uneven pieces dry out before the outside gets good color.
- Fresh garlic — This is where the sauce gets its backbone. Jarred garlic can work in a pinch, but it cooks faster and tastes flatter, so watch it closely if you use it.
- Parmesan — Freshly grated cheese melts cleaner than the shelf-stable kind. Pre-shredded Parmesan often contains anti-caking agents that make the sauce feel sandy.
- Lemon juice — A small amount cuts through the butter and wakes everything up. Bottled lemon juice works, but fresh juice tastes brighter and keeps the sauce from feeling one-note.
What Each Ingredient Is Actually Doing in This Recipe
- Primary ingredient (the star) — Quality matters most. Choose the best you can find.
- Cooking medium (oil, butter, or broth) — This carries flavors and prevents dryness.
- Seasonings (salt, pepper, spices, herbs) — Layer flavors so nothing overpowers. Build depth gradually.
- Aromatics (garlic, onion, herbs) — Cook with fat to bloom flavors. Become the foundation.
- Supporting ingredients — Complement the main ingredient without overpowering it.
- Sauce or liquid (if applicable) — Brings flavors together. Balance richness with acid.
- Acid (lemon, vinegar, wine, or other) — Brightens and prevents flat-tasting results.
- Final finish (garnish, glaze, or sauce) — Prevents one-dimensional taste and adds visual appeal.
How to Build the Pan Sauce Without Losing the Garlic
Searing the Chicken
Season the chicken well before it hits the pan, then let it sit in the oil long enough to pick up real color. You want a deep golden crust, not pale steamed chicken, so don’t crowd the skillet. If the strips release too much liquid, the pan is too full or the heat is too low, and you’ll miss the browned bits that later flavor the sauce.
Coaxing Flavor from the Garlic Butter
Once the chicken comes out, the skillet should still hold a thin film of browned fond. Add the butter and garlic to that same pan and stir constantly as the garlic turns fragrant and just starts to color at the edges. If it goes from golden to brown too fast, the heat is too high, and burnt garlic will dominate the whole dish. The red pepper flakes bloom in the fat, so even a small amount gives the sauce warmth instead of raw heat.
Tossing the Pasta to the Right Finish
Add the cooked spaghetti and lemon juice, then start tossing with a splash of pasta water. At first, the sauce may look loose and glossy; after a minute of tossing, it should tighten and coat the noodles in a thin sheen. If it looks broken or oily, it needs more pasta water and a little more tossing, not more heat. Turn off the burner before the Parmesan goes in so the cheese melts into the sauce instead of clumping.
Bringing It Together at the End
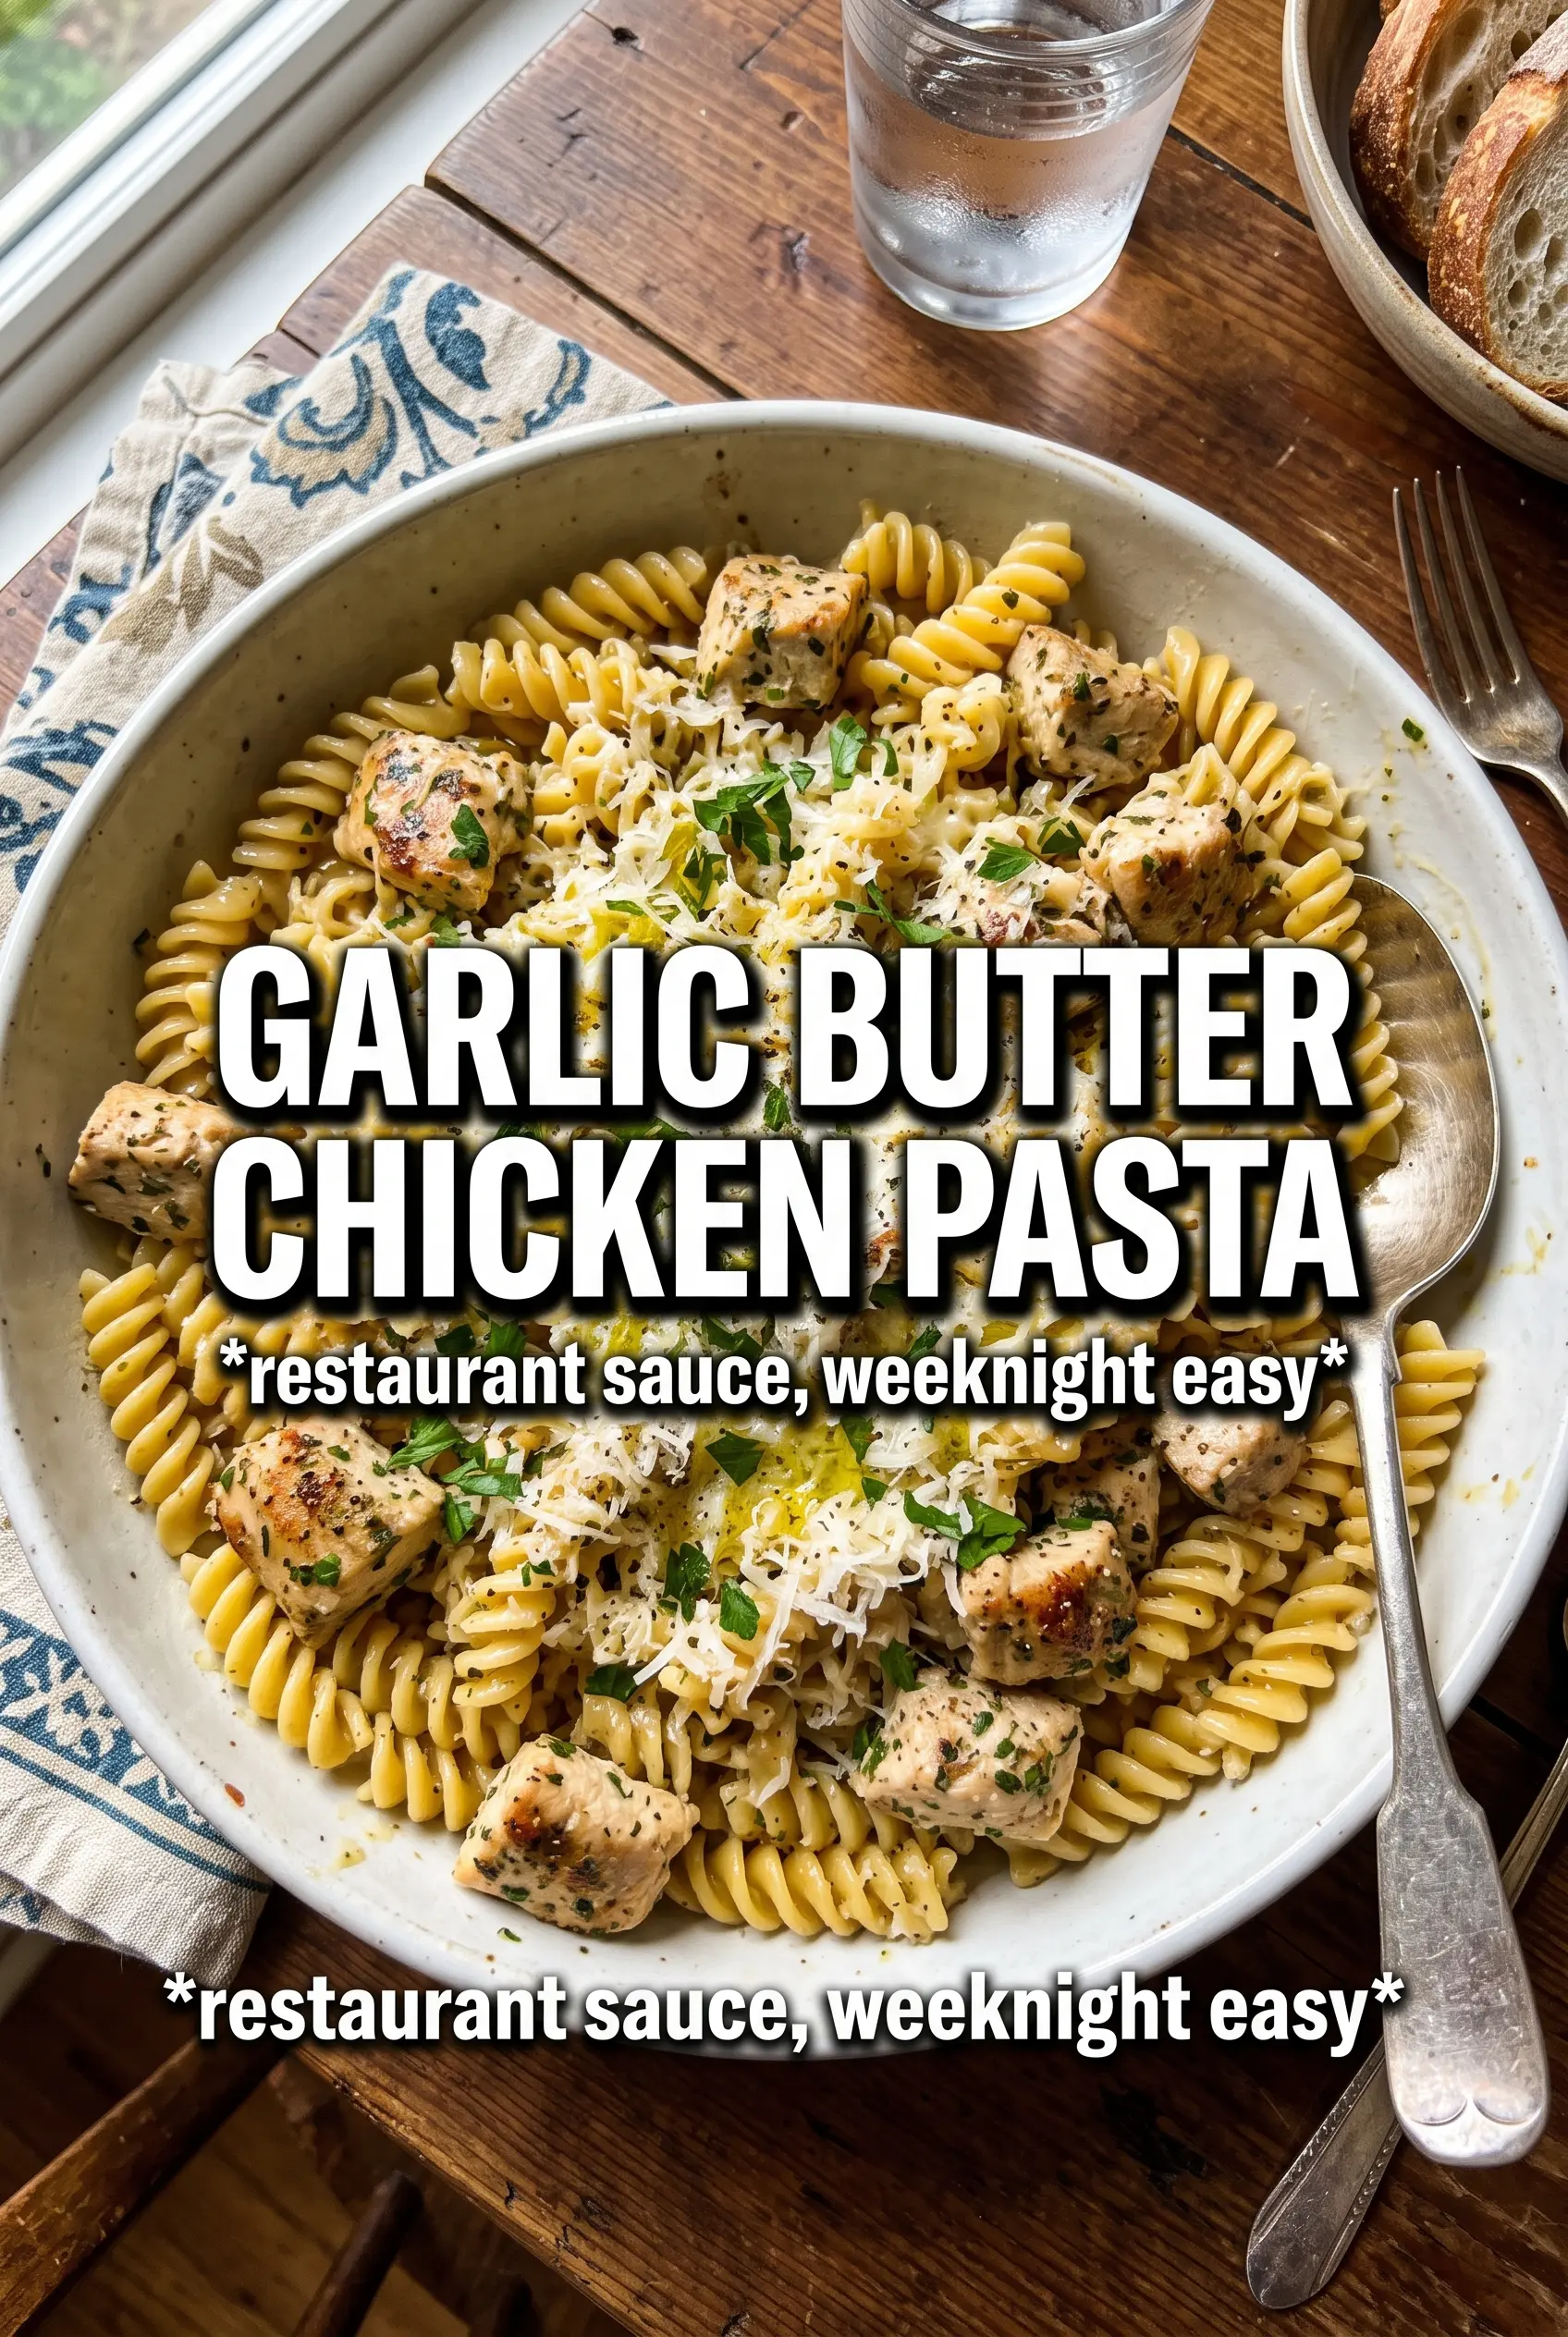
Return the chicken to the pan or pile it on top, then finish with Parmesan and parsley while everything is still hot. That last shower of cheese should soften slightly on contact, and the herbs should stay bright rather than wilted. Serve it right away, because this pasta is at its best when the sauce is still silky and the chicken still has its seared edges.
How to Adapt It When You Need a Different Pantry or a Bigger Dinner
Gluten-Free Pasta Swap
Use a sturdy gluten-free spaghetti that holds its shape after boiling. Cook it just to tender, then move it straight into the sauce because gluten-free pasta can get soft fast if it sits in the pot. The sauce still works well, but you may need a little extra pasta water since some gluten-free noodles absorb more liquid.
Dairy-Free Version
Swap the butter for a good plant-based butter and skip the Parmesan, or use a dairy-free hard cheese if you have one that melts well. The sauce will taste a little less rich and salty, so lean on the garlic, lemon, and parsley for balance. You’ll still get that glossy pasta texture if you use the pasta water the same way.
Make It With Chicken Thighs
Boneless skinless thighs give you a little more forgiveness and a juicier bite. They take a minute or two longer than breast strips, and they won’t dry out as fast if you get distracted. The flavor gets a touch richer, which works nicely with the garlic butter.
Storage and Reheating
- Refrigerator: Store leftovers in an airtight container for up to 3 days. The pasta will absorb some sauce as it sits.
- Freezer: It freezes, but the texture softens after thawing, especially the pasta. If you plan to freeze it, undercook the spaghetti slightly and freeze in single portions.
- Reheating: Warm gently in a skillet with a splash of water or broth over low heat. The biggest mistake is blasting it in the microwave until the butter separates and the chicken dries out.
Questions I Get Asked About This Recipe
Garlic Butter Chicken Pasta
Ingredients
Equipment
Method
- Season the chicken strips with salt, pepper, garlic powder, and Italian seasoning. Heat olive oil in a large skillet over medium-high heat and cook until golden and cooked through, about 4-5 minutes per side.
- Remove the seared chicken to a plate and set aside. Keep the skillet over medium-high while you prepare the garlic butter.
- Melt the butter in the same skillet over medium heat, then add the minced garlic and red pepper flakes. Cook for 1-2 minutes until fragrant and golden at the edges.
- Add the fresh lemon juice and immediately toss the cooked spaghetti into the garlic butter sauce. Loosen the sauce with reserved pasta water, adding a splash at a time until every strand looks glossy and coated.
- Add the seared chicken strips on top of the tossed pasta. Let the chicken warm for a moment in the sauce for best flavor.
- Sprinkle Parmesan and fresh parsley generously over the top. Serve immediately while the butter glistens on the spaghetti.