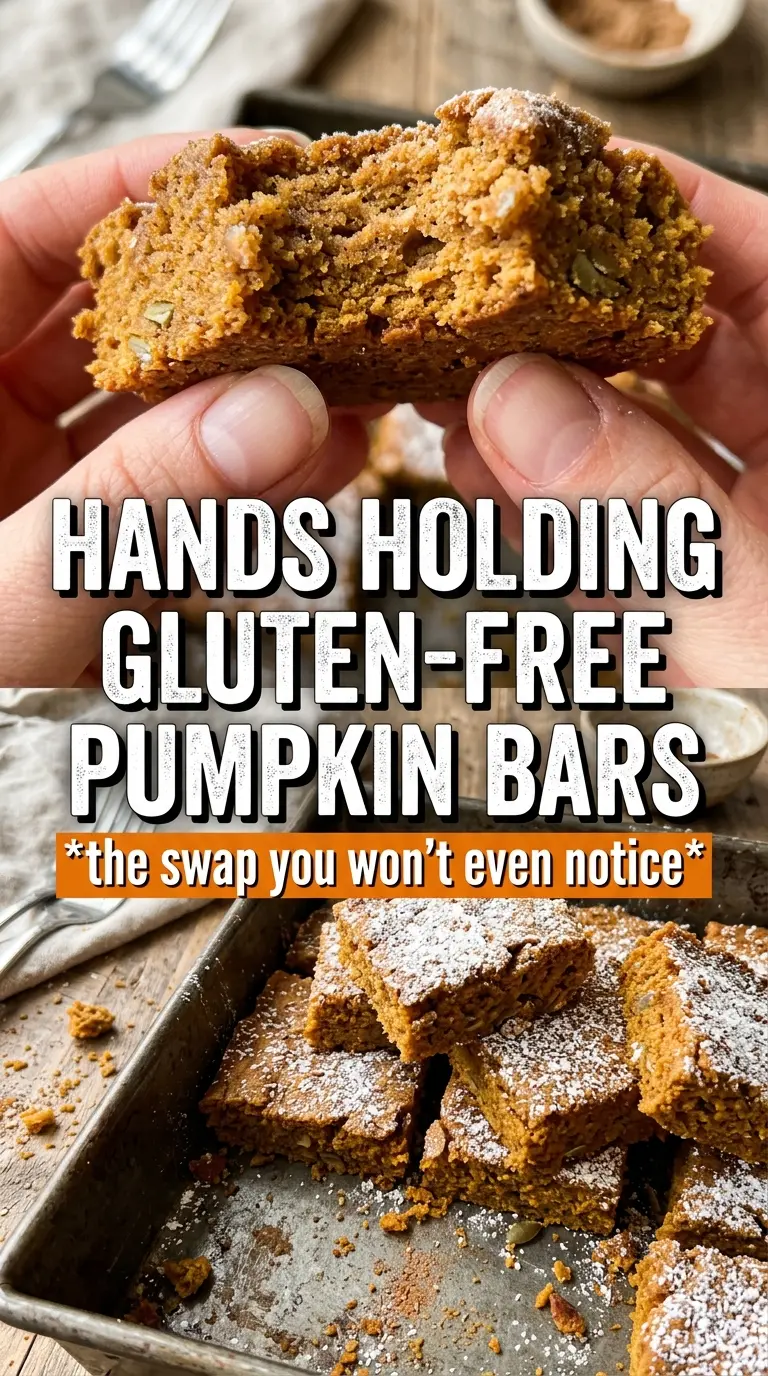
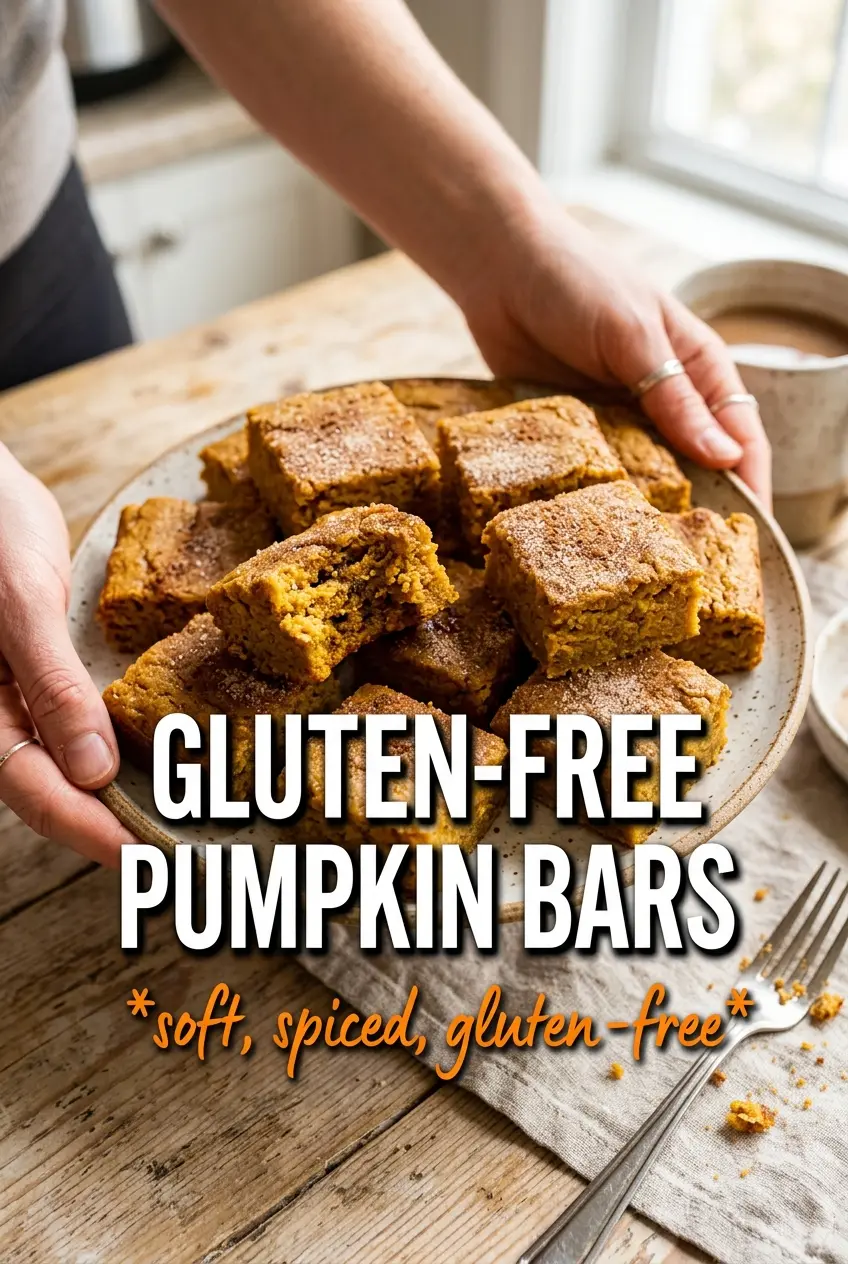
Gluten-free pumpkin bars can still be soft, moist, and sturdy enough to slice cleanly without falling apart. The crumb stays tender, the pumpkin comes through clearly, and the cream cheese frosting settles into a thick, tangy layer that tastes like the classic version people remember. These bars earned a permanent place in my dessert rotation because they don’t have that dry, gritty texture that gives a lot of gluten-free bakes away.
The key is using a gluten-free all-purpose flour blend that already includes xanthan gum, which helps hold the bars together so they don’t crumble when you cut them. The batter comes together fast, and once the flour goes in, it only needs a brief mix. Overworking it can make the bars dense instead of soft. The other thing that matters here is cooling completely before frosting. Warm bars melt the frosting, and then you lose that neat bakery-style finish.
Below, I’ve included the detail that makes the texture work, the ingredient choices that matter most, and the one step that keeps the frosting from sliding right off the top.
The bars baked up soft and cakey, and the frosting stayed thick after chilling. I used the pan size exactly as written and they sliced into perfect squares without crumbling.
Save these gluten-free pumpkin bars for the kind of dessert that slices cleanly, frosts beautifully, and tastes every bit as soft as the traditional version.
The Step That Keeps Gluten-Free Pumpkin Bars From Falling Apart
The mistake most people make with gluten-free bars is treating the batter like a quick dump-and-stir situation. The flour blend needs just enough mixing to disappear, then it needs to stop. If you keep beating after the flour goes in, the bars can turn tight and gummy instead of soft and cakey.
The other piece that matters is the pan. A 15×10 rimmed baking sheet gives you a thinner bar with a better crumb and cleaner slices. Use a smaller pan and the center takes longer to set; use a larger one and the bars dry out before the middle is baked through. You’re looking for the top to spring back lightly and a toothpick to come out clean or with a few moist crumbs, not wet batter.
- Gluten-free all-purpose flour blend with xanthan gum — This is the backbone of the recipe. The xanthan gum helps replace some of the structure gluten normally provides, so the bars hold together when cut. If your blend doesn’t include it, the bars are more likely to crumble.
- Pumpkin puree — Use pure pumpkin, not pumpkin pie filling. Puree gives you the moisture and pumpkin flavor without extra sugar and spices that throw off the balance.
- Oil — Vegetable oil keeps the crumb soft for days. Butter would add flavor, but it also sets firmer once cooled, which makes these bars less tender.
- Cream cheese frosting — Full-fat cream cheese gives the frosting the structure it needs to spread and chill cleanly. Lower-fat versions can turn loose and softer than you want on a bar dessert.
What Each Ingredient Is Actually Doing in This Recipe
- Primary ingredient (the star) — Quality matters most. Choose the best you can find.
- Cooking medium (oil, butter, or broth) — This carries flavors and prevents dryness.
- Seasonings (salt, pepper, spices, herbs) — Layer flavors so nothing overpowers. Build depth gradually.
- Aromatics (garlic, onion, herbs) — Cook with fat to bloom flavors. Become the foundation.
- Supporting ingredients — Complement the main ingredient without overpowering it.
- Sauce or liquid (if applicable) — Brings flavors together. Balance richness with acid.
- Acid (lemon, vinegar, wine, or other) — Brightens and prevents flat-tasting results.
- Final finish (garnish, glaze, or sauce) — Prevents one-dimensional taste and adds visual appeal.
Building the Batter and Frosting the Right Way
Whisking the Dry Ingredients First
Whisk the gluten-free flour, baking powder, baking soda, spices, cinnamon, and salt until the color looks even all the way through. That keeps the leaveners from clumping in one spot, which would leave you with uneven lift or bitter little pockets of spice. If the flour blend looks lumpy, break it up before moving on.
Mixing the Wet Base Until Smooth
Beat the eggs, sugar, oil, pumpkin puree, and vanilla until the mixture looks glossy and uniform. The sugar should start dissolving into the liquid, and the batter will turn a deep orange with no streaks of egg. If you stop too soon, you can end up with pockets of oil that make the baked bars greasy at the edges.
Bringing the Batter Together Without Overmixing
Fold in the dry ingredients just until no dry flour remains. The batter will be thick but spreadable, and that’s exactly what you want. Scrape it into the prepared pan and smooth it into the corners so the bars bake evenly. This is where overmixing hurts most: too much stirring tightens the crumb and makes the bars less tender.
Baking, Cooling, and Finishing Cleanly
Bake until the center is set and a toothpick comes out clean, then cool the bars completely before frosting. If you frost even a little too early, the cream cheese layer softens and slides, and the top never gets that neat, sliceable finish. Beat the frosting until fluffy, spread it in an even layer, then chill the bars for about 30 minutes before cutting so the squares hold their shape.
How to Adapt These Pumpkin Bars Without Losing the Texture
Dairy-Free Version
Swap the cream cheese and butter for dairy-free cream cheese and a plant-based butter stick with a firm texture. The frosting won’t taste exactly like classic cream cheese frosting, but it will still be smooth, tangy, and spreadable. Chill it a bit longer if it seems soft before frosting the bars.
A Gluten-Free Flour Blend Without Xanthan Gum
If your blend doesn’t include xanthan gum, add 1/2 teaspoon to the dry ingredients. That extra binder helps the bars slice cleanly instead of crumbling at the edges. Without it, the texture usually gets sandy and fragile once the bars cool.
Cupcake-Style Pumpkin Bars
Bake the batter in lined muffin tins for about 18 to 22 minutes if you want individual portions. The texture comes out a little more domed and sturdy, and the frosting can be piped instead of spread. They won’t have the same thin-bar feel, but they travel well.
Storage and Reheating
- Refrigerator: Store covered for up to 5 days. The frosting firms up and the bars stay moist, though the spice flavor gets a little deeper by day two.
- Freezer: These freeze well. Cut into bars, freeze in a single layer until solid, then wrap tightly and store for up to 2 months. Thaw in the refrigerator so the frosting doesn’t turn sticky.
- Reheating: These are best served chilled or at cool room temperature, not reheated. If you warm them, the frosting softens and the bars can get too delicate to slice neatly.
Questions I Get Asked About This Recipe
Gluten-Free Pumpkin Bars
Ingredients
Equipment
Method
- Preheat oven to 350F and grease a 15x10 rimmed baking sheet.
- Whisk gluten-free all-purpose flour blend (with xanthan gum), baking powder, baking soda, pumpkin pie spice, cinnamon, and salt in a bowl until evenly combined.
- Beat eggs, granulated sugar, vegetable oil, pumpkin puree, and vanilla until smooth.
- Fold the flour mixture into the egg mixture until just combined, then pour batter into the greased pan.
- Bake at 350F for 25-28 minutes until a toothpick comes out clean.
- Cool the bars completely before frosting.
- Beat cream cheese, butter, powdered sugar, vanilla, and cinnamon until fluffy.
- Spread the frosting over the cooled bars.
- Chill for 30 minutes before cutting, until set for clean slices.