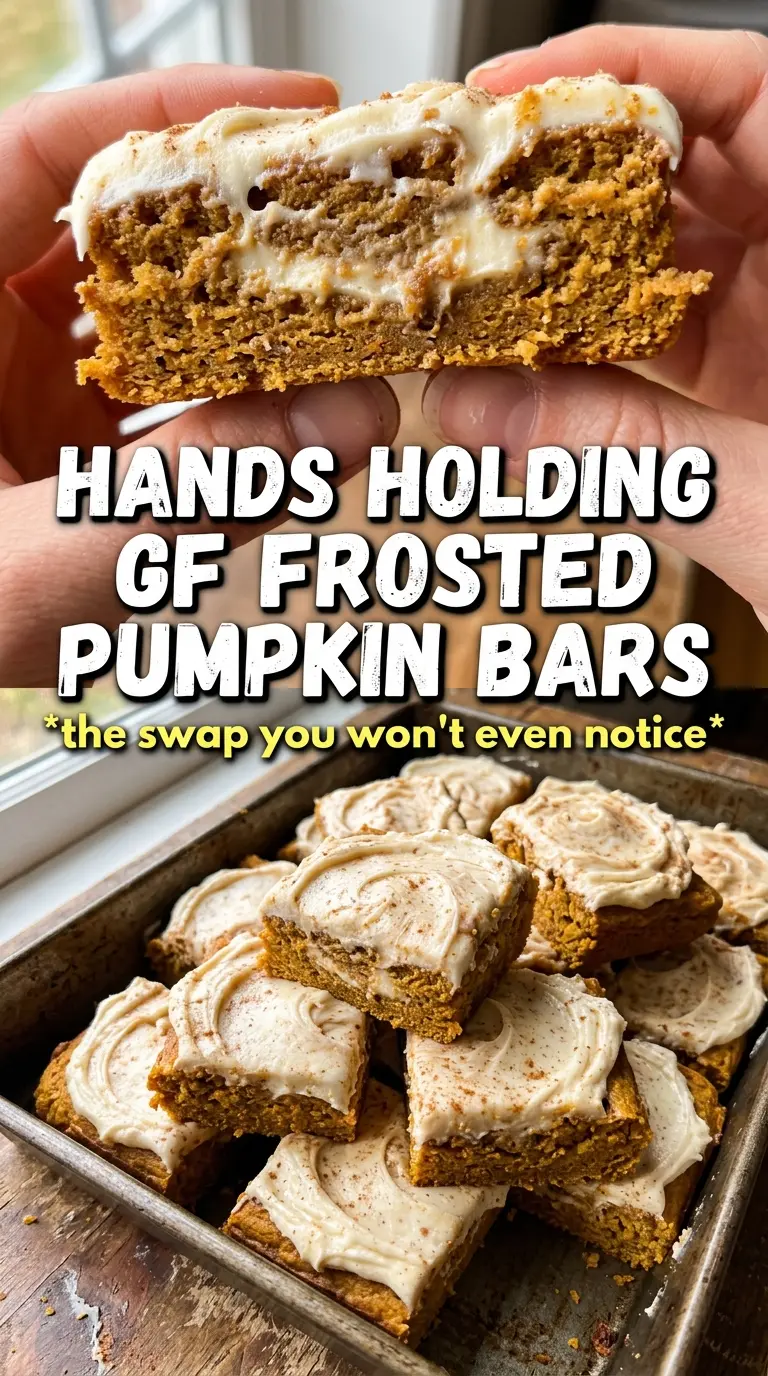
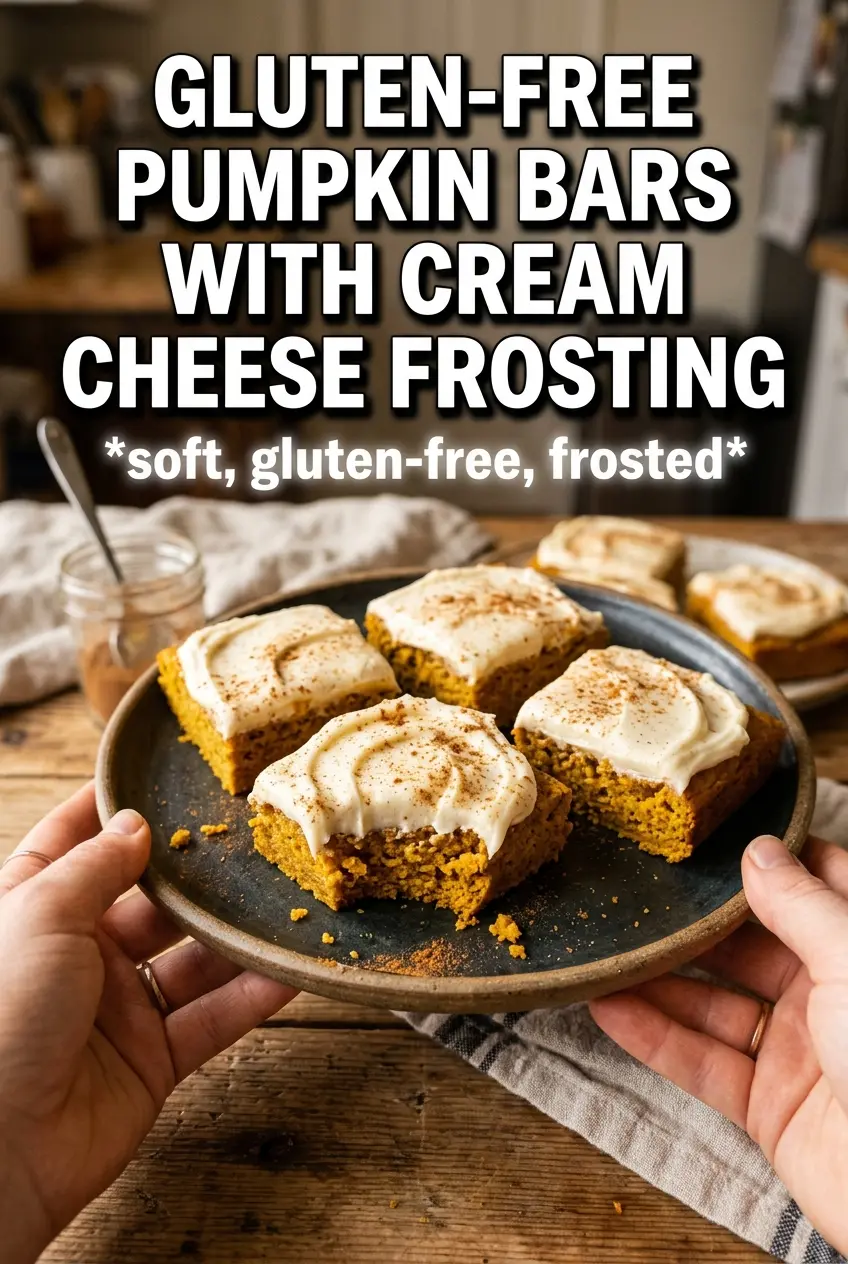
These gluten-free pumpkin bars bake up tender and plush, with that old-fashioned pumpkin cake texture that slices cleanly and holds a thick layer of cream cheese frosting without turning soggy. The crumb stays moist for days, but the edges still pick up just enough structure in the oven to keep every square neat and sturdy. When the bars cool, the frosting settles into the top instead of sliding off, which is exactly what you want from a pan dessert meant to feed a crowd.
What makes this version work is the balance: enough flour blend to give the bars body, enough oil to keep them soft, and enough pumpkin puree to bring the flavor without making the batter heavy. I’ve also found that the spice mix matters more than people think here. Pumpkin pie spice gives the base warmth, while the extra cinnamon in both the bars and frosting makes the whole pan taste fuller and more bakery-style. If you’ve ever had gluten-free pumpkin cake turn gummy or collapse in the middle, this method avoids both problems.
Below, I’m walking through the small details that matter most, including how to keep the bars from overbaking and how to get the frosting smooth and spreadable instead of loose.
The frosting set up beautifully after chilling, and the bars held together like a regular pumpkin cake slice. Nobody guessed they were gluten-free until I told them.
Save these gluten-free pumpkin bars for the first dessert you want when you need a clean slice, thick frosting, and no one guessing it’s gluten-free.
The Trick to Keeping Gluten-Free Pumpkin Bars Tender, Not Gummy
Gluten-free bars often go wrong for one of two reasons: the batter gets overmixed, or the pan stays in the oven too long. With this recipe, the flour blend needs just enough stirring to disappear into the batter. Once that happens, stop. The eggs, oil, and pumpkin already give the bars plenty of structure and moisture, and extra mixing only makes the crumb tighter.
The other important piece is doneness. You want a toothpick to come out clean, but the top should also spring back lightly when touched in the center. If the bars look dry around the edges before the middle is set, the oven is running hot. Pull them as soon as the center loses its wet sheen; carryover heat finishes the job while they cool in the pan.
- Gluten-free all-purpose flour blend with xanthan gum — This gives the bars the structure they need to slice cleanly. A blend without xanthan gum can work in a pinch, but the bars will be more fragile and a little more crumbly.
- Pumpkin puree — Use plain pumpkin puree, not pumpkin pie filling. Pie filling brings extra sugar and spice that throws off both the texture and the balance of the batter.
- Oil — Vegetable oil keeps the bars soft even after chilling. Butter tastes great, but it sets firmer and can make gluten-free bars feel drier the next day.
- Cooling time — Don’t frost warm bars. The cream cheese topping will melt, slide, and soak in instead of sitting in a thick layer on top.
What Each Ingredient Is Actually Doing in This Recipe
- Primary ingredient (the star) — Quality matters most. Choose the best you can find.
- Cooking medium (oil, butter, or broth) — This carries flavors and prevents dryness.
- Seasonings (salt, pepper, spices, herbs) — Layer flavors so nothing overpowers. Build depth gradually.
- Aromatics (garlic, onion, herbs) — Cook with fat to bloom flavors. Become the foundation.
- Supporting ingredients — Complement the main ingredient without overpowering it.
- Sauce or liquid (if applicable) — Brings flavors together. Balance richness with acid.
- Acid (lemon, vinegar, wine, or other) — Brightens and prevents flat-tasting results.
- Final finish (garnish, glaze, or sauce) — Prevents one-dimensional taste and adds visual appeal.
What the Cream Cheese Frosting Is Doing Beyond Just Being Sweet
The frosting on these bars isn’t just decoration. It cools the warm spice in the pumpkin base, adds tang, and gives each bite that soft, bakery-style finish people expect from pumpkin bars. Full-fat cream cheese matters here because low-fat versions tend to loosen once the powdered sugar goes in, and that makes the frosting less stable when you spread it.
The cinnamon and nutmeg in the frosting echo the spices in the bars without making everything taste repetitive. That little bit of spice in the topping keeps the whole dessert from tasting flat. If you want a thicker frosting, add the milk gradually and stop as soon as it becomes spreadable. Too much milk turns it slack, and slack frosting is what slides off the bars after chilling.
- Cream cheese — Use block-style cream cheese, softened but not warm. Tub cream cheese holds more water and can make the frosting loose.
- Butter — Butter softens the tang of the cream cheese and helps the frosting whip up lighter. It also gives the frosting better spreadability straight from the bowl.
- Powdered sugar — This thickens the frosting and gives it body. If you cut it back too far, the frosting turns soft and won’t hold a clean edge.
- Milk — Add only enough to loosen the frosting into a smooth, fluffy consistency. The goal is spreadable, not pourable.
Building the Pan, the Batter, and the Frosting in the Right Order
Getting the Pan Ready
Grease a 15×10 rimmed baking sheet well so the bars release cleanly after chilling. A shallow pan is important here because it bakes the batter into a bar texture instead of a thick cake. If you use a deeper pan, the center can stay soft while the edges overbake. The batter should spread into an even layer with a spatula and reach the corners without being forced.
Mixing the Batter Without Toughening It
Whisk the dry ingredients first so the baking powder, baking soda, and spice distribute evenly. Then beat the eggs, sugar, oil, pumpkin, and vanilla until smooth before folding in the flour blend. The batter will look thick and glossy, not airy. Stop mixing as soon as the flour disappears; overworking gluten-free batter can still make the finished bars dense and pasty.
Baking Until the Center Sets
Bake at 350°F until the top looks set and a toothpick inserted in the center comes out clean or with just a few moist crumbs. If the toothpick is coated with wet batter, the middle needs more time. If the top is browning fast before the center is done, your oven may run hot, and a loose sheet of foil on top can help. Let the bars cool completely before frosting, or the topping will melt into the surface.
Whipping the Frosting and Finishing the Bars
Beat the cream cheese and butter until completely smooth before adding the sugar. If you start with lumpy dairy, the lumps stay in the finished frosting. Add the powdered sugar, spices, vanilla, and milk, then beat until fluffy and thick enough to hold swirls. Spread it all the way to the edges, dust with cinnamon, and chill the pan for 30 minutes before cutting so the slices come out neat.
Dairy-Free Version
Swap the cream cheese and butter for dairy-free versions that are meant for baking, not whipped dessert tubs. The frosting will be a little softer and less tangy, but the bars themselves stay unchanged. Chill the finished pan a bit longer so the topping firms before slicing.
Make Them More Spiced
Add another 1/2 teaspoon cinnamon or a pinch of cloves to the batter if you want a bolder spice note. This deepens the pumpkin flavor without changing the structure. I wouldn’t increase the pumpkin pie spice by a full extra tablespoon, or the bars start tasting crowded instead of balanced.
Lower-Sugar Option
You can reduce the sugar in the bars slightly, but don’t cut it by more than 1/4 cup or the texture gets less tender. The frosting needs the powdered sugar for stability, so a full low-sugar swap changes the way it spreads and sets. For a lighter finish, use a thinner layer of frosting instead of making the frosting itself lean.
Storage and Reheating
- Refrigerator: Store covered for up to 5 days. The bars stay moist, and the frosting firms up nicely, which makes them easier to cut.
- Freezer: These freeze well. Chill until firm, cut into bars, and wrap individually before freezing for up to 2 months.
- Reheating: Serve chilled or let the bars sit at room temperature for 15 to 20 minutes. Don’t microwave frosted bars; it melts the cream cheese topping and makes the texture greasy.
Questions I Get Asked About This Recipe
Gluten-Free Pumpkin Bars With Cream Cheese Frosting
Ingredients
Equipment
Method
- Preheat oven to 350F and grease a 15x10 rimmed baking sheet so the bars release cleanly.
- Whisk gluten-free all-purpose flour blend (with xanthan gum), baking powder, baking soda, pumpkin pie spice, cinnamon, and salt until evenly combined with no visible streaks.
- Beat eggs, granulated sugar, vegetable oil, pumpkin puree, and vanilla until smooth and glossy.
- Fold the flour mixture into the pumpkin mixture until just combined, leaving no dry pockets.
- Spread the batter in the pan into an even layer, smoothing the top for consistent baking.
- Bake at 350F for 25-28 minutes until a toothpick inserted in the center comes out clean.
- Cool completely on the pan so the frosting won’t melt or slide.
- Beat cream cheese, softened and unsalted butter, softened until smooth and free of lumps.
- Add powdered sugar, vanilla, cinnamon, nutmeg, and milk, then beat until thick and smooth.
- Beat for a bit longer until the frosting looks very fluffy with a lighter texture.
- Spread the frosting over the cooled bars and swirl across the top for a thick, even finish.
- Dust with cinnamon so the frosting has a spiced top layer.
- Refrigerate for 30 minutes before cutting so the bars slice cleanly.