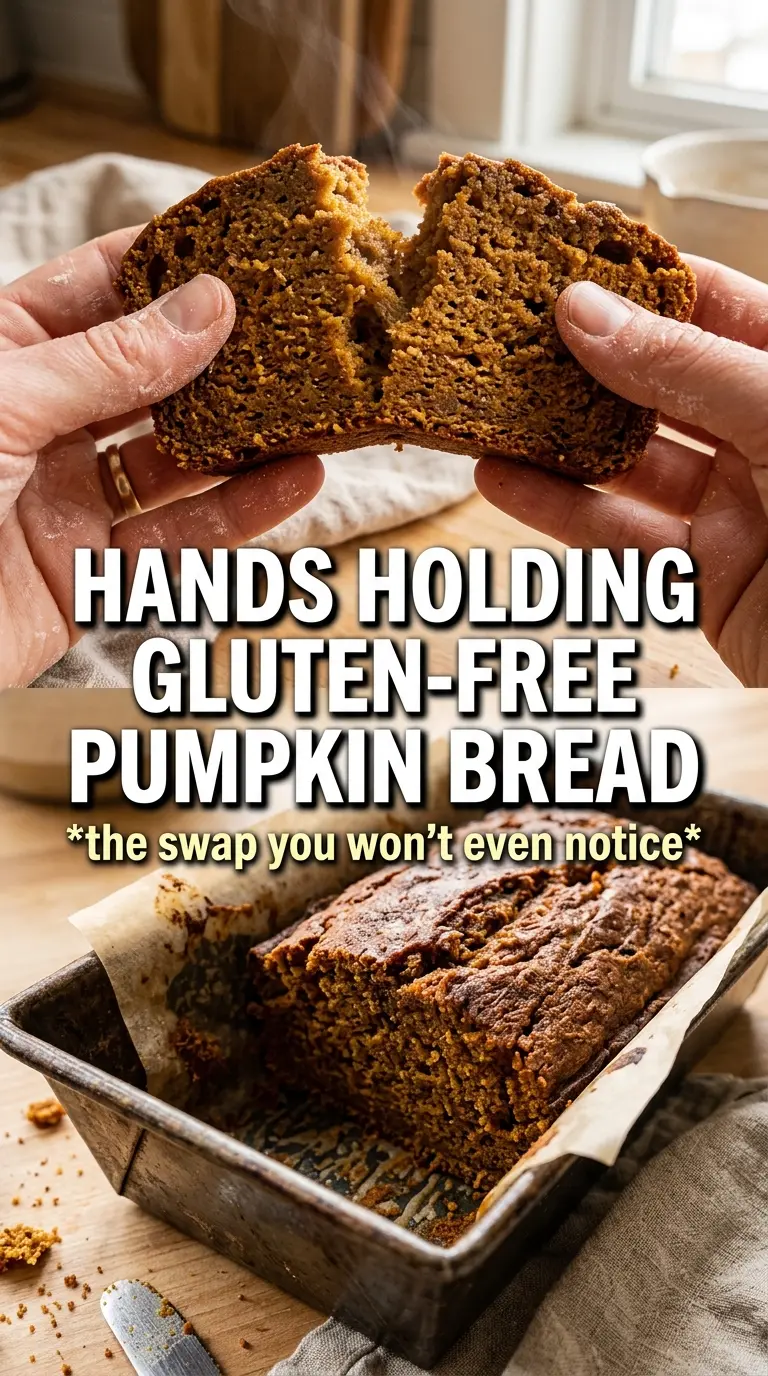
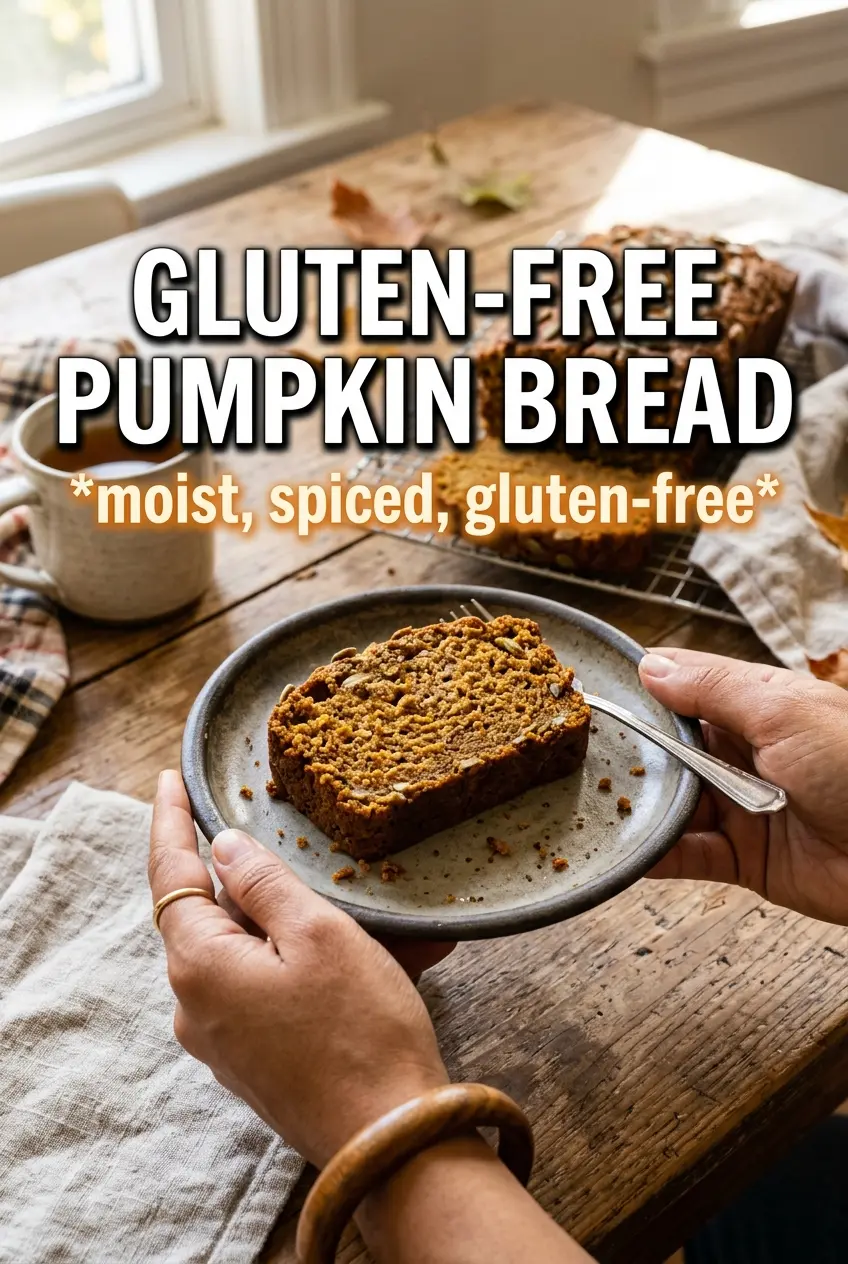
Gluten-free pumpkin bread earns its place by staying moist, tender, and sliceable instead of turning gritty or crumbly the way so many gluten-free loaves do. The crumb should look soft and even, with that deep pumpkin color running all the way through and a cinnamon sugar top that bakes into a thin, crackly shell. When it’s done right, you don’t miss the wheat at all.
The trick here is balance. Pumpkin puree brings moisture, but it also weighs batter down, so this loaf leans on a full complement of eggs plus a gluten-free flour blend that already includes xanthan gum. That combination gives the bread enough structure to rise, hold together, and cut cleanly after cooling. A little sour cream or yogurt keeps the texture rich without making the loaf heavy.
Below you’ll find the one step that matters most for neat slices, plus the swaps I’d actually use if I needed dairy-free or a different flour blend.
The loaf stayed incredibly moist and sliced cleanly once it cooled. The cinnamon sugar top added just enough crunch, and nobody guessed it was gluten-free.
Love that cinnamon sugar crust and moist gluten-free crumb? Save this pumpkin bread for the mornings when you want a loaf that slices cleanly and tastes bakery-worthy.
The Batter Needs Structure Before It Needs Pumpkin
Gluten-free quick breads fail when the batter is too loose to support itself. Pumpkin puree adds a lot of moisture, and because there’s no wheat gluten to help hold the loaf together, the batter needs enough eggs and a properly formulated flour blend to build that structure from the start. If your loaf ever sank in the middle or came out gummy, it was usually because the batter was underbuilt, not because the oven was too hot.
The flour blend matters here because not every gluten-free flour behaves the same. A blend with xanthan gum already mixed in gives you the binding help this bread needs without extra guesswork. The eggs are doing more than just adding richness; that extra egg is part of what keeps the crumb from collapsing once the loaf cools. And the cinnamon sugar topping does more than look nice — it helps the top set into a delicate crust instead of staying soft and pale.
What Each Ingredient Is Actually Doing In This Loaf
- Gluten-free all-purpose flour blend with xanthan gum — This is the backbone of the loaf. A one-to-one blend with xanthan gum gives the bread enough elasticity and sliceability, while a blend without it usually needs extra binder and more careful handling.
- Pumpkin puree — Use plain pumpkin puree, not pumpkin pie filling. The puree brings moisture, color, and flavor, but it also makes the batter dense, so the other ingredients have to compensate.
- Eggs — Three eggs is not an accident here. The extra egg helps replace some of the structure that wheat flour would normally provide, which is why this bread holds together after cooling instead of crumbling apart.
- Sour cream or plain Greek yogurt — Either one adds tang and tenderness. Greek yogurt works well if that’s what you have, but sour cream gives the softest, richest crumb.
- Vegetable oil — Oil keeps the loaf moist for days in a way butter doesn’t quite manage in gluten-free quick bread. Melted butter can be used, but the bread will set up a little firmer and dry faster.
- Cinnamon sugar topping — This is what gives the loaf that bakery-style finish. It also signals doneness visually; when the top is deeply golden and lightly crusted, the loaf is usually close.
The 65 Minutes That Make or Break the Crumb
Mix the dry ingredients first
Whisk the flour, baking soda, baking powder, spices, and salt until the mixture looks even all the way through. That keeps the leaveners from clumping in pockets, which is how you end up with a loaf that rises unevenly or tastes oddly salty in one bite. In gluten-free baking, even mixing matters more because the batter won’t correct itself the way a wheat batter sometimes does.
Build a smooth pumpkin base
Whisk the pumpkin, sugars, oil, eggs, vanilla, and sour cream until the mixture looks glossy and fully combined. You’re aiming for a thick, smooth batter with no streaks of egg or yogurt visible. If the wet ingredients look broken or curdled, keep whisking; once the flour goes in, you don’t want to be chasing streaks.
Fold, don’t overwork
Add the dry ingredients to the wet and fold just until the batter is completely mixed. There’s no gluten to develop here, but overmixing can still make the loaf tough and can knock out the air you need for a lighter crumb. The finished batter should be thick, smooth, and spoonable, not pour-thin.
Watch for the center, not the clock
Bake until a toothpick comes out clean or with a few dry crumbs and the top springs back lightly when touched. Gluten-free loaf cakes often need a few extra minutes, and the center may lag behind the edges. If the top is getting dark before the middle is done, tent it loosely with foil and keep baking until the crumb is set.
Let it cool all the way down
This is the part most people rush, and it’s the biggest reason gluten-free quick breads seem gummy. The loaf needs to cool completely in the pan before slicing so the crumb can firm up and finish setting. If you cut too early, the center can seem underbaked even when it’s not.
How to Adapt This for Dairy-Free or Different Flour Blends
Dairy-Free Version
Use an unsweetened dairy-free yogurt in place of the sour cream or Greek yogurt. A thicker yogurt-style product works best because it keeps the batter from loosening too much. The loaf stays moist, though the crumb will be slightly less rich than the sour cream version.
If Your Flour Blend Does Not Include Xanthan Gum
Add xanthan gum according to your blend’s package guidance, or use a blend that already includes it. Without it, the loaf is more likely to break apart when sliced. This is one of those recipes where the binder is doing real work, not just acting as insurance.
Turning It Into Muffins
Divide the batter into lined muffin cups and bake until the centers spring back and a tester comes out clean. The bake time will be much shorter, and the cinnamon sugar top gets even crispier. Muffins are the best move when you want faster cooling and cleaner portioning.
Storage and Reheating
- Refrigerator: Store tightly wrapped for up to 5 days. The crumb stays moist, though the cinnamon sugar top softens after the first day.
- Freezer: This loaf freezes well. Wrap slices individually, then place them in a freezer bag so you can thaw only what you need.
- Reheating: Warm slices at room temperature or give them a brief toast. If you microwave them too long, the texture turns rubbery and the top loses its gentle crunch.
Questions I Get Asked About This Recipe
Gluten-Free Pumpkin Bread
Ingredients
Equipment
Method
- Preheat the oven to 350F and grease a 9x5 loaf pan very well so the loaf releases cleanly after baking.
- Whisk the gluten-free flour blend, baking soda, baking powder, pumpkin pie spice, cinnamon, and salt until evenly combined with no visible dry pockets.
- Whisk the pumpkin puree, granulated sugar, brown sugar, vegetable oil, eggs, vanilla extract, and sour cream (or Greek yogurt) until smooth and glossy.
- Fold the dry ingredients into the wet ingredients until completely combined, keeping the gluten-free batter smooth and thick with no streaks.
- Pour the batter into the prepared loaf pan, then sprinkle the cinnamon sugar topping over the surface in an even layer.
- Bake at 350F for 65-70 minutes until a toothpick comes out clean, noting gluten-free bread may take slightly longer.
- Cool completely in the pan before slicing, since gluten-free bread slices best when fully cool.