These gluten-free pumpkin spice snickerdoodle cookies bake up with the same crackly tops, soft centers, and cinnamon-sugar shell you expect from a classic snickerdoodle, only with a warm pumpkin note running through the middle. The pumpkin is subtle, not heavy, which keeps the cookies tasting like cookies first and pumpkin second. That balance is what makes them disappear fast.
The part that matters most is the pumpkin puree. It has to be blotted until it feels almost pasty, because extra moisture is the quickest way to end up with cookies that spread too much or bake up cakey. The other key piece is the flour blend: use one that already includes xanthan gum so the dough holds together and the centers stay tender instead of crumbly.
Below you’ll find the exact texture cues I look for, plus a few swaps that keep the cookies working when you need a dairy-free version or want to make the spice a little louder.
The tops crinkled just like regular snickerdoodles and the pumpkin stayed in the background, which is exactly what I wanted. I also loved that the dough wasn’t sticky once the pumpkin was blotted dry.
Save these gluten-free pumpkin spice snickerdoodle cookies for the days when you want crackly tops, soft centers, and a cinnamon-sugar finish that tastes bakery-worthy.
Why the Pumpkin Has to Be Nearly Dry
Gluten-free cookie dough gets punished fast by extra moisture. In a wheat-based dough, the flour network can absorb a little more liquid and still hold shape. In this one, the pumpkin has to be blotted down until it loses its glossy, wet look, or the cookies spread unevenly and bake up soft in the wrong way.
The other thing working here is the cream of tartar and baking soda combination. That’s what gives snickerdoodles their tang and their signature crinkle. If you swap that for plain baking powder, the cookies will lose that familiar snap on the outside and taste more like a generic pumpkin cookie.
- Blotted pumpkin puree — This brings the pumpkin flavor without flooding the dough. Press it between layers of paper towel until it looks dry on the outside and no longer pools liquid.
- Gluten-free flour blend with xanthan gum — This gives the cookies structure and chew. If your blend doesn’t include xanthan gum, the dough can crumble after baking.
- Cream of tartar — This is the snickerdoodle ingredient that keeps the flavor recognizable. It gives the cookies that light tang that balances the sugar and spice.
- Butter — Softened butter traps air when beaten with sugar, which helps the cookies bake up with a tender middle. Cold butter won’t cream properly and leaves the dough dense.
What Each Ingredient Is Actually Doing in These Cookies
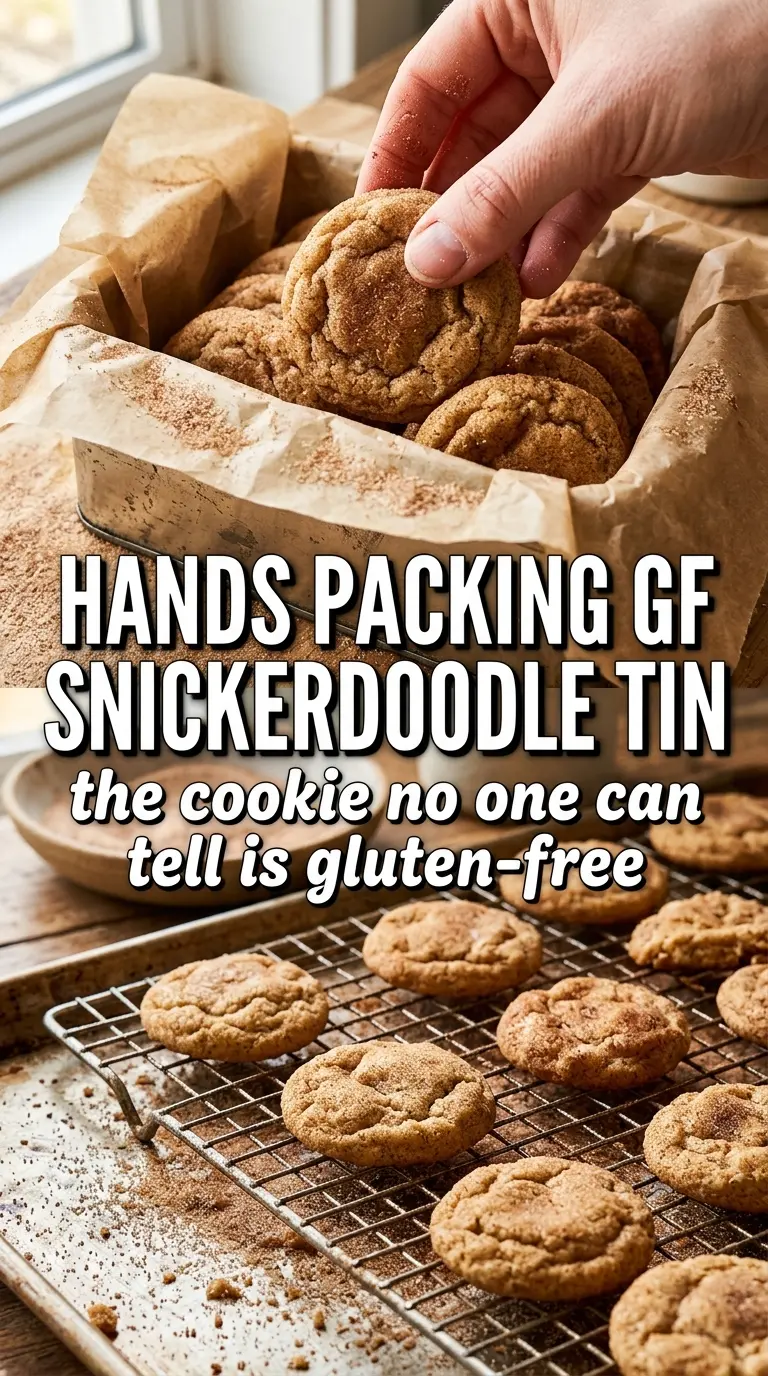
- Unsalted butter — Gives you control over the salt level and delivers the soft, rich crumb. If you only have salted butter, use it and reduce the added salt a little.
- Granulated sugar — This does double duty in the dough and the coating. In the dough, it helps the cookies spread correctly; outside, it creates that crisp, sparkly shell.
- Egg — Binds the dough and helps the cookies puff slightly before settling into the classic snickerdoodle crackle. Use a room-temperature egg if you can, since it blends into the butter mixture more smoothly.
- Pumpkin puree — Use plain pumpkin puree, not pumpkin pie filling. Pie filling is already sweetened and spiced, which throws off both texture and seasoning.
- Pumpkin pie spice, cinnamon, and nutmeg — Cinnamon carries the main flavor, pumpkin pie spice adds depth, and nutmeg keeps the pumpkin note from tasting flat. Fresh spice makes a difference here because the cookies are simple enough that dull spices show.
Getting the Crinkles Before the Centers Set
Beat the Butter and Sugar Until It Looks Light
Start with truly softened butter and beat it with the sugar until the mixture turns pale and fluffy, not just combined. That extra air gives the cookies lift before the gluten-free flour sets. If the butter is too warm, the dough turns greasy and the cookies spread before the centers have a chance to puff.
Mix the Dry Ingredients Straight Into the Dough
Add the flour, cream of tartar, baking soda, spices, and salt all at once and mix just until the last streaks disappear. Overmixing doesn’t help gluten-free dough; it just makes the texture tighter and the cookies less tender. Stop when the dough holds together and still looks a little rough.
Roll Generously in the Spice Sugar
Use a shallow bowl and coat each dough ball well. The outer layer is what gives you that classic crackly shell, and a heavy coating bakes into a better crust than a dusty one. If the dough feels sticky, chill it for 10 to 15 minutes before rolling instead of adding more flour.
Bake Only Until the Centers Look Set at the Edges
Pull the cookies when the edges are set and the tops are cracked, even if the centers still look soft. They finish on the hot pan, and that carryover heat is what keeps them from drying out. If you wait for them to look fully firm in the oven, they’ll turn dry once they cool.
How to Change the Spice, the Dairy, or the Batch Size
Dairy-Free Version
Use a plant-based butter that comes in sticks, not a soft tub spread. The dough needs enough structure to hold the crinkles, and stick-style alternatives behave much closer to real butter. The flavor stays close, though the cookies may spread a touch more, so chilling the dough helps.
More Pumpkin, Less Snickerdoodle
You can increase the pumpkin flavor slightly by adding a little extra pumpkin pie spice, not more puree. Extra puree adds water, and water is what makes gluten-free cookies bake up cakey instead of chewy. If you want a stronger pumpkin taste, lean on spice and let the puree stay restrained.
Gluten-Free Flour Swap
Use another cup-for-cup gluten-free blend only if it includes xanthan gum or a similar binder. Without that support, the cookies can crack apart after cooling. If your blend is very starchy, expect a slightly softer bite and chill the dough before baking.
Storage and Reheating
- Refrigerator: Store in an airtight container for up to 5 days. The spice coating stays good, but the centers soften a bit more after the first day.
- Freezer: These freeze well baked or as dough balls. Freeze the shaped dough on a tray, then move to a bag; bake from frozen and add 1 to 2 minutes.
- Reheating: Warm baked cookies at room temperature or for 5 to 8 seconds in the microwave. Longer heating dries out the edges and steals the soft center.
Questions I Get Asked About This Recipe
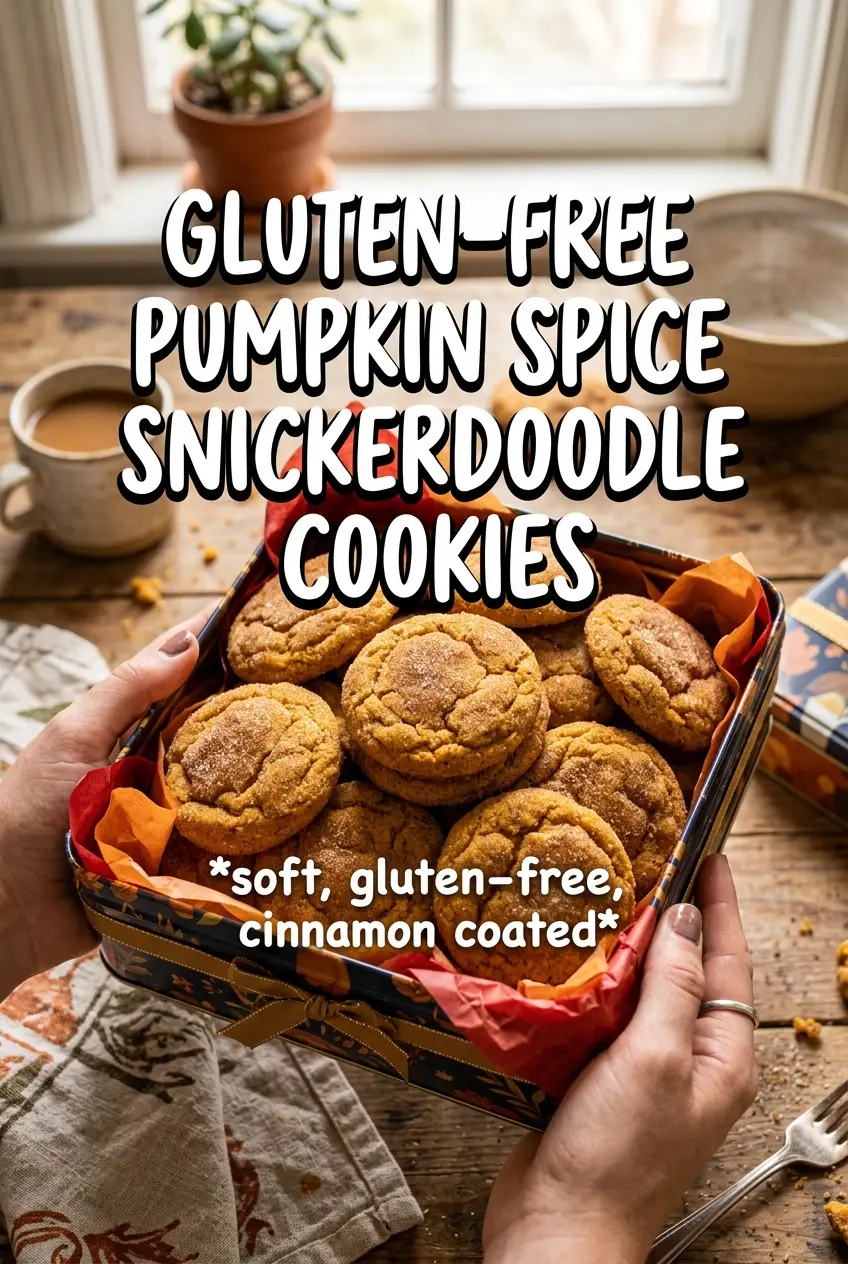
Gluten-Free Pumpkin Spice Snickerdoodle Cookies
Ingredients
Equipment
Method
- Preheat the oven to 375F and line baking sheets.
- Blot the pumpkin puree extremely dry—this step is especially important for gluten-free cookies to prevent spreading.
- Beat the softened butter and granulated sugar until very fluffy.
- Add the egg, blotted pumpkin puree, and vanilla, then beat until combined.
- Fold in the gluten-free flour blend, cream of tartar, baking soda, cinnamon, pumpkin pie spice, nutmeg, and salt until no dry flour remains.
- Mix the rolling spices in a shallow bowl.
- Scoop 1-1/2 tablespoon portions, roll generously in the cinnamon spice sugar, and place on the lined baking sheets.
- Bake for 10-12 minutes at 375F until the cookies are crinkled and set.