Gluten-free pumpkin waffles come out best when they’re crisp at the edges, tender in the middle, and sturdy enough to hold a heavy pour of maple syrup without collapsing. The pumpkin brings a warm color and a soft, custardy richness, but the real win here is the texture: these waffles cook up with a proper waffle-house crunch instead of the dense, gummy bite that so often happens with gluten-free batter.
The trick is in the details. Separating the eggs and folding in the whipped whites gives the batter lift, which matters even more when you’re working without wheat gluten. The pumpkin puree adds moisture, so the waffles need a hot iron, a well-greased surface, and enough time to fully crisp before you open the lid. Pull them too early and they’ll look set but finish soft and fragile.
Below, I’ve included the small choices that make the difference between okay and worth repeating: which milk gives the best texture, how to keep the batter light, and what to do if your first waffle clings to the iron.
The egg whites made these waffles puff up beautifully, and the centers stayed soft without turning heavy. I used oat milk and they still got crisp around the edges after about 6 minutes.
Love these gluten-free pumpkin waffles? Save them for a crisp, maple-soaked breakfast with real pumpkin spice flavor.
The Trick to Crisp Gluten-Free Waffles Is Letting the Iron Do More Work
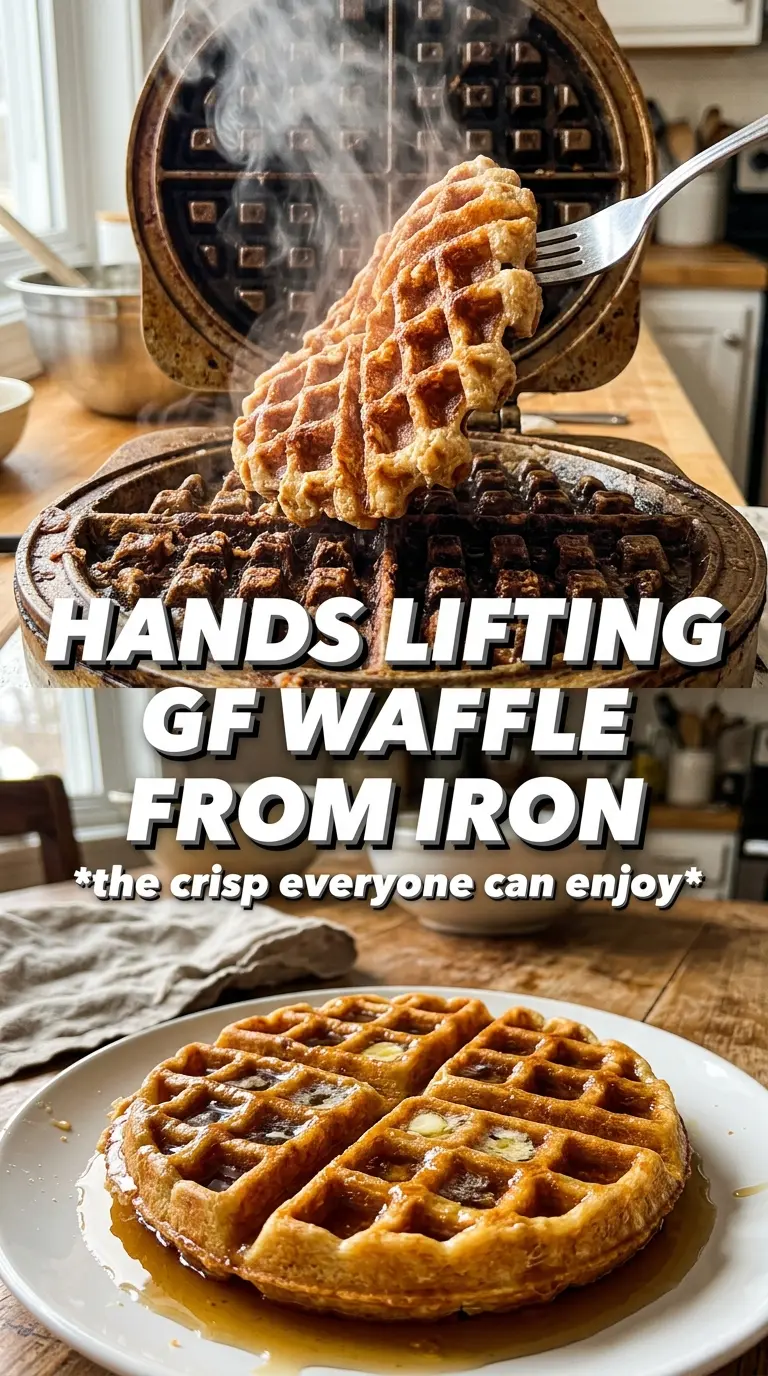
Gluten-free batter often goes wrong in the same way: it looks set on the outside before the center has had time to steam through, so you end up with a pale waffle that bends instead of cracks. Pumpkin puree makes that problem worse because it adds moisture, which is why these waffles need a hot iron and a full cook time. The goal is a deep golden crust that releases cleanly on its own. If you rush the first side, the waffle stays fragile and sticks when you open the lid.
Be generous with the grease on the waffle iron. Gluten-free batter is less forgiving than wheat batter, and pumpkin adds another layer of stickiness. If your iron runs cool, give it a few extra minutes to preheat before you start. That first blast of heat is what sets the outside fast enough to trap steam and create lift.
What Each Ingredient Is Actually Doing in These Waffles
- Gluten-free all-purpose flour blend — Use a blend that already includes xanthan gum. That binder gives the waffles enough structure to hold together and helps prevent the crumbly, sandy texture you can get from single-flour swaps. If your blend does not include xanthan gum, the waffles may fall apart when you lift them from the iron.
- Pumpkin puree — This is here for moisture, color, and that mellow pumpkin flavor. Use plain pumpkin puree, not pumpkin pie filling, which is already sweetened and spiced. Too much puree makes the batter heavy, so measure it carefully.
- Buttermilk or oat milk — Buttermilk gives a little tang and works with the baking soda for extra rise. Oat milk is the best dairy-free swap because it has enough body to keep the batter from tasting thin. Almond milk works in a pinch, but the waffles can bake up a little drier.
- Eggs, separated — The yolks add richness, while the whipped whites are what lift the whole batch. This step is worth the extra bowl. If you skip it and just whisk in whole eggs, the waffles will still work, but they won’t have the same airy middle.
- Coconut oil or butter — Both add tenderness and help the waffles brown. Coconut oil keeps the recipe dairy-free, but butter brings a deeper, richer finish. Melt it first, then let it cool slightly so it doesn’t scramble the egg yolks.
How to Build the Batter So It Stays Light and Crispy
Whisk the Dry Ingredients First
Start with the flour blend, sugar, baking powder, baking soda, spices, and salt in a large bowl. Whisking them together matters because gluten-free flour can clump more than wheat flour, and you want the leavening evenly distributed. If the spices aren’t fully mixed in now, you’ll get hot spots of cinnamon in one waffle and bland batter in the next. Break up any little lumps before you move on.
Beat the Egg Whites Until They Hold Shape
Separate the eggs before you do anything else, then beat the whites until they form stiff peaks. You want the foam to stand up when you lift the beaters, not slump over. This is the lift in the recipe, and it’s the step that keeps these waffles from baking up dense. If the bowl has even a trace of yolk or grease, the whites won’t whip properly, so use a clean bowl and clean beaters.
Fold Gently and Stop Early
Mix the wet ingredients into the dry, then fold in the whipped whites with a light hand. A few streaks are better than overmixing, because aggressive stirring knocks out the air you just built. The batter should look thick but spoonable, not runny. If it seems too stiff, let it sit for a minute before judging it; gluten-free flour often hydrates slowly.
Cook Until the Steam Slows Down
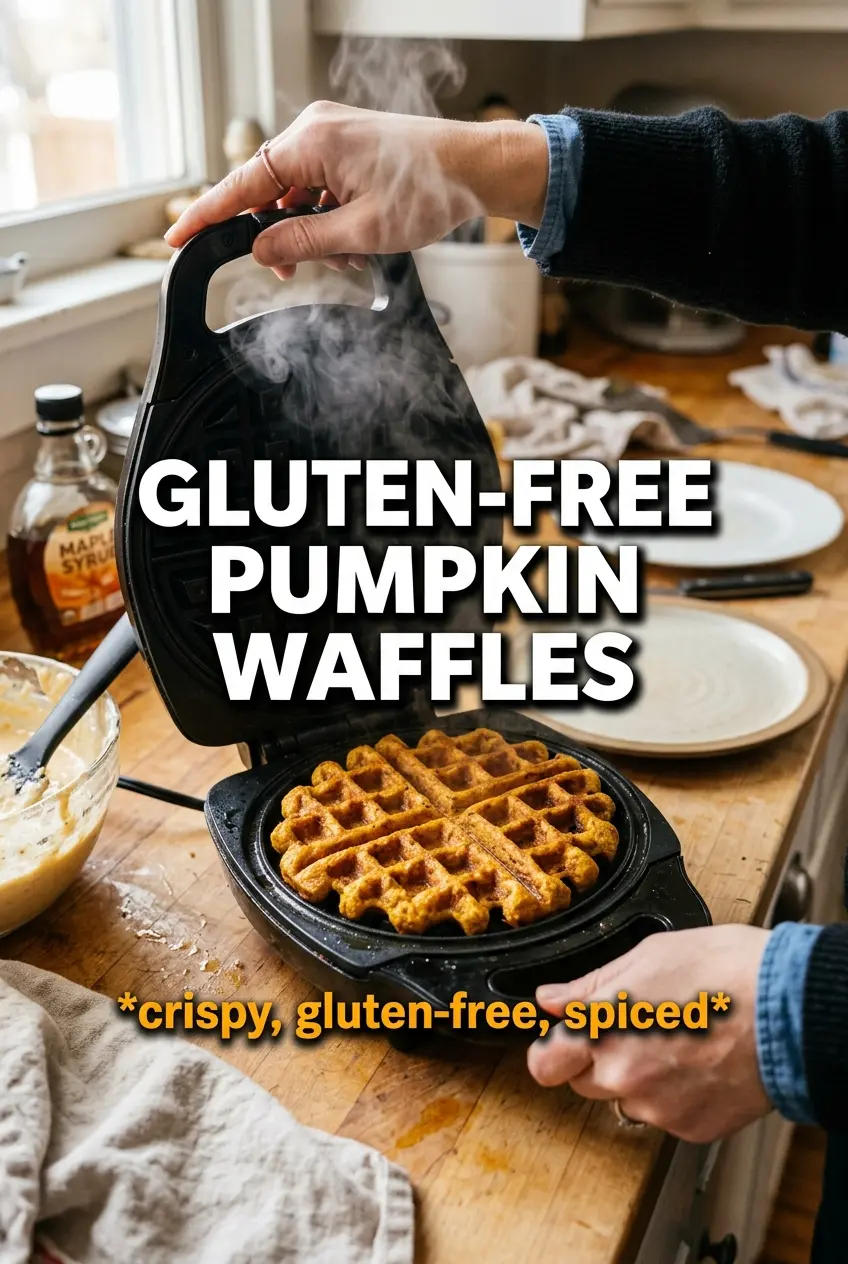
Spoon the batter into the preheated waffle iron and close the lid without pressing hard. The waffles need about 5 to 6 minutes, but the real cue is the steam: when it starts to taper off and the waffle smells deeply toasted, you’re close. Open the iron too early and the surface can tear. Let each waffle finish all the way through so the outside has time to crisp.
How to Adapt These Waffles Without Losing the Texture
Dairy-Free Pumpkin Waffles
Use oat milk and coconut oil, and you’ll still get a tender waffle with good browning. Oat milk has enough body to stand in for buttermilk better than thinner plant milks, and coconut oil keeps the batter rich without dairy. The waffles lose a little tang, but the pumpkin spice comes through more clearly.
Extra-Crisp Waffles
For a firmer finish, let the cooked waffles rest on a wire rack instead of stacking them on a plate. Stacking traps steam and softens the crust fast. If you want them even crisper, pop the finished waffles into a 250°F oven for a few minutes while you cook the rest.
Make It Sweeter or More Spiced
The base recipe lands in the balanced zone, but you can nudge it either way. Add another tablespoon of maple syrup for a sweeter breakfast waffle, or increase the cinnamon slightly if you want the spice to read more strongly against the pumpkin. Don’t add much more pumpkin puree, or the batter gets too heavy.
Storage and Reheating
- Refrigerator: Store cooled waffles in an airtight container for up to 3 days. They soften a little in the fridge, but they toast back up well.
- Freezer: These freeze well. Freeze in a single layer first, then stack with parchment between the waffles so they don’t stick together.
- Reheating: Reheat in a toaster or 350°F oven until hot and crisp. The common mistake is using the microwave, which warms them but leaves the edges soft and chewy.
Answers to the Questions Worth Asking
Gluten-Free Pumpkin Waffles
Ingredients
Equipment
Method
- Preheat the waffle iron and grease very well because gluten-free batter tends to stick.
- Separate the eggs and beat the whites to stiff peaks for extra lift.
- Whisk the gluten-free all-purpose flour blend, sugar, baking powder, baking soda, pumpkin pie spice, cinnamon, and salt until evenly combined.
- Whisk the pumpkin puree, buttermilk or oat milk, egg yolks, melted coconut oil, maple syrup, and vanilla until smooth.
- Fold the wet mixture into the dry mixture gently to keep the batter light.
- Fold in the stiff egg whites gently until just incorporated, keeping air for lift.
- Pour batter into the waffle iron and cook 5-6 minutes until golden and crispy, noting gluten-free waffles often need longer than standard batter.
- Serve the waffles immediately with maple syrup and pecans, adding whipped cream if desired.