Bacon-wrapped green bean bundles land on the table with that salty-sweet contrast that makes people reach for a second one before they’ve finished the first. The beans stay bright and snappy, the bacon turns crisp at the edges, and the brown sugar garlic glaze settles into the pan in sticky little pools that cling to every bite.
What makes this version work is the quick blanch before bundling. It softens the beans just enough so they cook through in the oven without turning dull or leathery, and the ice bath locks in that fresh green color. The glaze is built from butter, brown sugar, garlic, and soy sauce, which gives it enough depth to stand up to the bacon without tasting like pure sweetness.
Below, I’ve included the small details that matter most, from how many beans to tuck into each bundle to the point where the bacon is crisp without overcooking the vegetables. If you’ve ever had green bean bundles go soggy or split apart, those fixes are in here too.
The beans stayed bright and the bacon crisped up around the edges while the glaze turned sticky instead of burning. I served these with roast chicken and there wasn’t a single bundle left.
Like these bacon-wrapped green bean bundles? Save this recipe for the next time you need a crisp, glossy side dish that holds up beside a holiday roast or weeknight chicken.
The Reason These Bundles Stay Crisp Instead of Steaming
The biggest mistake with green bean bundles is skipping the blanch. Raw beans need too long in the oven, and by the time the bacon is crisp, the beans inside can turn wrinkled and tough. A three-minute blanch gives them a head start without cooking them all the way through, and the ice bath stops the cooking right away so they keep their color and bite.
Seam-side down matters too. Bacon shrinks as it cooks, and if the seam starts on top, the bundle loosens before it sets. Nestling the bundles closely in the baking dish helps them hold shape, and it also gives the glaze something to pool around so you can spoon it back over at the end.
What Each Ingredient Is Actually Doing in the Dish
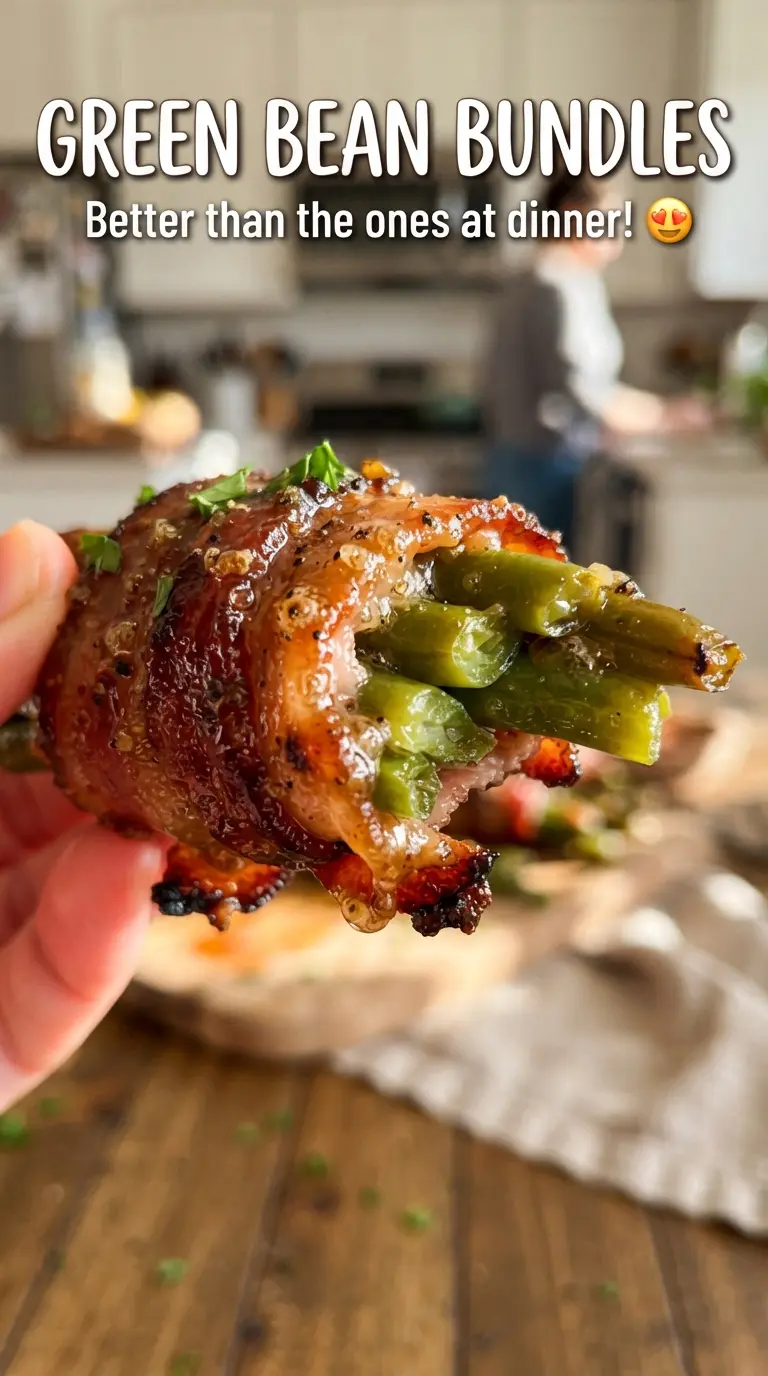
- Fresh green beans — Use beans that are firm and slender, not limp. Fresh beans hold their snap after blanching and bake up with a clean bite instead of going mushy.
- Bacon — Thin-cut bacon works best here because it crisps in the same window that the beans finish cooking. Thick-cut bacon often needs longer than the beans can handle, which leaves you with either undercooked bacon or overcooked vegetables.
- Brown sugar — This is what gives the glaze its sticky finish and gentle molasses note. Dark brown sugar will make the glaze deeper and a little richer; light brown sugar keeps it cleaner and brighter.
- Butter and soy sauce — Butter carries the glaze and helps it bubble; soy sauce keeps it from tasting flat. Don’t swap in plain salt unless that’s all you have, because you’d lose the rounded savoriness that makes the glaze work.
- Garlic — Fresh minced garlic is worth using here. It perfumes the glaze as it bakes, and if you use garlic powder instead, the flavor comes off flatter and less fragrant.
Building the Bundles So the Glaze Stays Where It Belongs
Blanching the Beans
Drop the trimmed beans into a large pot of boiling salted water and count out three minutes once the water returns to a simmer. They should turn bright green and still feel firm. Move them straight into ice water so they stop cooking; if you let them sit in the colander while you prep the bacon, they’ll keep softening and lose that fresh snap.
Wrapping Without Splitting the Bacon
Gather 8 to 10 beans per bundle, depending on how thick they are, and wrap each one with half a slice of bacon. Stretch the bacon just enough to cover the middle without tearing it. Place each bundle seam-side down in the baking dish so the bacon presses itself shut as it heats instead of curling off the beans.
Glazing and Baking to a Crisp Finish
Whisk the melted butter, brown sugar, garlic, soy sauce, and pepper until the sugar starts to dissolve, then pour it evenly over the bundles. Bake at 400°F for 25 to 30 minutes, until the bacon looks crisp around the edges and the glaze is bubbling and thickened in the pan. If the glaze starts to darken too quickly, the bacon is probably thin and the oven is running hot; tent loosely with foil for the last few minutes so the sugar doesn’t scorch before the bacon finishes.
Serving with the Pan Glaze
Spoon the glaze from the pan over the bundles right before serving. That last spoonful matters because it gives the beans shine and keeps the bacon from tasting dry on the plate. Serve them warm, while the glaze is still loose enough to cling.
Three Smart Ways to Work Around the Recipe Without Losing the Point
Dairy-Free Version
Swap the butter for a neutral dairy-free butter substitute or melted ghee if dairy isn’t the issue. You’ll still get a glossy glaze, though ghee will taste a little richer and a dairy-free spread may brown a touch faster in the oven.
Lower-Sugar Glaze
Cut the brown sugar to 1/4 cup if you want a lighter glaze. The result is less sticky and a little less lacquered, but the soy sauce and garlic still give the bundles enough character to stand on their own.
Make-Ahead Holiday Prep
Blanch the beans and wrap the bundles a day ahead, then cover and refrigerate them without the glaze. Mix the glaze just before baking so the sugar stays smooth and the bacon doesn’t get soggy sitting in it overnight.
Storage and Reheating
- Refrigerator: Store leftovers in an airtight container for up to 3 days. The bacon will soften a bit, but the flavor holds up well.
- Freezer: These aren’t a great freezer dish. The beans lose their texture after thawing and the glaze can turn watery.
- Reheating: Warm them in a 350°F oven until heated through and the bacon starts to firm back up, about 10 to 12 minutes. The microwave makes the bacon rubbery and the beans soft, which is the fastest way to flatten what makes this dish work.
Answers to the Questions Worth Asking
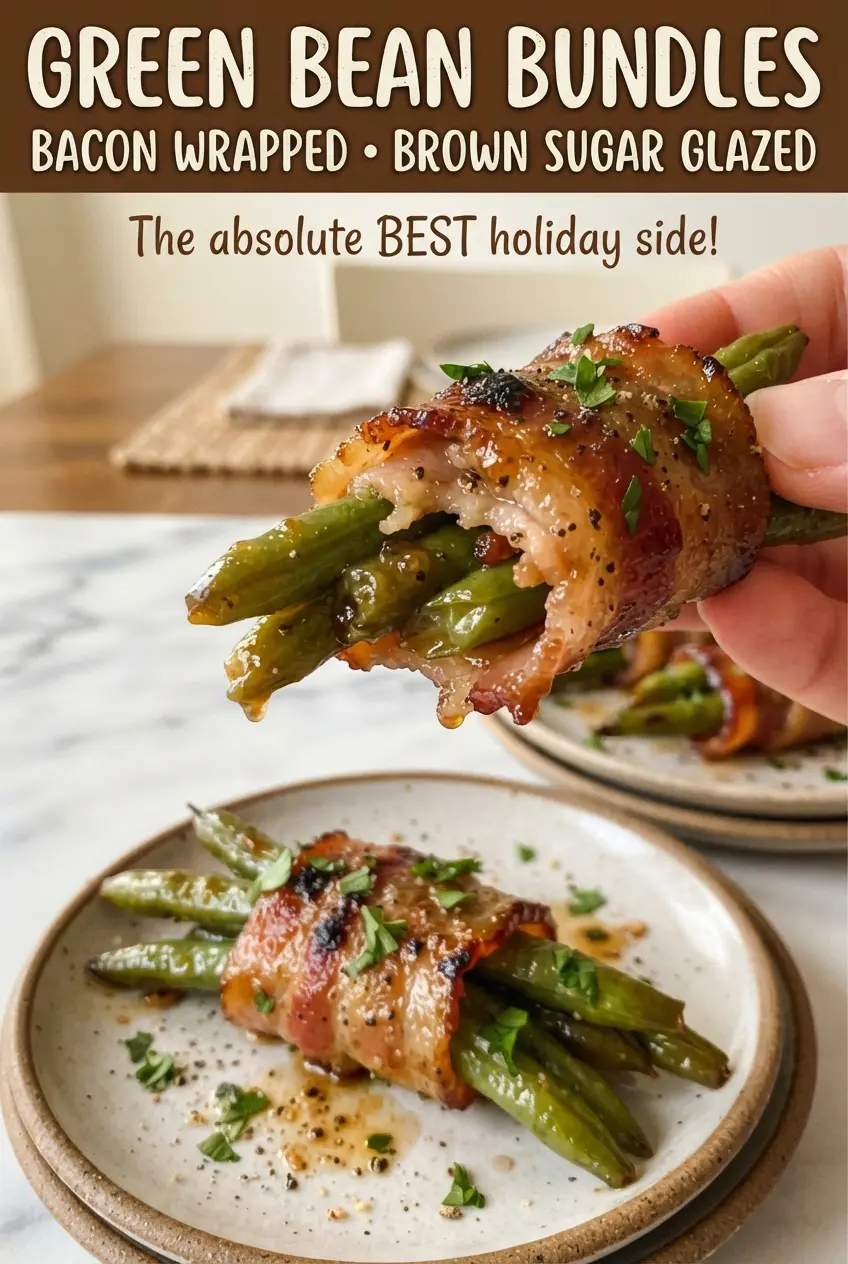
Green Bean Bundles
Ingredients
Equipment
Method
- Preheat oven to 400F. Blanch green beans in boiling water for 3 minutes, then plunge into ice water and drain.
- Gather 8-10 beans into a bundle, wrap with a half slice of bacon, and place seam-side down in a baking dish.
- Whisk melted butter, brown sugar, garlic, soy sauce, and pepper. Stir until smooth and evenly combined.
- Pour the glaze evenly over the bundles, making sure most surfaces are coated. The beans should look glossy and brown-sugar streaked.
- Bake for 25-30 minutes at 400F until bacon is crisp and the glaze is bubbly. Look for darkened bacon edges and a thick, bubbling coating.
- Spoon the pan glaze over the bundles and serve warm. The bacon should stay crisp while the glaze clings to the beans.