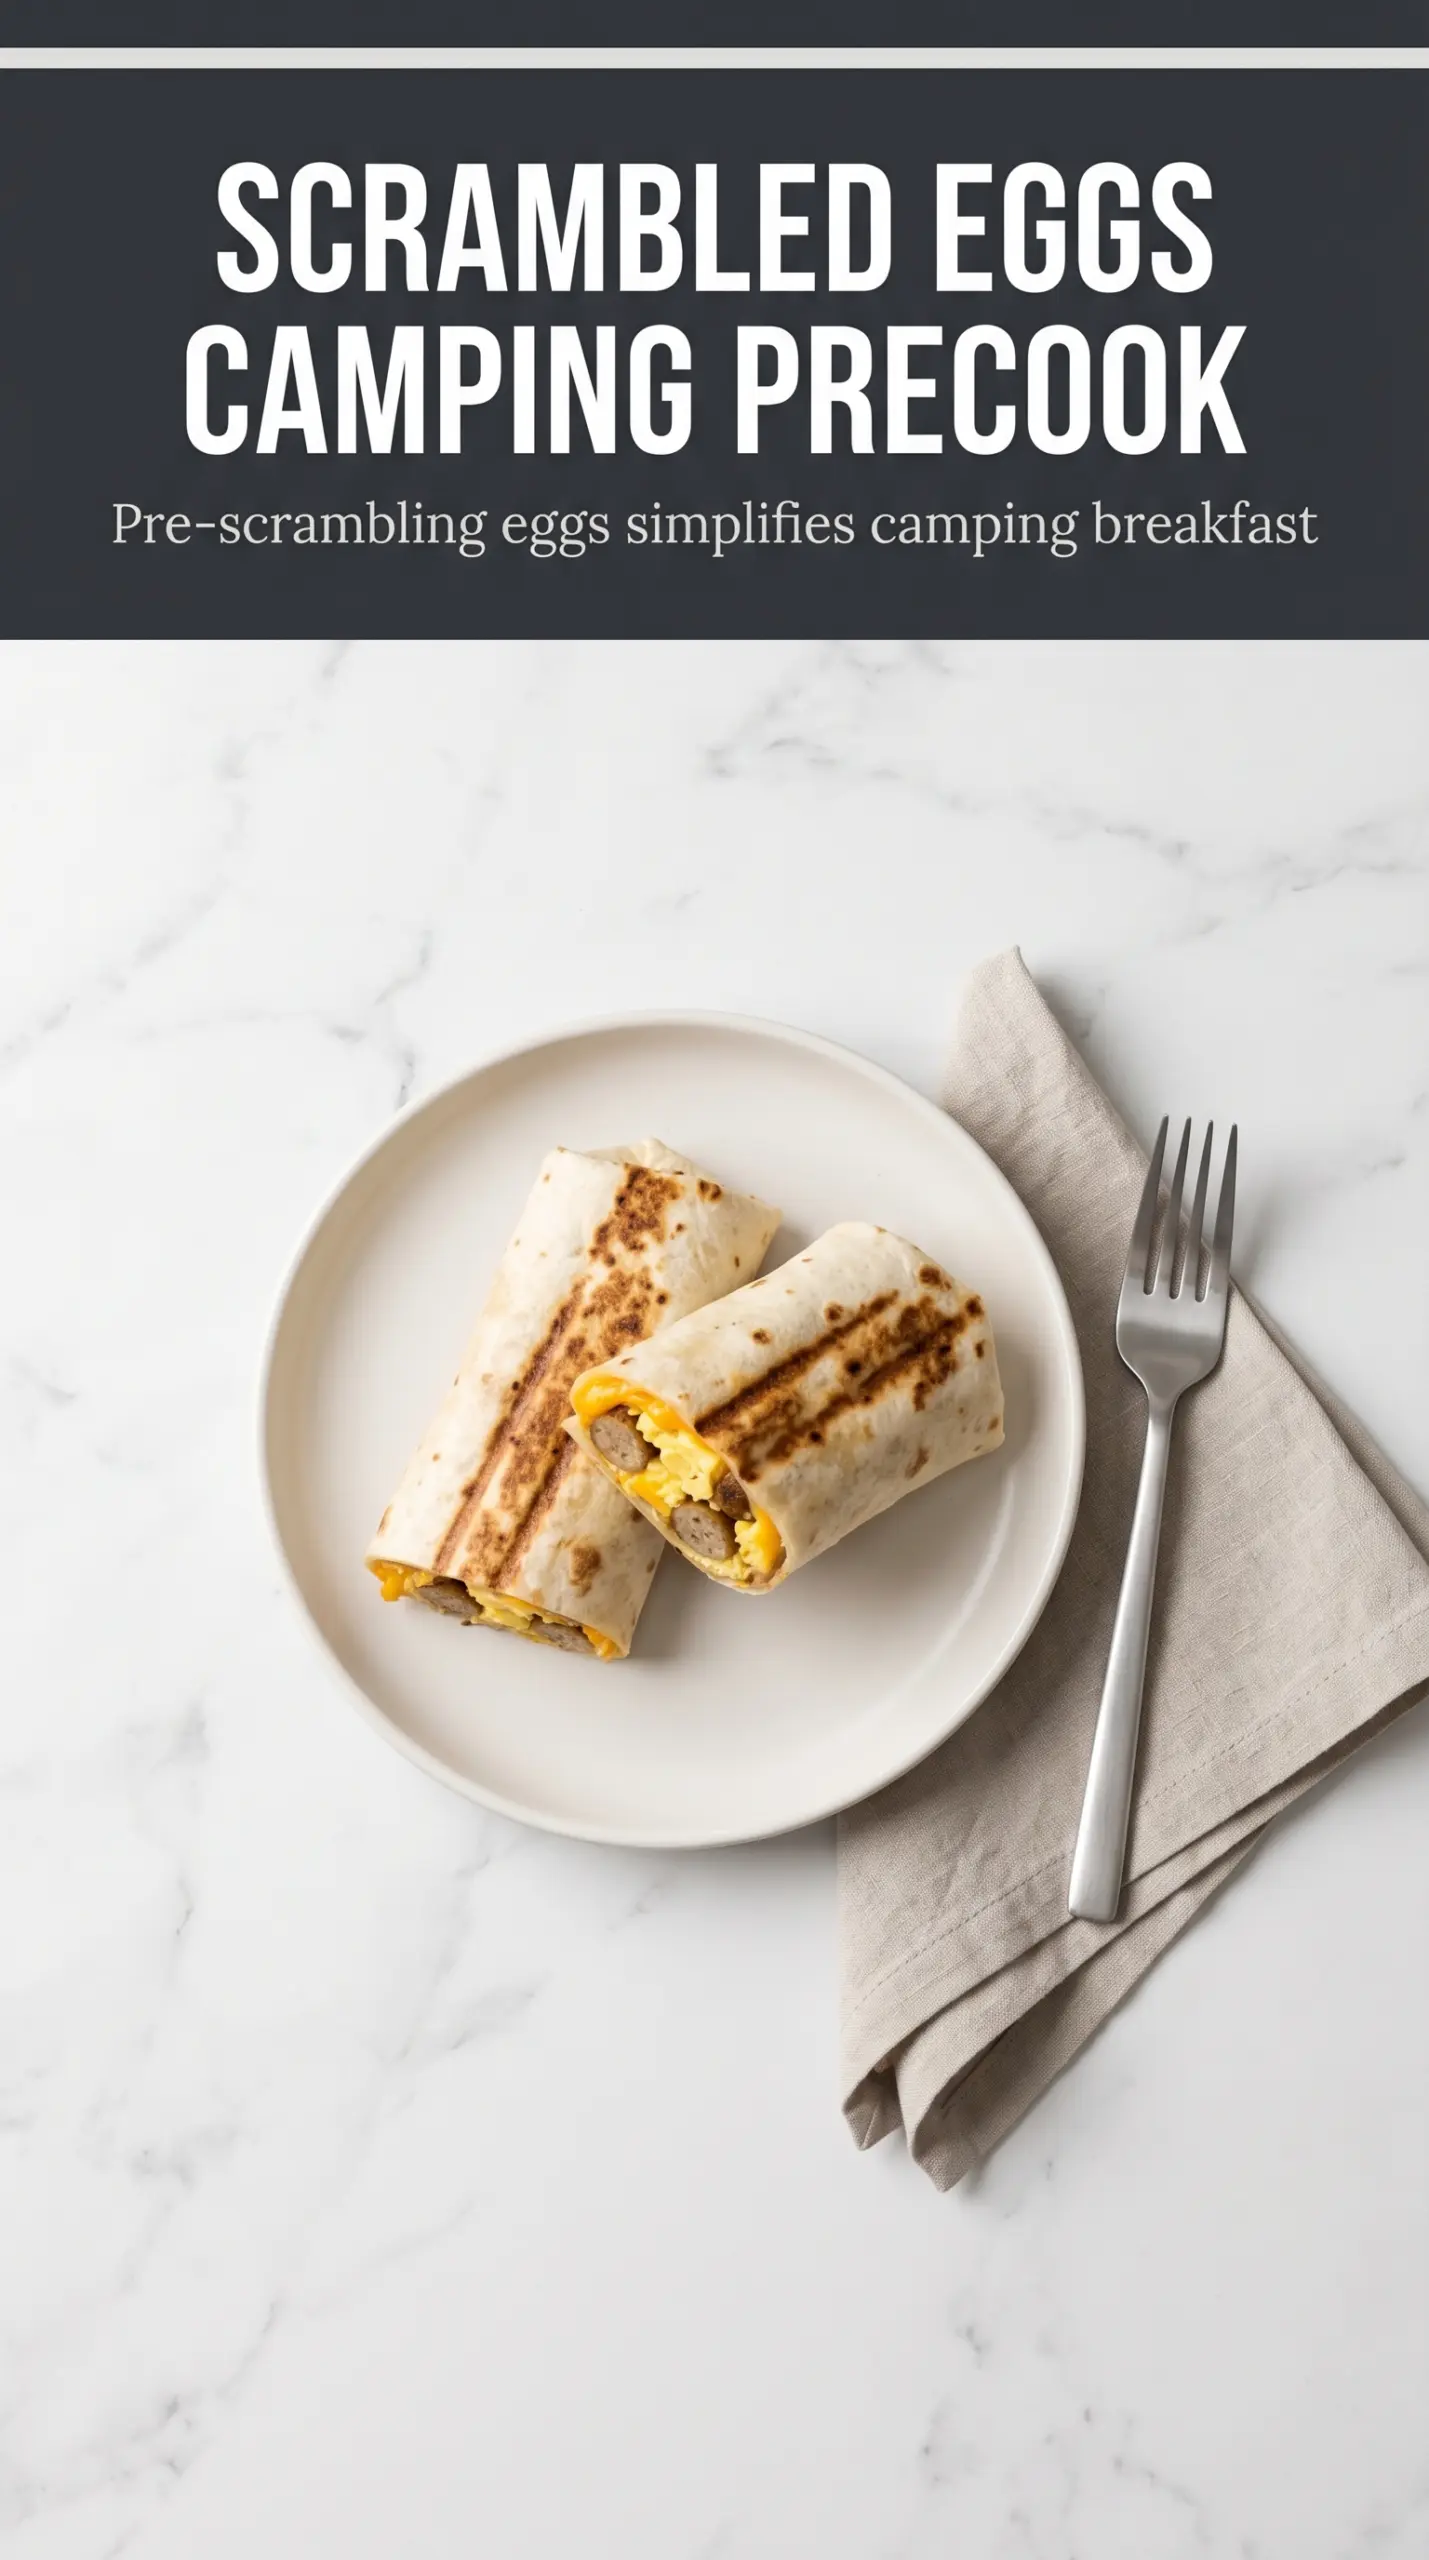
Grilled breakfast burritos hit that sweet spot between fast breakfast and actual meal. The tortilla turns crisp and lightly charred on the outside while the filling stays soft, salty, and molten in the middle. When you cut one open, the cheese stretches, the eggs stay fluffy, and the hash browns give every bite a little extra heft.
What makes this version work is the balance: the eggs are scrambled just until set so they don’t dry out on the grill, the sausage brings plenty of seasoning, and the cheddar melts into the filling instead of disappearing. A thin coating of butter or oil on the outside does two jobs at once — it helps the tortilla brown and keeps the burrito from sticking to the grate. If you’ve ever had a grilled burrito fall apart or burn before the center warmed through, the fix is tighter rolling and medium heat, not more time on the fire.
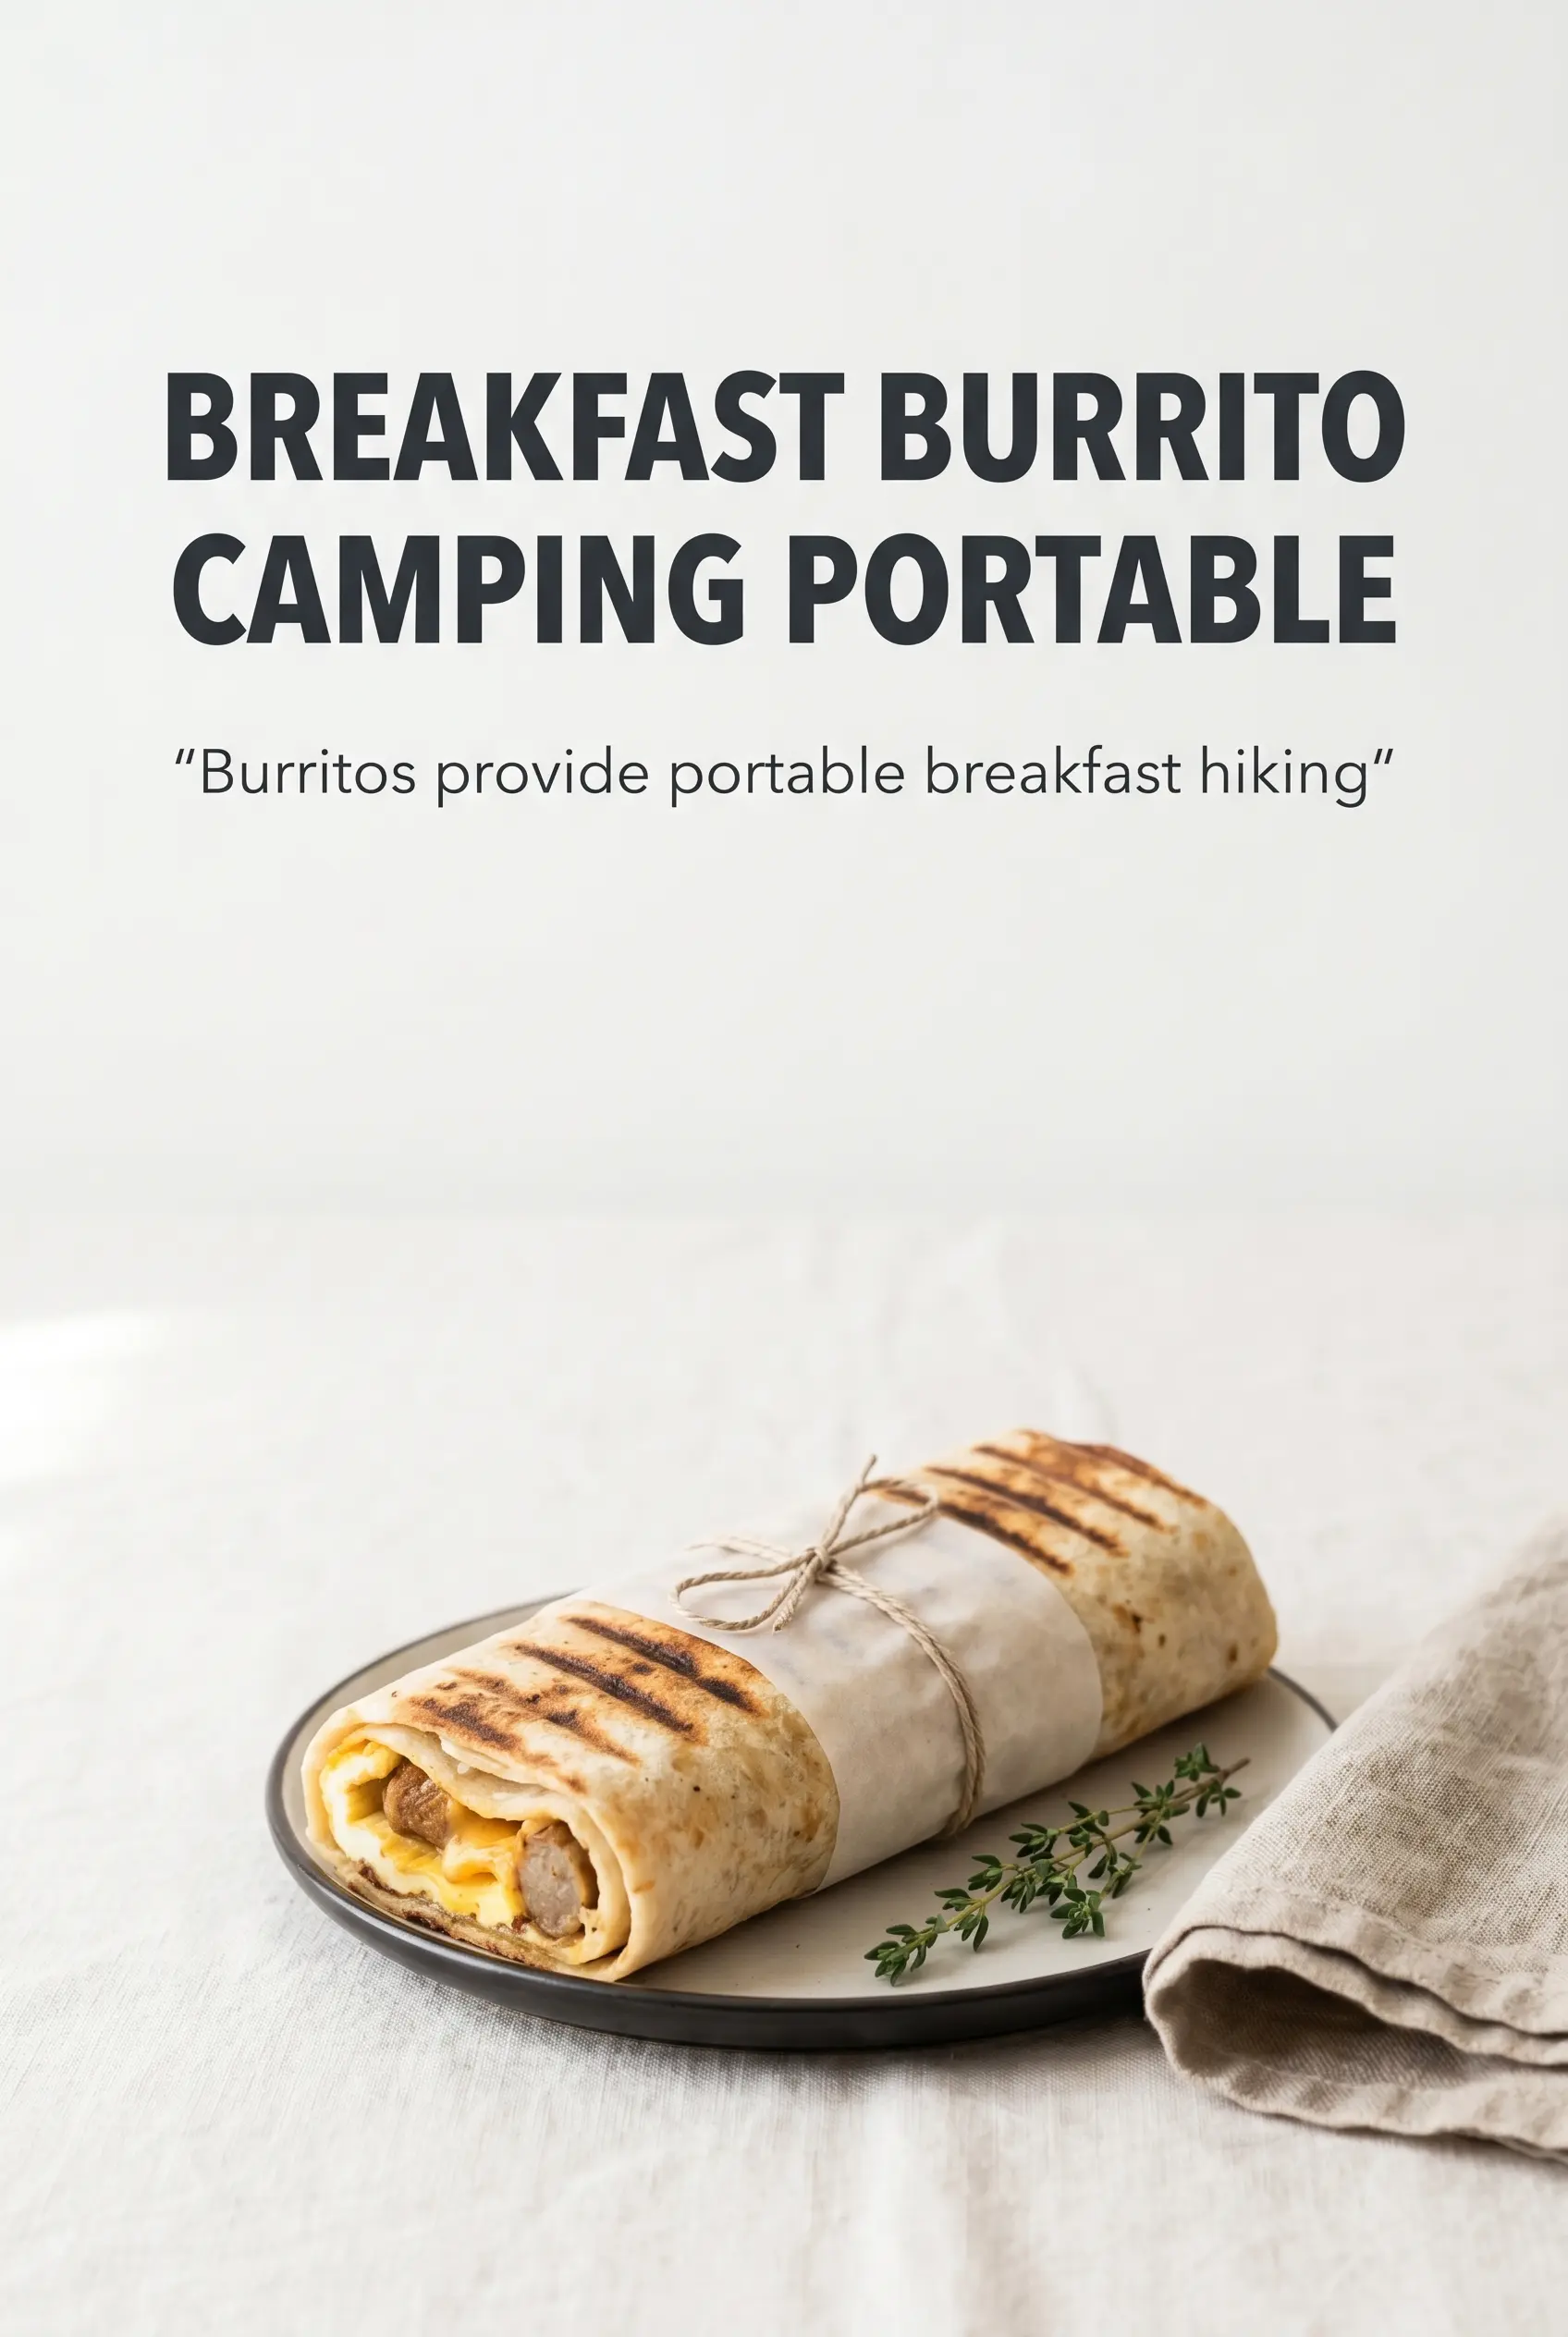
Below you’ll find the small details that matter most, from how to keep the burritos sealed to the best way to adapt them for make-ahead breakfasts, camping mornings, or a meatless version.
The tortillas got crisp on the grill without tearing, and the cheese held everything together instead of oozing out all over the grate. My husband ate two before I even sat down.
Grilled breakfast burritos with crisp tortillas, melty cheddar, and that perfect campfire char are worth keeping handy for busy mornings.
The Trick to Keeping the Burrito Tight on the Grill
The biggest mistake with grilled breakfast burritos is overfilling them, then expecting the tortilla to hold everything together once the heat hits it. A burrito that looks fine on the counter can open up as soon as the cheese starts melting and the filling shifts. Tight rolling matters more than packing it full.
Medium heat is the other piece people miss. If the grill is too hot, the tortilla browns before the center warms and the outside can turn brittle instead of crisp. You want steady heat that gives you a golden crust and enough time for the cheese to soften and the eggs to warm through without scorching the wrap.
- Roll snugly, not loosely — fold the sides in first, then tuck and roll with firm pressure so the seam stays under the burrito while it grills.
- Keep the filling warm — warm eggs, sausage, and hash browns hold together better than cold filling straight from the fridge.
- Use enough cheese — cheddar acts like glue here, helping the burrito seal as it melts.
- Oil the outside lightly — too much fat makes the tortilla greasy; a thin coating is enough for browning and easy release.
What Each Filling Ingredient Is Doing in These Burritos
- Flour tortillas — large, flexible tortillas are what let you roll these tightly without tearing. Smaller tortillas split faster on the grill, and thin ones can dry out before the filling is hot. If you need a substitute, use the biggest flour tortillas you can find rather than switching to corn.
- Scrambled eggs — these should be just set, not browned and dry. Eggs continue to cook a little once they’re inside the burrito, so pulling them early keeps the final texture soft instead of rubbery.
- Breakfast sausage — this gives the burrito its savory backbone. You can swap in crumbled bacon or chorizo, but sausage has enough fat and seasoning to carry the filling without extra work.
- Cheddar cheese — sharp cheddar melts smoothly and adds enough bite to stand up to the eggs and sausage. Pre-shredded cheese works, but freshly shredded melts a little cleaner if you have the time.
- Hash browns — they add bulk and that breakfast-diner texture. Skip them only if you want a lighter burrito; otherwise, they help absorb moisture so the tortilla doesn’t go soft too fast.
- Butter or oil — this is what gives the outside its crisp finish. Butter adds a richer flavor and darker browning, while oil is a little more reliable if you’re grilling over higher heat.
- Salsa and hot sauce — keep these modest inside the burrito so the filling doesn’t get wet. Extra sauce is better served on the side, where it won’t weaken the tortilla.
Grilling Them Hot Without Burning the Tortilla
Build the burrito with the driest filling on the bottom
Lay the filling down in the center of each tortilla in a short, compact line so the burrito rolls evenly. Put the drier ingredients like hash browns closest to the tortilla and keep the salsa light, because too much moisture at the center is what makes the wrap split later. Fold the sides in first, then roll away from you as tightly as you can without squeezing the filling out.
Brush the outside before it hits the grate
A thin coat of butter or oil on the seam side and the top side helps the burrito crisp evenly. Use just enough to gloss the surface; if it’s dripping, the grill will flare and the tortilla can get blotchy instead of evenly browned. Set the burrito seam-side down first so it seals before you turn it.
Grill until the tortilla is crisp and the cheese gives way
Cook over medium heat for 3 to 4 minutes per side, then check for a deep golden color and grill marks that release without sticking. If the burrito grabs the grate, give it another 20 to 30 seconds before turning it. You’re looking for a crisp shell, not a hard shell — the tortilla should have a little bend left when you pick it up.
Cut after a brief rest
Let the burritos sit for a minute before slicing so the cheese settles and the filling doesn’t spill out the second you cut in. A sharp knife works best here, especially if the tortilla has crisped deeply. Serve with hot sauce right away while the outside is still crunchy.
How to Adapt These Burritos for Different Mornings
Make-Ahead Breakfast Burritos
Assemble the burritos, let the filling cool first, then wrap them tightly so steam doesn’t soften the tortillas. You can refrigerate them for the next day and grill them right before serving, or reheat them in a skillet if you want the outside crisp again. Warm filling gives you the best texture and keeps the cheese from turning oily.
Dairy-Free Version
Skip the cheddar and use a dairy-free shreddable cheese that melts well, then brush the tortillas with oil instead of butter. You’ll lose a little richness, so lean on the sausage and salsa for flavor. If your dairy-free cheese doesn’t melt well, add a spoonful of avocado after grilling instead.
Vegetarian Burritos
Leave out the sausage and add seasoned black beans, sautéed peppers, or extra hash browns for more substance. Beans bring moisture, so drain them well and keep the salsa light. You still get a filling burrito with enough heft to grill cleanly.
Freezer-Friendly Batch
These freeze well if you cool the filling completely before rolling and wrapping each burrito tightly in foil or freezer paper. Reheat from thawed in a skillet or on a grill pan so the tortilla re-crisps; microwaving alone will make the wrap soft and chewy. If you want the best texture, freeze them without fresh salsa inside and add that after reheating.
Storage and Reheating
- Refrigerator: Store cooked burritos in an airtight container for up to 3 days. The tortilla softens a bit, but it still reheats well.
- Freezer: Wrap individually and freeze for up to 2 months. Let them cool fully first so you don’t trap steam inside.
- Reheating: Warm in a skillet over medium-low heat until the center is hot and the outside crisps back up. The common mistake is cranking the heat too high, which burns the tortilla before the filling is warm.
Answers to the Questions Worth Asking
Grilled Breakfast Burritos
Ingredients
Equipment
Method
- Fill each flour tortilla with scrambled eggs, sausage, cheddar cheese, cooked hash browns, and salsa and hot sauce in an even line across the center.
- Fold in the sides and roll tightly into burritos so the seam stays tucked underneath.
- Brush the outside of each burrito with butter or oil for grilling so it’s lightly coated for crisping.
- Place burritos on a campfire grate over medium heat and grill for 3-4 minutes per side until golden and crispy with visible char marks.
- Remove burritos from the heat, cut in half, and serve immediately with hot sauce.