Grilled campfire quesadillas land with the kind of crisp edges and molten cheese pull that makes people hover near the fire before dinner is even called. The tortillas pick up smoky char in spots while the filling stays tucked inside, hot and savory, with enough structure to cut into wedges without spilling everywhere.
The trick is using enough cheese to glue everything together, but not so much that the filling becomes greasy and leaks out before the second side sets. A little butter or oil on the skillet or grill grate helps the tortillas blister instead of drying out, and the vegetables cook fast enough here that you still get a fresh bite from the pepper and onion. Chicken gives the quesadillas some staying power, but the real job is done by the cheese blend, which melts smoothly and holds the whole thing together.
Below you’ll find the timing that keeps the tortillas crisp, the ingredient swaps that still work around a campfire, and the small adjustments that make these easier to flip over live heat.
The tortillas got those perfect grill marks and the cheese stayed melted all the way through without spilling everywhere. I liked that the peppers and onions still had a little bite instead of turning soft and soggy.
Grilled Campfire Quesadillas are the kind of smoky, cheese-pull dinner you’ll want on repeat at the campsite or the backyard fire pit.
The Part That Keeps Campfire Quesadillas from Falling Apart
Most quesadilla trouble starts before the first flip. If the filling is piled too high, the top tortilla slides, the cheese can’t seal the layers, and the whole thing opens up over the fire. The goal here is a thin, even layer of filling that melts into itself fast enough to hold together by the time the first side is browned.
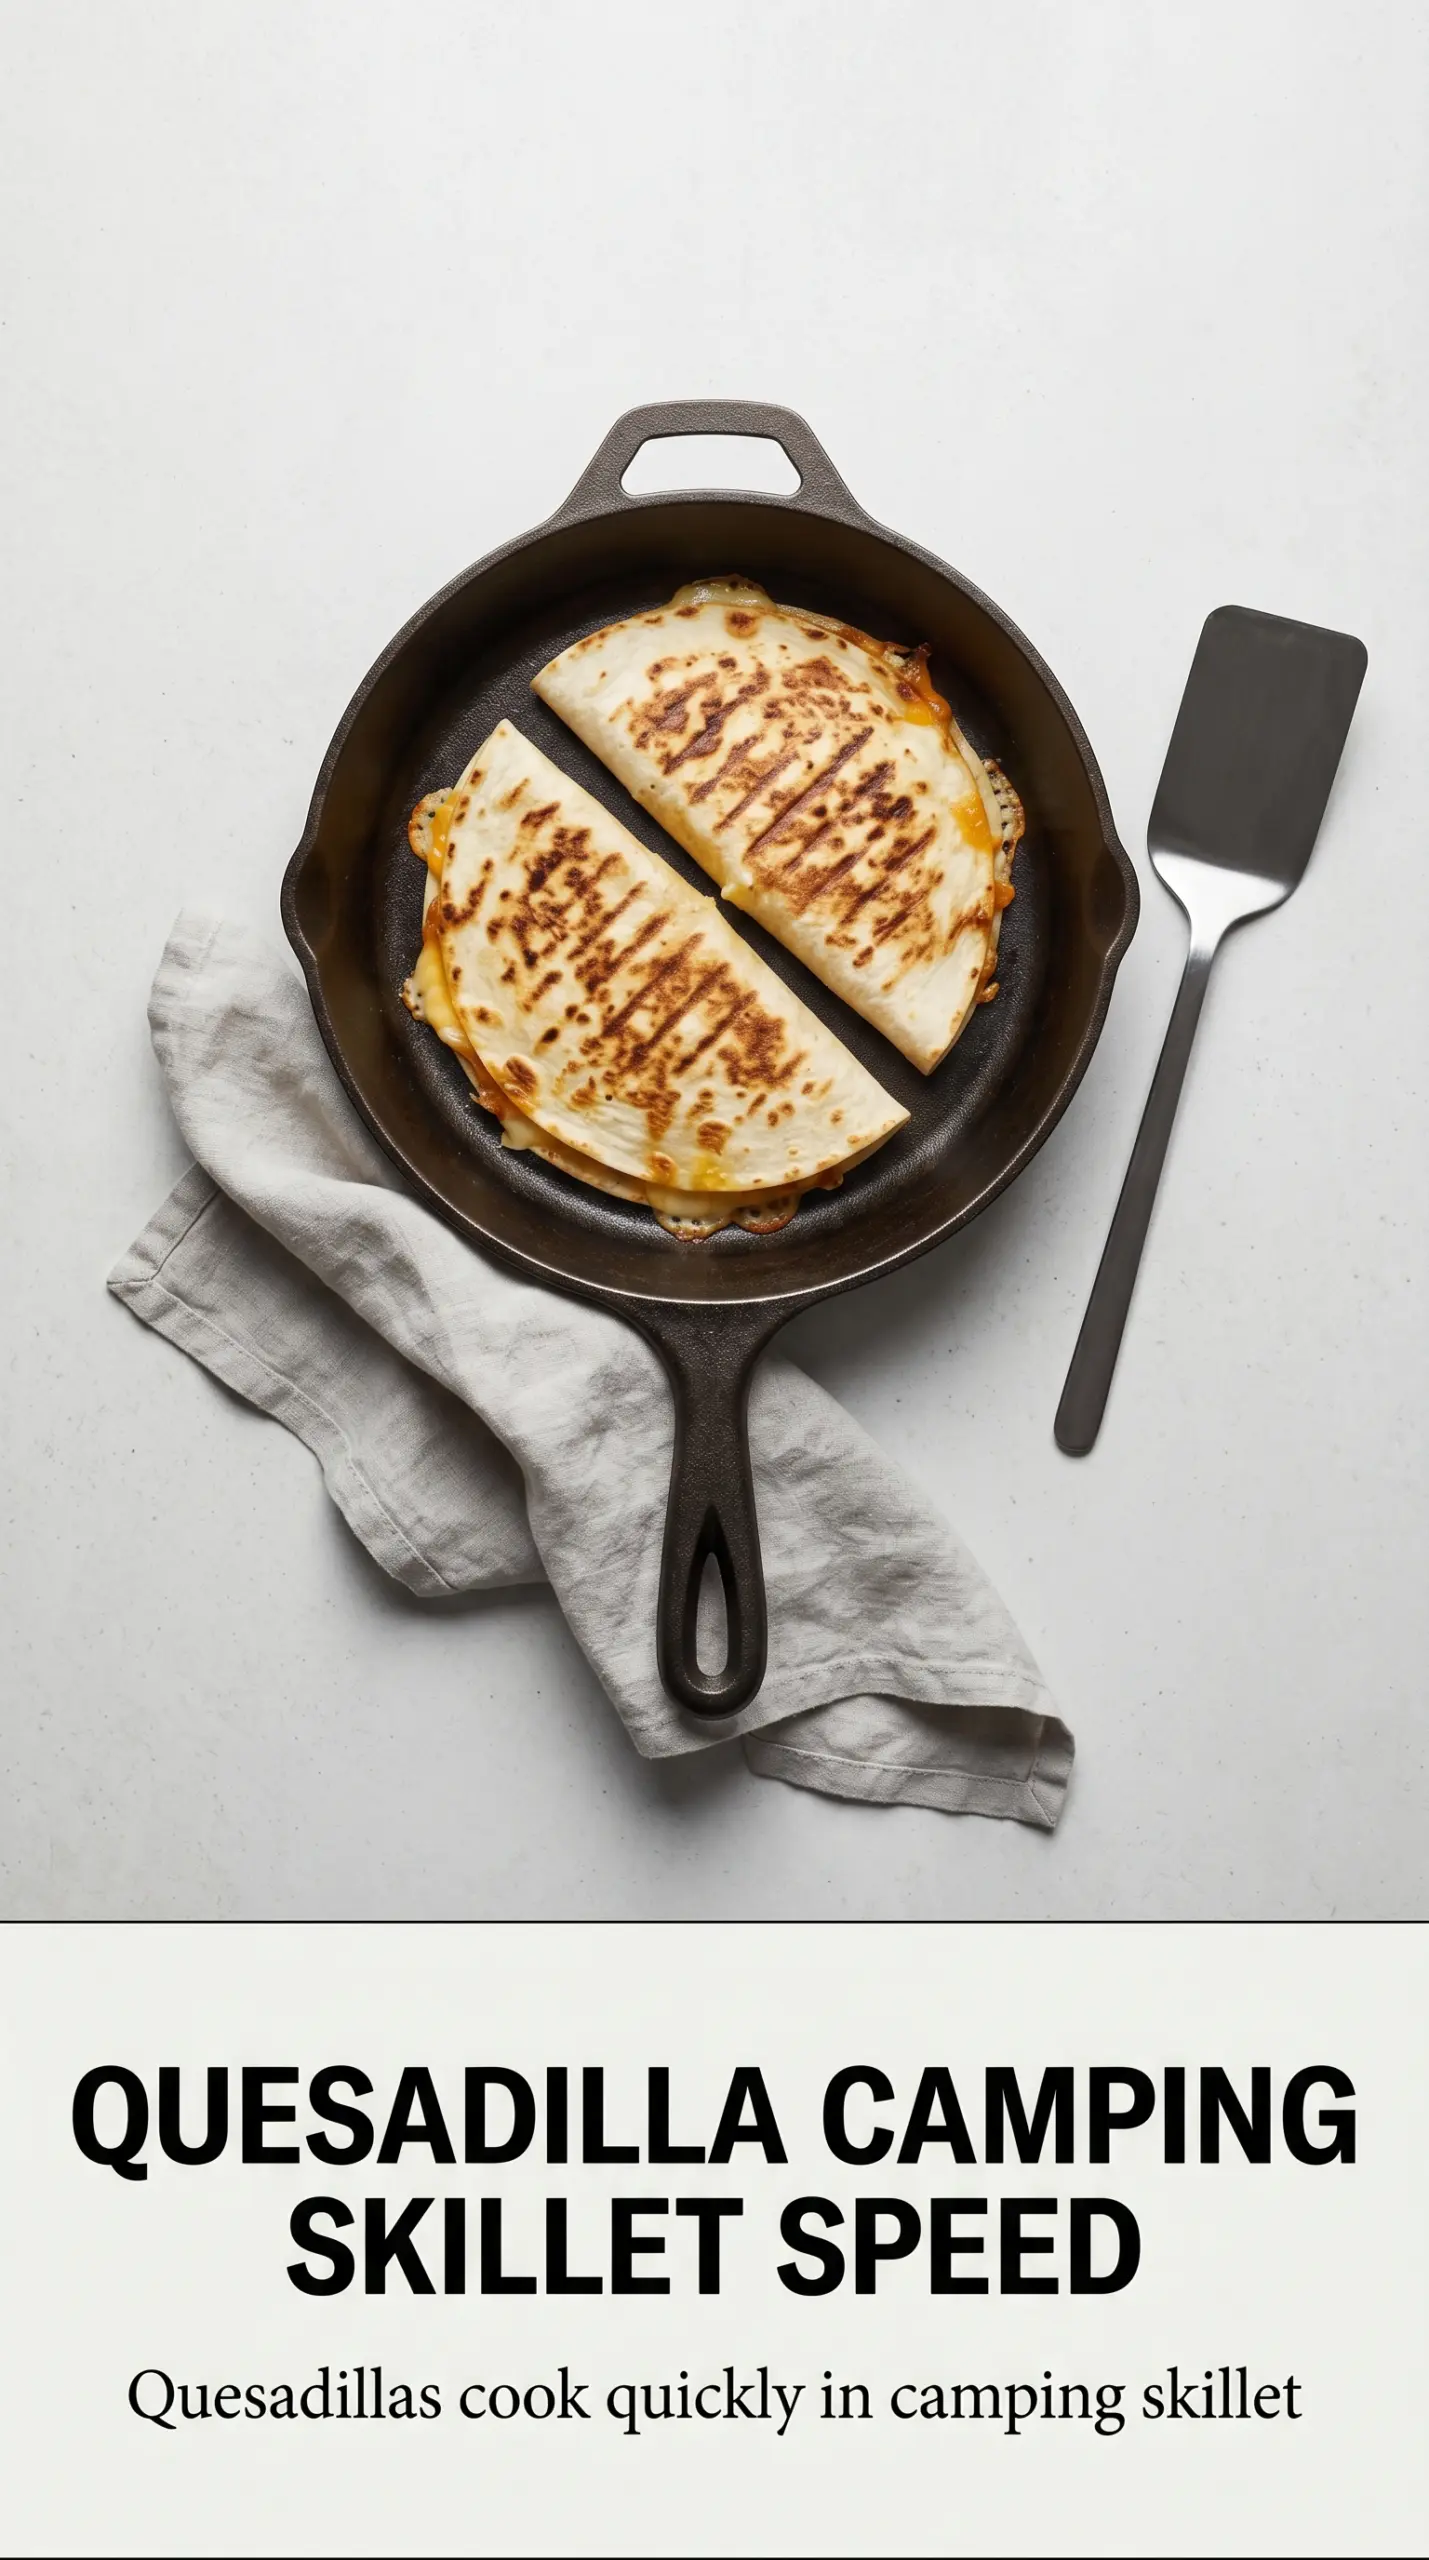
Cast iron helps because it gives you steady heat and a wide, even surface, but a grill grate works too if you keep the heat medium rather than roaring. High flames scorch the tortillas before the cheese has time to soften. You want a calm, steady sizzle and a tortilla that turns golden with a few crisp blisters while the cheese goes fully soft inside.
- Flour tortillas — Large tortillas are worth using because they give you room to fold and cut clean wedges. Corn tortillas won’t hold up the same way here and tend to crack over direct heat.
- Mexican cheese blend — This is the glue. A pre-shredded blend melts predictably, but if you shred your own Monterey Jack, cheddar, or a mix, it usually melts even silkier.
- Butter or oil — Either one keeps the tortillas from drying out and helps the surface brown. Butter gives a richer flavor; oil is a little more forgiving over a hotter fire.
What Each Ingredient Is Actually Doing in the Pan
- Cooked shredded chicken — This adds substance without needing extra cooking time. Rotisserie chicken works if you’re camping or keeping things easy, and it should be shredded small so the quesadilla folds flat instead of getting lumpy.
- Bell pepper, onion, and jalapeño — These give the filling freshness and a little heat. Dice the pepper and onion small so they soften fast; thick pieces stay crunchy and make the quesadilla harder to seal.
- Salsa, sour cream, and guacamole — These aren’t just extras. The smoky quesadilla benefits from something cool and bright alongside it, especially if the jalapeño brings a little extra heat.
Getting the Crisp Outside and Melted Center at the Same Time
Heating the Surface First
Get the cast iron skillet hot or let the grill grate preheat over steady campfire heat before the tortillas go on. If the surface is cold, the tortilla soaks up fat and turns chewy before it browns. A hot surface gives you quick color and a better chance of sealing the cheese before it can escape.
Building the Layers Fast
Set one tortilla down and move quickly with the fillings so the bottom doesn’t overcook while you’re still assembling. Cheese goes down first and last, with the chicken and vegetables in the middle, because cheese helps anchor everything when it melts. Keep the pile modest; if it looks generous, it’s probably too much for a clean flip.
Flipping Without Spilling the Filling
Let the first side cook until the bottom is deeply golden and the edges feel set when you lift one side with a spatula. Then slide the spatula fully under the quesadilla and turn it in one confident motion. If the center feels loose, give it another 30 seconds before flipping; rushing this part is the fastest way to dump the filling into the fire.
Cutting While the Cheese Is Still Soft
Pull the quesadilla off the heat as soon as both sides are browned and the cheese is melted through. Let it sit for a minute, then cut into wedges so the filling doesn’t run everywhere. Serve right away with salsa, sour cream, and guacamole while the tortilla is still crisp.
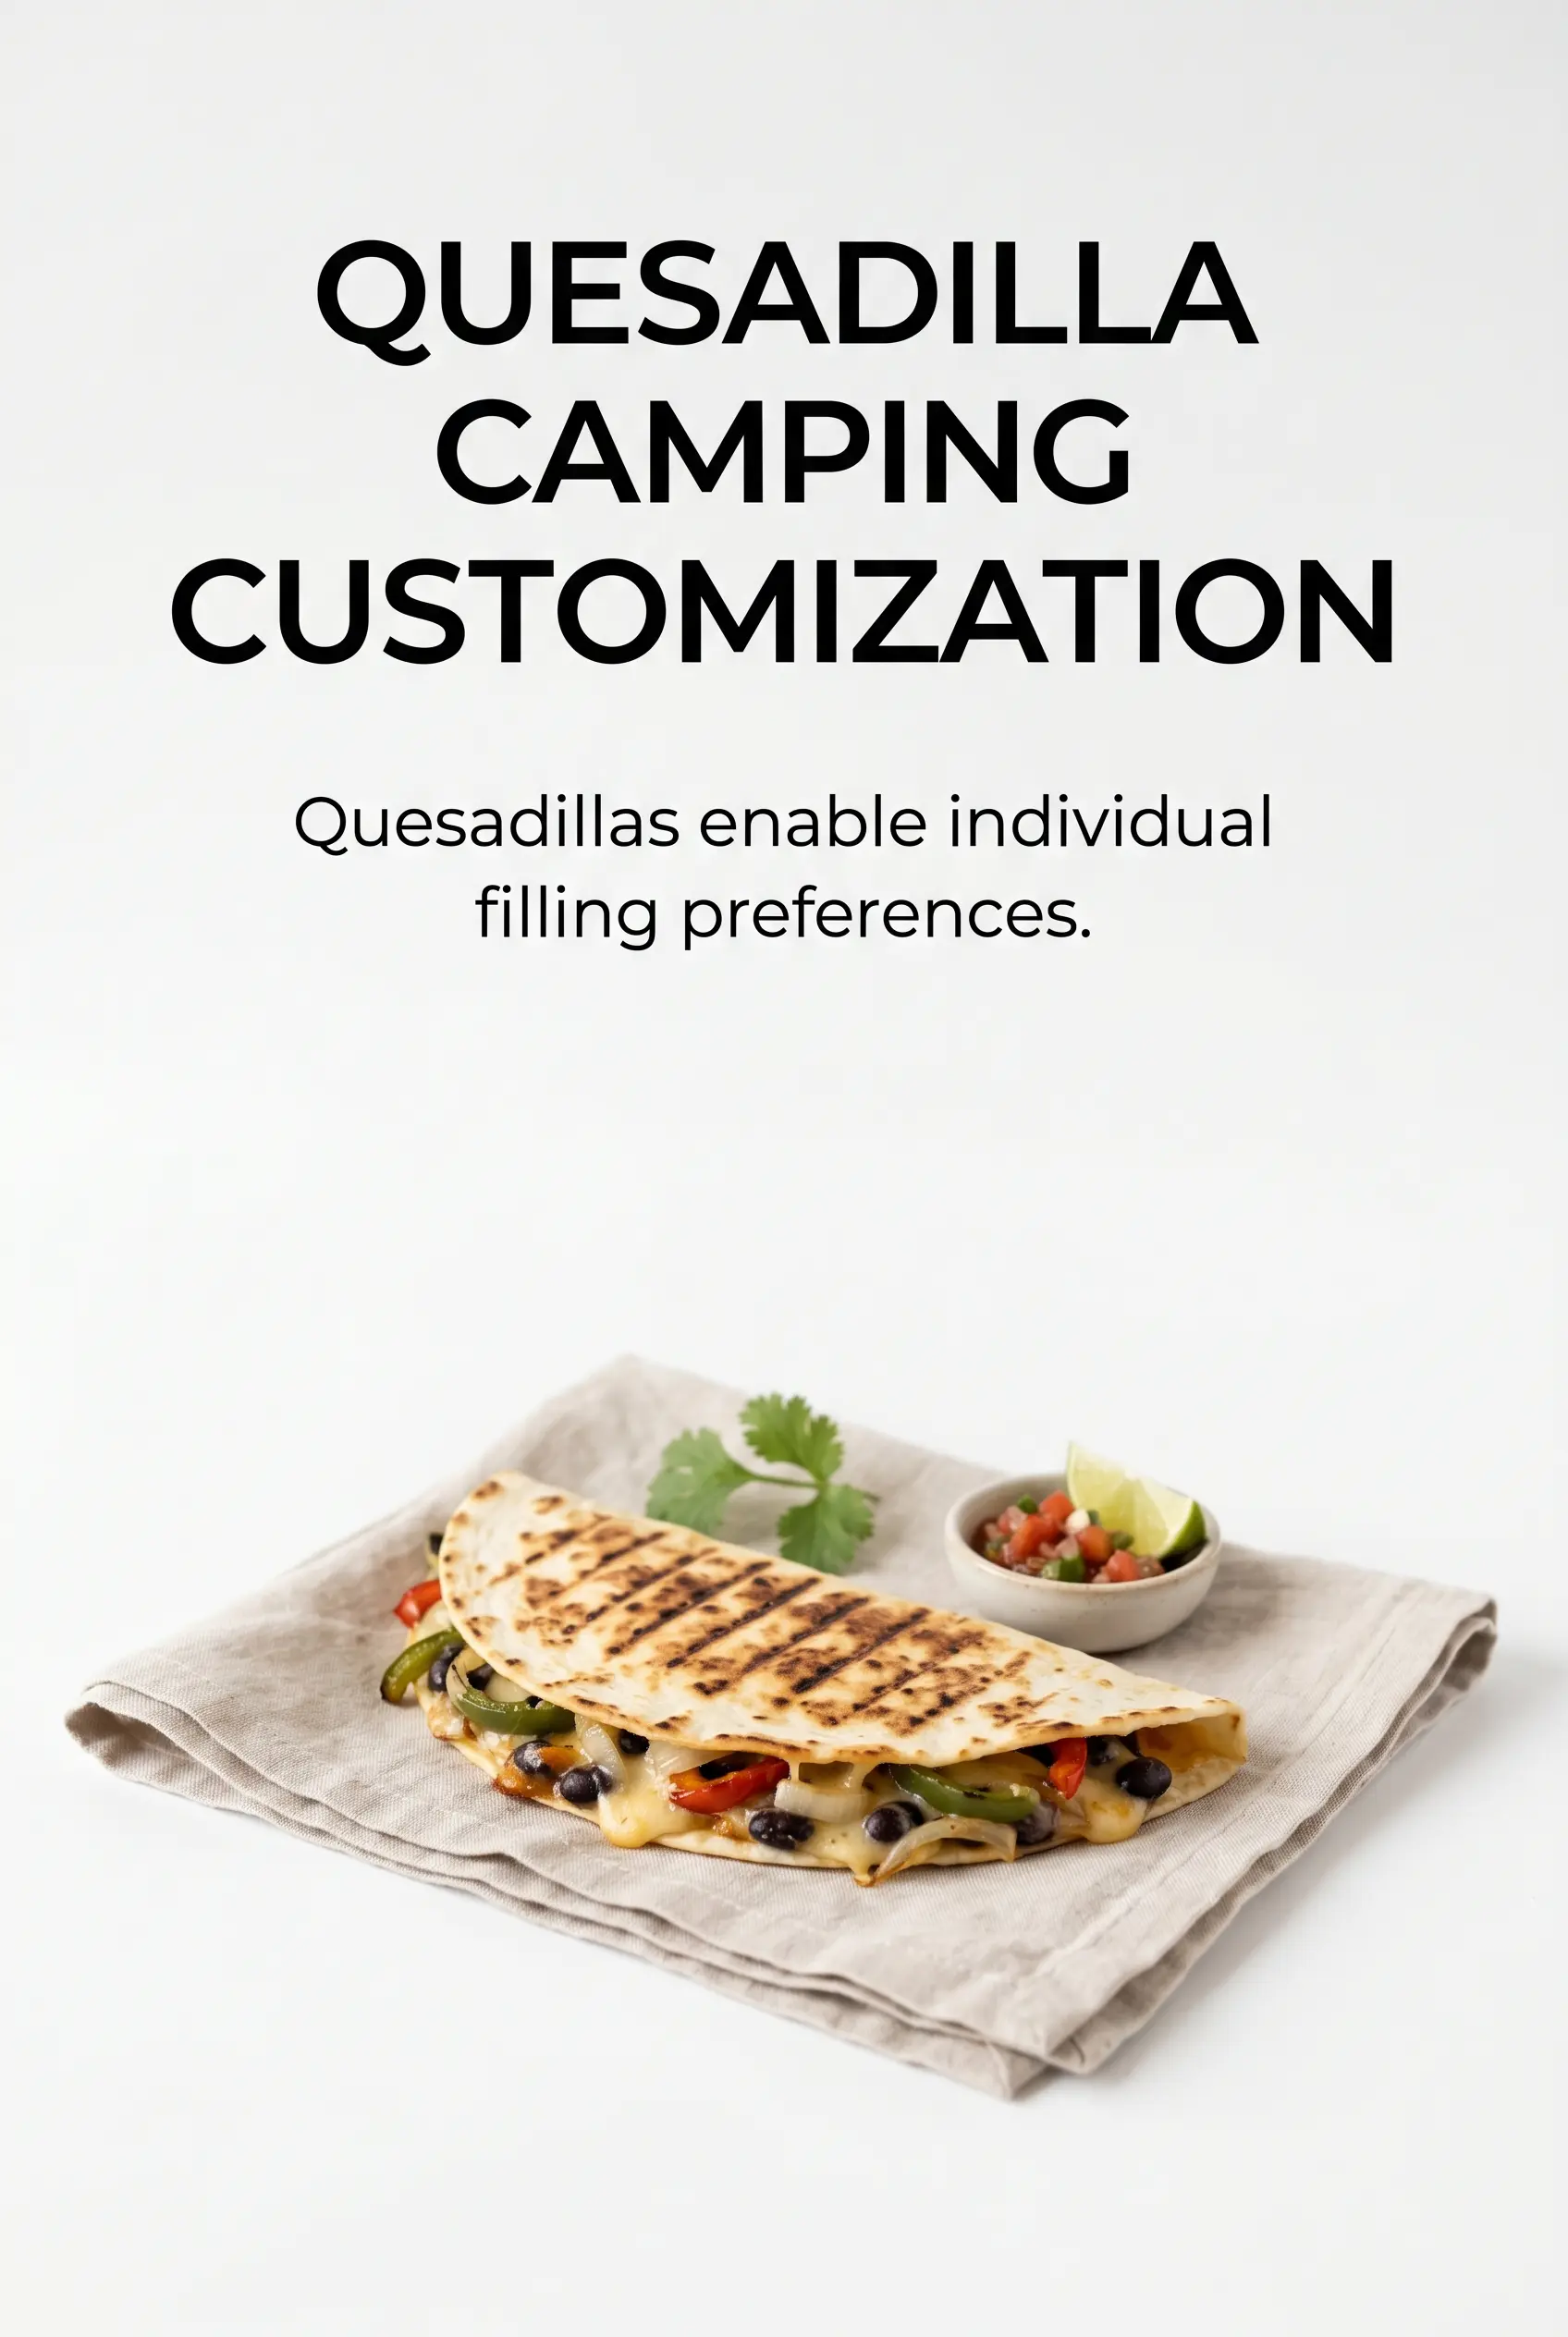
How to Change the Filling Without Losing the Grill Marks
Make It Vegetarian with Beans and Corn
Skip the chicken and use black beans or pinto beans with a handful of corn. The beans add heft and still hold together, but they need to be drained well so the quesadilla doesn’t turn soggy over the fire.
Dairy-Free Version with a Melting Alternative
Use your favorite dairy-free shreds that are meant to melt, not just top a salad. They won’t brown exactly like dairy cheese, so keep the heat a little lower and give them an extra minute to soften before flipping.
Lower-Heat Camp Version for More Control
If your fire runs hot and uneven, cook the quesadillas on a cast iron skillet set over the grate instead of directly on it. You lose a little char, but you gain control, which matters more when you’re cooking something that can go from golden to burnt in a minute.
Storage and Reheating
- Refrigerator: Store leftovers in an airtight container for up to 3 days. The tortillas soften a bit, but the flavor holds up well.
- Freezer: Freeze cooked wedges between layers of parchment for up to 1 month. They reheat best from frozen in a skillet or oven, not the microwave.
- Reheating: Warm in a dry skillet over medium-low heat until the tortilla crisps back up and the cheese loosens again. A microwave will make the tortillas chewy and the filling steamy instead of melty.
Answers to the Questions Worth Asking
Grilled Campfire Quesadillas
Ingredients
Equipment
Method
- Heat a cast iron skillet over a campfire until hot or place a grill grate over the fire until ready to cook. Aim for steady heat so the tortillas toast and the cheese melts evenly (no exact thermometer needed).
- Place 1 large flour tortilla on the hot cooking surface and quickly sprinkle a layer of Mexican cheese blend over it. Keep a close eye so the tortilla warms without burning.
- Scatter shredded chicken, diced bell pepper, diced onion, and sliced jalapeño over the cheese. Spread evenly so every wedge gets filling.
- Top with a second tortilla and press down gently to help it seal. Use light pressure to avoid squeezing all the filling out.
- Cook the quesadilla for 3-4 minutes per side until golden and the cheese melts. You should see cheese puff at the edges and grill marks forming as it browns.
- Flip carefully and cook the second side for another 3-4 minutes until golden with melted cheese. Return it to the grate quickly to keep the interior gooey.
- Remove from heat and let it rest briefly, then cut into wedges. Serve while hot so the cheese stays stretchy.
- Serve the wedges with salsa, sour cream, and guacamole. Add these at the table for maximum freshness and crunch.