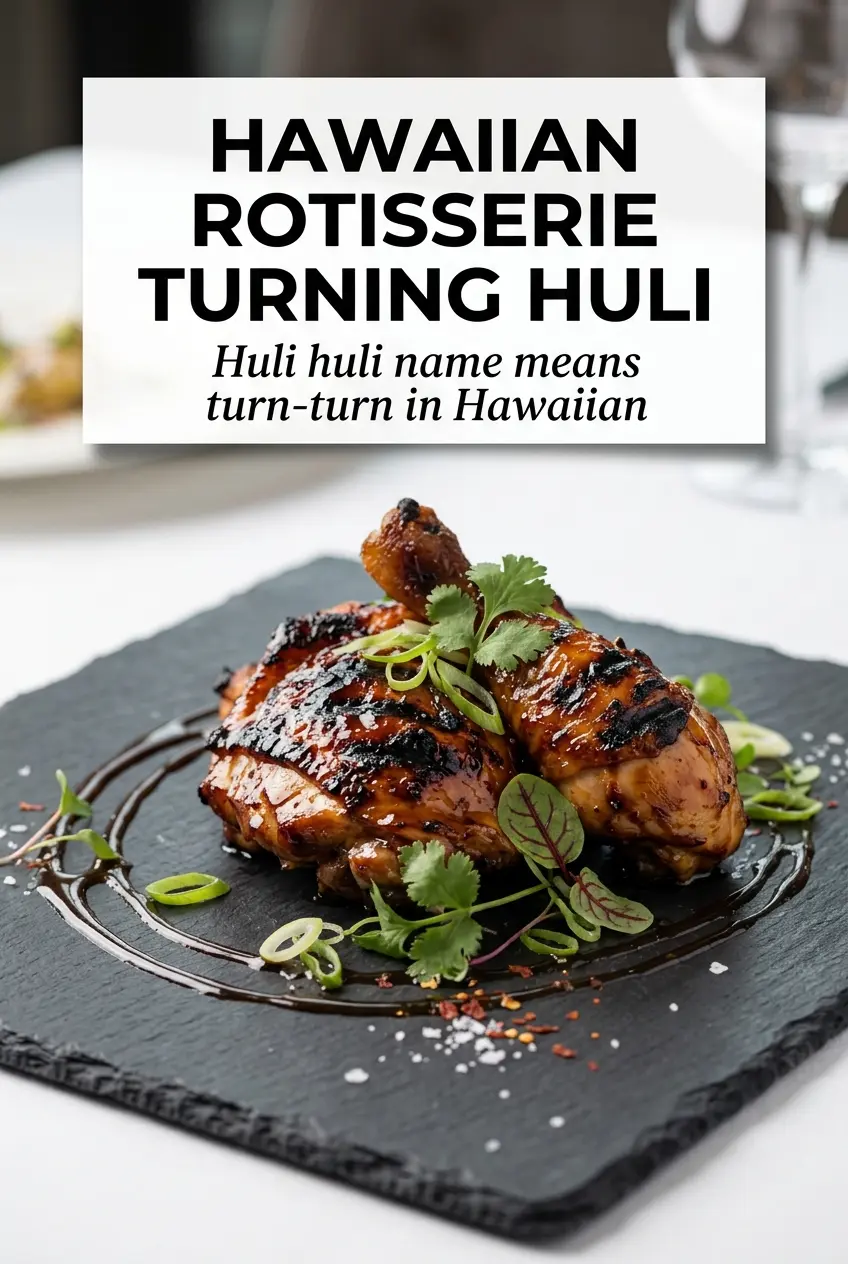
Sticky, charred Grilled Huli Huli Chicken hits that sweet-savory balance that keeps you going back for one more piece. The glaze clings to the chicken as it cooks, picking up just enough smoke and caramelized edges to taste like it came off a serious island barbecue, not a basic weeknight grill job.
The trick is in the marinade. Brown sugar and pineapple juice give the chicken its gloss and burnished finish, while ginger, garlic, and soy sauce keep the sweetness from tipping over. I also like reserving part of the marinade for basting, because brushing on a fresh layer during the cook gives you that sticky lacquer without drowning the chicken from the start.
Below, you’ll find the exact way to keep the sugars from scorching, plus a few smart swaps if you want to use what’s already in your kitchen. The whole method is straightforward, but the timing matters more than people expect.
The chicken caramelized beautifully and the reserved marinade made the glaze thick and sticky without burning. I used thighs and the grill marks came out perfect after flipping them a few times.
Save this Grilled Huli Huli Chicken for the nights when you want sticky, charred Hawaiian chicken with an easy basting glaze.
The Marinade Needs Sugar, But It Also Needs Restraint
Huli huli chicken gets its signature shine from sugar, but sugar is also the part that burns first. That’s why this recipe works best over medium heat with frequent turning instead of a hot, hands-off grill session. You’re aiming for steady caramelization, not a rushed sear that blackens the outside before the inside has a chance to cook.
The other thing people miss is the marinade split: some for the chicken, some for basting, and none of it used raw after it’s touched the meat. That reserved portion gives you those glossy layers without muddying the flavor. If your glaze looks thin at the start, that’s fine — it tightens as it hits the grill and loses water.
What Each Ingredient Is Actually Doing in This Chicken
- Chicken thighs or legs — Dark meat stays juicy through the longer grill time this glaze needs. Thighs give you the easiest balance of tenderness and char; legs work too, but they need a little more turning so they cook evenly near the bone.
- Soy sauce — This is the backbone of the savory flavor and the salt source. Use a regular all-purpose soy sauce here; low-sodium works if that’s what you keep around, but the glaze will taste a touch lighter and may need a longer reduction on the grill.
- Brown sugar — This gives the chicken its sticky finish and helps the marinade cling. Honey can stand in, but it changes the flavor and can brown faster, so watch the grill more closely if you swap it.
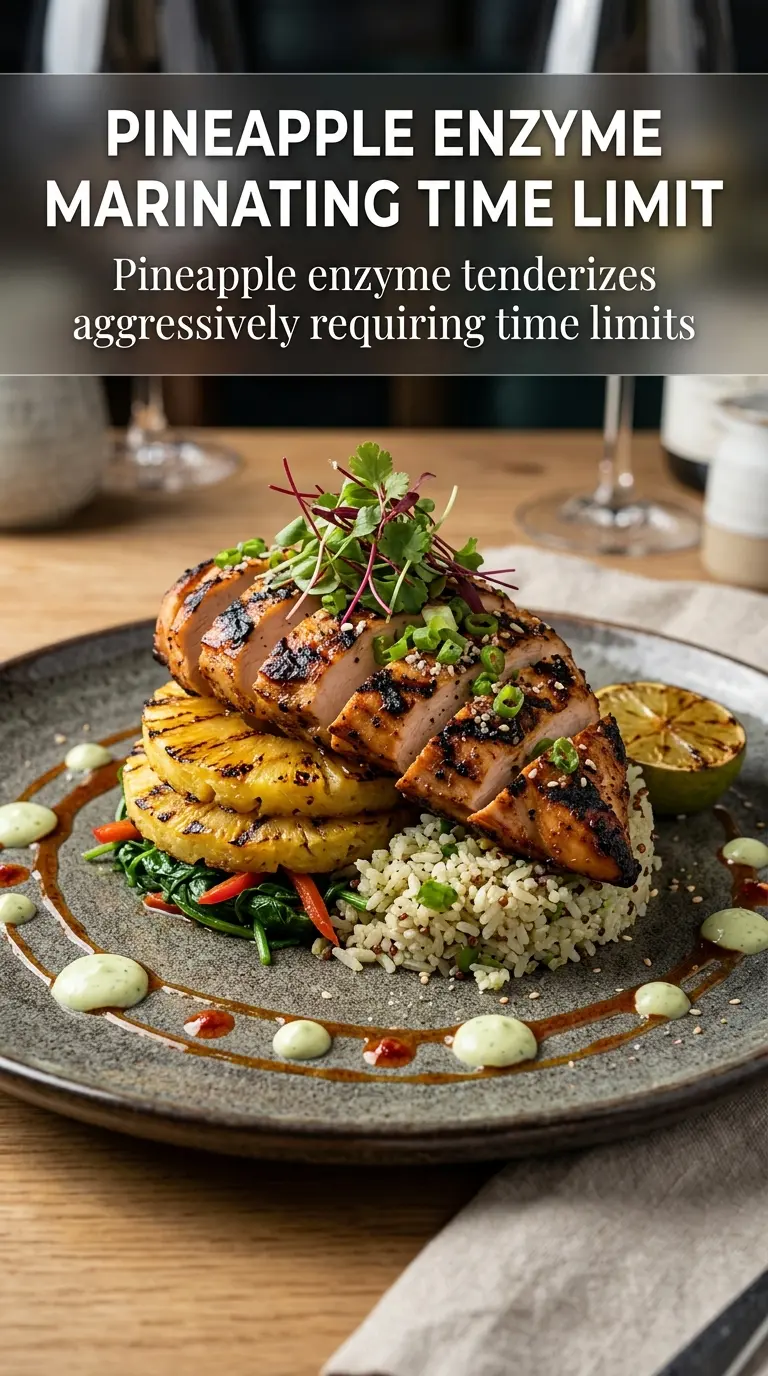
- Pineapple juice — It adds sweetness and that unmistakable island-style brightness. Fresh or canned both work; just avoid anything labeled heavily sweetened, or the glaze can go cloying before the chicken finishes.
- Ginger and garlic — These keep the sauce from tasting like plain sweet soy glaze. Grating the ginger and mincing the garlic fine matters, because big chunks can scorch and leave bitter spots on the grates.
- Sesame oil — A little goes a long way, but it adds depth that rounds out the whole marinade. Don’t skip it unless you have to; if you do, the chicken still works, but it loses some of that toasted, savory edge.
Turning, Basting, and Not Burning the Glaze
Whisking the Marinade Until the Sugar Disappears
Mix the soy sauce, brown sugar, ketchup, pineapple juice, sherry, ginger, garlic, and sesame oil until the sugar is dissolved as much as possible. A few tiny grains are fine, but you don’t want a sandy marinade sitting on the chicken. If the sugar stays gritty, it tends to cling in one heavy layer and scorch before it can caramelize evenly.
Marinating for Flavor, Not for Days
Three to eight hours is the sweet spot. Less than that and the chicken won’t pick up enough of the ginger-garlic balance; much longer and the acid and salt start to push the texture in a tighter, cured direction. Keep it refrigerated, and don’t leave it out while you prep the grill.
Grilling Over Medium Heat
Place the chicken over medium heat and turn it often, the way the name huli suggests. Frequent flipping keeps the sugars from sticking and burning in one spot, and it helps the chicken cook through without charring the outside too early. If flare-ups start, move the chicken to a cooler part of the grill for a minute instead of cranking the heat down too late.
Basting for the Final Sticky Finish
Brush on the reserved marinade during the last stretch of cooking, when the chicken is already mostly done and the surface can take on color fast. That’s where the lacquer happens. Stop basting once the chicken is close to 165°F, or the glaze can go from glossy to burnt in the space of a minute.
Use Chicken Breasts Instead of Thighs
Boneless breasts work if that’s what you have, but they dry out faster and don’t forgive overcooking the way thighs do. Cut the grill time down and pull them as soon as they hit 165°F. You’ll get a slightly leaner bite with less of that juicy, sticky richness.
Make It Gluten-Free
Swap the soy sauce for tamari or certified gluten-free soy sauce in the same amount. The flavor stays salty and savory, and the glaze still caramelizes the same way. Just check the ketchup and broth too if you’re cooking for someone who needs to avoid gluten completely.
Turn It Into a Dairy-Free Island BBQ Plate
This recipe is already dairy-free as written, which makes it an easy crowd-pleaser. Serve it with rice, grilled pineapple, and a crisp slaw, and you’ve got the same sweet-savory profile without needing to change a thing. If you’re feeding people with mixed dietary needs, this is one of the easiest mains to keep simple.
Cook It Under the Broiler When You Can’t Grill
Set the chicken on a rack over a foil-lined sheet pan and broil it, turning and basting often. The flavor lands close to the grill version, though you’ll lose a little of the smoky edge. Keep the pan a few inches from the heat so the sugar doesn’t blacken before the inside cooks through.
Storage and Reheating
- Refrigerator: Store leftovers in an airtight container for up to 4 days. The glaze will settle and thicken as it chills.
- Freezer: It freezes well for up to 2 months, though the glaze softens a little after thawing. Freeze in portions with a spoonful of extra sauce or juices if you have them.
- Reheating: Warm it gently in a covered skillet over low heat or in a 325°F oven until hot. High heat dries out the chicken and can turn the sugars bitter, so don’t blast it in the microwave unless you’re only reheating a small portion.
Answers to the Questions Worth Asking
Grilled Huli Huli Chicken
Ingredients
Equipment
Method
- In a bowl, whisk together soy sauce, brown sugar, ketchup, pineapple juice, sherry or chicken broth, grated ginger, minced garlic, and sesame oil until the sugar dissolves.
- Reserve 1/2 cup of the marinade for basting and set it aside.
- Add chicken thighs or legs to the remaining marinade and turn to coat thoroughly.
- Cover and marinate in the refrigerator for 2-8 hours.
- Preheat the grill to medium heat.
- Grill the chicken, turning (huli) frequently, and brush with the reserved marinade.
- Continue grilling for 25-30 minutes until the internal temperature reaches 165°F and the glaze looks caramelized, charred at the edges, and sticky.