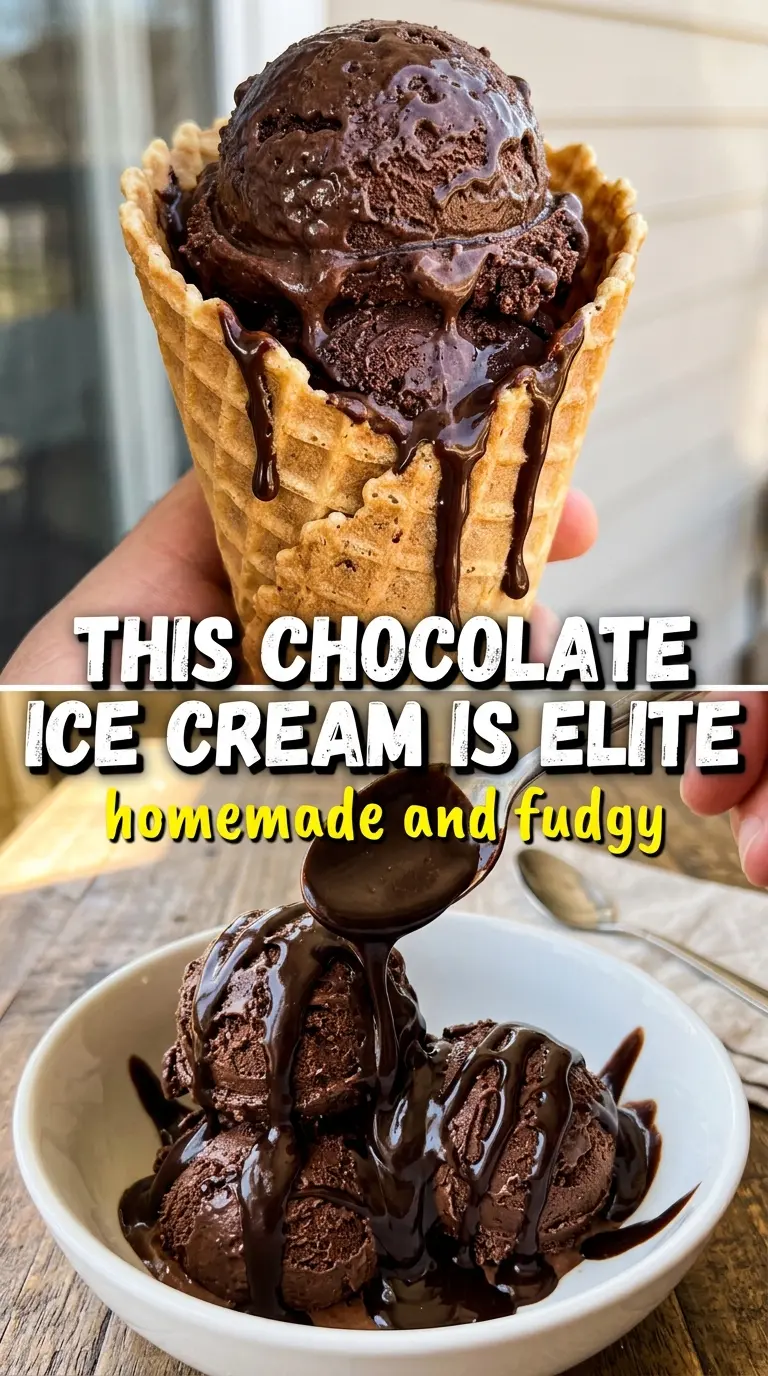
Deep, fudgy chocolate ice cream earns its place because it tastes like actual chocolate, not just sweet frozen cream. The texture lands dense and velvety, with a dark cocoa finish that holds up even after the churn. One spoonful and you get that cold, creamy richness that makes store-bought versions feel flat.
The difference here is the custard base. Cocoa gets whisked with part of the sugar first, which keeps it from clumping and helps it bloom in the warm dairy. Then the egg yolks thicken the mixture into a true ice cream base, giving you a smoother scoop and a more luxurious melt. The chopped dark chocolate pushes the flavor deeper and gives the finished ice cream that almost truffle-like intensity.
Below, I’ve included the exact cue for when the custard is ready, plus a few smart swaps and storage notes for the times you want to plan ahead.
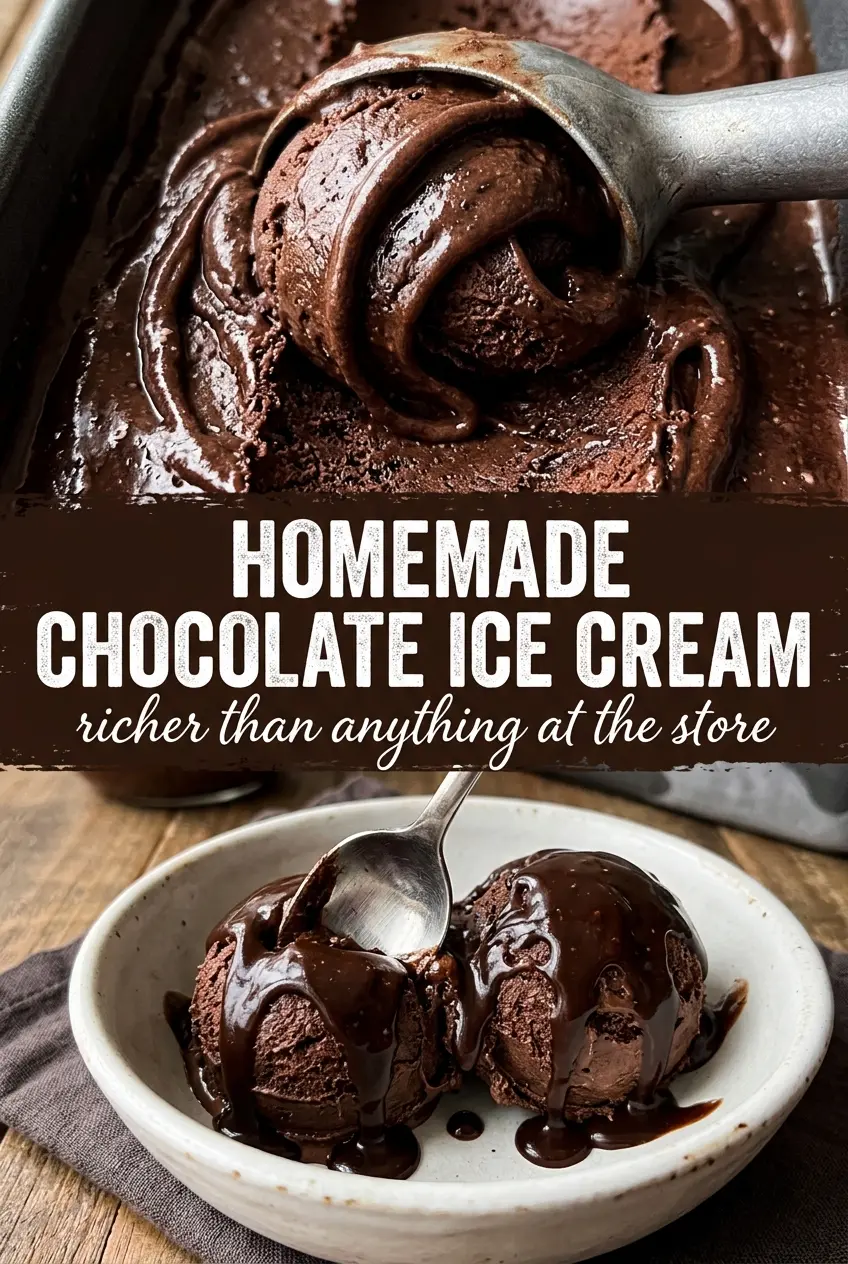
The custard turned out silky and the chocolate flavor was deep instead of just sweet. I chilled it overnight and it churned into the creamiest scoopable ice cream I’ve made at home.
Save this homemade chocolate ice cream for the nights when you want a dark, custardy scoop that churns up dense and velvety.
The Custard Step That Keeps Chocolate Ice Cream Silky Instead of Grainy
The biggest mistake in chocolate ice cream is dumping everything together and hoping the freezer fixes it. It won’t. Cocoa powder needs to be whisked with part of the sugar first so it disperses instead of floating in dry pockets, and the chocolate base needs to be heated gently enough that the yolks thicken without scrambling. Once the custard reaches 175°F and coats the back of a spoon, it should look smooth and glossy, not speckled or curdled.
Pulling the custard off the heat at the right moment matters more than aggressive stirring. If you push it too far, the yolks tighten and the texture turns pasty once frozen. If you stop too soon, the base stays thin and the finished ice cream comes out icy rather than dense. The sieve at the end isn’t optional either. It catches any stray bits before they become little frozen rough spots.
What Each Ingredient Is Doing in This Dark Chocolate Base
- Heavy cream — This gives the ice cream its body and that dense, soft scoop. There isn’t a real substitute if you want the same texture, though you can use part half-and-half in a pinch and expect a lighter result.
- Whole milk — Milk keeps the base from turning heavy and butterfat-rich only. Skim milk will make the ice cream lean and more icy, so keep the full-fat version if you can.
- Unsweetened cocoa powder — This is where the deep chocolate flavor starts. Dutch-process cocoa gives a darker color and smoother taste, while natural cocoa works too if that’s what you have.
- Dark chocolate — The chopped chocolate adds richness and depth that cocoa alone can’t deliver. Choose a bar you enjoy eating plain, because the flavor comes through clearly after freezing.
- Egg yolks — These are what turn the base into custard and help it freeze with a luxurious texture. There’s no direct swap here if you want a classic churned ice cream.
- Vanilla extract — It rounds out the chocolate and keeps the flavor from tasting flat. Use pure vanilla if possible.
- Salt — Just enough to sharpen the chocolate and keep the sweetness in check. Don’t skip it, because it makes the cocoa taste deeper without tasting salty.
From Hot Chocolate Base to Scoopable Ice Cream
Blooming the Cocoa
Whisk the cocoa powder with part of the sugar before it ever hits the dairy. That little step keeps the cocoa from clumping and helps it dissolve into a smooth, dark base instead of leaving dusty streaks. Warm the cream and milk until steaming, not boiling, or you’ll scorch the dairy and mute the chocolate flavor. When the chopped chocolate goes in, whisk until the mixture looks fully glossy and no flecks remain.
Tempering the Yolks
Whisk the egg yolks with the remaining sugar until they look pale and slightly thickened. Then add the hot chocolate cream slowly in a thin stream while whisking constantly. This is the point where people scramble eggs by rushing, and the fix is simple: keep the stream slow and keep whisking so the yolks rise in temperature gradually. Once the yolk mixture is warmed through, it can go back to the pan.
Cooking the Custard
Return everything to the saucepan and cook over medium-low heat, stirring constantly with a spatula or wooden spoon. You’re watching for the mixture to thicken enough to coat the back of the spoon, and if you drag a finger through that coating, the line should hold. The moment you hit 175°F, take it off the heat. Going past that point is how you get a dull, eggy custard instead of a silky one.
Chilling, Churning, and Freezing
Strain the custard into a clean bowl, then stir in the vanilla and salt before cooling it over an ice bath. Chill it completely in the fridge for at least 4 hours, or overnight if you want the best texture. A cold base churns faster and makes smaller ice crystals, which is what gives the finished ice cream that dense, creamy feel. After churning, freeze until firm enough to scoop, but don’t leave it uncovered or the surface will take on freezer frost.
How to Adapt This Ice Cream Without Losing the Creamy Scoop
Dairy-Free Version
Use full-fat canned coconut milk in place of the cream and whole milk. The flavor will pick up a faint coconut note, and the texture will be a little softer because coconut fat behaves differently than dairy fat, but it still churns into a rich, spoonable dessert.
Extra-Intense Dark Chocolate
Swap the dark chocolate for an even higher cacao percentage if you want a more bittersweet finish. The ice cream will taste less sweet and more grown-up, so keep the sugar level the same unless you specifically want a very dark, almost fudge-like result.
No Ice Cream Maker
You can freeze the custard in a shallow container and stir it every 30 minutes for the first 2 to 3 hours. The texture won’t be quite as smooth as churned ice cream, but the custard base still keeps it far better than a no-egg shortcut would.
Storage and Reheating
- Refrigerator: The base can sit chilled for up to 2 days before churning, which actually helps the flavor settle and the texture improve.
- Freezer: Churned ice cream keeps well for about 2 weeks in a tightly covered container. Press parchment or wax paper directly on the surface to slow ice crystal formation.
- Reheating: Not applicable here, but if the ice cream gets too hard, let it sit at room temperature for 5 to 10 minutes before scooping. Microwaving melts the edges before the center softens.
Answers to the Questions Worth Asking
Homemade Chocolate Ice Cream
Ingredients
Equipment
Method
- Whisk cocoa powder with 1/4 cup sugar, then whisk it into the heavy cream and whole milk in a saucepan. Heat over medium, whisking until steaming and fully combined.
- Add the finely chopped dark chocolate and whisk until completely melted and smooth.
- Whisk the egg yolks with the remaining 1/2 cup sugar until pale. Slowly whisk the hot chocolate cream into the yolks to temper them.
- Return the mixture to the saucepan and cook over medium-low heat, stirring constantly, until the custard coats the back of a spoon (175°F).
- Strain the custard through a fine-mesh sieve, then stir in vanilla extract and salt. Cool completely over an ice bath until no longer warm to the touch.
- Refrigerate at least 4 hours or overnight, then churn in an ice cream maker. Freeze until firm.