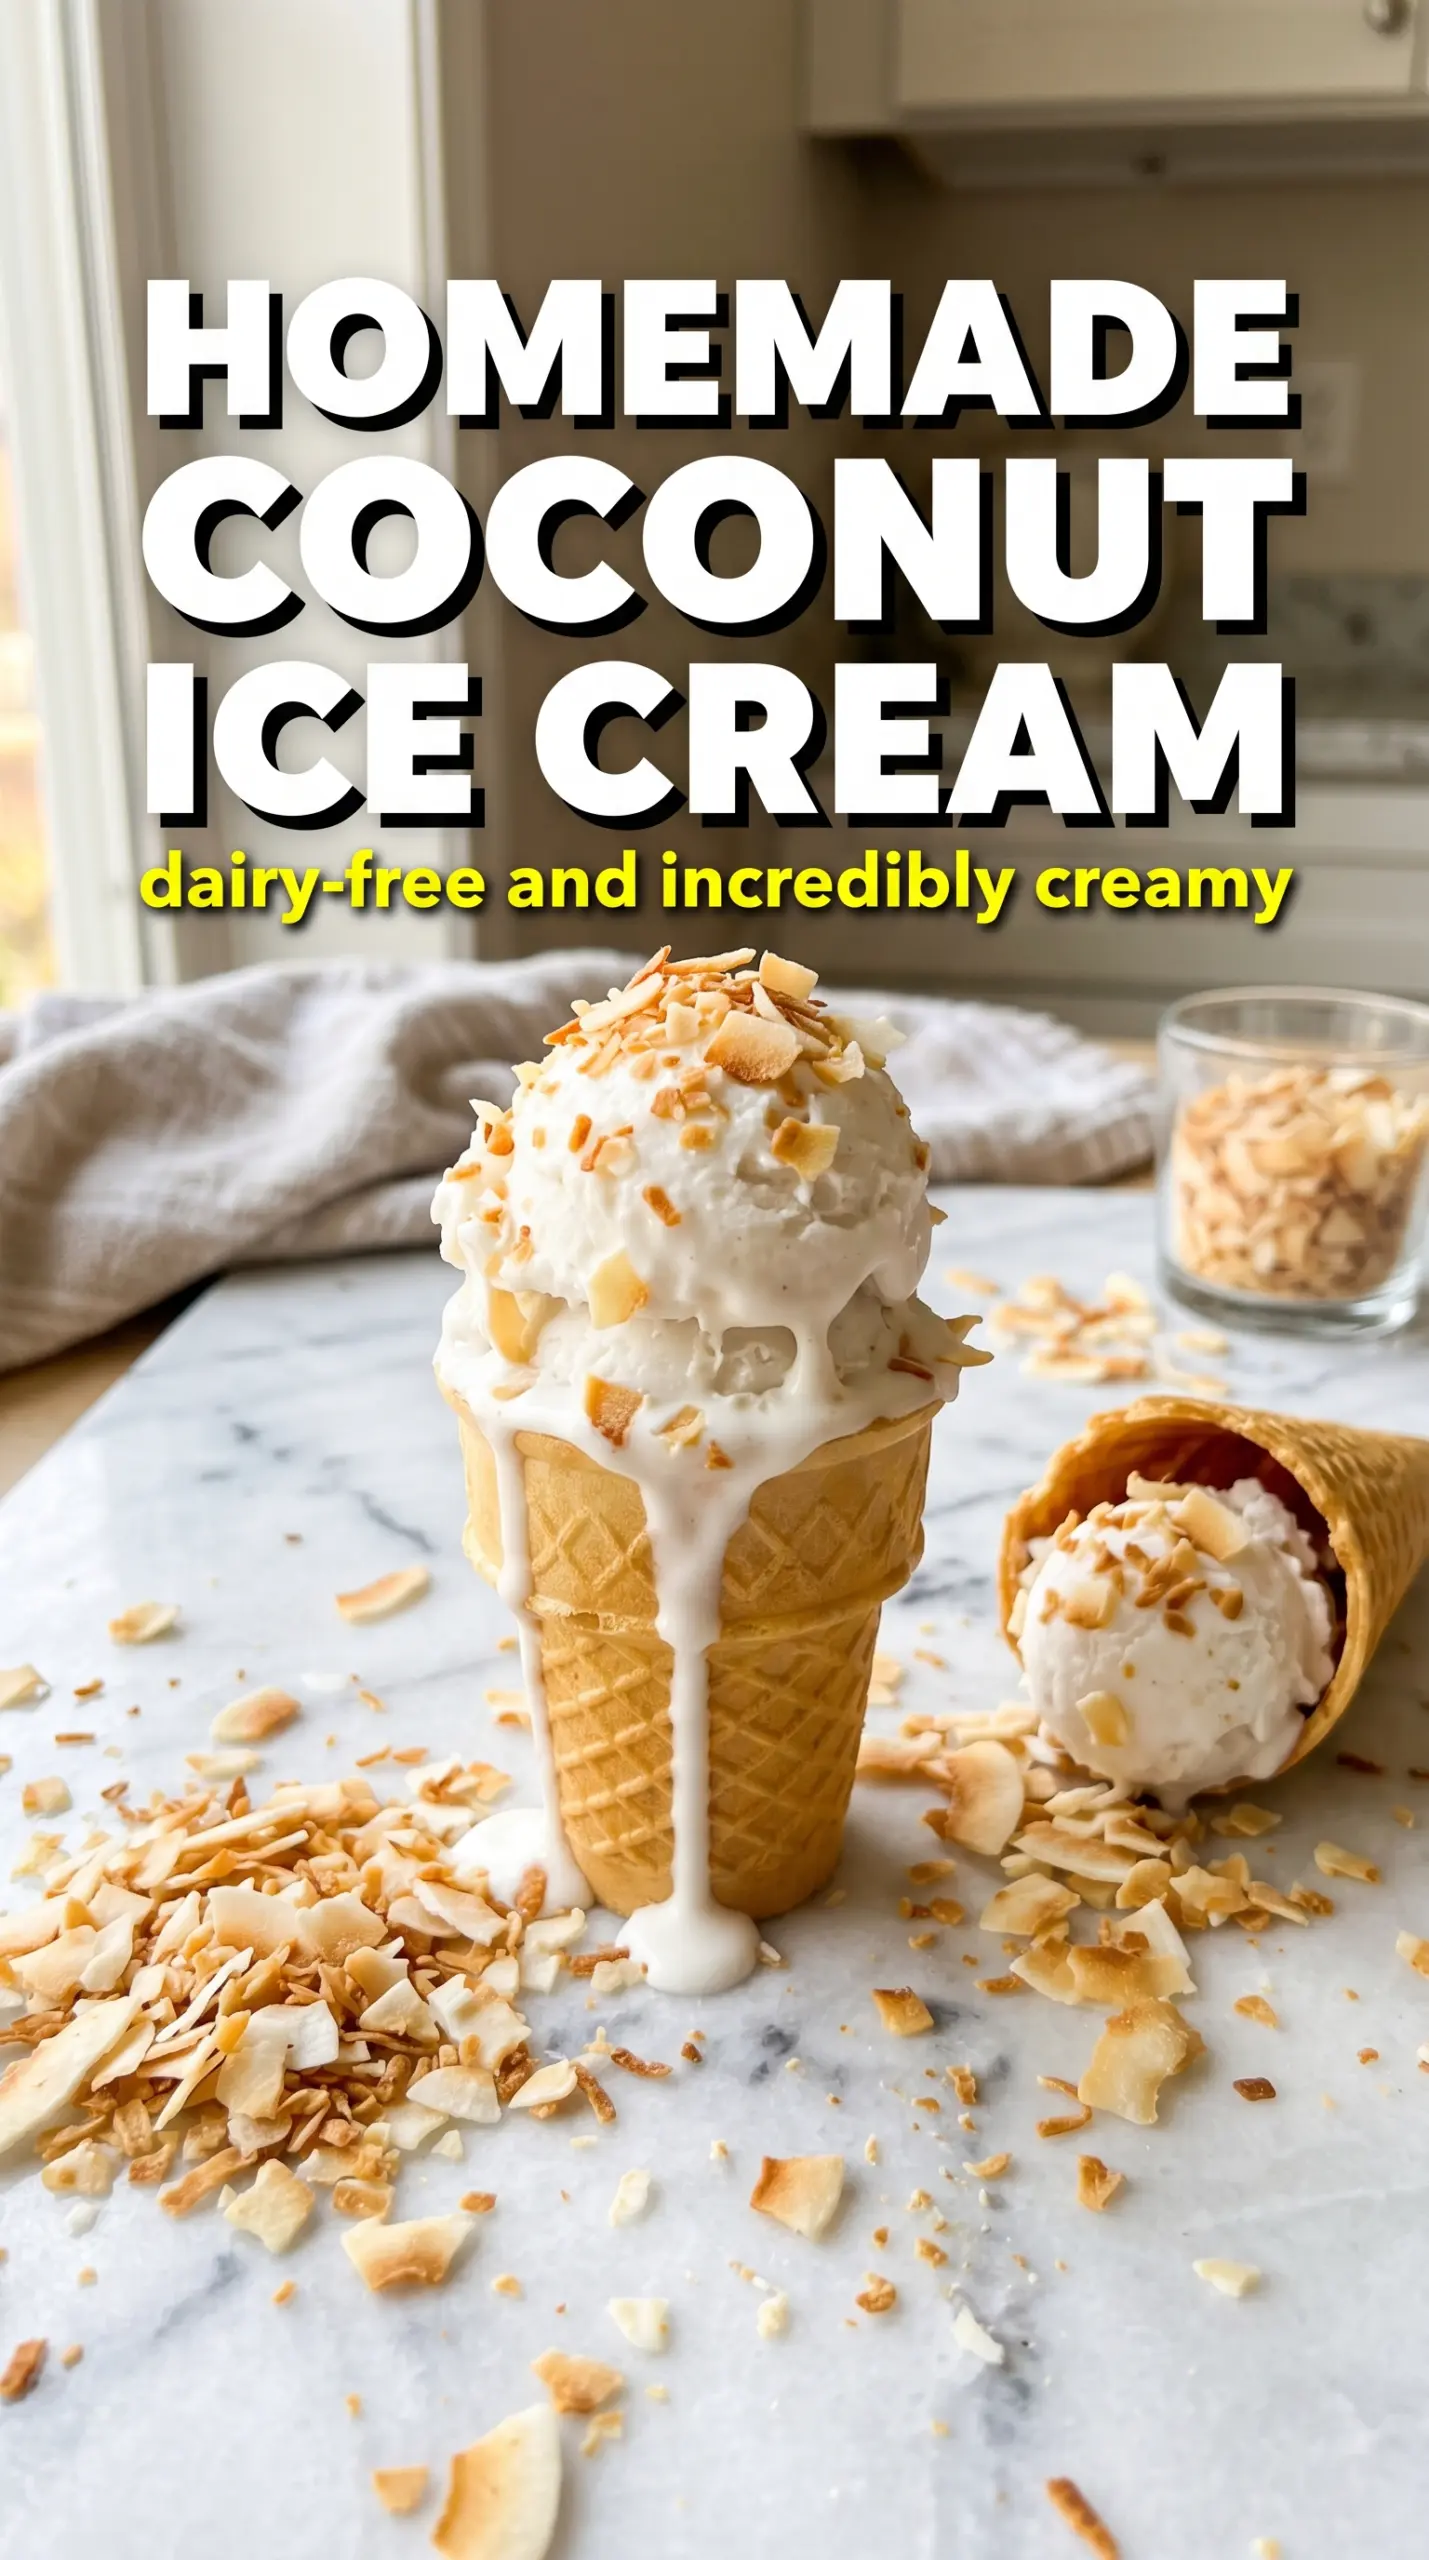
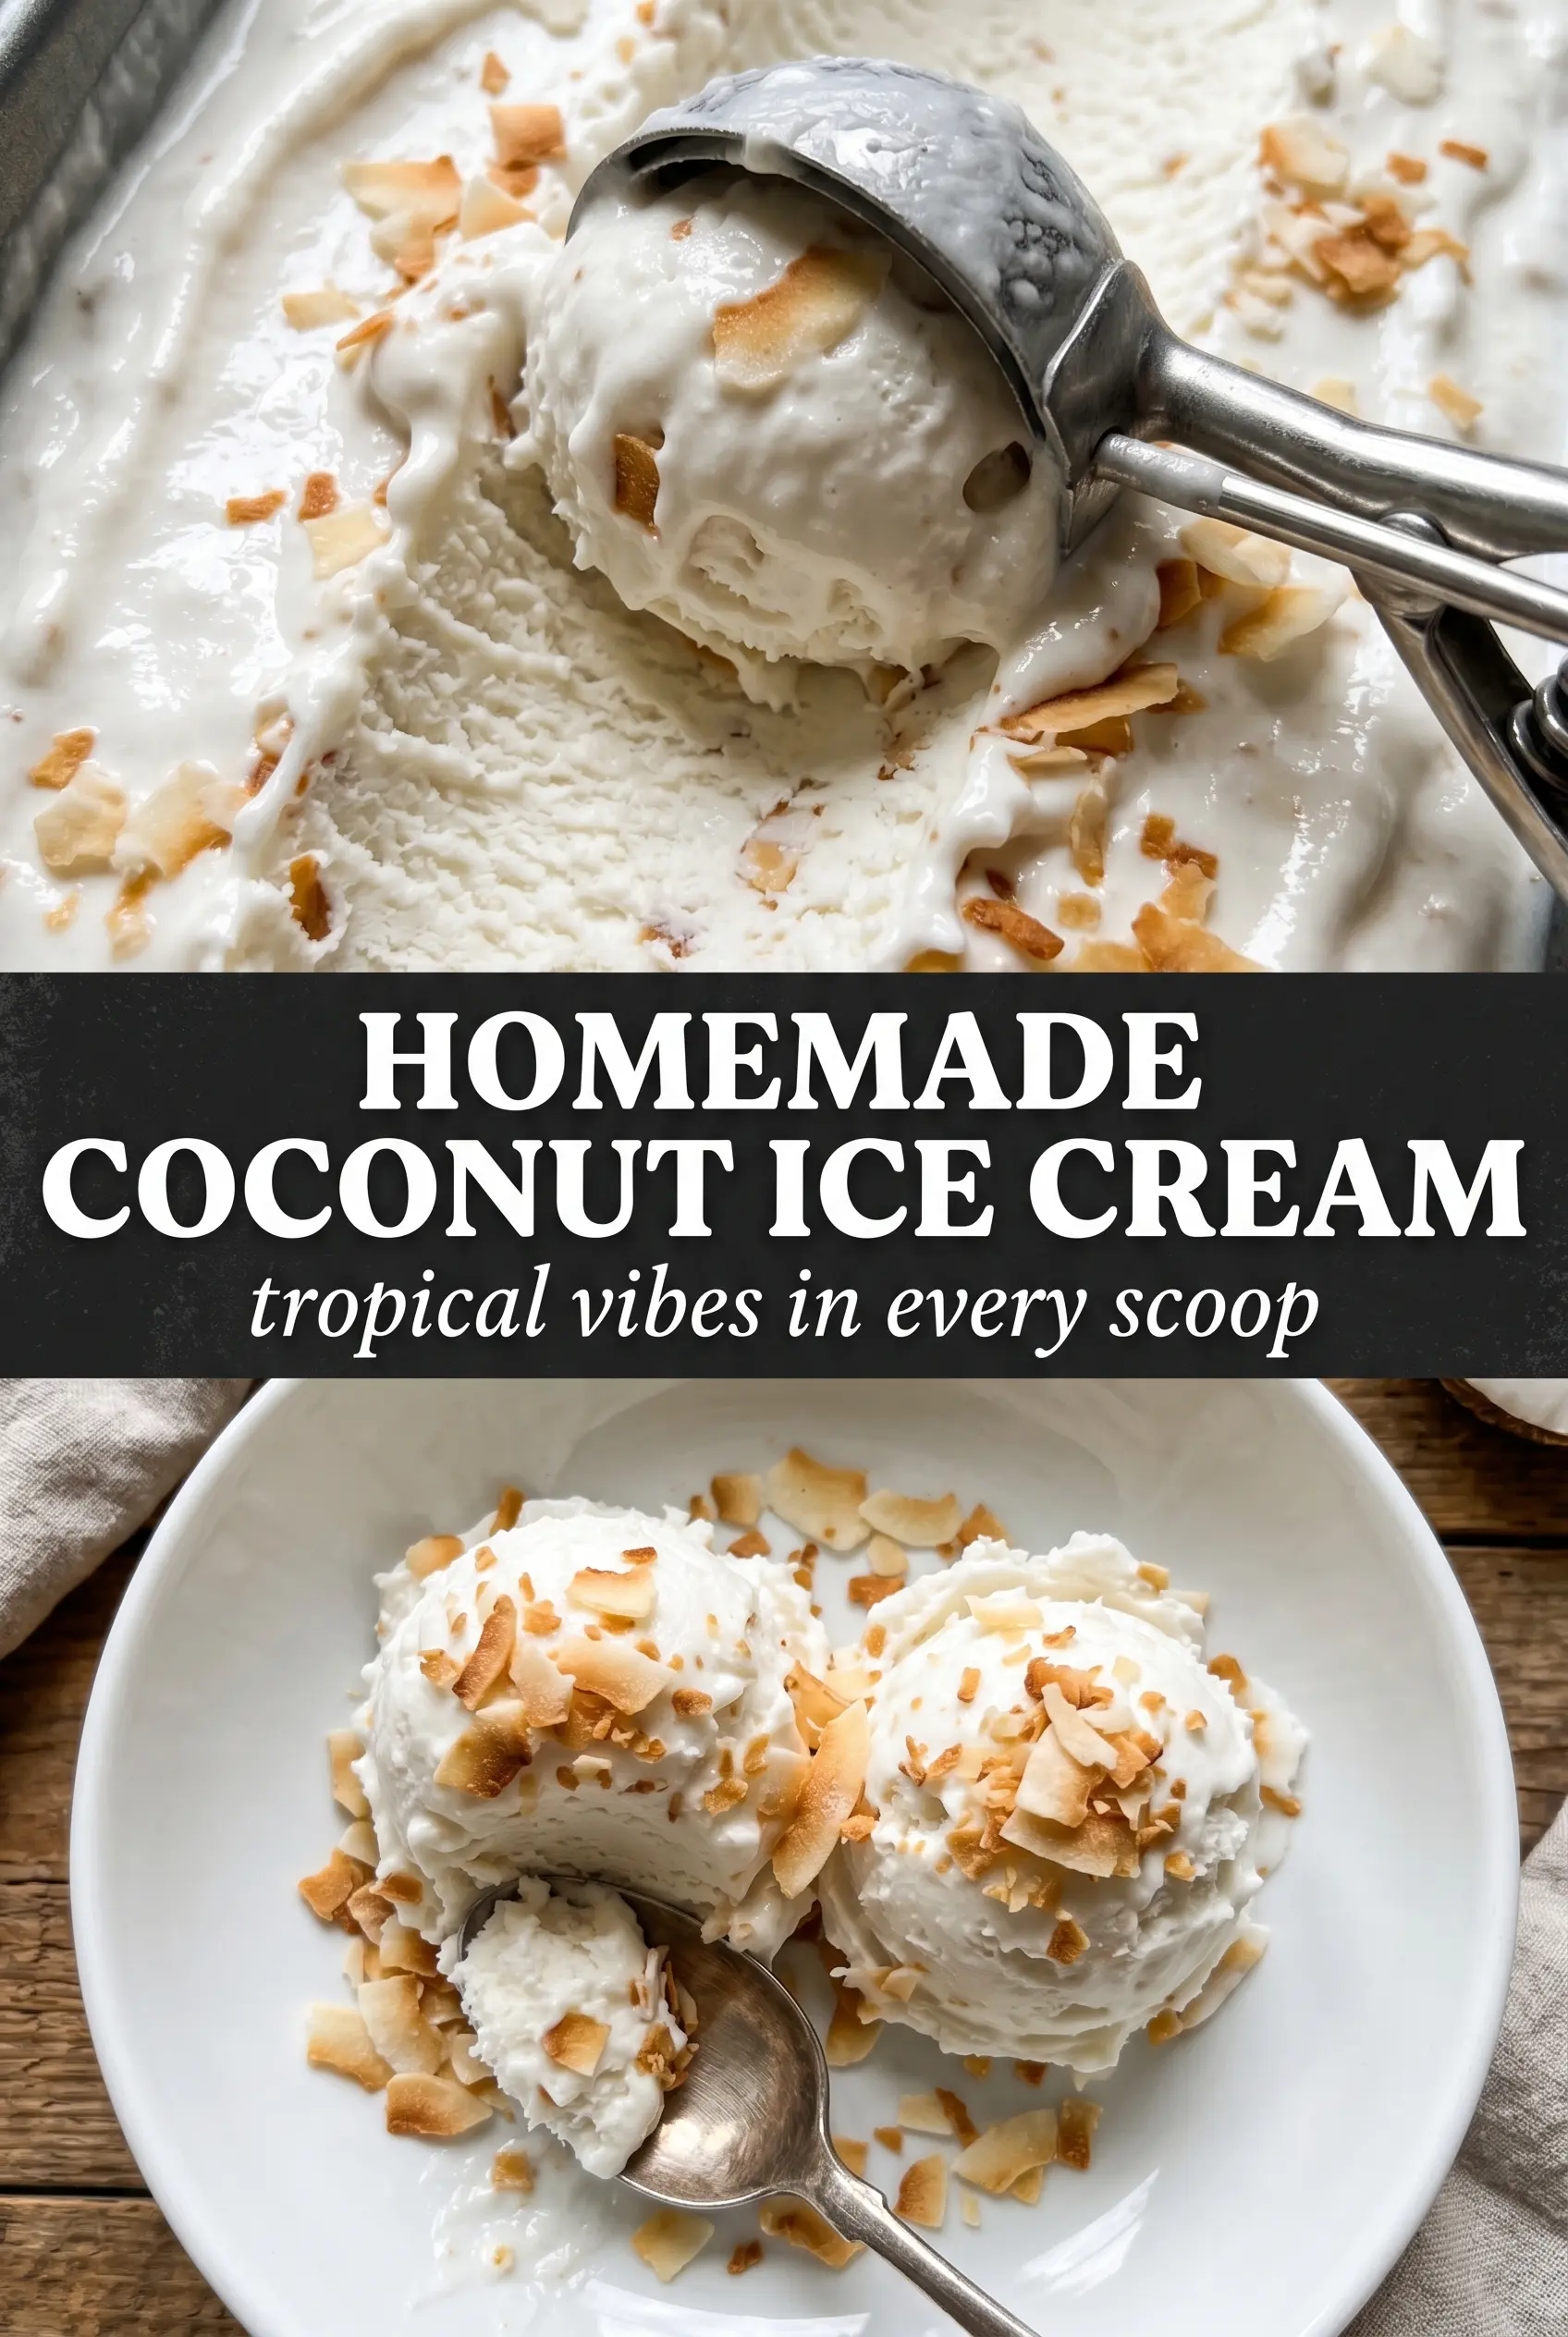
Silky coconut ice cream has a way of tasting richer than its ingredient list suggests. The base turns spoonable and dense without needing dairy, and the toasted coconut folded through at the end gives every bite a little chew and a deeper, nutty edge. What makes this version worth keeping around is the custard-style base: it freezes with a cleaner scoop and a smoother texture than a simple coconut milk mixture ever will.
The trick is treating coconut milk like the rich ingredient it is. Full-fat cans bring the body, egg yolks bring stability, and a little sugar does more than sweeten — it helps the ice cream stay soft instead of icy. Coconut extract matters here too, but only in a small amount; too much and the whole thing starts to taste artificial instead of creamy and fragrant.
Below, I’ll walk through the part that keeps the custard from scrambling, the one ingredient that gives the finished ice cream its toasted texture, and a few variations if you want to adapt it for a different pantry or a dairy-free dessert spread.
The custard turned out so smooth, and the toasted coconut stayed crisp enough to give the ice cream a great little crunch even after freezing overnight.
Save this toasted coconut ice cream for the nights when you want a custard-style frozen dessert with real coconut depth.
The Custard Base Is What Keeps Coconut Ice Cream Scoopable
Most coconut ice creams go icy because the base never gets enough body before it goes into the machine. This one uses egg yolks and full-fat coconut milk to build a proper custard, which means the finished ice cream freezes creamier and melts in a slower, nicer way. The heat matters, but so does restraint: if the custard boils, the yolks tighten too fast and you get a grainy texture instead of a smooth one.
- Full-fat coconut milk — This is the backbone of the recipe. Light coconut milk won’t give you the same dense, creamy freeze, and that loss shows up in the final texture.
- Egg yolks — They thicken the base and keep it stable in the freezer. Whisk them until smooth first, then add the hot coconut milk slowly so they temper instead of scramble.
- Coconut extract — Use it sparingly. It boosts the coconut aroma without needing extra coconut milk, but too much makes the ice cream taste perfumed instead of rich.
- Toasted shredded coconut — This isn’t just garnish. Folding it in at the end keeps some texture in the scoop and gives you those little toasty bites instead of a uniformly smooth bowl.
What Each Ingredient Is Actually Doing in This Ice Cream
- Base ingredient (cream, milk, or custard) — This provides the foundation and richness. Quality matters.
- Sweetener (sugar, honey, or condensed milk) — This sweetens and prevents ice crystals. The ratio is critical.
- Flavor element (vanilla, fruit, chocolate, coffee, or other) — This defines the ice cream personality. Use quality ingredients.
- Egg yolks (if making custard base) — These create richness and silky texture. Optional but elevates ice cream.
- Churning (if using ice cream maker) — This incorporates air and prevents ice crystals. Critical for smooth texture.
- Freezing temperature and time — Proper freezing prevents rock-hard texture. Store at 0°F or below.
- Mix-ins (chocolate, cookies, fruit, or swirls) — These add texture and prevent one-dimensional flavor. Add near end of churning.
- Serving temperature (slightly soft, not rock hard) — This provides creamy mouthfeel. Remove from freezer 5 minutes before serving.
Cooking the Custard Until It Coats the Spoon
Warming the Coconut Milk and Sugar
Start by heating the coconut milk and sugar together until the sugar dissolves and the mixture steams. Don’t rush this with high heat; coconut milk can catch on the bottom if the pan gets too hot before the sugar has fully melted. You’re not looking for a boil, just a hot base that’s ready to temper into the yolks.
Tempering the Yolks Without Scrambling Them
Whisk the egg yolks until smooth in a separate bowl, then pour the hot coconut milk in slowly while whisking constantly. That gradual addition is what keeps the eggs from turning into bits of cooked yolk. If the mixture starts to look lumpy at this stage, stop and strain it before it goes back to the pan.
Finishing the Custard at 175F
Return everything to the saucepan and cook over medium-low heat, stirring constantly, until the custard reaches 175F and coats the back of a spoon. The spoon test should leave a clear line when you swipe a finger through it. Pull it off the heat as soon as it reaches that point; going much hotter can make the base taste eggy and tighten too much once frozen.
Chilling Before Churning
Strain the custard, stir in the vanilla, coconut extract, and salt, then cool it completely before refrigeration. Four hours is the minimum, but colder is better for churning because a cold base freezes faster in the machine and picks up less ice. If the mixture is even slightly warm, the churn will take longer and the texture won’t be as fine.
Make It Dairy-Free and Still Creamy
This recipe is already dairy-free as written, so the main job is keeping the texture rich. Stick with full-fat coconut milk and don’t swap in carton coconut beverage, which is too thin and freezes hard. If you want a little extra richness, a tablespoon of coconut cream gives the base more body without changing the flavor.
Skip the Eggs for a Faster Version
You can leave out the yolks and churn the sweetened coconut milk mixture as a Philadelphia-style ice cream, but it will freeze a little firmer and taste less custard-like. If you go this route, add 1 to 2 tablespoons of vodka or rum to soften the texture in the freezer. The flavor stays clean, but you lose the velvety richness that the yolks bring.
Use Unsweetened Coconut if That’s What You Have
Unsweetened shredded coconut works, but it won’t bring the same chewy, caramelized finish as sweetened coconut. If that’s your only option, toast it lightly and toss it with a teaspoon of sugar while it’s still warm so the texture reads a little fuller in the finished ice cream. The result is less candy-like, which some people prefer.
Storage and Reheating
- Refrigerator: Keep the churned base, covered, for up to 3 days before freezing if needed. It may thicken slightly as it rests, which is what you want.
- Freezer: Freeze the finished ice cream in an airtight container for up to 2 weeks. After that, the texture starts to get a little more brittle and icy around the edges.
- Reheating: Ice cream doesn’t reheat, but it does need a short stand time. Let it sit at room temperature for 5 to 10 minutes before scooping so the custard relaxes; if you try to force it straight from the freezer, the top shaves off while the center stays rock hard.
Questions I Get Asked About This Recipe
Homemade Coconut Ice Cream
Ingredients
Equipment
Method
- Heat the coconut milk and granulated sugar in a saucepan over medium heat until the mixture steams and the sugar dissolves, about 3–5 minutes, and you can see small bubbles around the edges.
- Whisk the egg yolks until smooth, about 30–60 seconds, until the yolks look glossy and uniform.
- Slowly whisk the hot coconut milk into the egg yolks in a thin stream so the yolks temper, and the mixture becomes pale and creamy.
- Return the mixture to the saucepan and cook over medium-low heat, stirring constantly, until it reaches 175°F and coats the back of a spoon, about 6–8 minutes, with a thick custard sheen.
- Strain the custard into a bowl, then stir in vanilla extract, coconut extract, and salt, and continue mixing until fully smooth.
- Cool completely to room temperature, then refrigerate at least 4 hours until very cold.
- Churn the chilled custard in an ice cream maker until it looks like soft-serve, about 20–30 minutes, and measure a thick, spoonable texture.
- Fold the toasted shredded sweetened coconut into the ice cream in the last 2 minutes of churning, so flakes are evenly dispersed, then transfer to a container.
- Freeze until firm, at least 2–4 hours, until scoops hold their shape.