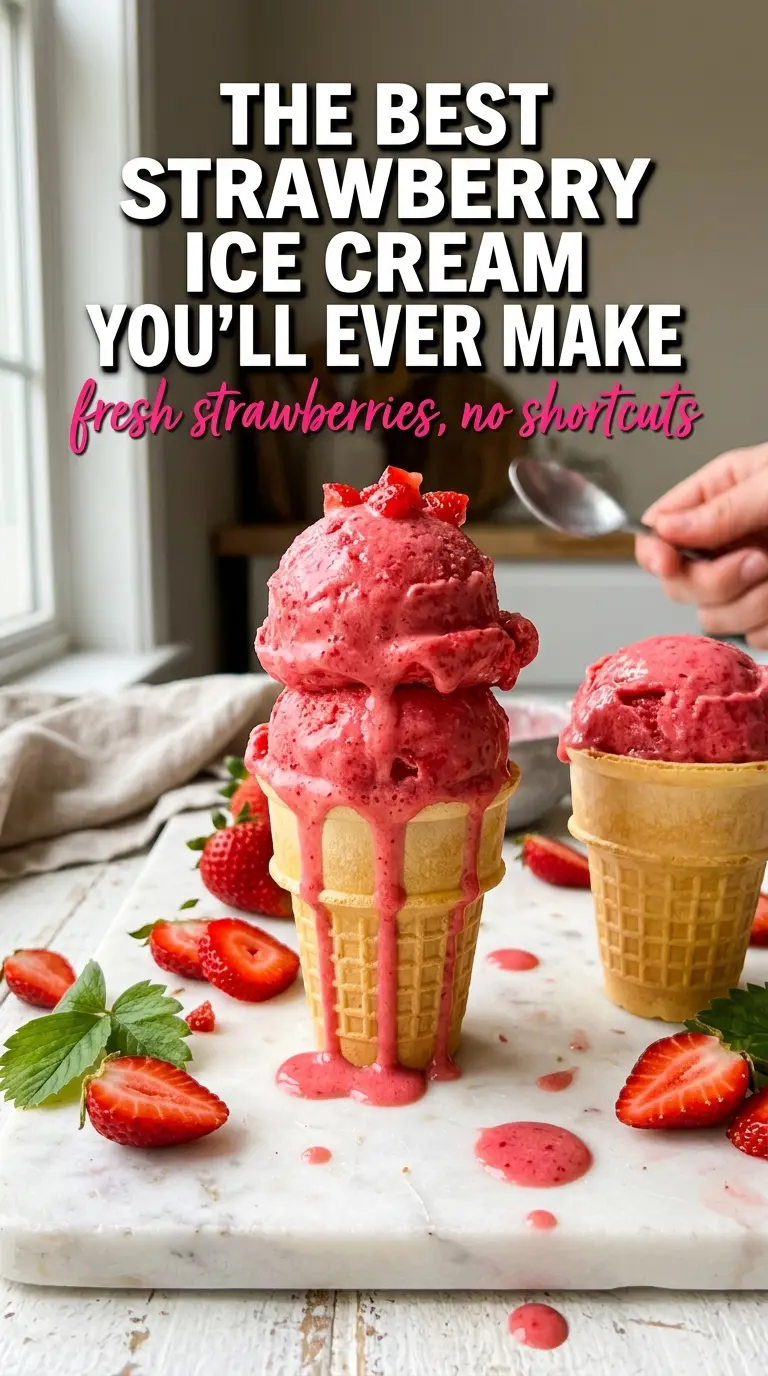
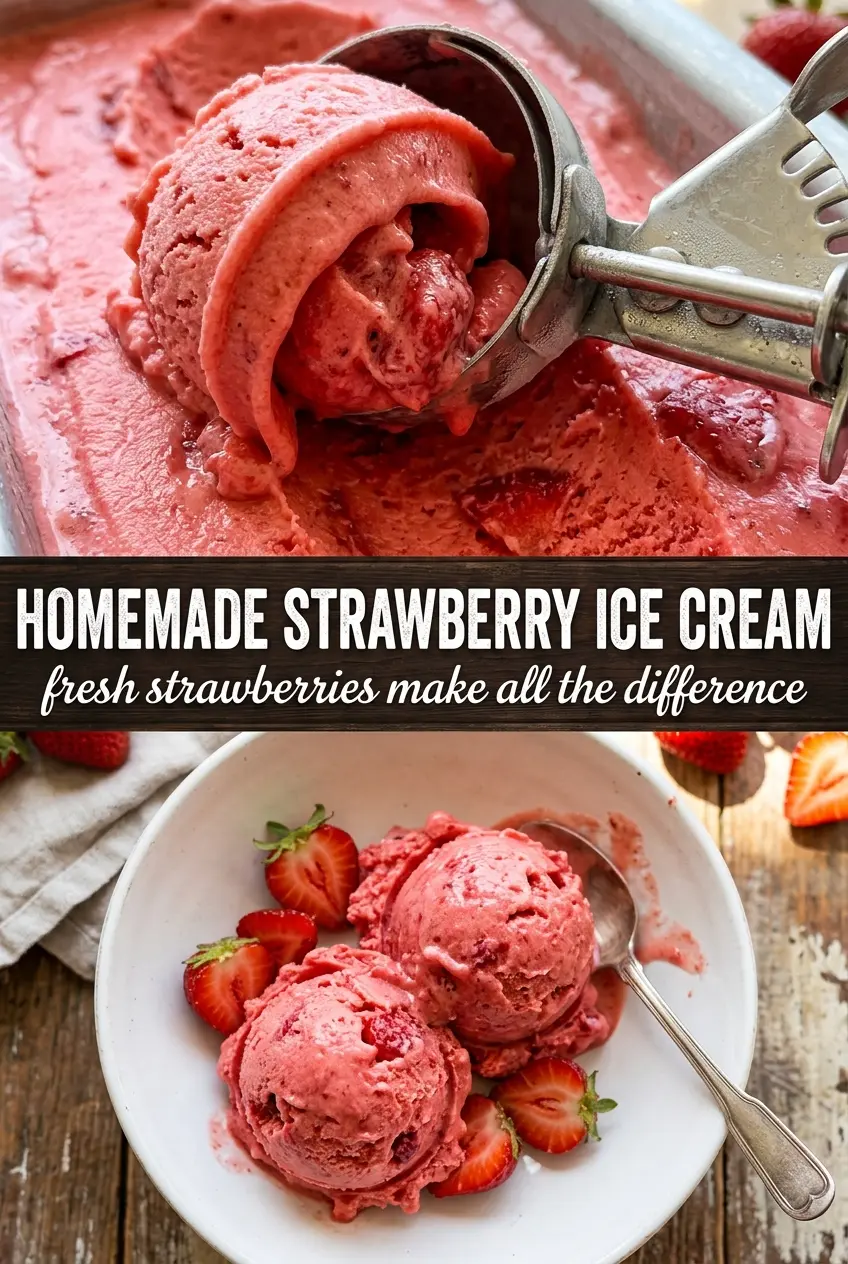
Scoops of homemade strawberry ice cream should taste like actual strawberries first, cream second, and nothing artificial in the middle. The best batches are pale pink, flecked with fruit, and dense enough to hold a spoon mark without turning icy at the edges. That balance matters here because strawberry is one of those flavors that disappears fast if you use weak fruit or rush the custard.
This version leans on two things that make a big difference: macerating the berries before they go into the churn, and cooking the custard just enough to thicken it without scrambling the yolks. The strawberry puree goes in near the end so the fruit stays bright and noticeable instead of being cooked into a flat jammy note. A little lemon juice sharpens the berries, and the custard base keeps the texture smooth after freezing.
Below, you’ll find the cue for when the custard is done, the reason the strawberry mixture gets added late, and a few smart ways to adapt the recipe if you want a different finish. It’s the kind of ice cream that rewards a little patience.
The strawberries stayed bright and the custard chilled up into the smoothest ice cream I’ve made at home. I loved that the berry pieces were still there instead of getting lost in the base.
Save this homemade strawberry ice cream recipe for the day you want real berry flavor, a creamy custard base, and scoops that freeze up smooth instead of icy.
The Part Most Ice Cream Recipes Skip: Giving the Strawberries a Chance to Taste Like Strawberries
The biggest mistake with strawberry ice cream is dumping raw berries straight into the base and hoping the freezer does the rest. Cold mutes fruit. If the berries don’t get a little sugar and time up front, the finished ice cream tastes thin and washed out, even if the color looks pretty. Macerating the strawberries pulls out their juice and concentrates the flavor before anything gets churned.
The second place people get into trouble is the custard. If you cook it too fast, the yolks curdle; if you stop too soon, the base stays loose and freezes with a sharp, icy bite. You want a thickened custard that coats the back of a spoon and leaves a clean line when you drag your finger through it. That’s the texture that turns into a creamy scoop later.
- Fresh strawberries — Use ripe berries with a strong smell and deep red flesh. Pale, out-of-season strawberries can still work, but they’ll need the sugar and lemon to do more of the heavy lifting.
- Lemon juice — This doesn’t make the ice cream taste sour. It wakes up the berries and keeps the flavor from turning flat after freezing.
- Egg yolks — They give the base body and a softer freeze. Skip them and you’ll get a lighter, more sorbet-like texture, but not the same custard richness.
- Heavy cream and whole milk — The cream carries richness; the milk keeps the ice cream from feeling heavy. Don’t swap in low-fat milk if you want that smooth scoopable finish.
- Vanilla — It rounds out the strawberry flavor without taking over. Use a good one, but don’t overdo it, or the berries disappear in the background.
What Each Ingredient Is Actually Doing in This Ice Cream
- Base ingredient (cream, milk, or custard) — This provides the foundation and richness. Quality matters.
- Sweetener (sugar, honey, or condensed milk) — This sweetens and prevents ice crystals. The ratio is critical.
- Flavor element (vanilla, fruit, chocolate, coffee, or other) — This defines the ice cream personality. Use quality ingredients.
- Egg yolks (if making custard base) — These create richness and silky texture. Optional but elevates ice cream.
- Churning (if using ice cream maker) — This incorporates air and prevents ice crystals. Critical for smooth texture.
- Freezing temperature and time — Proper freezing prevents rock-hard texture. Store at 0°F or below.
- Mix-ins (chocolate, cookies, fruit, or swirls) — These add texture and prevent one-dimensional flavor. Add near end of churning.
- Serving temperature (slightly soft, not rock hard) — This provides creamy mouthfeel. Remove from freezer 5 minutes before serving.
Building a Custard Base That Stays Smooth After Churning
Macerate the Berries First
Toss the sliced strawberries with a portion of the sugar and the lemon juice, then let them sit until they look glossy and wet. That rest draws out enough juice to make blending easier and deepens the fruit flavor without extra cooking. Mash them for a chunkier finish or blend them if you want a smoother ripple, but keep some texture if you want visible berry pieces in the final scoop.
Temper the Yolks Slowly
Whisk the yolks with the remaining sugar until they turn pale and thicker, then stream in the hot cream-and-milk mixture gradually. The slow pour matters because it keeps the eggs from turning into bits of sweet scrambled yolk. If the mixture looks streaky or grainy at this stage, it went in too fast; whisk steadily and keep the stream thin.
Cook Until It Coats the Spoon
Return everything to the saucepan and cook over medium-low heat, stirring constantly and scraping the bottom and corners. The custard is ready when it thickens enough to coat a spoon and the line you draw through it stays open for a second. Pull it off the heat before it boils; boiling is the fastest way to break a custard or give it that faint eggy edge.
Chill Completely Before Churning
Strain the custard, stir in the vanilla and salt, then cool it fully before it goes into the fridge. A warm base churns poorly and can take longer to freeze, which is how you end up with a grainy, loose texture instead of a dense one. The base should be cold all the way through before it ever hits the ice cream maker.
Lighter Strawberry Ice Cream
Swap the custard base for an egg-free version if you want a softer, cleaner fruit flavor. You’ll lose some of the richness and stability, but the strawberry taste will come through a little brighter. Keep the dairy cold and churn until thick, since an egg-free base depends on fat and freeze time for texture.
Dairy-Free Version
Use full-fat coconut milk or a rich oat-based cream blend in place of the dairy, but expect a different finish. Coconut milk will add a faint coconut note and freeze a little firmer, while oat cream stays milder but can be less plush. Whichever route you choose, chill the base thoroughly and churn it cold.
Strawberry Swirl with Bigger Berry Pieces
Mash the berries lightly instead of blending them smooth, then fold the puree in at the very end of churning. That gives you ribboned streaks and little pockets of fruit instead of an even pink base. It’s the best move if you want a more rustic scoop with visible strawberry pieces throughout.
Storage and Reheating
- Refrigerator: Store the custard base up to 2 days before churning. After freezing, move the ice cream to the freezer; the fridge will soften it too much.
- Freezer: Keeps best for about 2 weeks in an airtight container with parchment pressed on top. After that, the texture starts to pick up ice crystals and the strawberry flavor fades.
- Reheating: Let scoops sit at room temperature for 5 to 10 minutes before serving. Don’t microwave it unless you want melted edges and a frozen center.
Answers to the Questions Worth Asking
Homemade Strawberry Ice Cream
Ingredients
Equipment
Method
- Toss the sliced fresh strawberries with 1/4 cup granulated sugar and the lemon juice, then let sit at room temperature for 30 minutes to macerate.
- Mash or blend the macerated strawberries into a chunky puree, then refrigerate.
- Whisk the egg yolks with the remaining 1/2 cup granulated sugar until pale and thick.
- Heat the heavy cream and whole milk in a saucepan over medium heat until steaming, then slowly whisk into the egg yolks.
- Return the mixture to the saucepan and cook over medium-low heat, stirring constantly, until it thickens to coat the back of a spoon (170-175F).
- Strain the custard, then stir in the vanilla extract and the pinch of salt.
- Cool completely, then refrigerate at least 2 hours.
- Churn the chilled custard in an ice cream maker according to the manufacturer’s instructions.
- Add the strawberry puree in the last 5 minutes of churning.
- Transfer to a container and freeze at least 2 hours until firm.