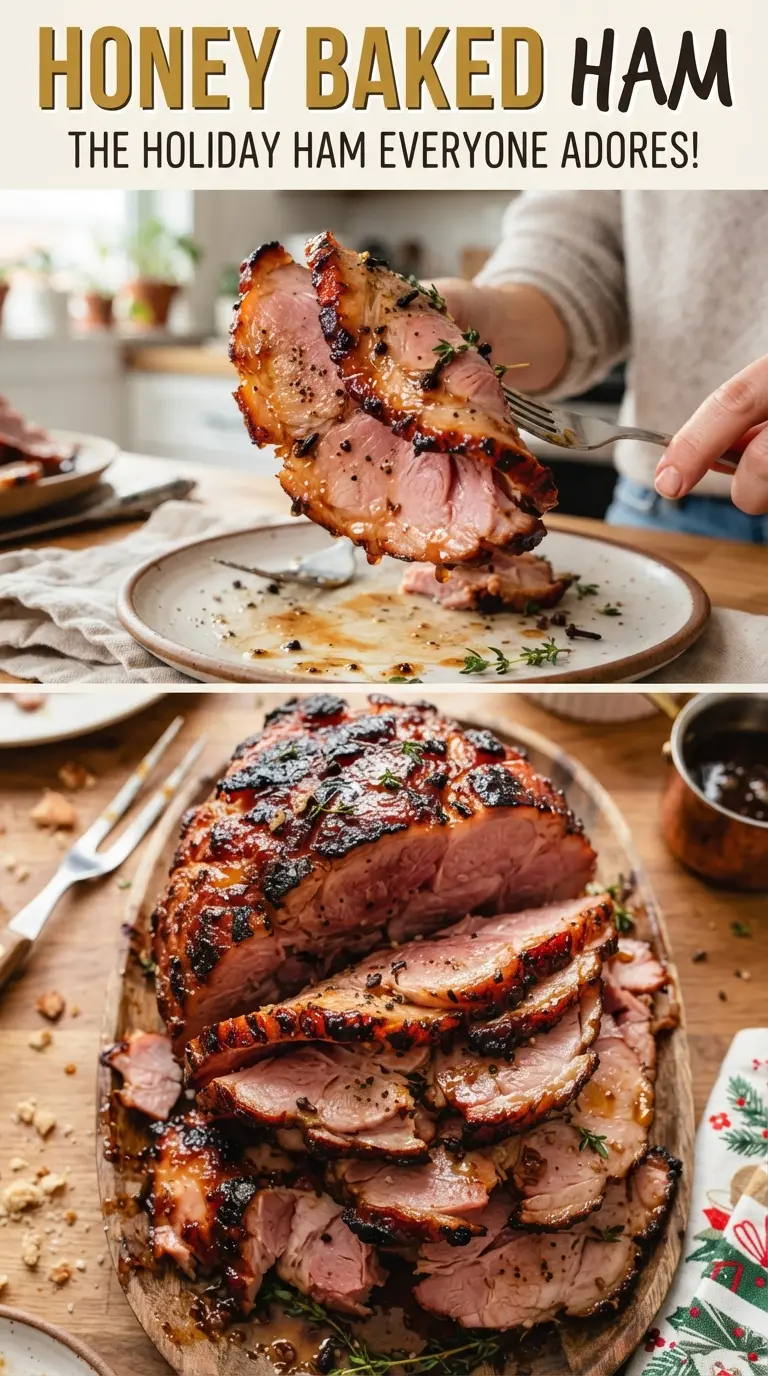
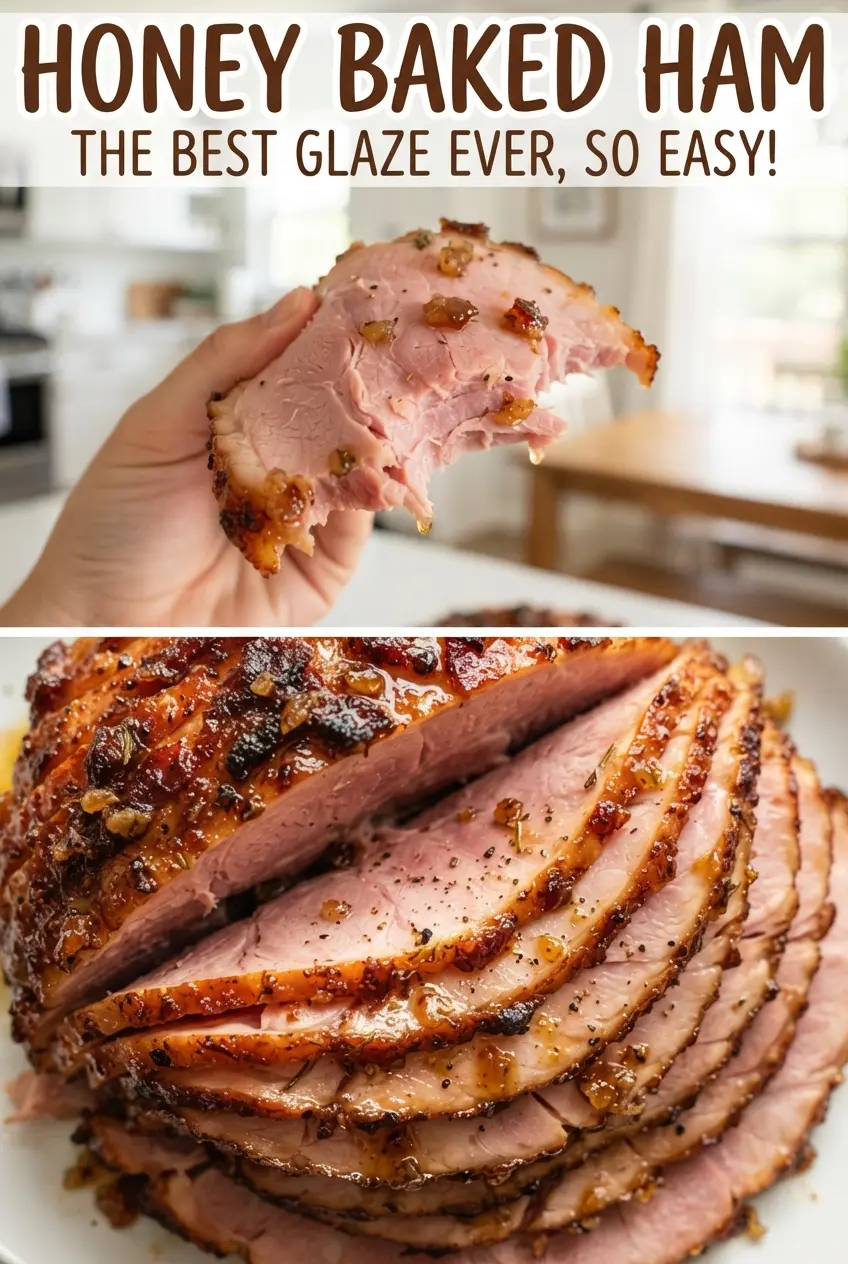
Honey baked ham comes out with that glossy, crackly crust people always remember first, then the smoky-sweet slices underneath that stay juicy all the way to the bone. The sugar mixture melts into the honey butter and forms a caramel shell that clings to the spirals instead of sliding off, which is what separates a good baked ham from one that just tastes sweet on top.
The trick is layering the glaze in stages. A spiral-sliced ham already gives you all those edges for the coating to settle into, so you don’t need to drown it. You need heat control, a proper rest, and a crust that gets rebuilt a few times in the oven so it turns deep amber instead of grainy.
Below you’ll find the timing that keeps the ham tender, the reason the oven temperature changes halfway through, and a few smart swaps if you want to adjust the spice or make the glaze a little more restrained.
The sugar crust set up beautifully and the ham stayed moist even on the second day. I followed the brushing steps and it came out with that crackly top I always see on holiday platters but never used to get at home.
Love that crackly honey-brown crust? Save this Honey Baked Ham for the next time you want a glazed centerpiece that slices cleanly and stays juicy.
The Glaze Fails When You Rush the Heat
Most baked hams go wrong in the final stretch, not at the start. If the oven stays too cool after the glaze goes on, the sugar melts into a thin syrup and never sets into that crackly shell. If the oven runs too hot too early, the sugars darken before the ham has a chance to warm through, which leaves you with a bitter crust and dry edges.
This recipe avoids both problems by warming the ham gently first, then raising the temperature only after the glaze is in place. That gives the meat time to come up to 120F without overcooking, and it gives the honey-sugar coating enough heat to caramelize in short bursts. The repeated brushing matters too. Thin layers dry and harden better than one thick coating that slides off the spiral cuts.
- Spiral-sliced ham — This is the right cut for this method because the glaze slips between the slices and seasons the meat from the outside in. A whole unsliced ham works, but it won’t get the same deep coverage.
- Honey — Honey gives the glaze its shine and that slightly sticky finish you want on the crust. There isn’t a perfect substitute here; maple syrup will work in a pinch, but the flavor shifts and the crust sets a little less firmly.
- Butter — Butter helps the honey brush on evenly and keeps the sugar from scorching too fast. Use real butter here, not margarine, because the milk solids help with browning.
- Spices — Cinnamon, cloves, ginger, nutmeg, allspice, and paprika build a warm glaze that tastes balanced instead of one-note sweet. If you want a milder finish, cut the cloves in half; if you like a deeper holiday-style aroma, keep the mix as written.
What Each Ingredient Is Actually Doing in This Recipe
- Primary ingredient (the star) — Quality matters most. Choose the best you can find.
- Cooking medium (oil, butter, or broth) — This carries flavors and prevents dryness.
- Seasonings (salt, pepper, spices, herbs) — Layer flavors so nothing overpowers. Build depth gradually.
- Aromatics (garlic, onion, herbs) — Cook with fat to bloom flavors. Become the foundation.
- Supporting ingredients — Complement the main ingredient without overpowering it.
- Sauce or liquid (if applicable) — Brings flavors together. Balance richness with acid.
- Acid (lemon, vinegar, wine, or other) — Brightens and prevents flat-tasting results.
- Final finish (garnish, glaze, or sauce) — Prevents one-dimensional taste and adds visual appeal.
Building the Crust in Layers
Warming the Ham First
Set the ham cut-side down in the roasting pan and cover it tightly with foil. That trapped steam keeps the surface from drying out while the center warms through. Bake at 325F until the internal temperature reaches 120F. If you skip this gentle first bake and go straight to a hot oven, the outside will overcook before the inside is ready.
Making the Glaze
Melt the honey and butter together until smooth, then stir the sugars and spices in a separate bowl. The dry mix should look sandy and evenly tinted, with no clumps of cinnamon or clove hiding at the bottom. That even blend matters because any clump of spice can burn on the surface and taste harsh once the crust sets.
Brushing and Recrusting
Remove the foil and brush the ham generously with the honey butter. Pat on the spiced sugar so it sticks in the grooves, then return it to the hotter oven for about 5 minutes. Repeat that brushing-and-sugaring process two more times. The goal is a deep golden crust that looks set between each pass, not a wet glaze that never has time to firm up.
The Final Caramel Set
Keep baking until the crust turns crackly and the ham reaches 140F. Watch the color closely in the last few minutes; the sugars go from amber to burnt fast once they start to bubble heavily. Rest the ham for 15 minutes before slicing so the juices settle and the crust stays attached instead of tearing away in shards.
How to Adjust the Glaze Without Losing the Crackly Crust
Less-Sweet Finish
Cut the granulated sugar in half and keep the brown sugar as written. You’ll still get a lacquered crust, but the flavor leans more caramelized than candy-sweet, which works well if you’re serving the ham with rich sides.
Gluten-Free and Naturally So
This recipe is already gluten-free as written as long as your ham and spices are certified gluten-free. The glaze itself is all sugar, butter, honey, and spices, so there’s no texture loss from swapping anything out.
Using Maple Instead of Honey
Maple syrup can replace the honey in equal measure if that’s what you have. The glaze will taste a little rounder and less floral, and it may brown a touch faster, so watch the last few minutes closely.
Storage and Reheating
- Refrigerator: Store sliced ham in an airtight container for up to 4 days. The crust softens a little, but the meat stays tender.
- Freezer: Freeze slices tightly wrapped for up to 2 months. Thaw overnight in the refrigerator for the best texture.
- Reheating: Warm slices covered with foil at 300F with a spoonful of pan juices or a splash of water. Don’t blast it in the microwave unless you want dry edges and a tough glaze.
Answers to the Questions Worth Asking
Honey Baked Ham
Ingredients
Equipment
Method
- Preheat the oven to 325F. Place the ham cut-side down in a roasting pan and cover tightly with foil.
- Bake for 12-14 minutes per pound, checking for the target temperature. Continue baking until the ham reaches 120F inside, keeping it covered with foil as it cooks.
- Melt the honey and butter together. Stir until smooth and glossy.
- In a separate bowl, mix the granulated sugar and brown sugar with the cinnamon, cloves, ginger, nutmeg, allspice, and paprika. Stir until evenly speckled.
- Remove the foil and brush the ham generously with the honey butter. Make sure glaze pools lightly in the spiral grooves.
- Pat on a layer of the spiced sugar so it adheres to the glaze. Spread it over the exposed cut surfaces.
- Raise the oven to 400F. Bake for 5 minutes, until the sugar begins to set and smell caramelized.
- Brush again with honey butter over the browned sugar. Focus on areas where the crust looks thin.
- Pat on another layer of spiced sugar to rebuild the crust. Press lightly so the topping sticks.
- Bake again at 400F for 5 minutes. Look for deep golden color and early crackling.
- Brush with the remaining honey butter once more, covering the top and spiral ridges. Coat evenly for a uniform crust.
- Pat on the final spiced sugar layer. Aim for full coverage without bare spots.
- Bake until the crust is deep golden and crackly and the ham reaches 140F. Use the internal thermometer at the thickest part.
- Rest the ham for 15 minutes before serving. This helps the juices settle and keeps the crust intact.