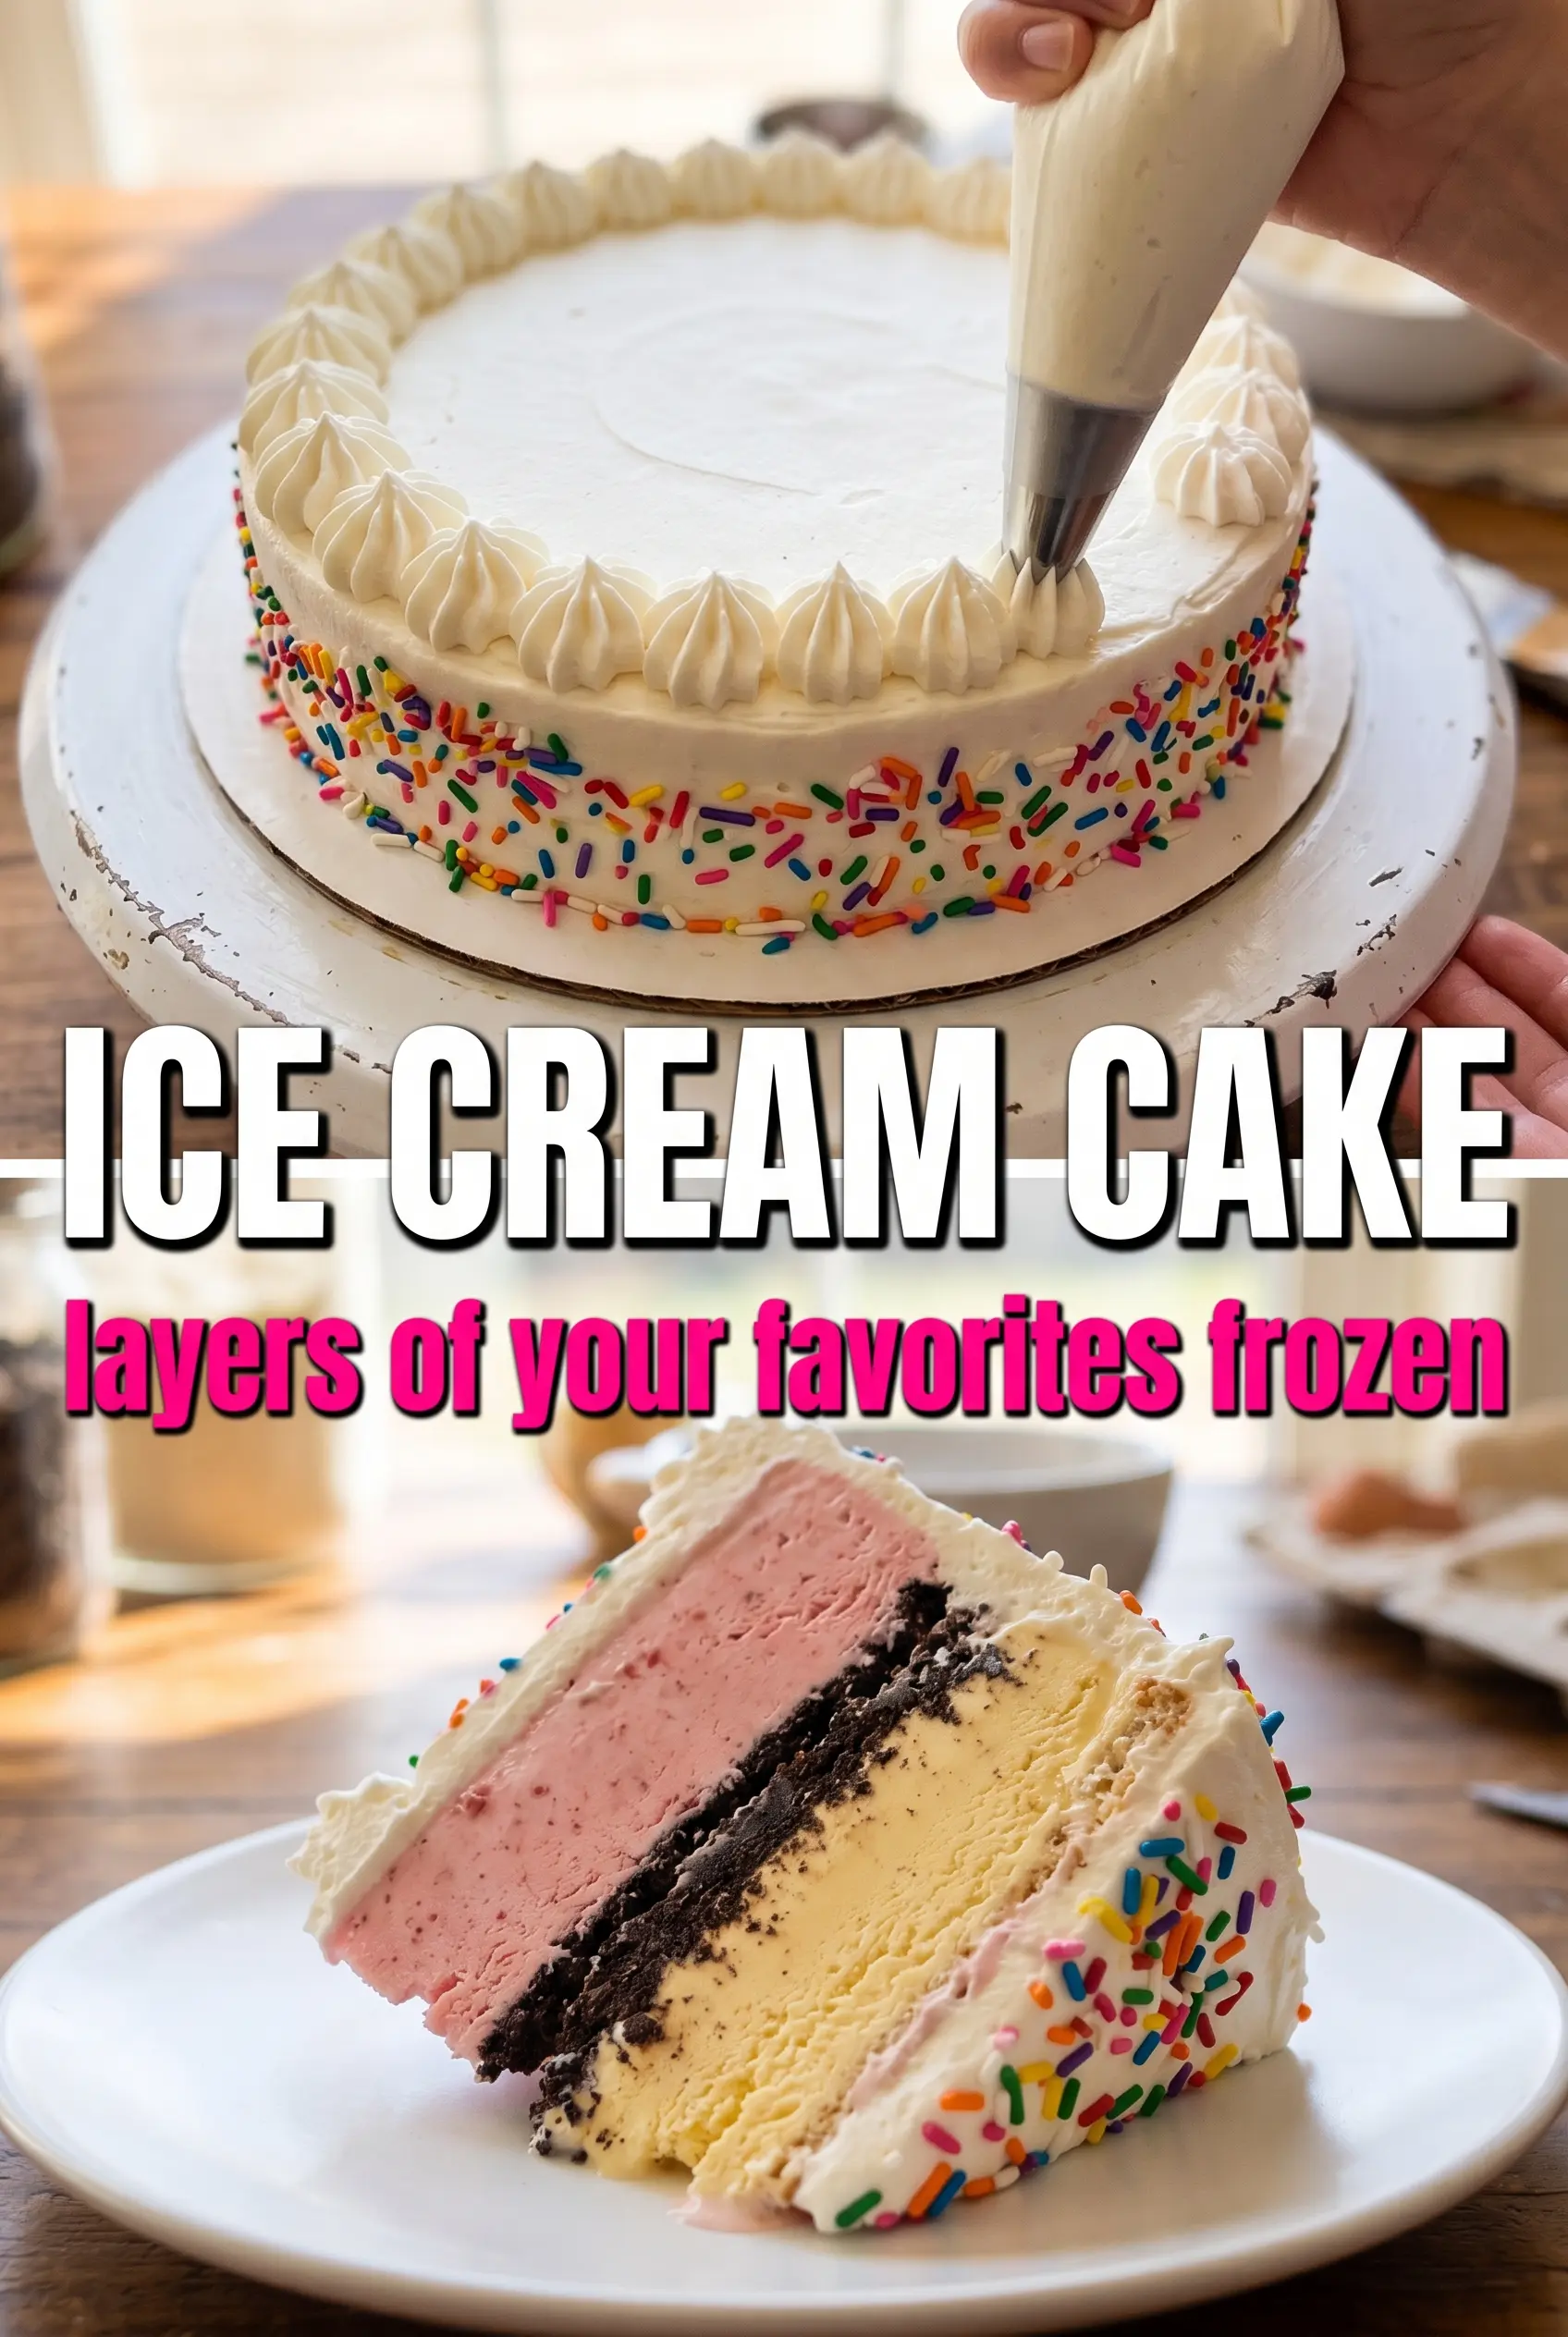
Ice cream cake earns its place in the dessert rotation because it gives you the best parts of a bakery birthday cake without turning on the oven. The Oreo crust stays crunchy enough to slice cleanly, the vanilla layer gives you a cool, creamy middle, and the ribbon of fudge keeps each bite from tasting flat or one-note. When it’s frozen long enough, the whole thing cuts into neat, dramatic layers that look like you bought it, but taste even better because the texture is fresh and the topping is still soft.
The trick is in the timing between layers. Each one needs a short freeze so the next layer sits on top instead of sinking through, and the ice cream has to be softened just enough to spread without melting into soup. I like using a springform pan because it releases the cake without dragging the edges, and stabilized whipped cream holds its shape longer than regular whipped topping if the cake sits out for a few minutes.
Below, you’ll find the little details that make the layers stay distinct, plus a few easy swaps if you want to change the ice cream flavors or make it ahead for a party.
The crust held together perfectly and the fudge layer stayed separate instead of bleeding into the strawberry ice cream. I let it freeze overnight and the slices came out clean with no melting mess.
Save this Oreo ice cream cake for birthdays, cookouts, and any night that needs a clean slice of vanilla, strawberry, and fudge.
The Freeze Times That Keep the Layers Sharp
The biggest mistake with ice cream cake is rushing the freezer time between layers. If the vanilla layer is still soft when you add the fudge, the sauce will sink and streak instead of sitting in a clean ribbon. Give each layer enough time to firm up, and the slice will hold those distinct stripes all the way through.
The other thing that matters is pressure. The Oreo crust needs to be packed firmly enough to support the ice cream, but not so hard that it turns dense and crumbly when you cut it. A springform pan helps here because the sides lift away without tearing the edges, which matters a lot once the cake has been frozen solid.
- Oreos — These give the crust its deep chocolate flavor and the right amount of crunch. A food processor makes the finest crumbs, but a zip-top bag and rolling pin work too as long as the crumbs are fairly even.
- Melted butter — Butter is what turns the cookie crumbs into a sliceable crust. Don’t cut it back; too little butter leaves the base loose and sandy.
- Vanilla ice cream — This is the clean, creamy layer that balances the richer fudge and cookie base. It should be softened enough to spread, not melted around the edges.
- Strawberry ice cream — The fruit flavor gives the cake that classic layered birthday feel. Any berry ice cream works if it’s a good-quality, full-fat version that freezes firmly.
- Hot fudge sauce — Use a thick fudge sauce, not thin chocolate syrup. If it’s too hot, it will melt the ice cream underneath; let it cool until warm and pourable.
- Whipped topping or stabilized whipped cream — This finishes the cake and adds a soft, airy contrast to the frozen layers. Stabilized whipped cream holds up better if the cake sits out for a celebration.
What Each Ingredient Is Actually Doing in This Ice Cream
- Base ingredient (cream, milk, or custard) — This provides the foundation and richness. Quality matters.
- Sweetener (sugar, honey, or condensed milk) — This sweetens and prevents ice crystals. The ratio is critical.
- Flavor element (vanilla, fruit, chocolate, or other) — This defines the ice cream personality. Use quality ingredients.
- Egg yolks (if making custard base) — These create richness and silky texture. Optional but elevates ice cream.
- Churning (if using ice cream maker) — This incorporates air and prevents ice crystals. Critical for smooth texture.
- Freezing temperature and time — Proper freezing prevents rock-hard texture. Store at 0°F or below.
- Mix-ins (chocolate, cookies, fruit, or swirls) — These add texture and prevent one-dimensional flavor. Add near end of churning.
- Serving temperature (slightly soft, not rock hard) — This provides creamy mouthfeel. Remove from freezer 5 minutes before serving.
Building the Cake So the Fudge Stays in Place
Pressing the Crust Hard Enough
Mix the crushed Oreos with melted butter until every crumb looks damp, then press them into the bottom of a 9-inch springform pan in an even layer. Use the bottom of a measuring cup to compact the crust; that gives you a firmer base and cleaner slices. Freeze it for 15 minutes before adding the ice cream, or the crust can loosen when you spread the first layer.
Smoothing the Vanilla Layer Without Tearing the Crust
Spread the softened vanilla ice cream over the chilled crust and work quickly from the center outward. If the ice cream is too firm, it will drag the crust into clumps; if it’s too loose, it will puddle at the edges. Freeze the pan for about an hour until the vanilla feels solid to a light touch.
Adding the Fudge as a Separate Ribbon
Drizzle the cooled hot fudge over the vanilla layer in thin lines, then spread it gently if needed. The fudge should be cool enough that it doesn’t melt the ice cream but still soft enough to move without cracking. Freeze it for 15 minutes so the next layer sits on top instead of blending into the chocolate.
Finishing With the Strawberry Top Layer
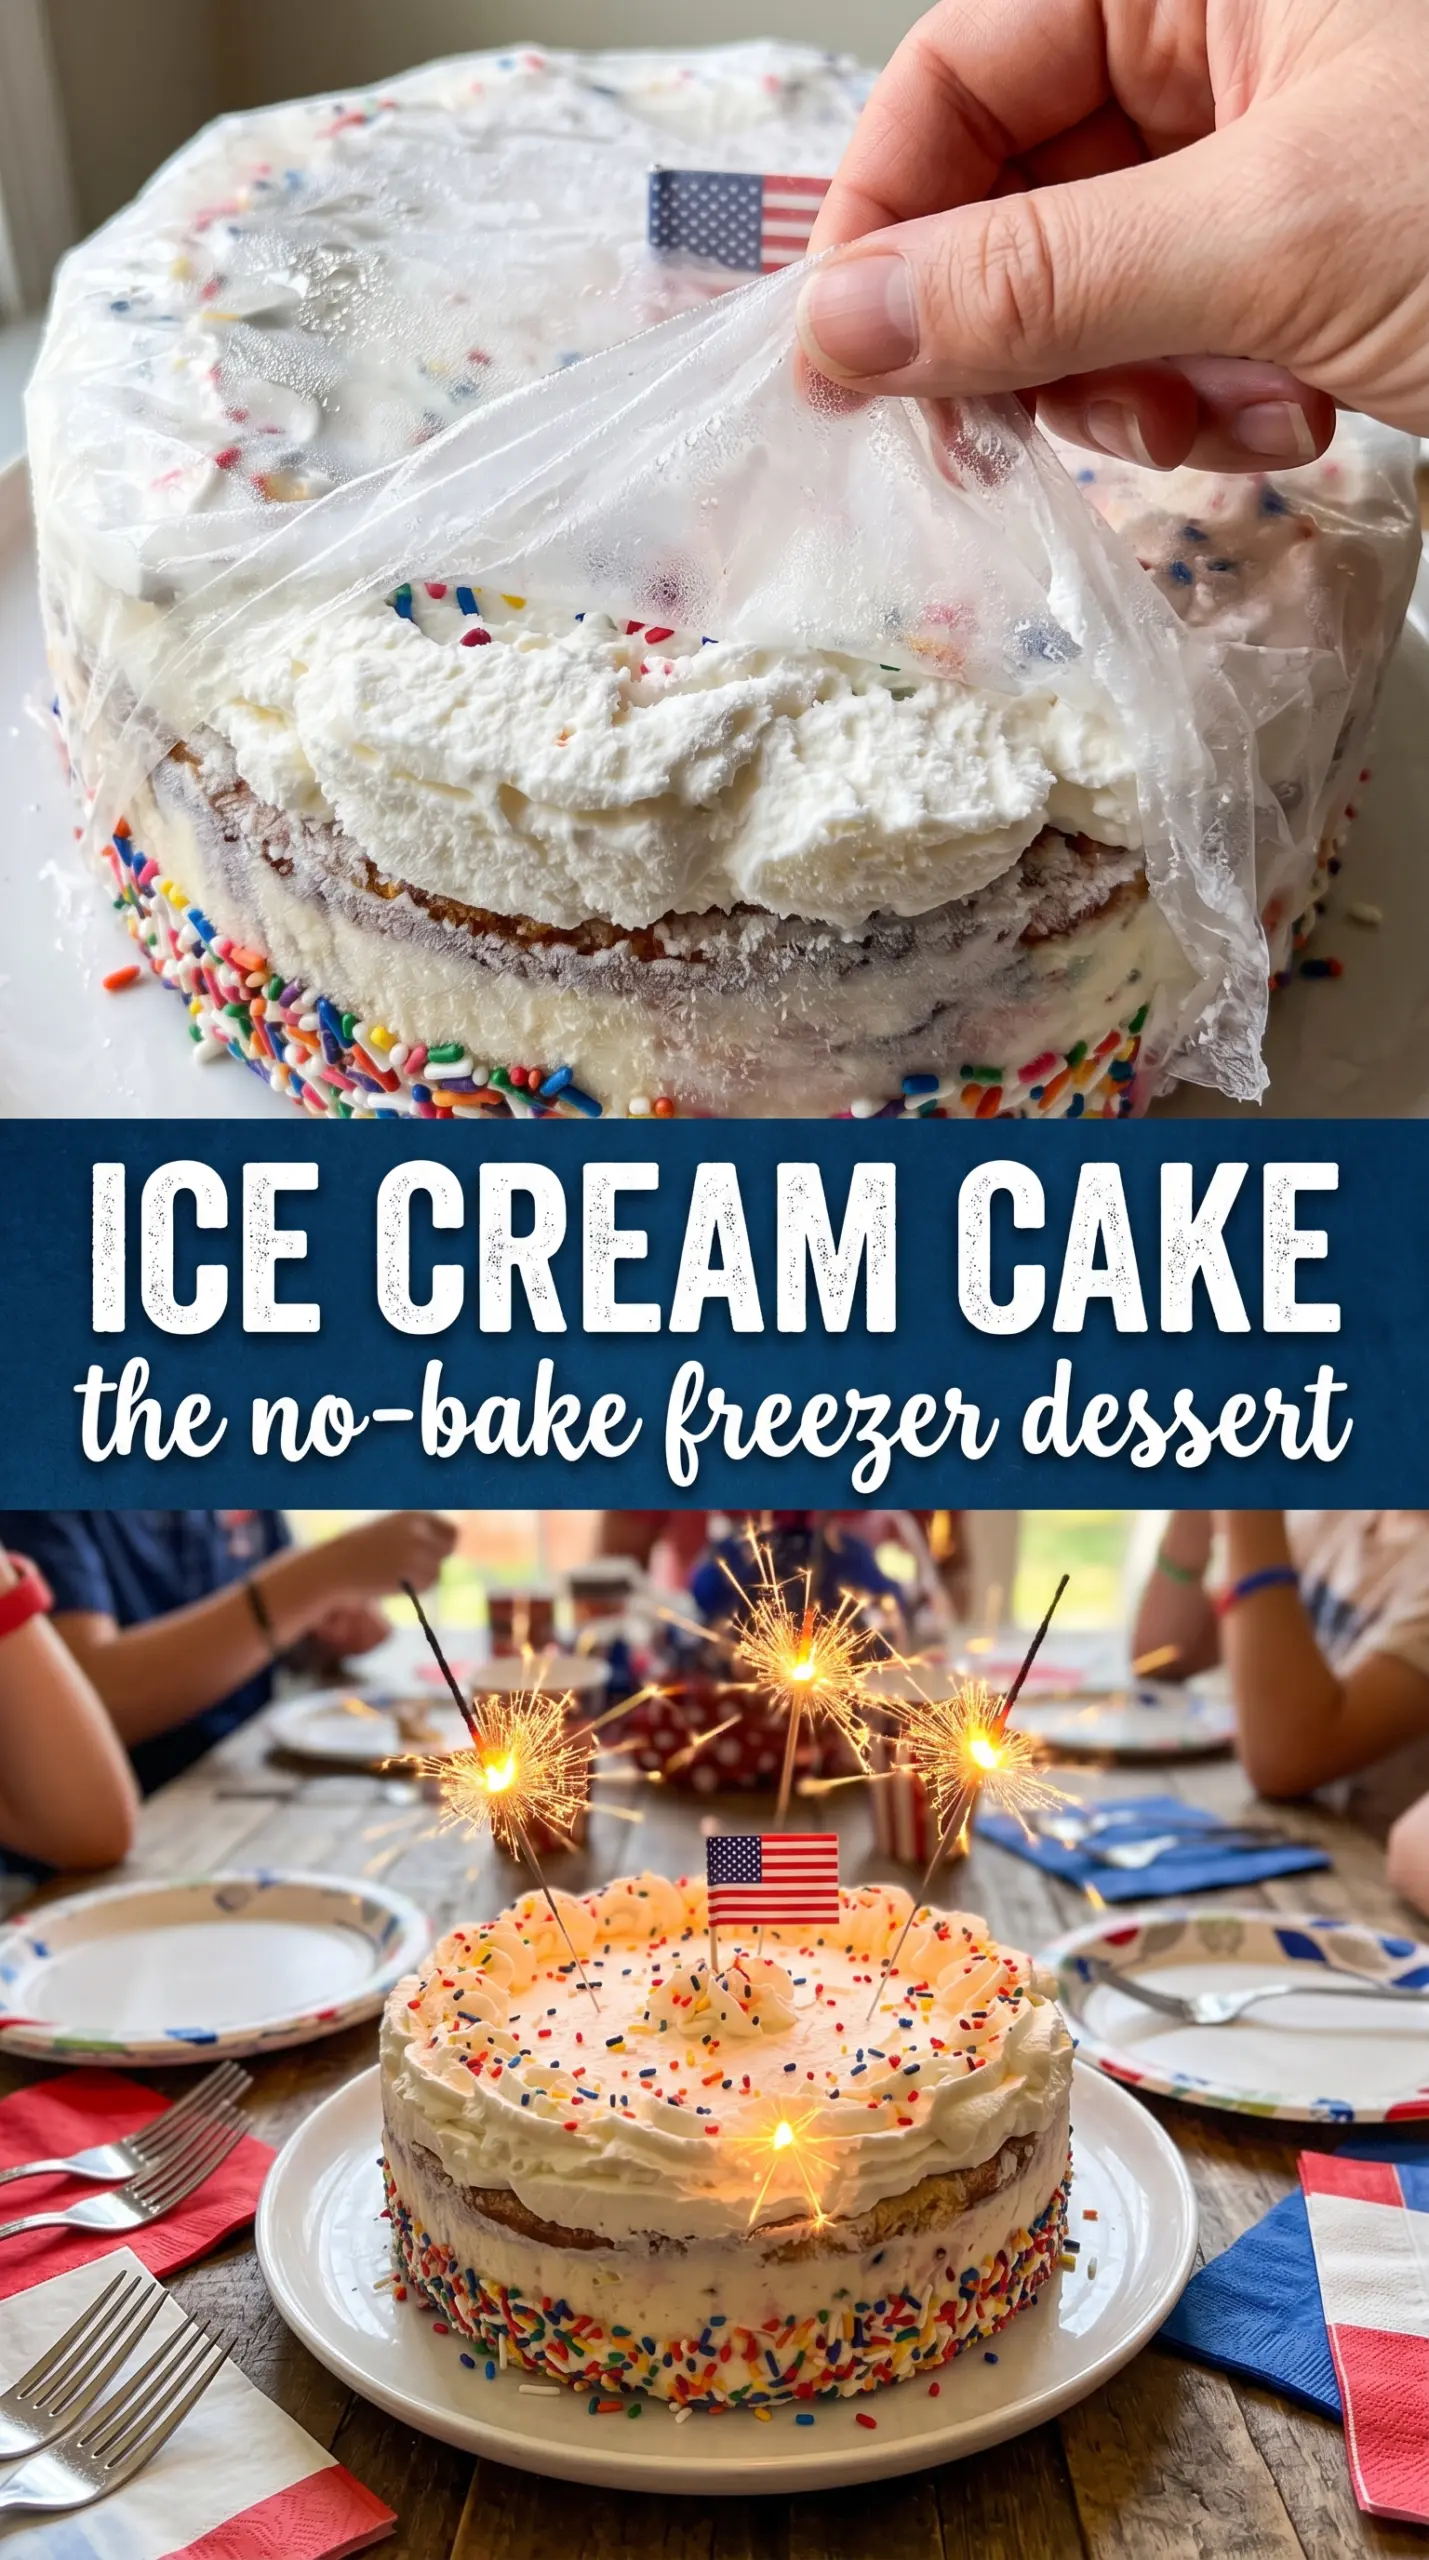
Spread the strawberry ice cream over the fudge and smooth the top with an offset spatula or the back of a spoon. Cover the cake with plastic wrap and freeze it for at least 4 hours, though overnight gives you the cleanest slices. If the top feels soft when you add the whipped cream, freeze it another 20 to 30 minutes first so the decoration doesn’t slump.
Storage and Reheating
- Refrigerator: Ice cream cake doesn’t belong in the fridge for more than a few minutes before serving. It softens fast and the layers start to slump.
- Freezer: Wrap the cake tightly and freeze for up to 1 week for the best texture. After that, the crust can pick up freezer flavor and the whipped topping may start to dry out.
- Reheating: Don’t reheat it. For serving, let it sit at room temperature for 5 to 10 minutes, then cut with a hot knife so the slice releases cleanly instead of cracking apart.
Swaps That Still Slice Cleanly
Chocolate ice cream instead of strawberry
Swap the strawberry layer for chocolate if you want a deeper, more classic cookies-and-cream style cake. The texture stays the same, but the finished cake tastes richer and less fruity, so it pairs well with extra sprinkles or a drizzle of chocolate sauce on top.
Gluten-free version with GF chocolate sandwich cookies
Use gluten-free sandwich cookies in the crust and the rest of the recipe stays the same. The crust may be a little more delicate, so pack it firmly and chill it well before adding the ice cream.
Dairy-free ice cream cake
Use dairy-free vanilla and strawberry frozen desserts, plus a dairy-free whipped topping and a dairy-free fudge sauce. This works best with brands that freeze firm instead of icy, since softer non-dairy ice creams can smear more easily when layered.
Birthday cake upgrade
Fold a handful of rainbow sprinkles into the whipped cream or add them between the layers for a more festive look. Keep the sprinkles on the outside if you want them to stay bright and crunchy instead of bleeding into the ice cream.
Questions I Get Asked About This Recipe
Ice Cream Cake
Ingredients
Equipment
Method
- Mix the crushed Oreo cookies with melted butter until evenly coated, then press firmly into the bottom of a 9-inch springform pan and pack it flat using a solid pressure cue. Freeze for 15 minutes to set the crust (visual cue: crumbs hold together and feel firm when pressed).
- Spread the vanilla ice cream in an even layer over the Oreo crust, smoothing the top with an even finish, then freeze for 1 hour until firm (visual cue: top looks matte and the layer cuts cleanly at the edges).
- Drizzle the hot fudge sauce over the vanilla layer in a thin ribbon and freeze for 15 minutes to partially set (visual cue: fudge looks slightly thickened, not liquid).
- Spread the strawberry ice cream over the fudge layer and smooth the top, then cover with plastic wrap and freeze for at least 4 hours or overnight (visual cue: cake is fully solid throughout, with no soft center).
- Run a warm knife around the edge of the frozen cake, release the springform, and transfer the cake to a serving plate (visual cue: edges release cleanly without smearing).
- Pipe whipped cream swirls around the top edge, scatter sprinkles across the center, then slice with a hot knife and serve immediately (visual cue: swirls stay sharp and each slice shows distinct layers).