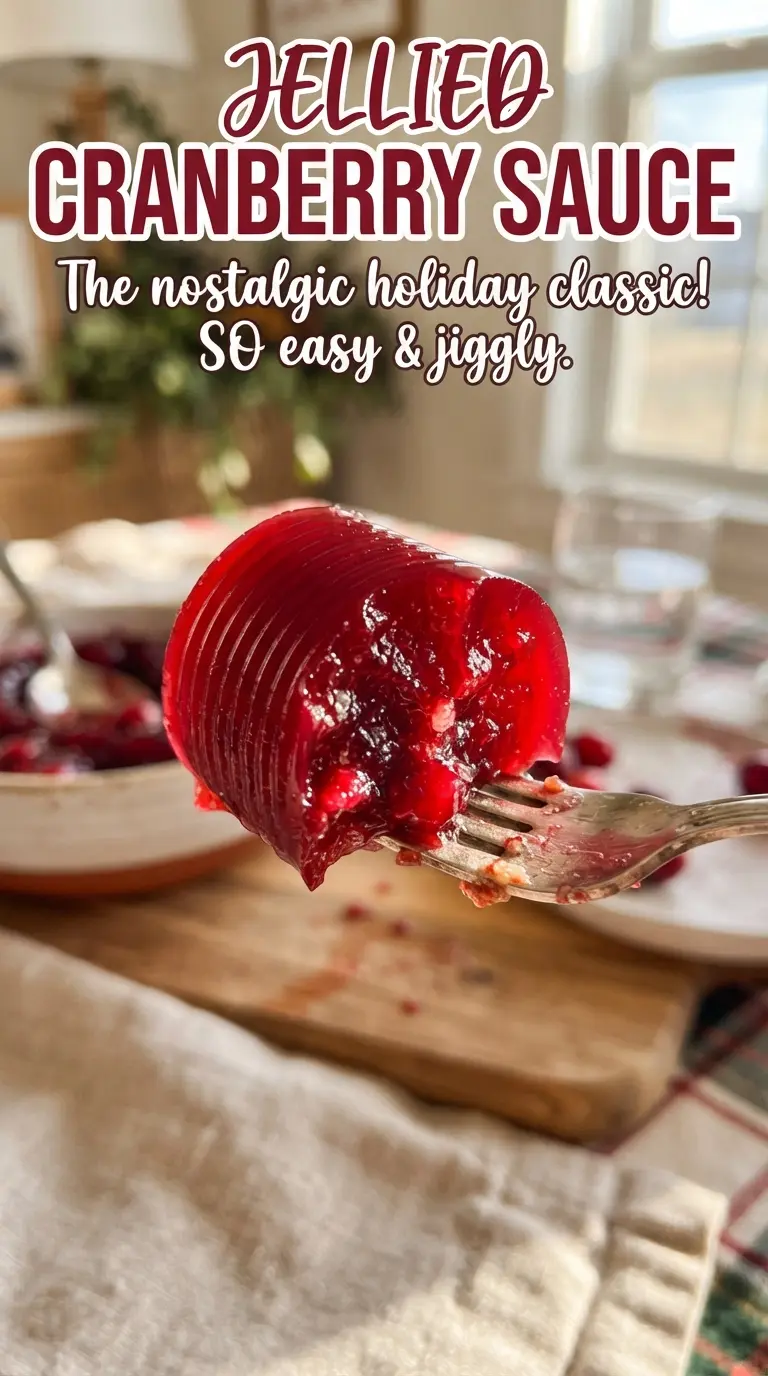
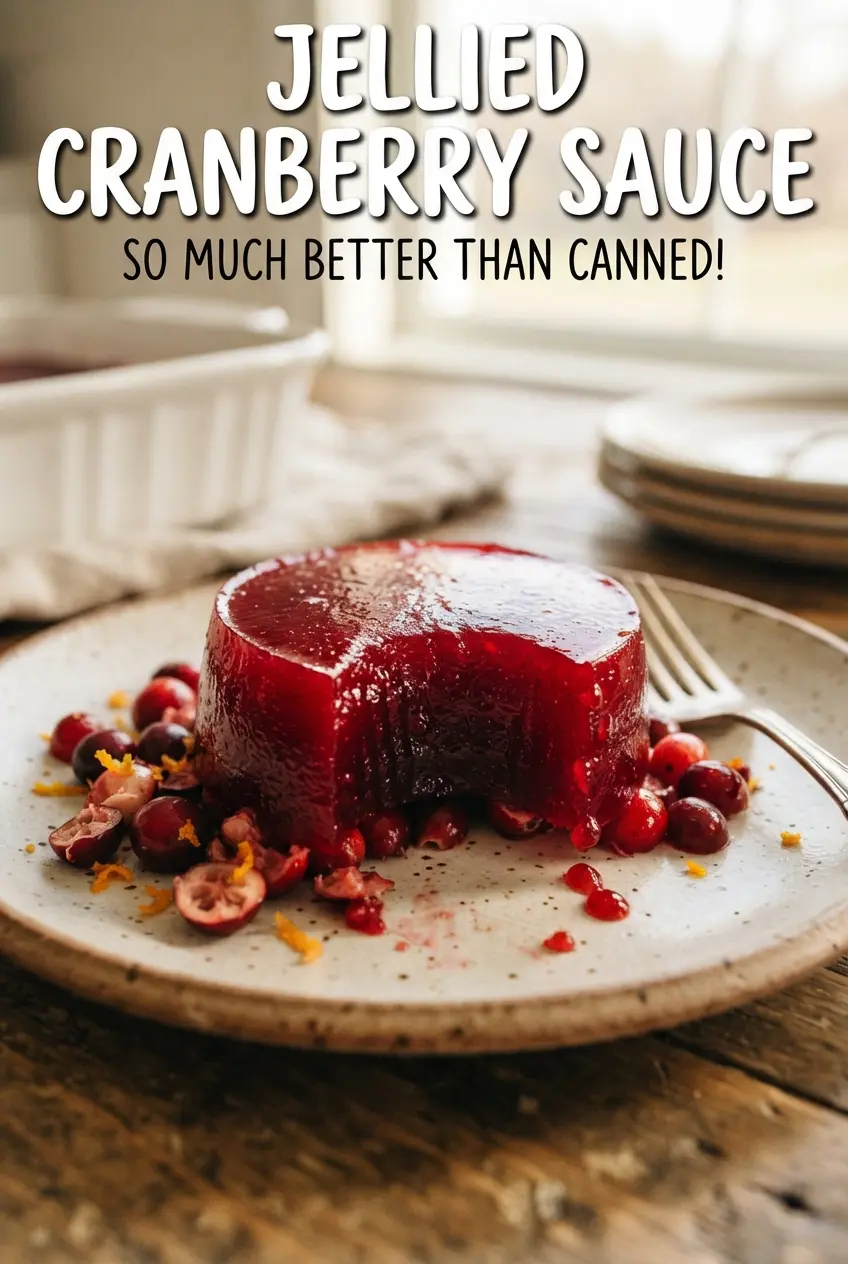
Jellied cranberry sauce is one of those side dishes that looks simple until you taste a homemade version and realize how much better it can be. The texture turns clean and sliceable, with a bright cranberry flavor that lands somewhere between tart and sweet, and it holds its shape on the plate instead of slumping into a spoonable puddle. That firm, glossy slice is what makes it feel like the classic version people remember.
The trick is cooking the cranberries long enough for every berry to burst, then forcing the mixture through a fine-mesh strainer until the puree is smooth. That step gives you the signature jellied texture without any pectin. A short second boil after straining helps the sauce tighten, and a full chill gives it the structure it needs to release cleanly from the mold.
Below you’ll find the part that matters most: how to get that shiny set without ending up with something loose, grainy, or too sweet. There’s also a straightforward way to handle the mold so the whole thing unmolds in one piece.
The sauce set up into a beautiful sliceable loaf, and the lemon kept it from tasting flat. I chilled it overnight and it slid out of the pan in one piece.
Save this jellied cranberry sauce for the holiday table when you want a glossy slice that holds its shape.
The Part That Makes It Slice Instead of Spoon
The texture comes from balance, not magic. Cranberries are naturally high in pectin, which means they can set on their own once they’ve cooked down enough and the liquid has reduced a little. If you stop too soon, the mixture stays loose. If you rush the straining step, you end up with skins and seeds in the finished sauce, and that’s what keeps it from looking polished and smooth.
The second boil matters because it concentrates the puree after straining. It should bubble actively for a few minutes and look slightly thicker before you pour it into the mold. Don’t judge it by how firm it seems while hot; cranberry sauce tightens a lot as it chills, and the clean slice only happens after several hours in the fridge.
- Fresh cranberries — These bring the color, tartness, and natural pectin that make the set possible. Frozen cranberries work too; don’t thaw them first.
- Sugar — This does more than sweeten. It helps the sauce gel with a smooth, glossy finish. Cutting it much lower changes both the flavor and the set.
- Lemon juice — A small amount wakes up the cranberries and keeps the sauce from tasting one-note. Bottled juice works in a pinch, but fresh tastes cleaner.
- Fine-mesh strainer — This is the difference between a rustic sauce and a true jellied loaf. A standard colander won’t catch enough of the skins.
What the Sugar and Lemon Are Actually Doing Here
- Fresh cranberries — They’re the backbone of the recipe. Their natural pectin helps the sauce set without any added thickener, and their skins carry most of the flavor, so pressing the puree through the strainer matters.
- Sugar — It balances the sharpness of the berries and helps the final texture turn shiny instead of jammy. You can reduce it a little, but the sauce will taste tarter and may feel less refined.
- Lemon juice — This sharpens the cranberry flavor and keeps the finished sauce from tasting heavy. It also helps the sweetness read as brighter, not cloying.
- Lightly oiled mold — A thin coating makes unmolding easier and keeps the surface smooth. Too much oil leaves a greasy film on the finished slice.
Cooking the Berries Down Without Ruining the Set
Getting Every Berry to Burst
Bring the cranberries, sugar, and water to a full boil, then let the mixture simmer until every berry has popped and the liquid looks deep red and slightly syrupy. You’ll hear the berries burst as they cook. If there are still lots of intact cranberries, the puree won’t be smooth enough after straining, and the sauce can end up uneven.
Pressing Out the Smooth Puree
Set a fine-mesh strainer over a bowl and push the mixture through with a spoon, scraping the underside as you go. Work patiently; the pulp is what you want, not the skins. If the strainer clogs, clear it and keep going instead of forcing big bits through, which can leave the sauce fibrous.
The Final Boil Before It Sets
Return the strained puree to the pot with the lemon juice and salt, then boil it for 3 to 4 minutes while stirring. The mixture should thicken a little and look glossy. If you let it go too long, it can become overly sticky once chilled, so stop as soon as it looks slightly reduced and cohesive.
Chilling and Unmolding Cleanly
Pour the hot sauce into a lightly oiled mold, loaf pan, or clean can, then chill it for at least 6 hours or overnight. Cold is what gives it the clean slice and firm shape. To unmold, run a knife around the edge, dip the bottom briefly in warm water if needed, and invert it onto a plate. If it resists, it needs more chill time, not more force.
What to Change When You Need a Different Version
Lower-Sugar Cranberry Sauce
You can cut the sugar a bit, but don’t remove it entirely. Sugar supports the glossy finish and keeps the tartness from overwhelming the fruit. Expect a firmer, sharper set that tastes more cranberry-forward and less candy-sweet.
Frozen Cranberries Instead of Fresh
Frozen cranberries work without any special adjustments. Add them straight to the pot and cook them from frozen; thawing first just creates extra liquid you don’t need. The texture and set stay the same.
Stronger Citrus Finish
Add a little orange zest with the lemon juice if you want a brighter, slightly softer edge to the cranberry flavor. Don’t add extra juice without tasting first, or the sauce can turn too loose and lose some of its clean set.
Make-Ahead Holiday Prep
This is an excellent make-ahead side dish. It sets overnight, unmolds neatly the next day, and slices cleanly when cold. If you’re serving it with a big meal, make it a day or two ahead so you’re not trying to unmold it at the last minute.
Storage and Reheating
- Refrigerator: Store covered for up to 7 days. The texture stays firm and slices best when chilled.
- Freezer: It freezes, but the set can turn a little watery after thawing. Wrap tightly and thaw in the refrigerator if you need to freeze it.
- Reheating: This isn’t a reheating dish. Serve it cold or at cool room temperature so it keeps its shape. If it softens too much, give it time back in the fridge before slicing.
Answers to the Questions Worth Asking
Jellied Cranberry Sauce
Ingredients
Equipment
Method
- Combine fresh cranberries, sugar, and water in a pot and bring to a boil over medium-high heat. Simmer for 10 minutes until the berries burst and the mixture looks thick and glossy.
- Pour the cooked cranberries through a fine-mesh strainer and press firmly with a spoon to push all the pulp through. Discard the skins and keep the strained puree.
- Return the strained puree to the pot and stir in lemon juice and salt. Boil for 3-4 minutes, stirring often, until slightly thickened.
- Pour the hot cranberry mixture into a lightly oiled mold, loaf pan, or clean can. Let it cool briefly, then refrigerate at least 6 hours or overnight until firm.
- Run a knife around the edge of the mold, invert onto a plate, and let it release cleanly. Slice into rounds and serve chilled.