Thin chicken cutlets with a crisp Romano crust and a bright lemon-butter finish are the kind of dinner that disappears fast. The coating stays shattering at the edges, the cheese browns deeply without tasting greasy, and the sauce brings just enough sharp, briny lift to keep every bite moving. It tastes like something you’d order out, but it lands on the table in the time it takes to boil water for a side.
The trick is in the coating. Pecorino Romano carries the salt and savory punch, while a little panko keeps the crust from turning dense or leathery in the pan. Cutting the chicken into thin cutlets matters too, because they cook quickly and evenly before the cheese has a chance to burn. The sauce is built in the same skillet, which pulls up the browned bits from the chicken and turns them into the base of the finished dish.
Below, I’ll walk through the part that keeps the crust crisp, the ingredient swap that matters most, and a few variations if you want to change the sauce or skip the wine.
The Romano crust turned out crisp instead of soggy, and the lemon-caper butter sauce thickened enough to coat the chicken without making it lose its crunch. My husband kept going back for “just one more piece.”
Crispy Lemon Chicken Romano with capers and lemon butter sauce is the one to pin for a fast Italian-American chicken dinner that still feels special.
The Reason the Crust Stays Crisp Instead of Going Soft
The biggest mistake with breaded chicken in a pan is crowding it and rushing the sauce too soon. When the cutlets sit on top of each other or get moved constantly, the coating steams instead of browning, and you lose that sharp, crunchy edge that makes this dish worth making. A thin cutlet helps, but the real protection is a hot pan and enough fat for the crust to fry, not simmer.
Romano cheese behaves differently from plain breadcrumbs. It browns fast and brings a salty, nutty finish, which is why the panko matters here. The panko lightens the coating so the cheese doesn’t turn into a hard shell before the chicken is cooked through. If your crust looks pale, the pan wasn’t hot enough. If it tastes bitter, the heat was too high and the cheese scorched before the chicken finished.
What the Romano, Panko, and Lemon Are Each Doing Here
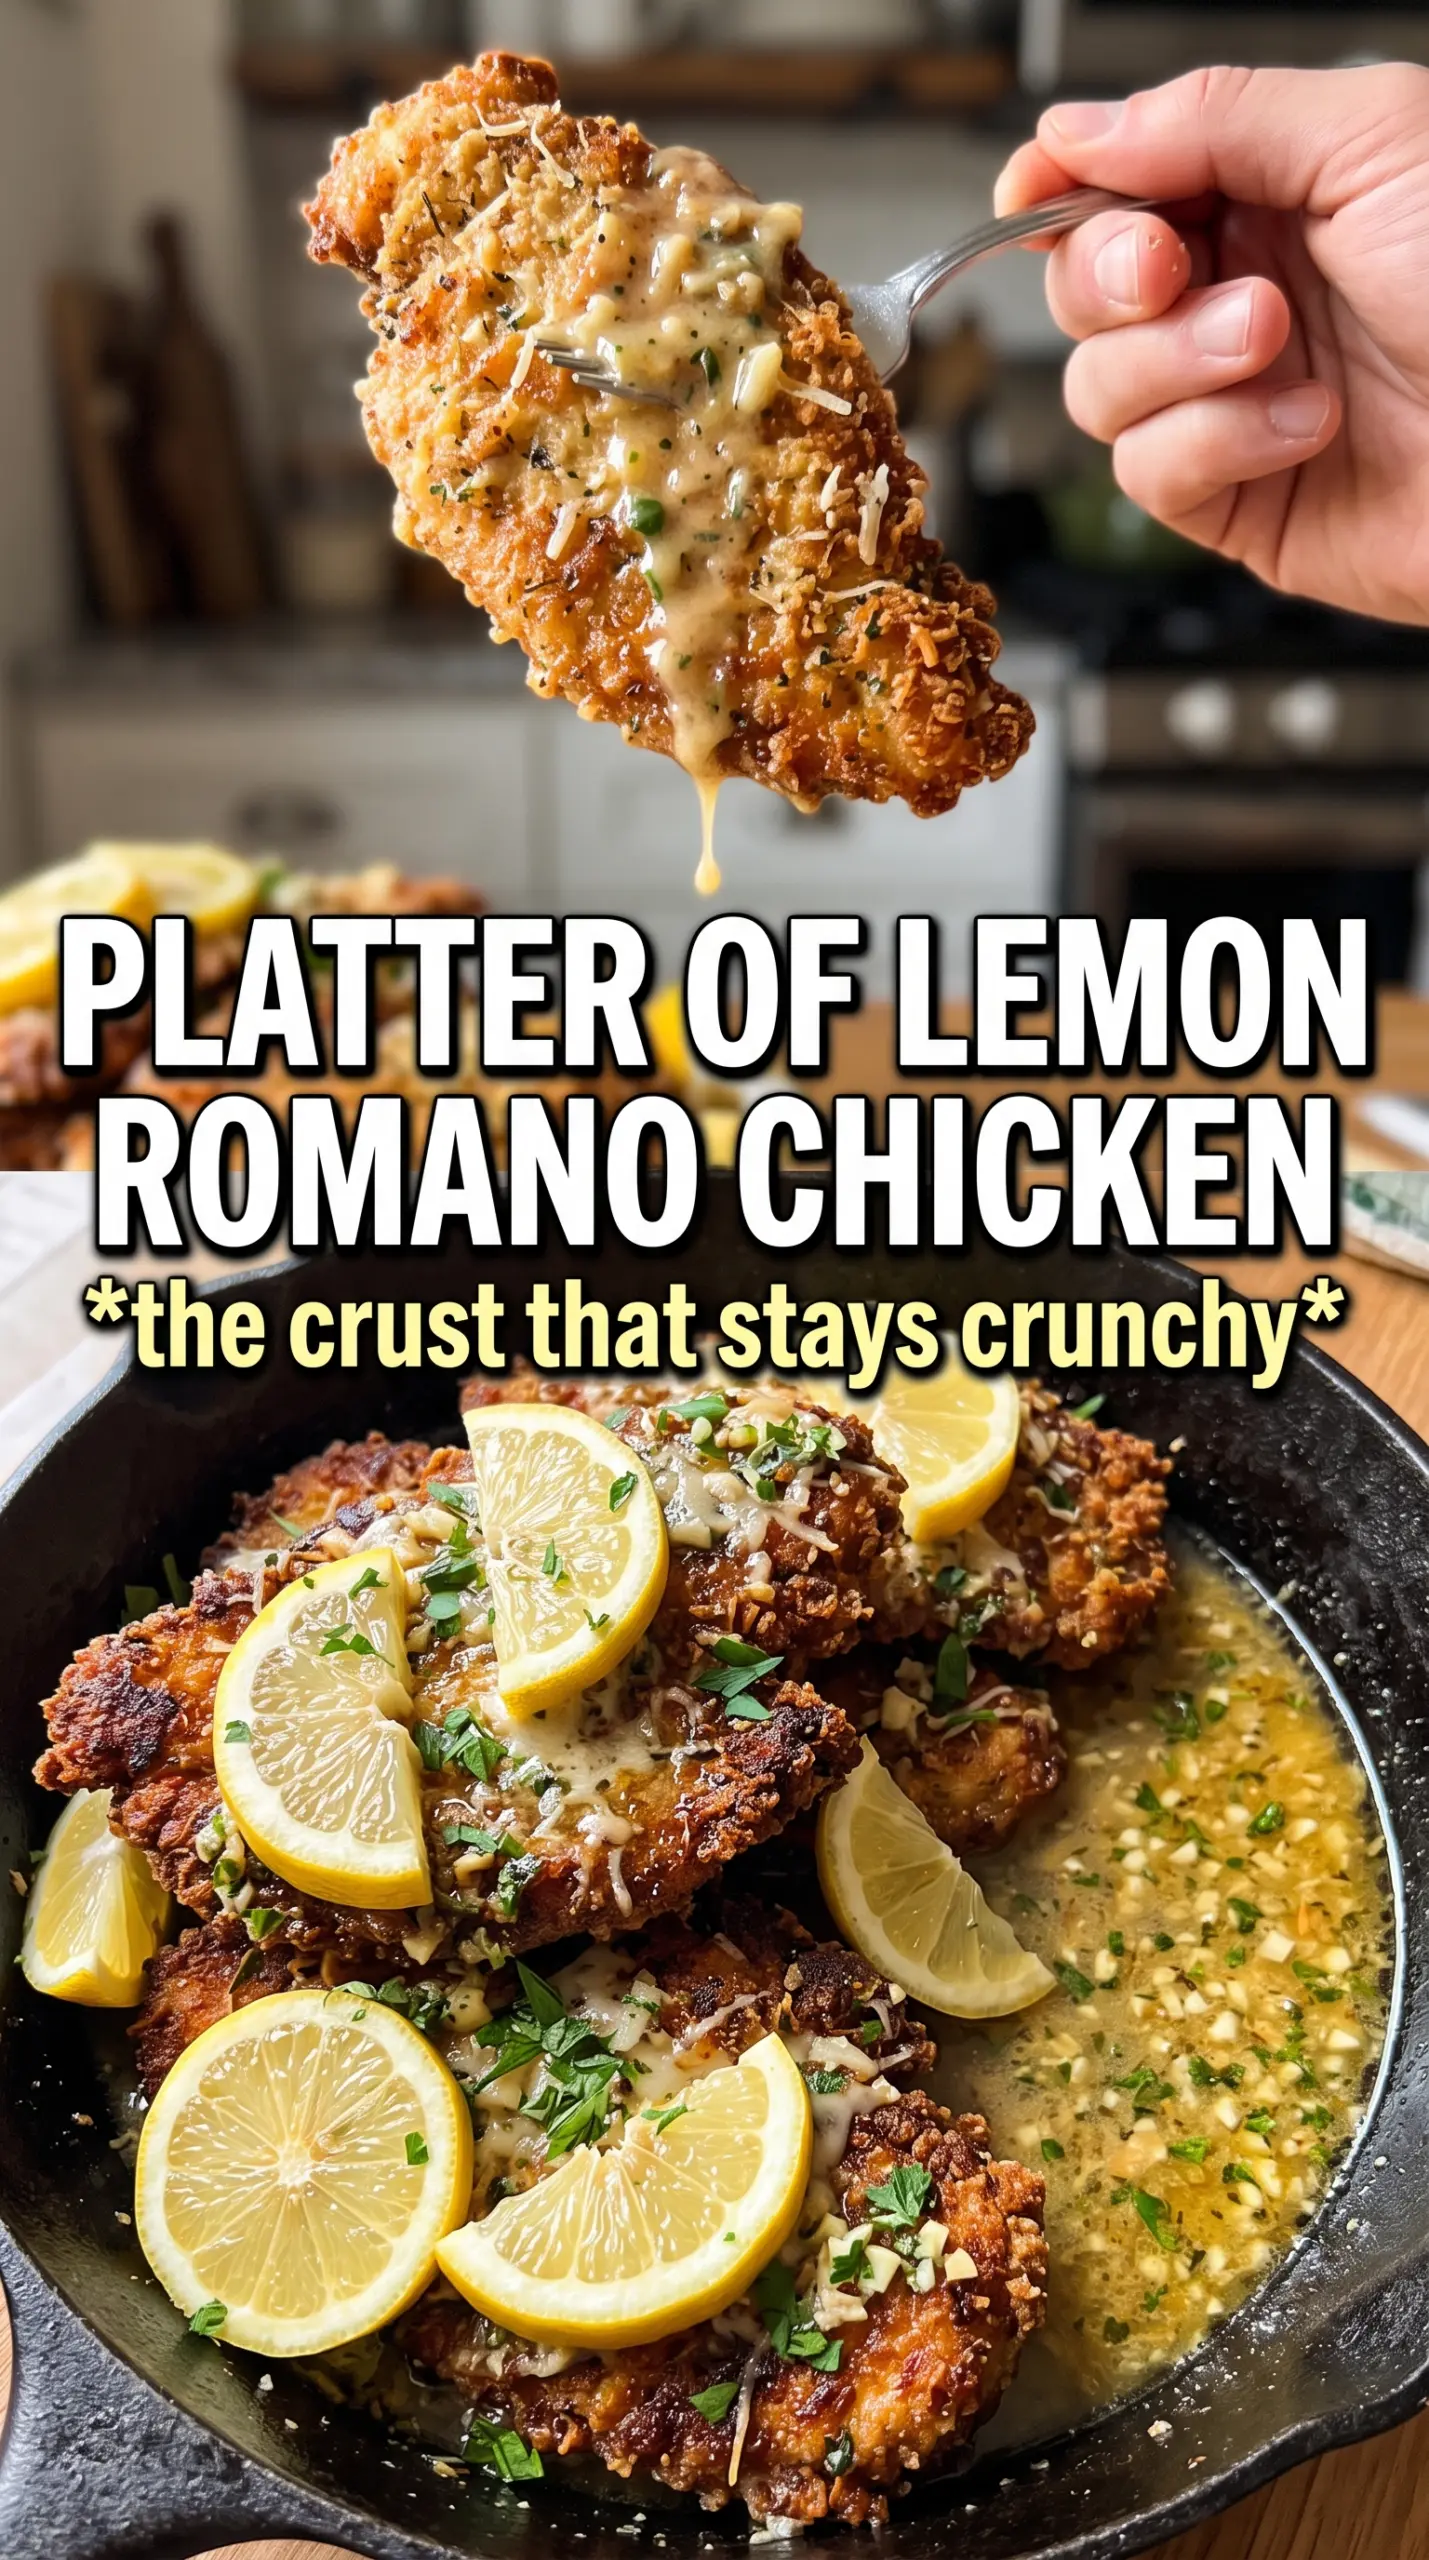
- Pecorino Romano — This is the backbone of the crust. It gives you salt, sharpness, and that distinct savory bite you can’t get from milder cheeses. Buy it finely grated if you can; a coarse shred won’t pack onto the chicken as evenly and can fall off in the pan.
- Panko breadcrumbs — Panko keeps the coating airy instead of heavy. Regular breadcrumbs work in a pinch, but they’ll give you a denser crust that doesn’t shatter the same way. If you use regular crumbs, cut them with a spoonful or two of extra cheese so the breading still tastes assertive.
- Fresh lemon juice — Bottled juice flattens the sauce. Fresh lemon lifts the butter and cuts through the fried coating, which is what makes the plate feel balanced instead of greasy. Add it after the wine has reduced so the sauce stays bright.
- Dry white wine — This doesn’t just add flavor; it loosens the browned bits from the pan and gives the sauce depth. If you skip it, use low-sodium chicken broth plus a little extra lemon juice, but expect a softer, less rounded sauce.
Building the Cutlet, Then Finishing It in One Pan
Set Up the Bread Station Before the Pan Gets Hot
Line up the flour, beaten eggs, and Romano-panko mixture before you start frying. That keeps the coating from sitting around and getting gummy while you scramble to dredge each piece. Season the chicken itself, not just the flour, so the meat underneath doesn’t taste flat. Press the coating on firmly with your hand; if you just dip and drop, the crust will shed in the skillet.
Fry Until the Edges Turn Deep Gold
Use medium-high heat and give the chicken enough room to sit in a single layer. You’re looking for a steady sizzle the moment the cutlet hits the oil and butter. After 3 to 4 minutes per side, the crust should be deeply golden and the chicken should feel firm but not hard when pressed in the center. If the coating darkens too fast, lower the heat before the cheese burns.
Turn the Skillet Drippings Into the Sauce
Pull the cutlets out first, then use the same pan for the garlic, wine, lemon juice, and capers. That browned residue at the bottom is where the flavor lives, so don’t scrub the skillet clean. Let the wine reduce for a minute or two until the sharp alcohol smell cooks off and the liquid looks slightly syrupy. When you swirl in the cold butter at the end, take the pan off the direct heat if it looks at all broken; high heat can split the sauce fast.
Ways to Adjust the Dish Without Losing What Makes It Good
Gluten-Free Chicken Romano
Swap the flour for a gluten-free all-purpose blend and use gluten-free panko. The texture stays close to the original, though the crust may brown a little faster, so watch the pan closely. The key is still pressing the coating on firmly before frying.
Skip the Wine and Keep the Brightness
Use low-sodium chicken broth instead of white wine, then add an extra teaspoon of lemon juice at the end if the sauce tastes muted. You’ll lose a little of the wine’s depth, but the sauce still reduces into something glossy and savory. Reduce the broth fully so the finished sauce isn’t watery.
Make It Lighter Without Giving Up the Crust
Use just enough oil and butter to coat the skillet, not drown it, and serve the sauce spooned lightly over the top instead of pouring it on heavily. The cutlets will still stay crisp if you plate them right away. This version tastes a little cleaner and less rich, but the lemon and Romano still carry the dish.
Make Extra for Sandwiches
Cook the cutlets a shade darker and keep the sauce on the side if you know you’ll use leftovers in sandwiches or wraps. The crust holds up better when it isn’t sitting under sauce, and the lemon-caper butter is excellent for dipping. This is the best move if you want the chicken to stay crisp for a second meal.
Storage and Reheating
- Refrigerator: Store the chicken and sauce separately for up to 3 days. The crust softens once sauced, so expect less crunch after chilling.
- Freezer: Freeze the cooked cutlets without sauce for up to 2 months. The sauce doesn’t freeze as cleanly because the butter can separate and the coating will lose its texture.
- Reheating: Reheat the chicken on a rack in a 375°F oven until hot, then warm the sauce separately on low. Microwaving turns the crust soft fast, which is the main thing to avoid here.
Questions I Get Asked About This Recipe
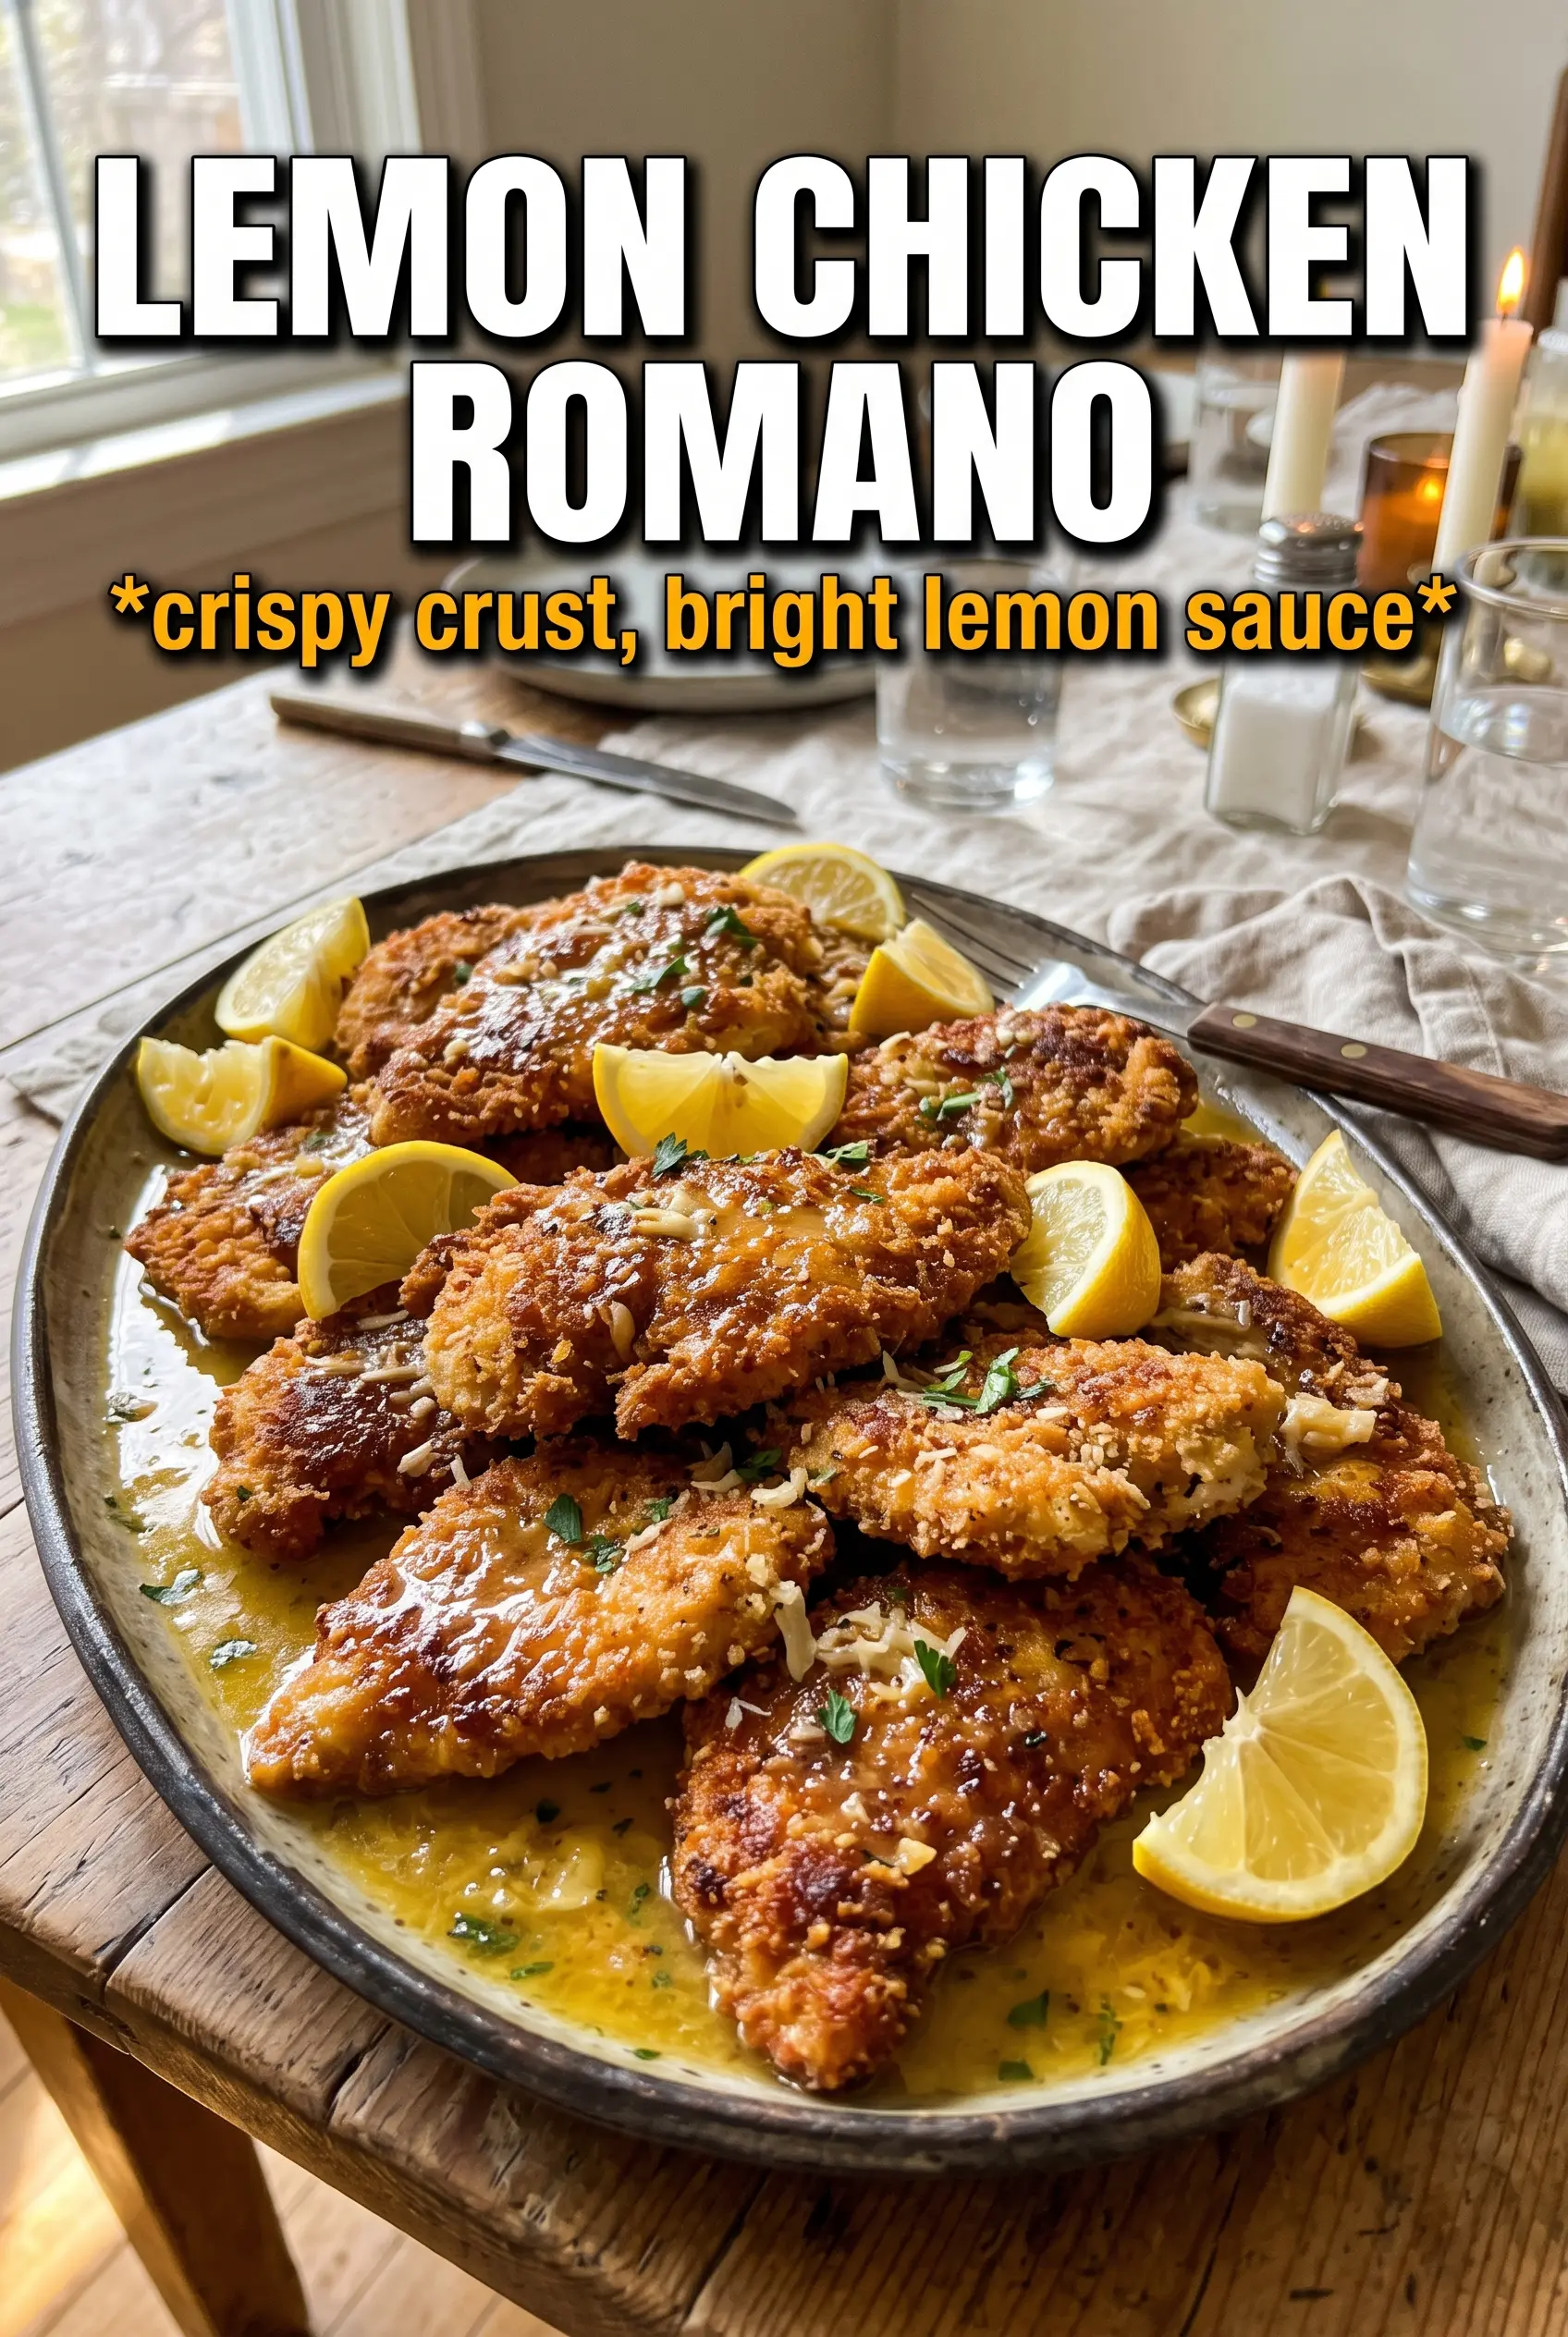
Lemon Chicken Romano
Ingredients
Equipment
Method
- Season the chicken cutlets with salt and pepper, then arrange a breading station with flour, beaten eggs, and a mixture of Pecorino Romano cheese and panko. Keep everything ready so each cutlet gets coated quickly for an even crust.
- Dredge each cutlet in flour, dip in egg, and press firmly into the Romano coating. Make sure the cheese sticks firmly to the surface so it turns deep golden as it pan-fries.
- Heat olive oil and 2 tablespoons butter in a cast iron skillet over medium-high heat, then pan-fry the cutlets for 3-4 minutes per side until deeply golden. Remove to a plate as the crust looks crisp and shatteringly crunchy.
- In the same pan, cook the garlic for 30 seconds over medium-high heat, stirring until fragrant. Watch for quick aroma without browning to keep the sauce bright.
- Add the dry white wine to deglaze, scraping up any browned bits, then stir in the fresh lemon juice and capers. Reduce with a gentle simmer for 3 minutes until slightly thickened.
- Swirl in the remaining 2 tablespoons cold butter until the sauce turns glossy and smooth. The moment it gleams, it’s ready to coat the cutlets.
- Plate the cutlets and pour the lemon-caper butter sauce over each one. Garnish with fresh parsley so the final dish has fresh green color on top.