Libby’s Pumpkin Bread bakes up with a tall, domed top, a tender crumb, and that deep pumpkin spice aroma that fills the kitchen before the loaf even comes out of the oven. The texture is the part people remember: soft enough to slice thick, sturdy enough to hold together, and moist without turning gummy. It’s the kind of loaf that disappears fast at breakfast and somehow tastes just as good after it has fully cooled.
What makes this version work is the balance of canned pumpkin, oil, and a full set of warming spices. Pumpkin adds body and moisture, but it doesn’t make the bread taste heavy when the batter is mixed just until combined. Oil keeps the crumb soft for days, and the spice blend gives the loaf that classic Libby’s flavor without needing anything fancy. The trick is not to overwork the batter once the wet and dry ingredients meet. That’s where quick breads go from tender to tough.
Below, I’ll walk through the details that matter most: how to avoid a dense center, why the loaf pan setup changes the final shape, and the small adjustments that help this bread bake evenly every time.
The loaf rose beautifully and sliced cleanly after cooling. I loved that the pumpkin flavor came through without being muddy, and the spice level was spot on.
Save this Libby’s Pumpkin Bread recipe for a tall, moist loaf with that classic pumpkin spice crumb.
The Reason This Loaf Stays Soft Instead of Turning Heavy
Quick pumpkin bread only turns out light when the batter stays just mixed. Once flour hits the wet ingredients, the gluten starts tightening, and every extra stir pushes the crumb toward dense and chewy instead of tender. This recipe gives you enough structure for a clean slice, but the loaf still needs a gentle hand at the end.
The other thing that matters is moisture balance. Pumpkin brings a lot of it, but oil keeps that moisture from drying out as the bread cools. That’s why this loaf still tastes good on day two and day three. If your pumpkin bread has ever baked up with a wet strip in the middle, it usually needed a few more minutes in the oven or a better cool-down before slicing.
- Do not overmix the batter — stop as soon as you no longer see dry flour. A few small streaks are better than beating the batter smooth.
- Use pure pumpkin, not pumpkin pie filling — pie filling is already sweetened and spiced, which throws off the balance here.
- Let the loaf cool in the pan for 10 minutes — this helps it set so it doesn’t collapse when you turn it out.
- Test the center, not just the top — the dome can look finished before the middle is fully baked.
What the Pumpkin, Oil, and Spices Are Each Doing Here
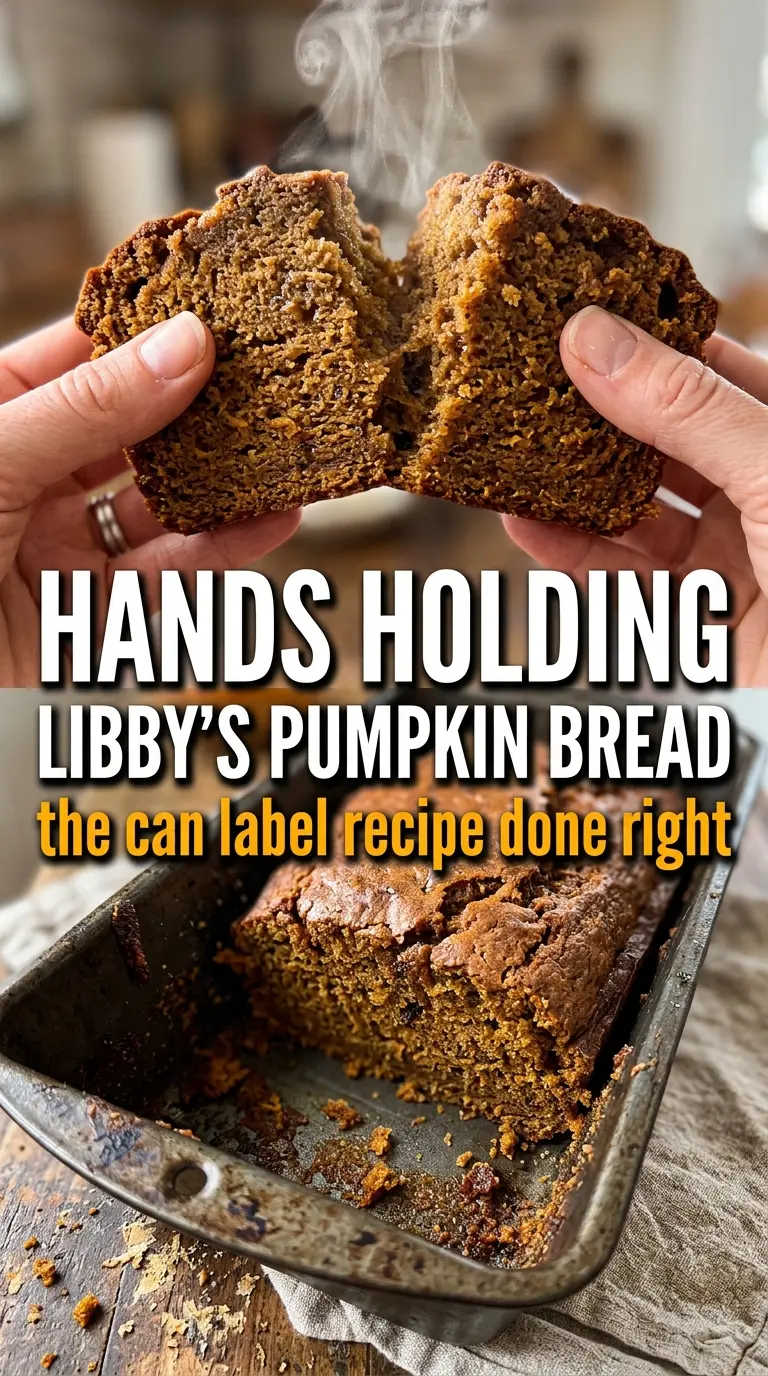
- Libby’s 100% Pure Pumpkin — this is the backbone of the loaf. It gives flavor, color, and moisture, and it’s the one ingredient I wouldn’t swap if you want the classic result.
- Vegetable oil — oil keeps the crumb soft after baking in a way butter won’t quite match. Butter adds flavor, but it also firms up as it cools, which makes the bread feel drier the next day.
- All-purpose flour — this gives the bread enough structure to rise into a proper loaf without becoming cakey. Bread flour is too strong here.
- All the warm spices — cinnamon, nutmeg, cloves, and allspice work together instead of one note dominating. If you only have pumpkin pie spice, use 2 teaspoons in place of the individual spices and keep the cinnamon-heavy balance in mind.
- Eggs — they hold the batter together and help the loaf rise. Room-temperature eggs blend faster and keep the batter smoother, but cold eggs will still work.
Getting the Batter Into the Pan and Baked Through
Mixing the Dry Ingredients First
Whisk the flour, sugar, baking soda, spices, and salt until the bowl looks evenly speckled. That matters because baking soda needs to be dispersed evenly or you’ll get bitter pockets and uneven rise. If you see clumps of cinnamon or baking soda, keep whisking before the wet ingredients go in.
Bringing the Wet Ingredients Together
In the second bowl, whisk the pumpkin, oil, eggs, and water until the mixture looks smooth and glossy. The batter should look thick but pourable, not stiff. If the eggs aren’t fully blended in, you’ll see streaks later in the loaf, so take a few extra seconds here rather than trying to fix it after the flour is added.
Stopping the Mixing at the Right Moment
Pour the wet mixture into the dry ingredients and stir just until the flour disappears. The batter will look thick, and that’s normal. Overmixing is the fastest way to get a tunnelled, tough loaf, so stop when the batter is combined and pour it into the prepared pan right away.
Knowing When the Loaf Is Done
Bake until the top is deeply golden, the loaf is domed, and a toothpick in the center comes out clean. For a full-sized loaf, that usually takes 60 to 65 minutes, but ovens vary, and pumpkin bread often needs the full time. If the top is browning too fast before the middle is baked, tent it loosely with foil for the last part of baking.
Make It Gluten-Free With a 1:1 Baking Blend
A good gluten-free all-purpose blend can work here if it already includes xanthan gum. The loaf will be a little more delicate and may need a few extra minutes in the oven, but the pumpkin and oil still keep it moist. Let it cool completely before slicing so it has time to set.
Mini Loaves for Gifts or Faster Baking
Two 7×3-inch mini loaf pans give you the same flavor with a shorter bake time, usually around 50 to 55 minutes. The smaller loaves brown faster, so start checking early. They also cool more quickly, which makes them a good choice when you want clean slices sooner.
Reducing the Sugar a Little
You can cut the sugar slightly if you want a less sweet loaf, but don’t go too far or you’ll lose moisture and a little of the tender texture. I wouldn’t reduce it by more than 1/4 cup the first time. The loaf will taste more pumpkin-forward, but it may also seem a touch less plush.
Storage and Reheating
- Refrigerator: Store tightly wrapped for up to 5 days. The crumb firms a little in the fridge, but the flavor stays good.
- Freezer: Freezes well. Wrap the cooled loaf or individual slices in plastic, then foil, and freeze for up to 3 months.
- Reheating: Thaw at room temperature, then warm slices briefly in the microwave or a low oven. Don’t reheat it too long or the bread will dry out fast.
Questions I Get Asked About This Recipe
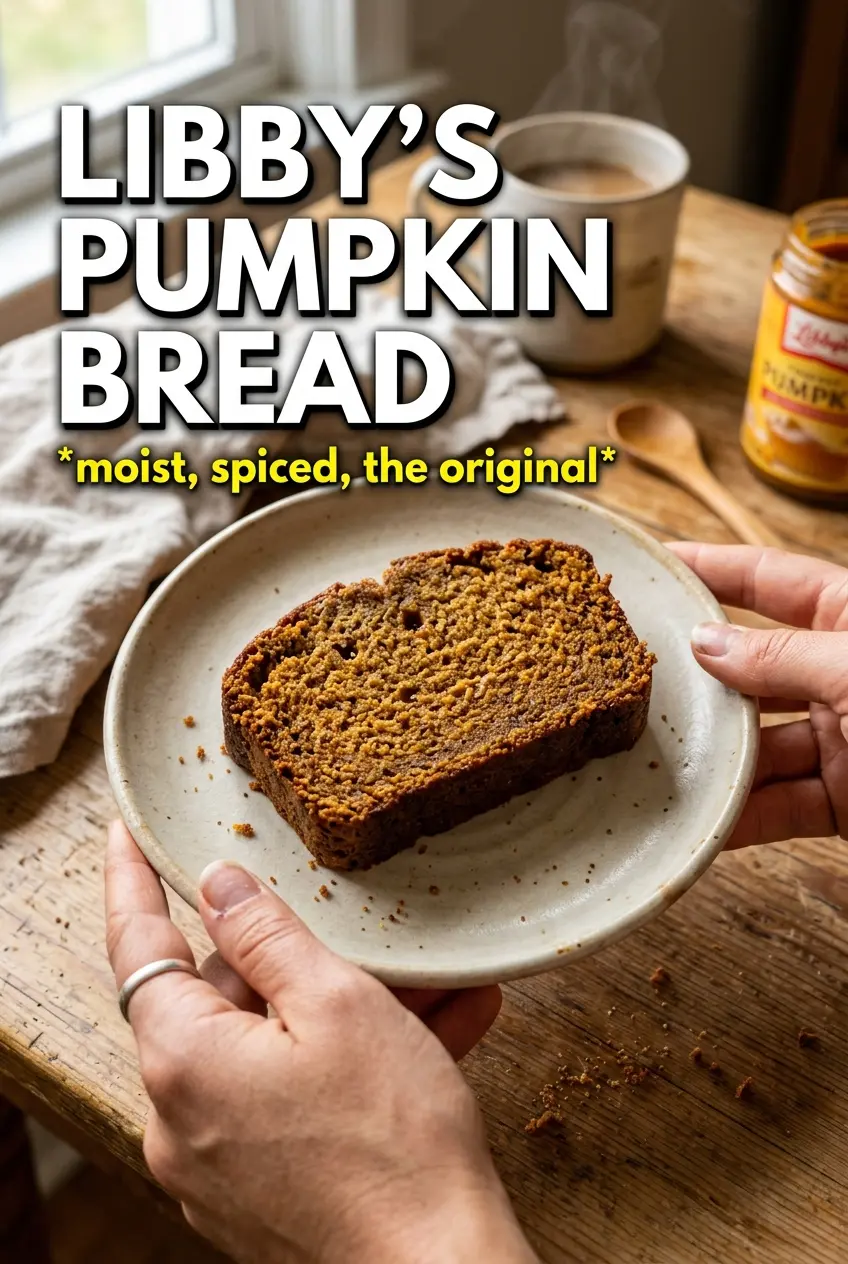
Libby's Pumpkin Bread
Ingredients
Equipment
Method
- Preheat oven to 350F, then grease and flour a 9x5 loaf pan (or grease and flour two 7x3 pans for mini loaves).
- Whisk all-purpose flour, granulated sugar, baking soda, cinnamon, nutmeg, cloves, allspice, and salt in a large bowl until evenly combined.
- Whisk Libby's 100% Pure Pumpkin, vegetable oil, eggs, and water in a separate bowl until smooth.
- Pour the wet ingredients into the dry ingredients and stir until just combined—do not overmix.
- Pour batter into the prepared pan and smooth the top so it bakes evenly.
- Bake at 350F for 60-65 minutes (large loaf) or 50-55 minutes (mini loaves), until a toothpick inserted in the center comes out clean.
- Cool the loaf in the pan for 10 minutes, then remove and cool on a wire rack.