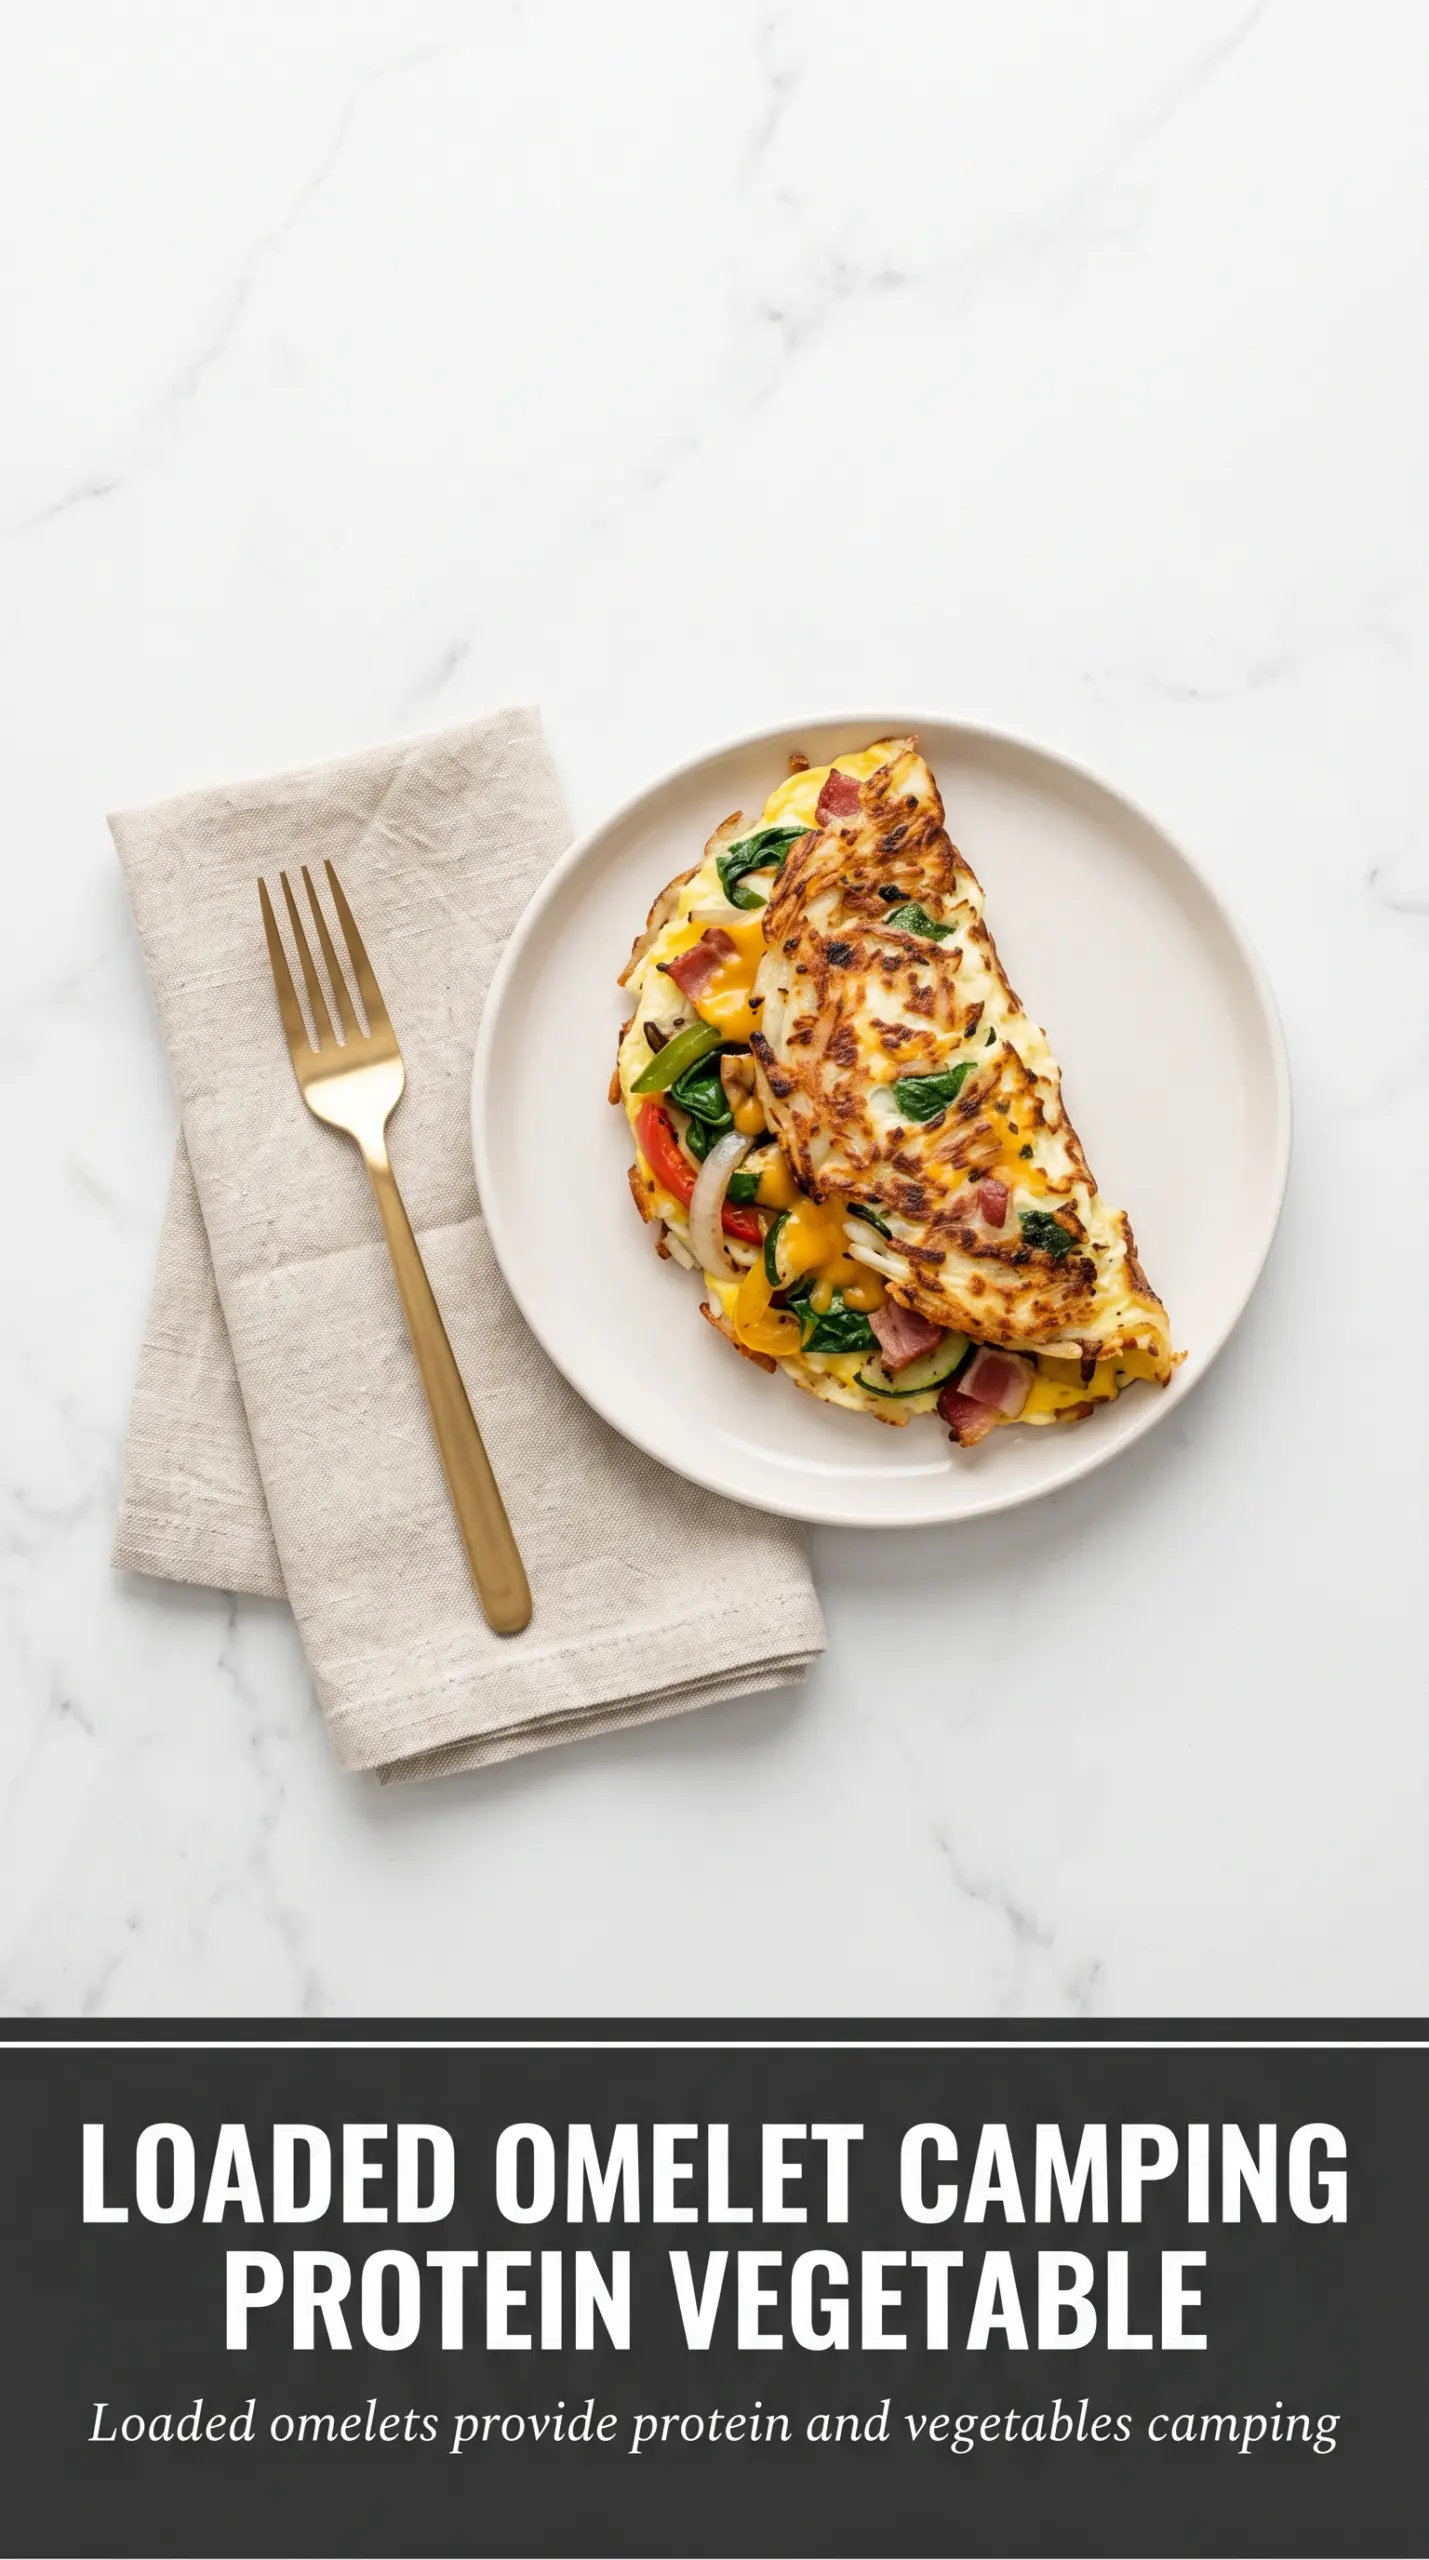
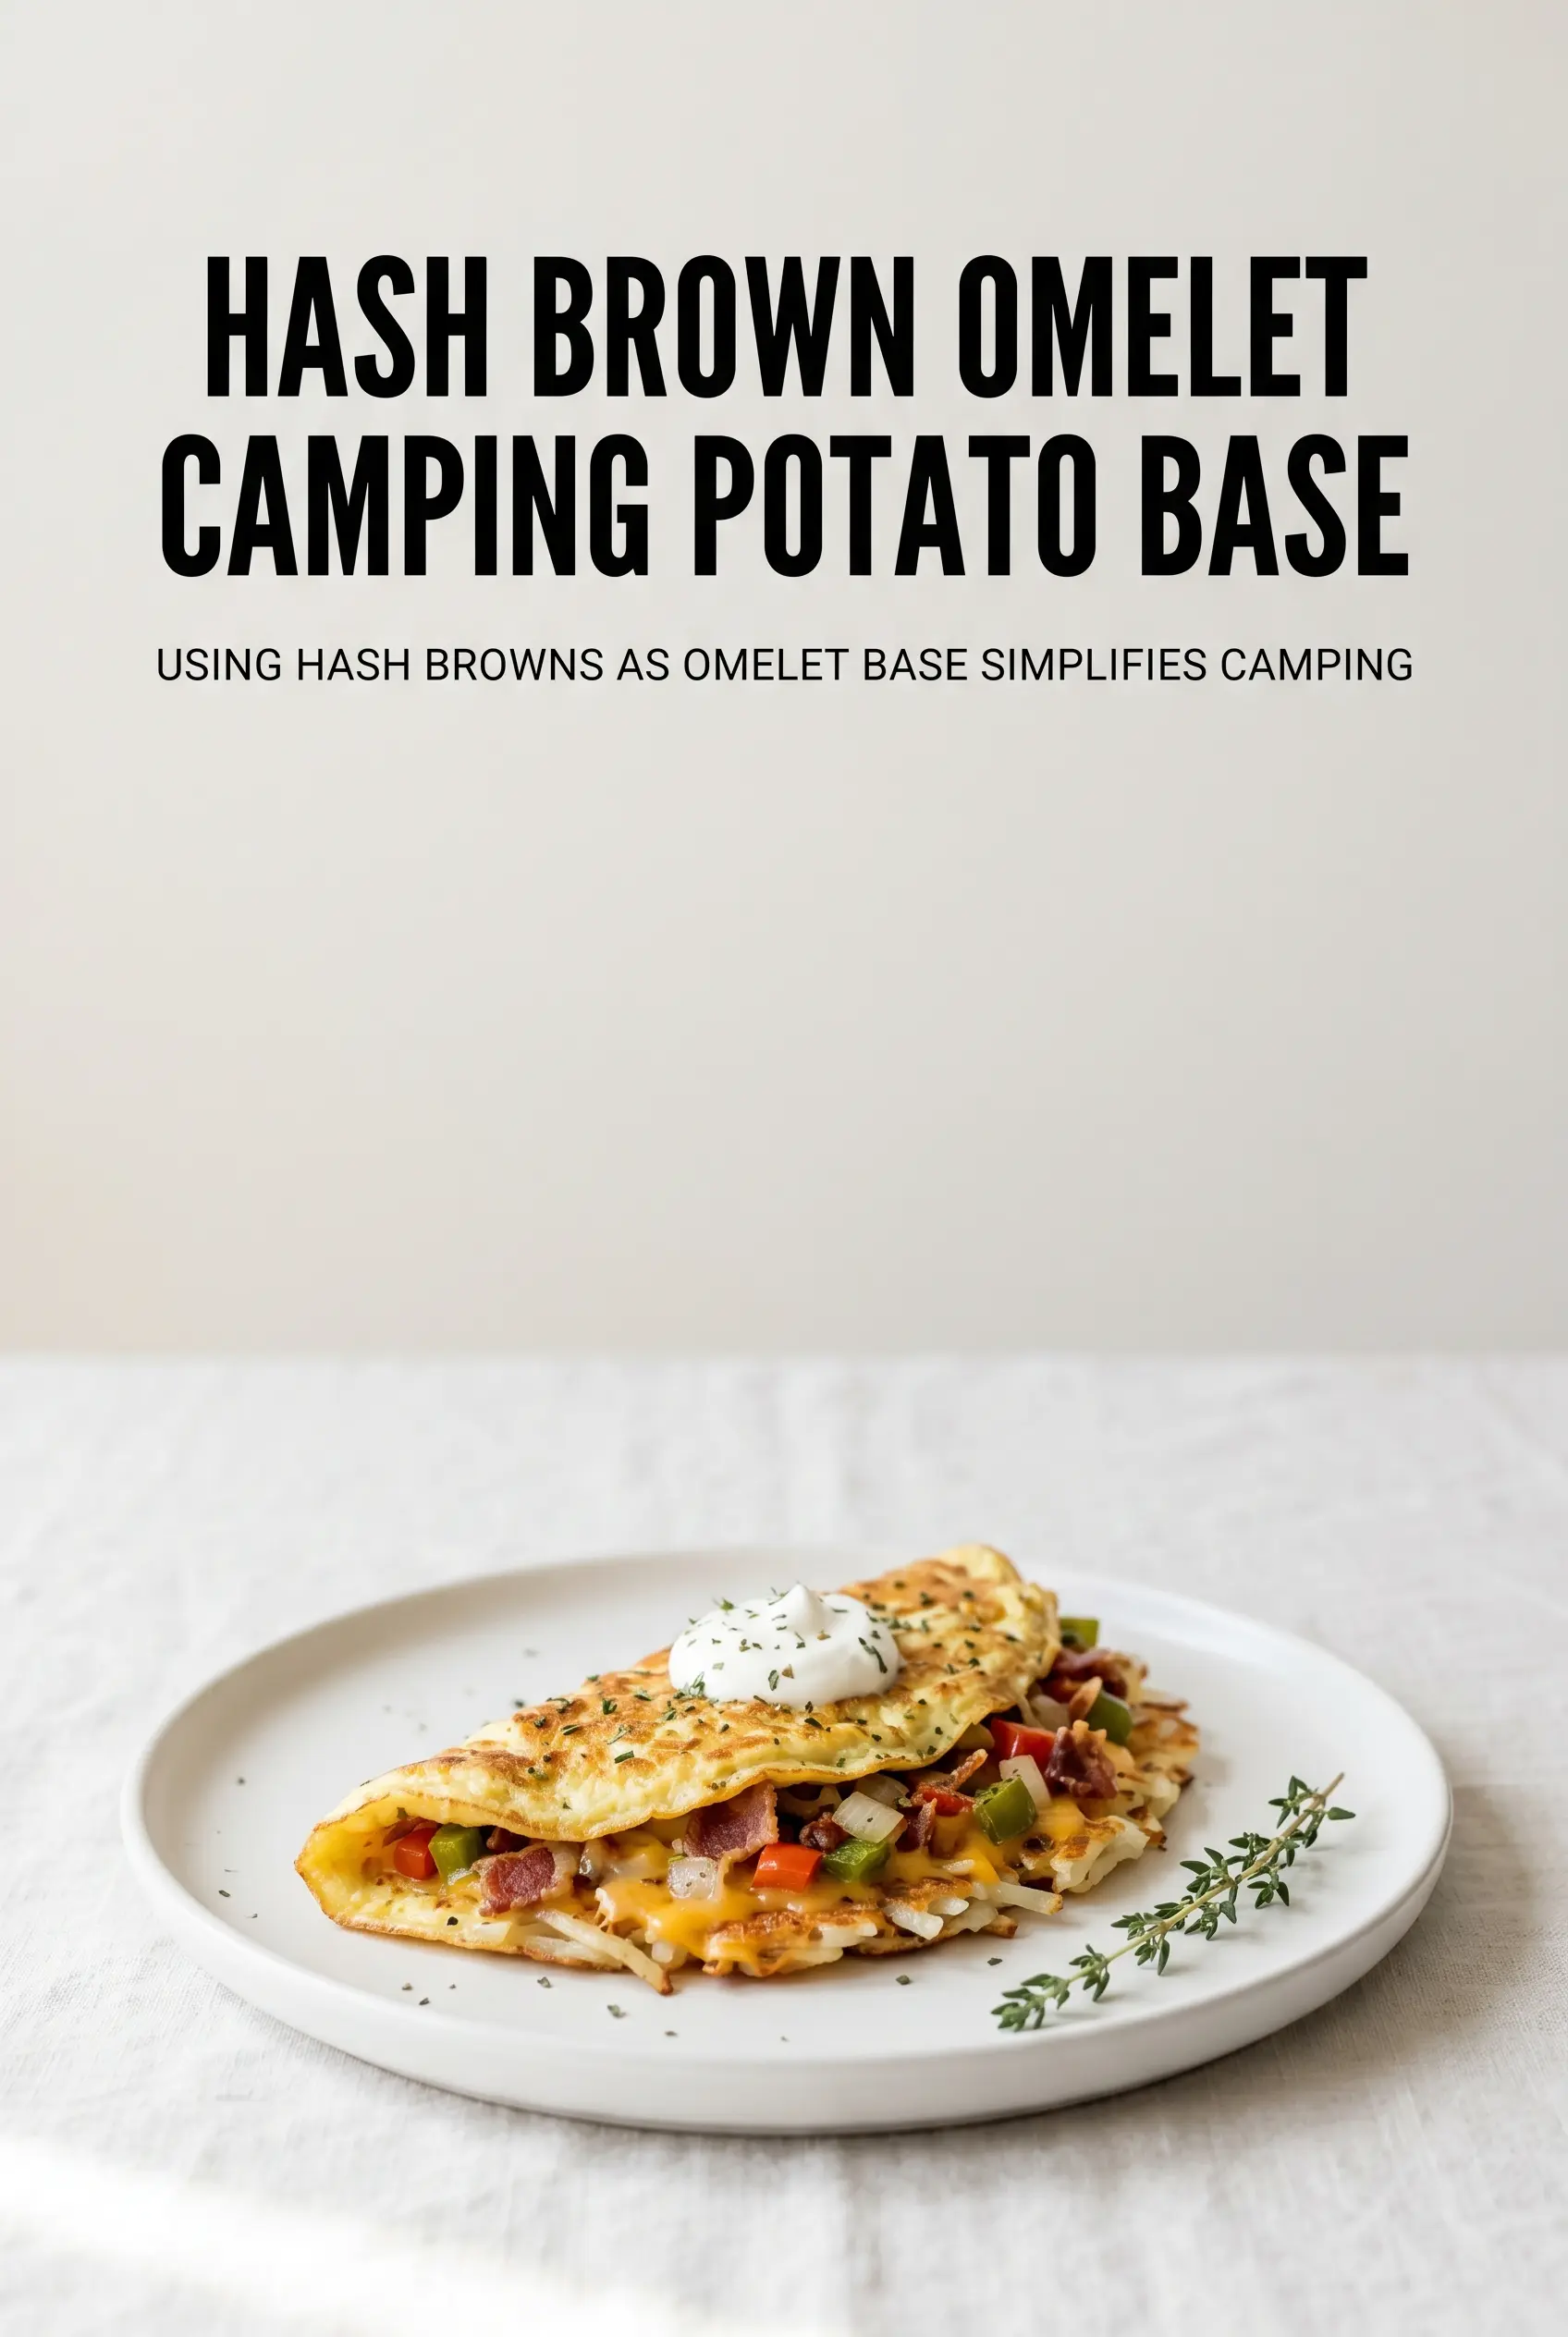
Golden hash browns give these omelets a crust you can hear when the skillet hits the table, and the filling stays hearty instead of collapsing into a soft scramble. The potatoes turn crisp on the outside, the eggs set around the cheese, bacon, and vegetables, and the whole thing eats like breakfast with a little more backbone.
The trick is treating the hash browns like the bread in a sandwich. They need enough heat and fat to brown before the eggs go in, and they need time under the lid so the center cooks through without burning the bottom. Frozen hash browns work fine here as long as they’re thawed and not packed with extra moisture; wet potatoes steam instead of crisp, and that’s the difference between a good omelet and a soggy one.
Below you’ll find the detail that matters most for getting the crust right, plus a few smart swaps for making these work with what you’ve got on hand or what you’re cooking over.
The hash brown layer browned up beautifully and held together when I flipped it. The eggs set all the way through without turning rubbery, and the bacon and peppers made every bite taste like a diner breakfast.
Save these loaded grilled hash brown omelets for the mornings when you want a crispy potato crust, melted cheese, and a breakfast that eats like a full meal.
The Hash Brown Layer Has to Brown Before the Eggs Hit the Pan
The most common mistake with a hash brown omelet is rushing the base. If the potatoes go in before the skillet is hot enough, they soften and glue themselves to the pan instead of forming that deep golden layer you want. Give the butter a moment to foam, then press the hash browns into an even layer and let them sit until the edges darken and lift cleanly.
Once the eggs go in, the goal changes from browning to gentle setting. A lid traps heat and helps the top cook without forcing you to crank up the burner, which is how the bottom burns before the center is done. If you’re cooking over a campfire, use steady heat, not open flame licking the skillet the whole time.
- Frozen hash browns — Thawed potatoes brown more evenly and release less water. If they still feel icy or damp, spread them on a towel for a few minutes before they hit the skillet.
- Cast iron skillet — This holds heat well enough to crisp the potatoes and finish the eggs. A thin pan can work, but it’s more likely to burn in spots over a fire.
- Butter or oil — Butter gives better flavor, but oil is the safer choice if your heat runs hot. I like a mix when I can get it: enough butter for taste, enough oil to keep it from scorching.
What Each Ingredient Is Doing in the Skillet
- Frozen hash browns — These form the crust and the top layer, so texture matters more than brand name. Thaw them completely and pat them dry; that’s what keeps them crisp instead of gummy.
- Eggs — Six eggs give enough body to hold the fillings without turning the whole thing fragile. Beat them until the whites and yolks are fully combined so they set evenly.
- Cheddar cheese — Sharp cheddar melts cleanly and gives the filling enough salt to carry the potatoes. Pre-shredded is fine here, though freshly grated melts a little smoother.
- Bacon, green onions, and bell peppers — Bacon brings the smoky, salty base, while the vegetables keep each bite from tasting flat. Cook the bacon first if it isn’t already cooked, and dice the peppers small so they soften in the same time it takes the eggs to set.
- Butter or oil — This is what gives you a crust that releases. If the pan looks dry at the edges halfway through, add a little more fat there rather than waiting for the potatoes to catch.
Getting the Omelet Set Without Burning the Bottom
Building the First Hash Brown Layer
Melt half the butter in the skillet and spread half the hash browns in an even layer. Press them down lightly so they make full contact with the pan, then leave them alone for about five minutes. You’re looking for a deep golden underside and a potato layer that moves as one when you slide a spatula underneath. If it sticks hard, it needs more time; if it’s pale, it won’t hold together for the flip or fold.
Adding the Eggs and Filling
Pour the beaten eggs over the browned potatoes and let them settle into the gaps. Scatter the cheese, bacon, peppers, and green onions evenly so every slice gets a bit of everything instead of one heavy pocket in the middle. Keep the heat at medium-low after the fillings go in; high heat makes the eggs tight before the center has a chance to cook.
Finishing Under the Lid
Top with the remaining hash browns and dot the edges with the rest of the butter or oil so the upper layer crisps too. Cover the skillet and cook until the eggs are set and no longer look glossy in the center, about 12 to 15 minutes depending on your heat source. If the bottom starts to smell too dark before the top is done, pull the pan off the heat for a minute and let residual heat finish the middle.
Flipping or Folding Cleanly
Let the omelet rest for a minute before you move it. That short pause helps it set enough to cut or turn without tearing. If you flip it, use a plate larger than the skillet and move with confidence; if you fold it in half, slide a spatula under one side and lift slowly so the filling stays tucked inside. Cut into wedges and serve right away while the crust is still crisp.
How to Adapt These Omelets for Different Pans, Diets, and Campsites
Dairy-Free Version
Use oil instead of butter and swap in a dairy-free shredded cheese that melts well. You’ll lose a little of the buttery flavor, but the crisp potato crust and egg filling still work. Choose a brand that softens rather than one that dries out into little rubbery bits.
Vegetarian Breakfast Skillet
Skip the bacon and add more bell peppers, mushrooms, or sautéed spinach. You’ll want a little extra salt and maybe a pinch of smoked paprika to replace the depth the bacon normally brings. Cook watery vegetables first so they don’t leak moisture into the eggs.
Extra-Crispy Potato Crust
Use the full amount of butter or oil and keep the potato layer thin and even. If you pile the hash browns too thick, the outside browns before the center firms up. A thinner layer gives you more crunch per slice and makes the flip easier.
Make-Ahead Camp Breakfast
Chop the vegetables and cook the bacon at home, then pack everything cold in a cooler. The skillet step still needs to happen fresh, but this cuts down the work at the campsite and keeps the eggs from waiting around while you get the fire under control.
Storage and Reheating
- Refrigerator: Store leftovers in an airtight container for up to 3 days. The hash browns will soften, but the flavor holds up well.
- Freezer: Freeze portions wrapped tightly for up to 1 month. The texture gets softer after thawing, so this is better for convenience than for a crisp result.
- Reheating: Reheat in a skillet over medium-low heat or in a 350°F oven until warmed through. The big mistake is using the microwave, which steams the potatoes and turns the eggs rubbery.
Answers to the Questions Worth Asking
Loaded Grilled Hash Brown Omelets
Ingredients
Equipment
Method
- Heat 2 tablespoons butter or oil in a large cast iron skillet over a campfire until melted and shimmering.
- Spread half the hash browns in the skillet and cook for 5 minutes until golden on the bottom with crisp edges.
- Pour the beaten eggs over the hash browns and scatter the cheddar cheese, bacon, bell peppers, and green onions evenly over the top.
- Top with the remaining hash browns and add the remaining butter around the edges to help crisp and brown.
- Cover and cook for 12-15 minutes until the eggs are set and the bottom crust is crispy, with steam building under the lid.
- Flip carefully or fold in half, using a quick confident motion to keep the crust intact.
- Cut into wedges and serve immediately while the cheese is melted and the hash brown crust stays crisp.