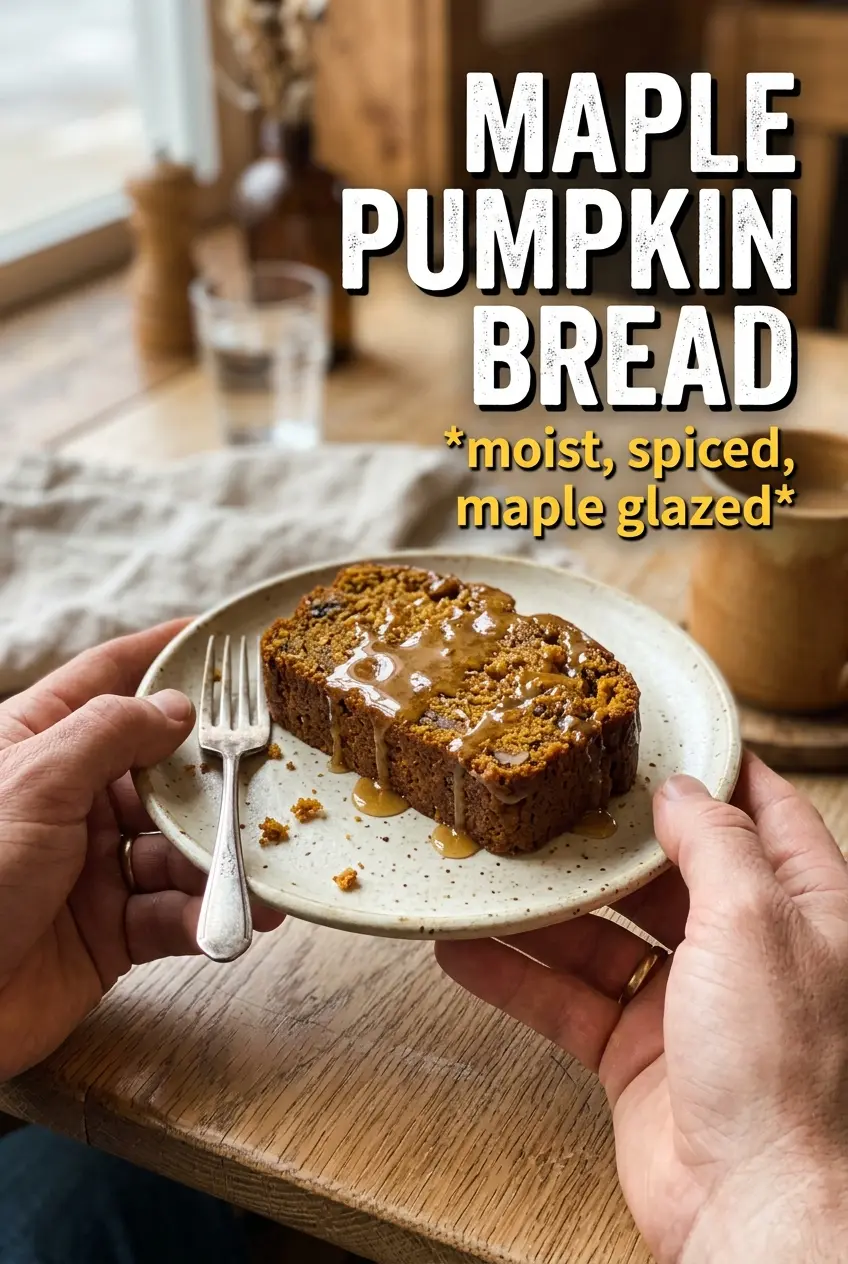
Maple pumpkin bread bakes up with a soft, tender crumb and a deep maple scent that carries all the way through the loaf. The pumpkin keeps it moist without turning it dense, and the maple syrup gives it a warmer, rounder sweetness than plain sugar alone. Sliced cold or still slightly warm, it’s the kind of breakfast bread that disappears fast because every piece feels like it came from a bakery case, not a box mix.
This version works because the wet ingredients do the heavy lifting before the flour ever goes in. Pumpkin puree, maple syrup, brown sugar, oil, and sour cream build moisture and structure, while maple extract sharpens the flavor so the bread doesn’t taste flat after baking. The pepitas on top add a little crunch and keep the loaf from looking plain once it’s glazed.
Below, I’ve included the detail that matters most: how to keep the crumb soft instead of gummy, plus the best way to glaze it so it sets into a shiny finish instead of soaking straight into the loaf.
The loaf came out incredibly moist, and the maple glaze set up beautifully instead of running off the sides. I loved the pepitas on top because they gave each slice a little crunch against the soft crumb.
Love the soft crumb, maple glaze, and toasted pepitas in this maple pumpkin bread? Save it to Pinterest for cozy breakfast slices and easy gifting.
The Trick to Keeping Maple Pumpkin Bread Tender Instead of Gummy
Pumpkin bread goes wrong when the batter gets overmixed or the loaf comes out of the oven before the center has actually set. Pumpkin puree adds a lot of moisture, which is exactly what makes the crumb soft, but that same moisture can turn the middle heavy if you keep stirring once the flour goes in. Fold the dry ingredients into the wet just until you stop seeing streaks of flour, then stop. The batter should look thick and slightly glossy, not smooth like cake batter.
The other place people lose the texture is at the bake time. The top can look done before the middle is ready, especially in a dark loaf pan. Use the toothpick as a clue, but trust the center of the loaf more than the crust. If it comes out with wet batter on it, give the loaf a few more minutes; if it comes out with a few moist crumbs, it’s ready.
What the Maple Syrup, Sour Cream, and Extracts Are Doing Here
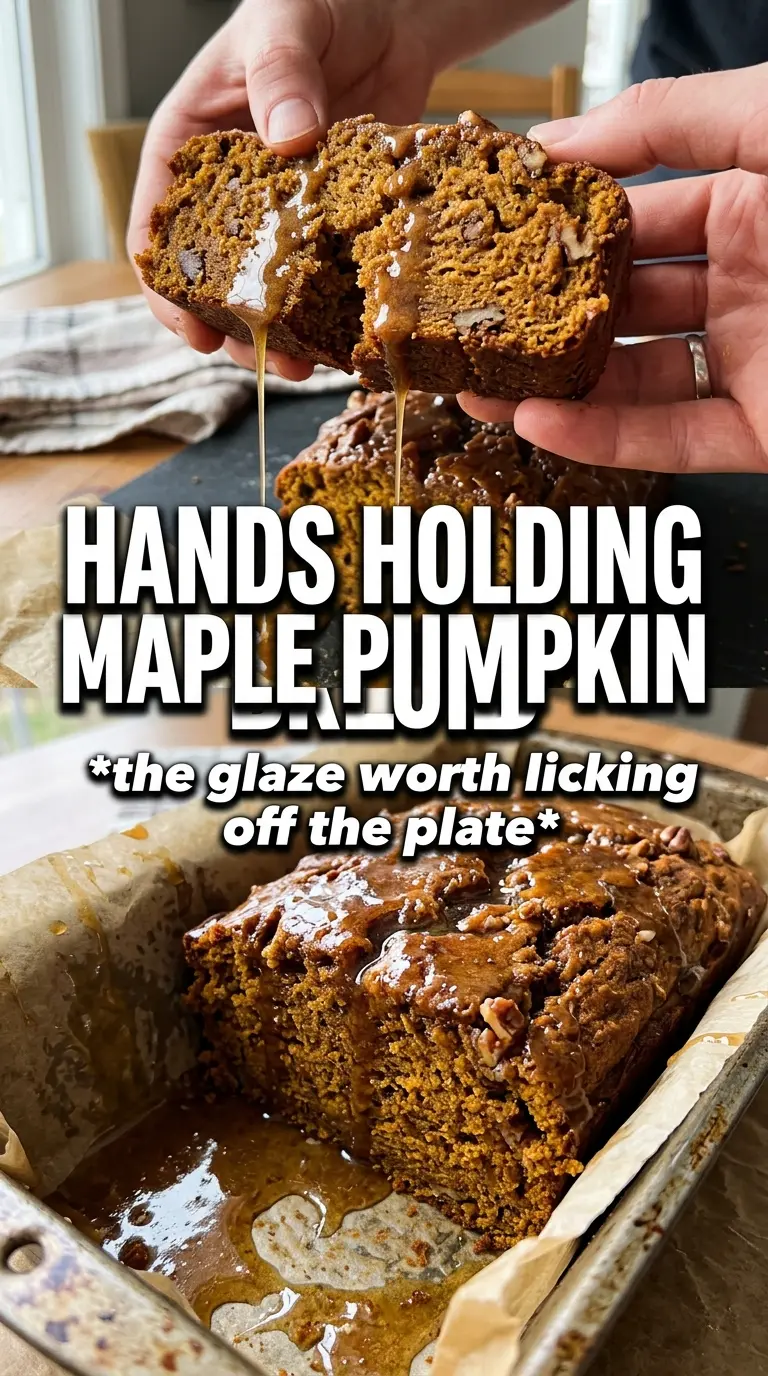
- Pure maple syrup — This is the flavor that separates the loaf from ordinary pumpkin bread. Use real maple syrup, not pancake syrup, or the glaze and crumb will taste flatter and sweeter in a less interesting way.
- Pumpkin puree — Canned pumpkin gives the bread its body and moisture. Don’t use pumpkin pie filling, which already contains sugar and spices and will throw off both the flavor and texture.
- Sour cream — This is what keeps the loaf plush without making it greasy. Plain full-fat Greek yogurt works in a pinch, but sour cream gives a softer, richer crumb.
- Maple extract — A small amount makes the maple flavor show up after baking instead of fading into the background. If you skip it, the bread still works, but the maple note won’t be as clear.
- Pepitas — They’re optional, but they add a nice toasted bite against the soft loaf and sweet glaze. Sprinkle them on before baking so they cling to the top instead of sliding off later.
Building the Batter and Finishing the Loaf
Mix the dry ingredients first
Whisk the flour, baking soda, pumpkin pie spice, cinnamon, and salt together until the color looks even. This keeps the spice from clumping in one bite and helps the baking soda spread through the batter so the loaf rises evenly. If you see a pocket of cinnamon or a streak of baking soda, keep whisking for a few more seconds.
Whisk the wet ingredients until they look unified
In a separate bowl, whisk the pumpkin puree, maple syrup, brown sugar, oil, eggs, vanilla, maple extract, and sour cream until the mixture looks smooth and thick. The brown sugar should dissolve into the wet ingredients as much as it can; if you rush this step, you can get a grainy texture in the finished bread. This is the point where the batter should smell strongly of maple and spice.
Fold, don’t beat
Add the dry ingredients to the wet and fold just until no dry flour remains. A few small lumps are fine; aggressive mixing is what makes quick bread tough and tunneled. Pour the batter into the greased 9×5 pan, smooth the top once, and scatter the pepitas over the surface so they bake into the crust.
Bake until the center springs back
Bake at 350°F for 60 to 65 minutes. The loaf is done when the top is set, the edges pull slightly from the pan, and a tester comes out with a few moist crumbs rather than wet batter. If the top browns too quickly, lay a loose piece of foil over it for the last 10 to 15 minutes without touching the batter.
Cool before glazing
Let the bread cool completely before you drizzle on the maple glaze. If it’s even a little warm, the glaze will melt and disappear into the crust instead of sitting on top in a clean layer. For the glaze, whisk the powdered sugar, maple syrup, milk, and cinnamon until smooth, then drizzle it over the cooled loaf and let it set for a few minutes before slicing.
Three Ways to Make This Loaf Fit Your Kitchen
Dairy-Free Version
Swap the sour cream for a thick dairy-free yogurt with no added sugar. The loaf will still stay moist, though it may bake up a touch lighter in richness. Keep the glaze, but use a plant milk that’s unsweetened so the sweetness doesn’t get out of balance.
Lower-Sugar Finish
Skip the glaze and dust the cooled loaf with a very light layer of powdered sugar, or leave it plain. The bread itself already has maple syrup and brown sugar, so it still tastes complete without the extra topping. This version is less sweet and lets the pumpkin spice come through more clearly.
Nut-Free Topping
Leave off the pepitas if you need a fully seed-free loaf, or replace them with a few oats sprinkled over the top before baking. You’ll lose the salty crunch, but the crumb and glaze still carry the loaf. This is the simplest change if you’re serving a mixed crowd.
Storage and Reheating
- Refrigerator: Store tightly wrapped for up to 5 days. The glaze will soften a bit, but the crumb stays moist.
- Freezer: Freeze the ung lazed loaf or individual slices wrapped well for up to 3 months. Thaw at room temperature before glazing, or freeze glazed slices separated by parchment.
- Reheating: Warm slices in the microwave for 10 to 15 seconds or in a low oven until just heated through. Don’t overheat it, or the bread dries out fast and the glaze turns sticky instead of glossy.
Answers to the Questions Worth Asking
Maple Pumpkin Bread
Ingredients
Equipment
Method
- Preheat oven to 350F, then grease a 9x5 loaf pan so the loaf releases cleanly.
- Whisk all-purpose flour, baking soda, pumpkin pie spice, cinnamon, and salt until evenly combined.
- Whisk pumpkin puree, pure maple syrup, brown sugar, vegetable oil, eggs, vanilla extract, maple extract, and sour cream until smooth.
- Fold the dry ingredients into the wet mixture until just combined, then pour the batter into the prepared pan.
- Scatter raw pepitas over the top as a visible crunchy layer.
- Bake at 350F for 60-65 minutes, until a tester comes out done and the loaf looks set and lightly browned.
- Cool completely before glazing so the maple glaze stays thick and glossy rather than soaking in.
- Drizzle maple glaze made from powdered sugar, pure maple syrup, milk, and cinnamon over the cooled loaf for a finished ribbon of sweetness.