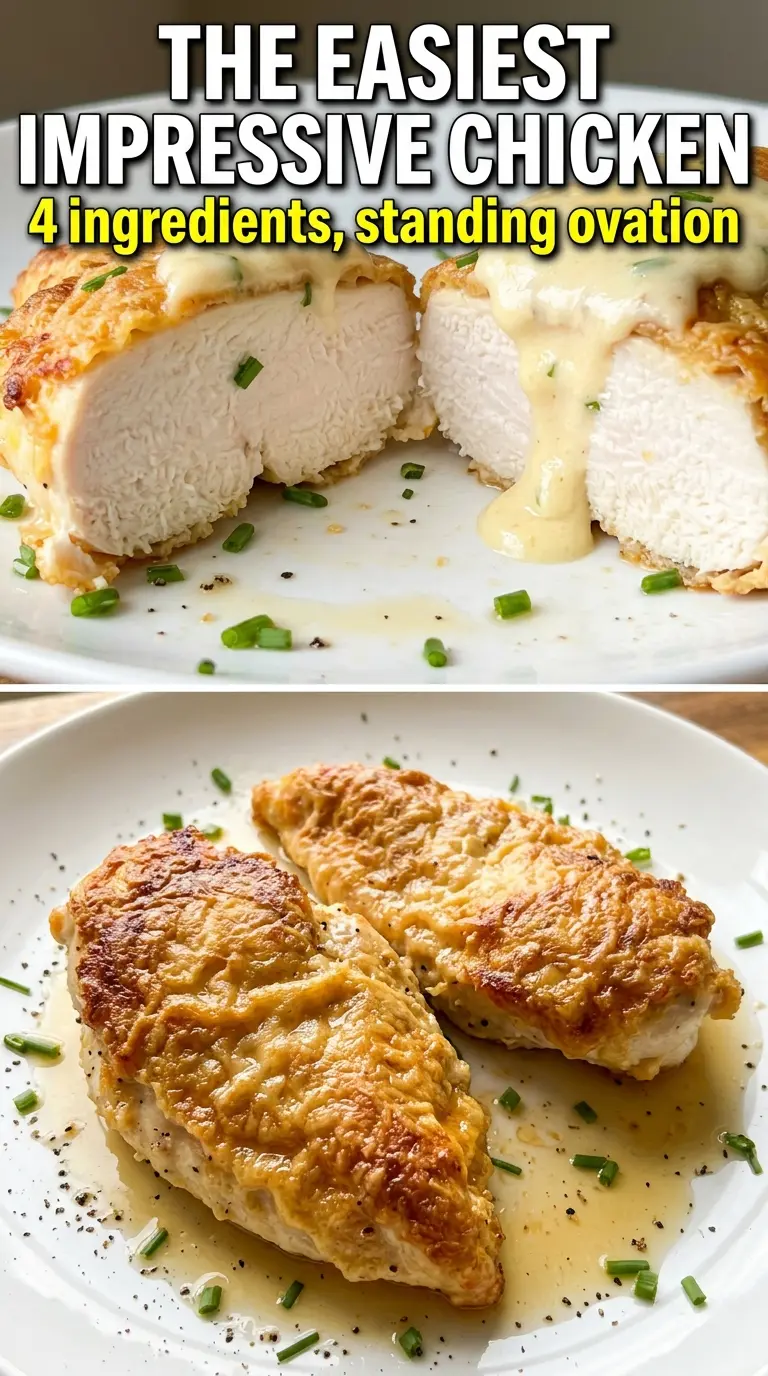
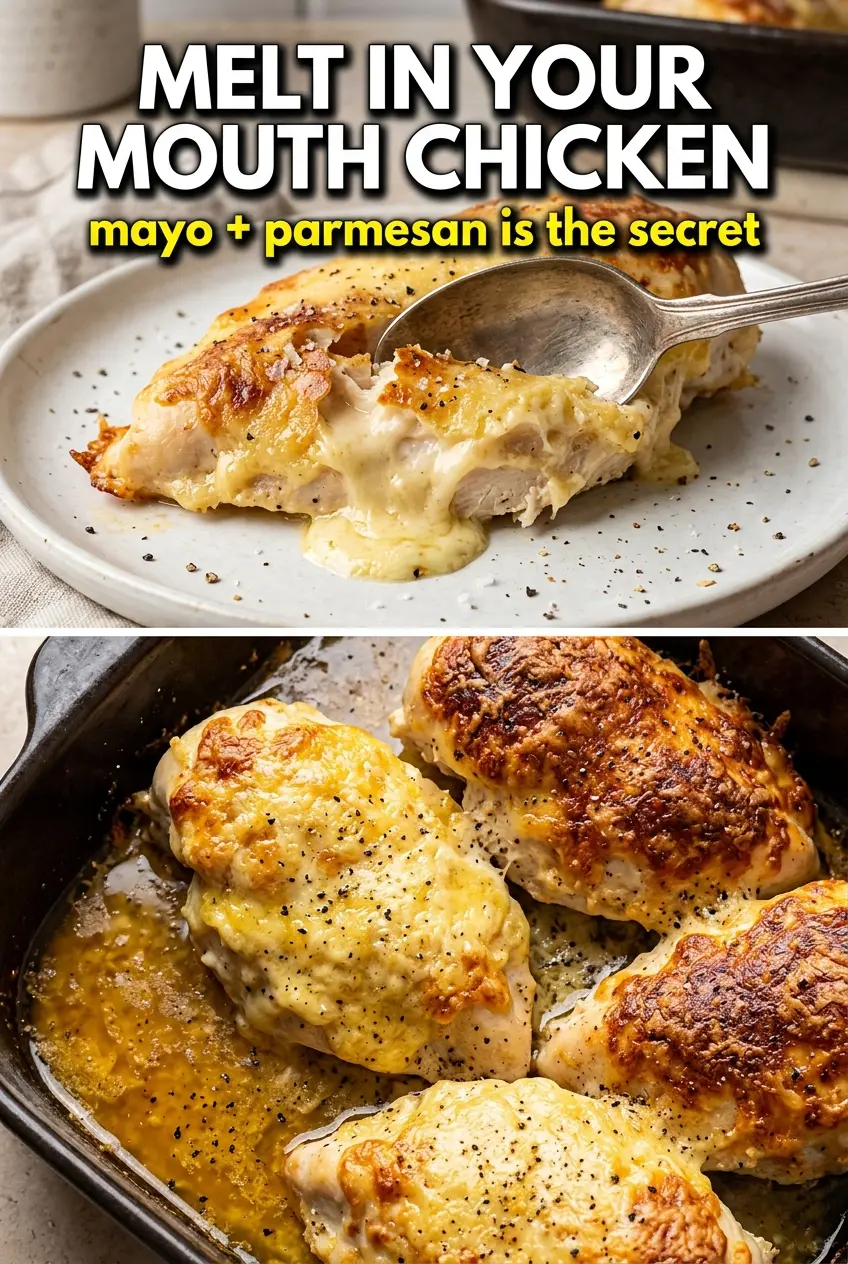
Golden, bubbly, and deeply savory, Melt In Your Mouth Chicken turns a plain chicken breast into something tender and moist with almost no fuss. The topping bakes into a puffy Parmesan crust that seals in the juices while the chicken underneath stays soft instead of drying out, which is exactly why this one earns repeat dinners in my kitchen.
The trick is the mayonnaise mixture. It does more than add richness; it protects the chicken from the oven’s heat and keeps the top from scorching before the meat is done. Freshly grated Parmesan matters here because it melts and browns more evenly than the shelf-stable shredded stuff, and a little lemon juice keeps the whole thing from tasting heavy.
Below, I’ll walk through the part that matters most: how to get the topping thick enough to stay put, how to tell when the chicken is done without cutting into it too soon, and the small swaps that still give you that tender, savory finish.
The topping browned beautifully and the chicken stayed juicy all the way through. I was worried the mayo flavor would be too strong, but it baked into a creamy, cheesy crust that tasted great with mashed potatoes.
Save this creamy Parmesan-crusted chicken for the nights when you want a baked dinner that stays juicy without extra work.
The Reason the Chicken Stays Juicy Instead of Drying Out
The mistake most people make with baked chicken breasts is treating the topping like an afterthought. Here, the mayonnaise and Parmesan layer is the whole point. It insulates the meat, so the outside doesn’t overcook before the center reaches temperature, and it browns into a crust that stays attached instead of sliding off in a greasy sheet.
Breasts that are uneven in thickness cause the biggest trouble. If one end is much thicker, the thin end will dry out while you wait for the thickest part to finish. Lightly pounding them to an even thickness makes the whole dish cook in the same window, which is what gives you that tender bite from edge to edge.
- Chicken breasts — Use boneless, skinless breasts and keep them similar in size. If one is much larger, slice it horizontally or pound it thinner so the batch finishes together.
- Mayonnaise — Full-fat mayo gives the best texture and the most reliable moisture. Light mayo can work, but it won’t brown as well and the topping can taste a little loose.
- Parmesan — Freshly grated Parmesan melts into the topping instead of staying grainy. The pre-shredded kind often has anti-caking agents that make the crust less smooth.
- Lemon juice — This keeps the richness in check. Fresh is better than bottled because the flavor is cleaner and less flat.
What Each Ingredient Is Actually Doing in This Recipe
- Primary ingredient (the star) — Quality matters most. Choose the best you can find.
- Cooking medium (oil, butter, or broth) — This carries flavors and prevents dryness.
- Seasonings (salt, pepper, spices, herbs) — Layer flavors so nothing overpowers. Build depth gradually.
- Aromatics (garlic, onion, herbs) — Cook with fat to bloom flavors. Become the foundation.
- Supporting ingredients — Complement the main ingredient without overpowering it.
- Sauce or liquid (if applicable) — Brings flavors together. Balance richness with acid.
- Acid (lemon, vinegar, wine, or other) — Brightens and prevents flat-tasting results.
- Final finish (garnish, glaze, or sauce) — Prevents one-dimensional taste and adds visual appeal.
Getting the Topping to Brown Without Overbaking the Chicken
Building the Parmesan Mayo Mix
Stir the mayonnaise, Parmesan, garlic powder, onion powder, smoked paprika, and lemon juice until the mixture looks thick and spreadable, almost like a soft paste. If it seems too loose, it will slide off the chicken instead of forming a cap in the oven. The mixture should hold its shape on a spoon and cling in a generous layer.
Coating the Chicken Evenly
Season the chicken lightly first, then spread the topping all the way to the edges in an even blanket. Don’t mound it in the center and leave the sides bare, or the edges dry out before the middle is done. A thin, even coat bakes better than a thick blob, and it gives you more of that browned crust in every bite.
Baking to the Right Temperature
Bake at 375°F until the topping is golden and the chicken hits 165°F in the thickest part. If the crust browns too fast before the center is done, lay a loose piece of foil over the dish for the last stretch. Pulling it early is the fastest way to end up with dry chicken, because this recipe depends on the meat being cooked through without going past the point of juiciness.
Finishing and Serving
Let the chicken rest for a few minutes after it comes out of the oven so the juices settle back into the meat. The topping will stay creamy and the chicken slices cleaner if you don’t cut into it immediately. A little parsley on top adds freshness and keeps the plate from looking one-note.
How to Adapt It for Different Kitchens and Different Appetites
Make It Gluten-Free Without Changing the Texture
This recipe is naturally gluten-free as written, so no special swap is needed. Just check that your Parmesan and seasonings are labeled gluten-free if you’re cooking for someone with sensitivity, since that’s where hidden additives usually show up.
Use Chicken Thighs for a Richer, More Forgiving Bake
Boneless, skinless thighs work well if you want a juicier, slightly richer result. They usually need a few extra minutes in the oven, but they’re less likely to dry out if you get distracted for a minute.
Swap in Greek Yogurt for a Tangier, Lighter Topping
Plain full-fat Greek yogurt can replace part or all of the mayonnaise if you want a sharper, less rich finish. The crust won’t be quite as plush, but it still browns well and gives you a creamy topping with a little more tang.
Make It Spicier Without Throwing Off the Balance
Add a pinch of cayenne or a little crushed red pepper to the topping. Keep it light, because the creamy base needs enough seasoning to support the heat, not drown it out.
Storage and Reheating
- Refrigerator: Store leftovers in an airtight container for up to 3 days. The topping softens a bit, but the chicken stays usable for lunches or a quick second dinner.
- Freezer: This freezes better after baking than before, but the creamy topping can separate a little on thawing. Wrap portions tightly and freeze for up to 2 months if you don’t mind a slightly less polished texture.
- Reheating: Reheat in a 325°F oven, covered loosely with foil, until warmed through. The biggest mistake is blasting it in the microwave, which makes the chicken rubbery and turns the topping oily.
Answers to the Questions Worth Asking
Melt In Your Mouth Chicken
Ingredients
Equipment
Method
- Preheat the oven to 375°F and grease a 9x13 baking dish.
- Place the boneless skinless chicken breasts in the prepared dish and season lightly with salt and cracked black pepper.
- Mix together the mayonnaise, Parmesan cheese, garlic powder, onion powder, smoked paprika, and fresh lemon juice until smooth.
- Spread the Parmesan mayonnaise mixture generously over the top of each chicken breast, covering completely.
- Bake for 25-30 minutes at 375°F until the topping is golden and bubbly and the internal temperature reaches 165°F.
- Garnish with fresh parsley and serve immediately.