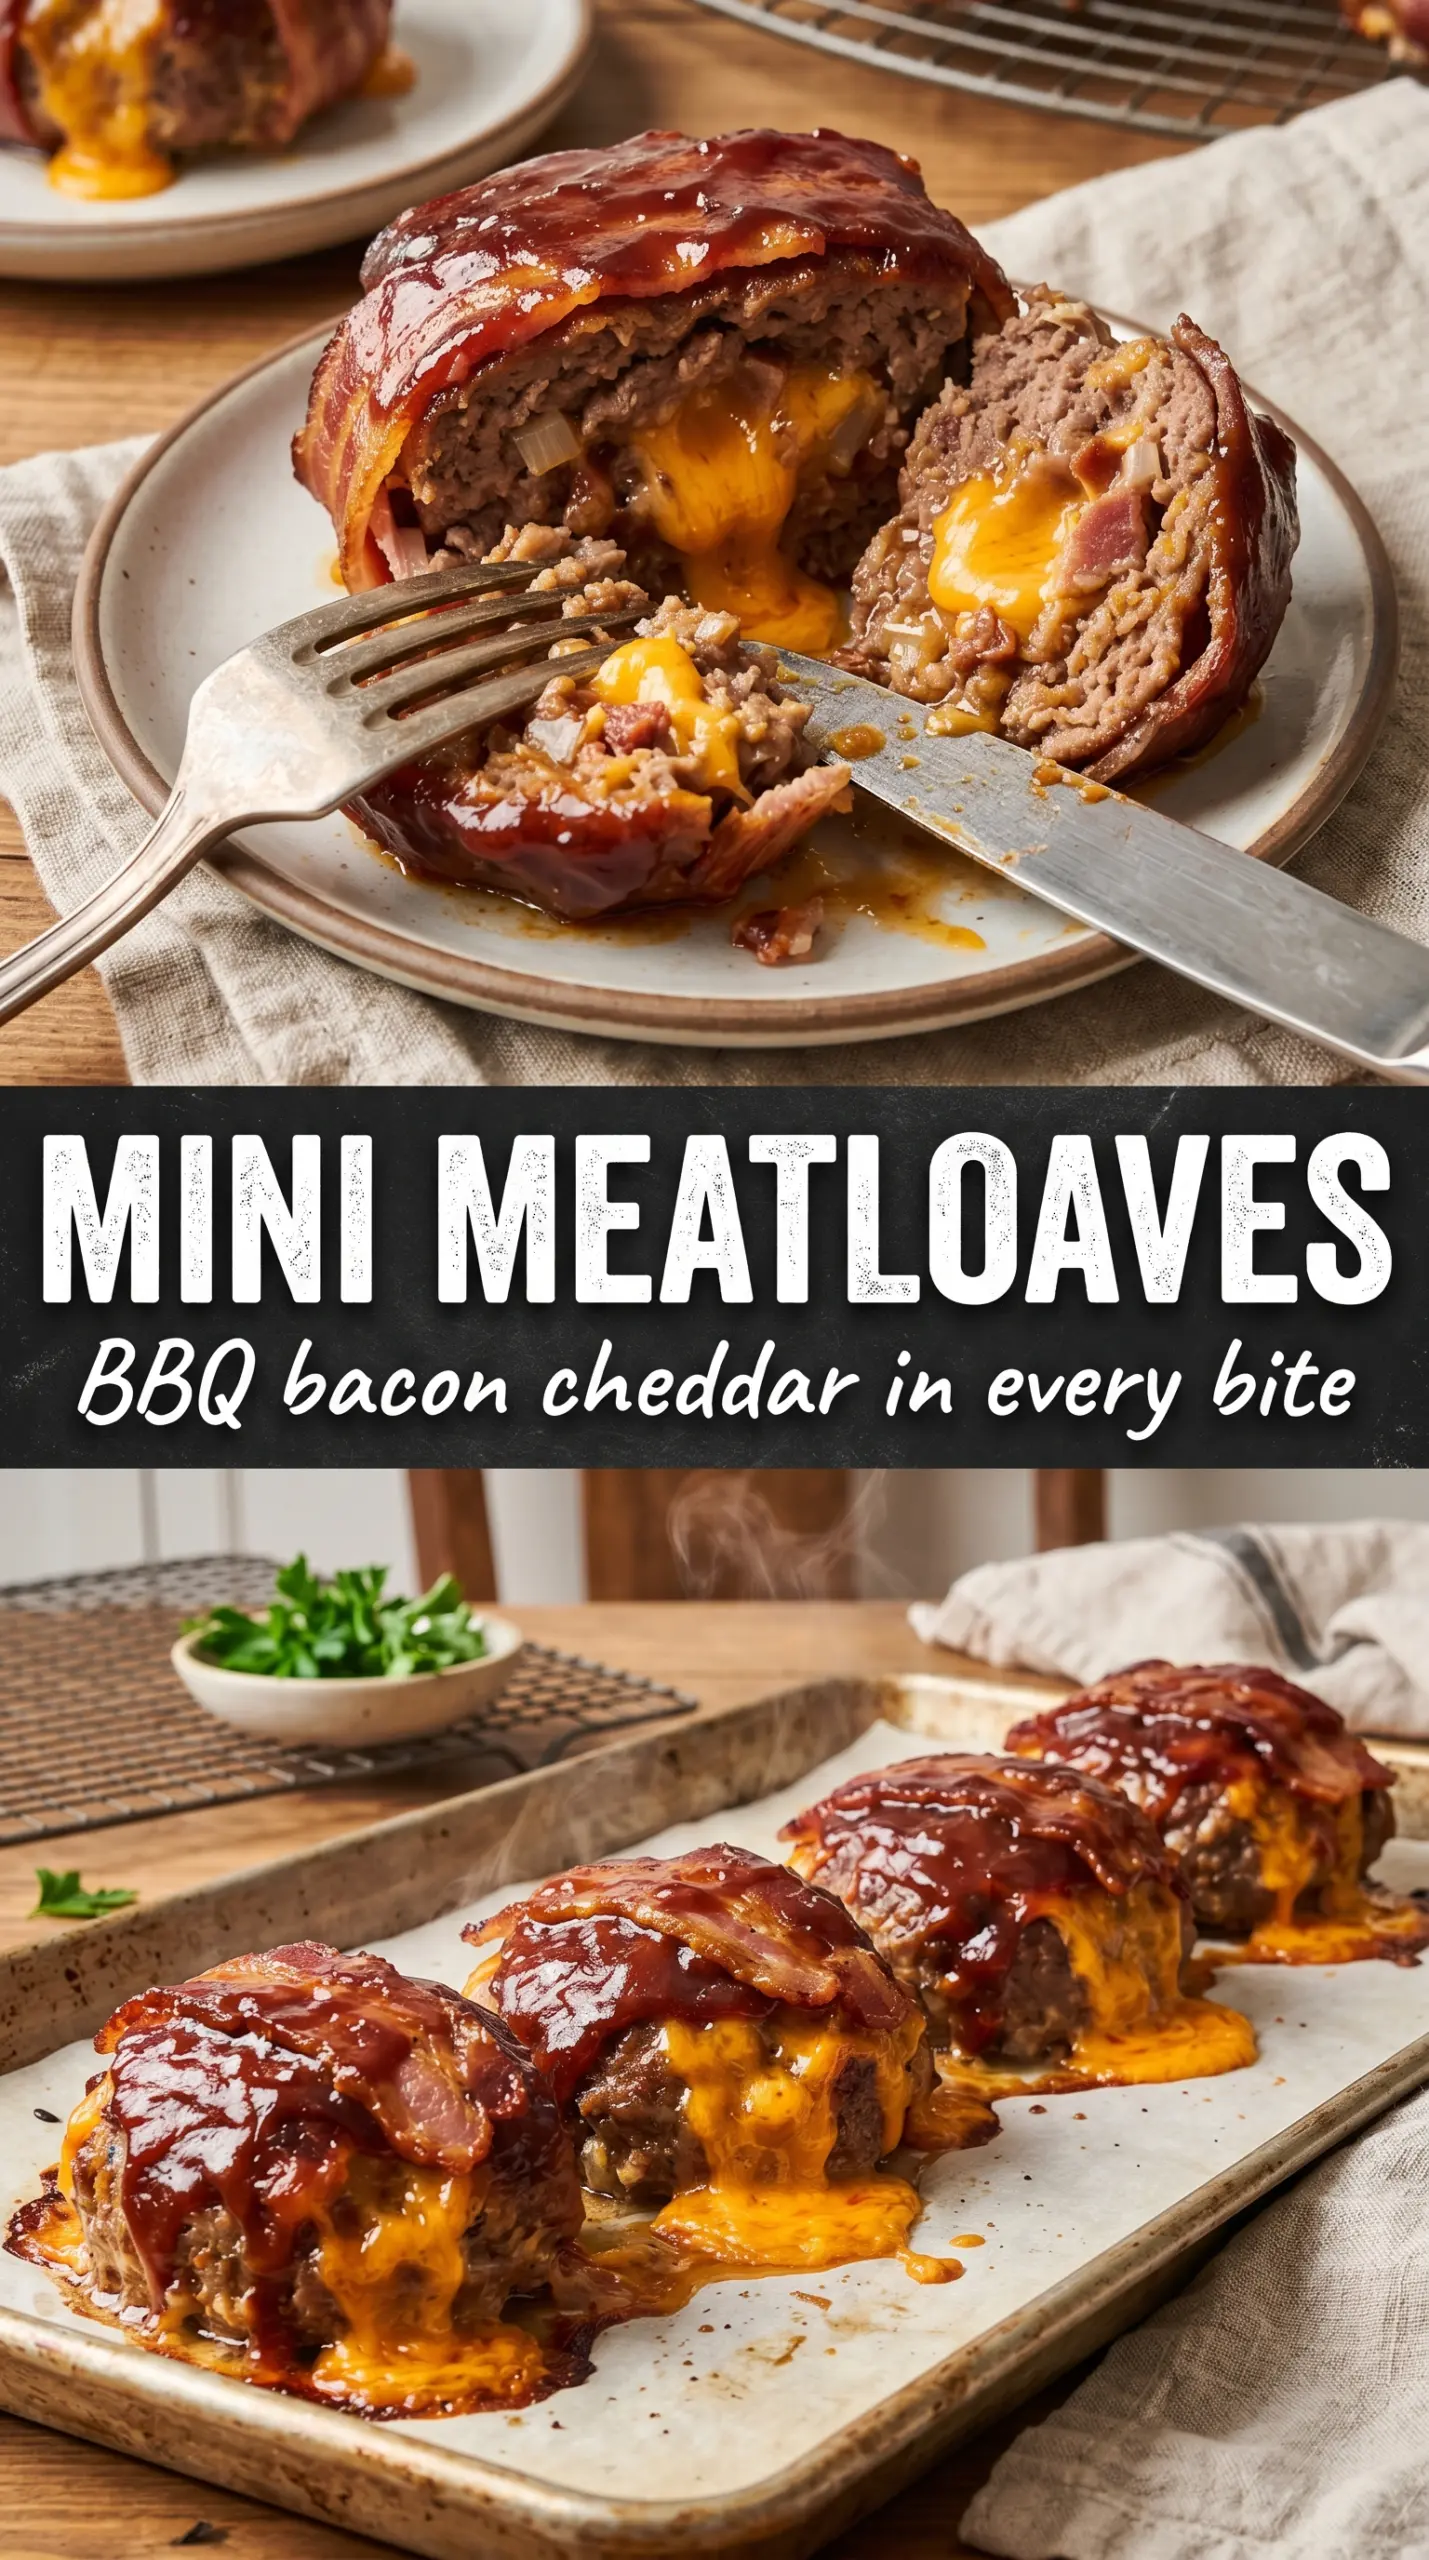
Mini BBQ bacon cheddar meatloaves come out with crisp, caramelized edges, a juicy middle, and that sweet-smoky glaze that clings to every bite. The muffin tin does more than make them cute. It gives you built-in portions, faster cooking, and enough surface area for the tops to brown instead of steaming under a heavy loaf pan.
The trick is keeping the mixture light enough to stay tender without falling apart. Grated onion melts into the meat as it bakes, breadcrumbs hold on to the juices, and the cheddar goes in twice: some inside for little pockets of richness, and some on top at the end so it melts without disappearing into the meat. The bacon adds salt and smoke, but it works best when it’s folded in after it’s cooked and crumbled, not raw.
Below, I’ve added the small details that matter here: how to avoid dense meatloaves, when to add the cheese so it stays on top, and what to do if you want to make these ahead for a busy night.
The meatloaves held together perfectly, and the BBQ glaze caramelized on top without running all over the pan. I loved that the cheddar stayed melty and the bacon added crunch in every bite.
Save these mini BBQ bacon cheddar meatloaves for the nights when you want a glazed, cheesy dinner that bakes fast and comes out in perfect individual portions.
The Step That Keeps Mini Meatloaves Tender Instead of Dense
The biggest mistake with individual meatloaves is packing the mixture like you’re making a burger patty. That compacts the beef, squeezes out the moisture, and leaves you with a heavy texture that eats like a brick. Mix until everything is combined, then stop. The mixture should hold together when pressed, but it shouldn’t look pasted or overworked.
Using a muffin tin helps, but it doesn’t fix a dense mixture on its own. The grated onion and milk add moisture, while the breadcrumbs and eggs keep the structure intact. If the mixture feels wet, let it sit for a minute before dividing it up; the breadcrumbs need a moment to absorb everything. Press it gently into the cups, then stop there. Don’t mound and smash.
What the Bacon, Cheddar, and Glaze Each Do Here
- Ground beef — Use 80/20 if you can. Leaner beef works, but it dries out faster in the oven, and these mini loaves cook quickly enough that a little fat helps keep them juicy.
- Breadcrumbs, eggs, and milk — This trio holds the meatloaf together without making it gummy. If you need a swap, crushed saltines or plain panko both work; panko gives a slightly lighter texture, while saltines add a little more old-school meatloaf flavor.
- Grated onion — Grating the onion is worth the extra minute. It disappears into the meat and seasons it from within, while also adding moisture. Diced onion won’t melt in the same way, and you’ll taste the pieces more clearly.
- Bacon — Cook it first. Raw bacon won’t fully crisp in the short bake time, and it can leave the meatloaves greasy. Crumbling it small helps it spread evenly so every bite gets a little smoke.
- Cheddar — Shred it yourself if you want the best melt. Pre-shredded cheese works in a pinch, but it has anti-caking agents that can keep it from melting as smoothly. Half goes into the mix, half goes on top near the end so you get both richness and a browned finish.
- BBQ glaze — The brown sugar and ketchup round out the BBQ sauce and help it caramelize instead of just sitting there as a sticky layer. Spoon it on before baking so it can soak into the top, then add the final cheese and bacon after the meatloaves have set.
Getting the Glaze On Without Burning the Tops
Mix the meatloaf base just enough
Combine the beef, breadcrumbs, eggs, milk, onion, Worcestershire, smoked paprika, half the bacon, half the cheddar, salt, and pepper in a large bowl. Use your hands or a fork and stop as soon as the ingredients are evenly distributed. If you keep mixing after that, the texture turns tight. The finished mixture should feel cohesive but soft.
Fill the muffin tin with a light touch
Grease the muffin tin well, then divide the mixture evenly among the cups and press it in gently. A loose pack gives the heat room to move through the meatloaf and helps the tops brown instead of steaming. If you press too hard, the centers can turn compact while the edges cook too fast.
Glaze before the bake, not after
Stir the BBQ sauce, brown sugar, and ketchup together, then spoon it over each mini meatloaf. That layer starts to caramelize as soon as it hits the heat. If you wait until the end, you’ll lose that sticky, lacquered top that makes these taste finished. Bake until the first round is set and the glaze looks glossy and darkened at the edges.
Add the cheese and bacon at the end
After 20 minutes, top each meatloaf with the remaining cheddar and bacon, then return the pan to the oven for the last 5 minutes. That timing keeps the bacon from overcooking and gives the cheddar enough heat to melt without disappearing into the meat. Pull them when the centers reach 160°F, then rest them for 5 minutes so the juices settle and the meatloaves release cleanly from the tin.
How to Adapt These for Different Nights
Make Them Gluten-Free
Swap the breadcrumbs for certified gluten-free breadcrumbs or crushed gluten-free crackers. The texture stays tender as long as you use the same amount and don’t add extra liquid. The mixture may feel a little softer at first, but it firms up nicely in the oven.
Skip the Bacon
Leave out the bacon and add an extra 1/2 teaspoon smoked paprika or a spoonful of finely chopped roasted red pepper for depth. You’ll lose the salty crunch, but the BBQ glaze still gives you plenty of bold flavor. This version is a little cleaner and still bakes up juicy.
Use Turkey Instead of Beef
Ground turkey works, but it needs the moisture from the onion, milk, and cheese more than beef does. Use 93% lean or lower, and don’t overbake it. The flavor will be a little milder, so the BBQ glaze matters even more here.
Storage and Reheating
- Refrigerator: Store leftovers in an airtight container for up to 4 days. The tops soften a little as they sit, but the flavor holds up well.
- Freezer: These freeze well after baking. Cool completely, wrap individually, and freeze for up to 2 months. The texture stays best if you freeze them before adding fresh garnish or extra sauce.
- Reheating: Warm in a 325°F oven, covered loosely with foil, until heated through. The microwave works in a pinch, but it can make the cheese rubbery and the edges tough, so use short bursts if that’s your only option.
Questions I Get Asked About This Recipe
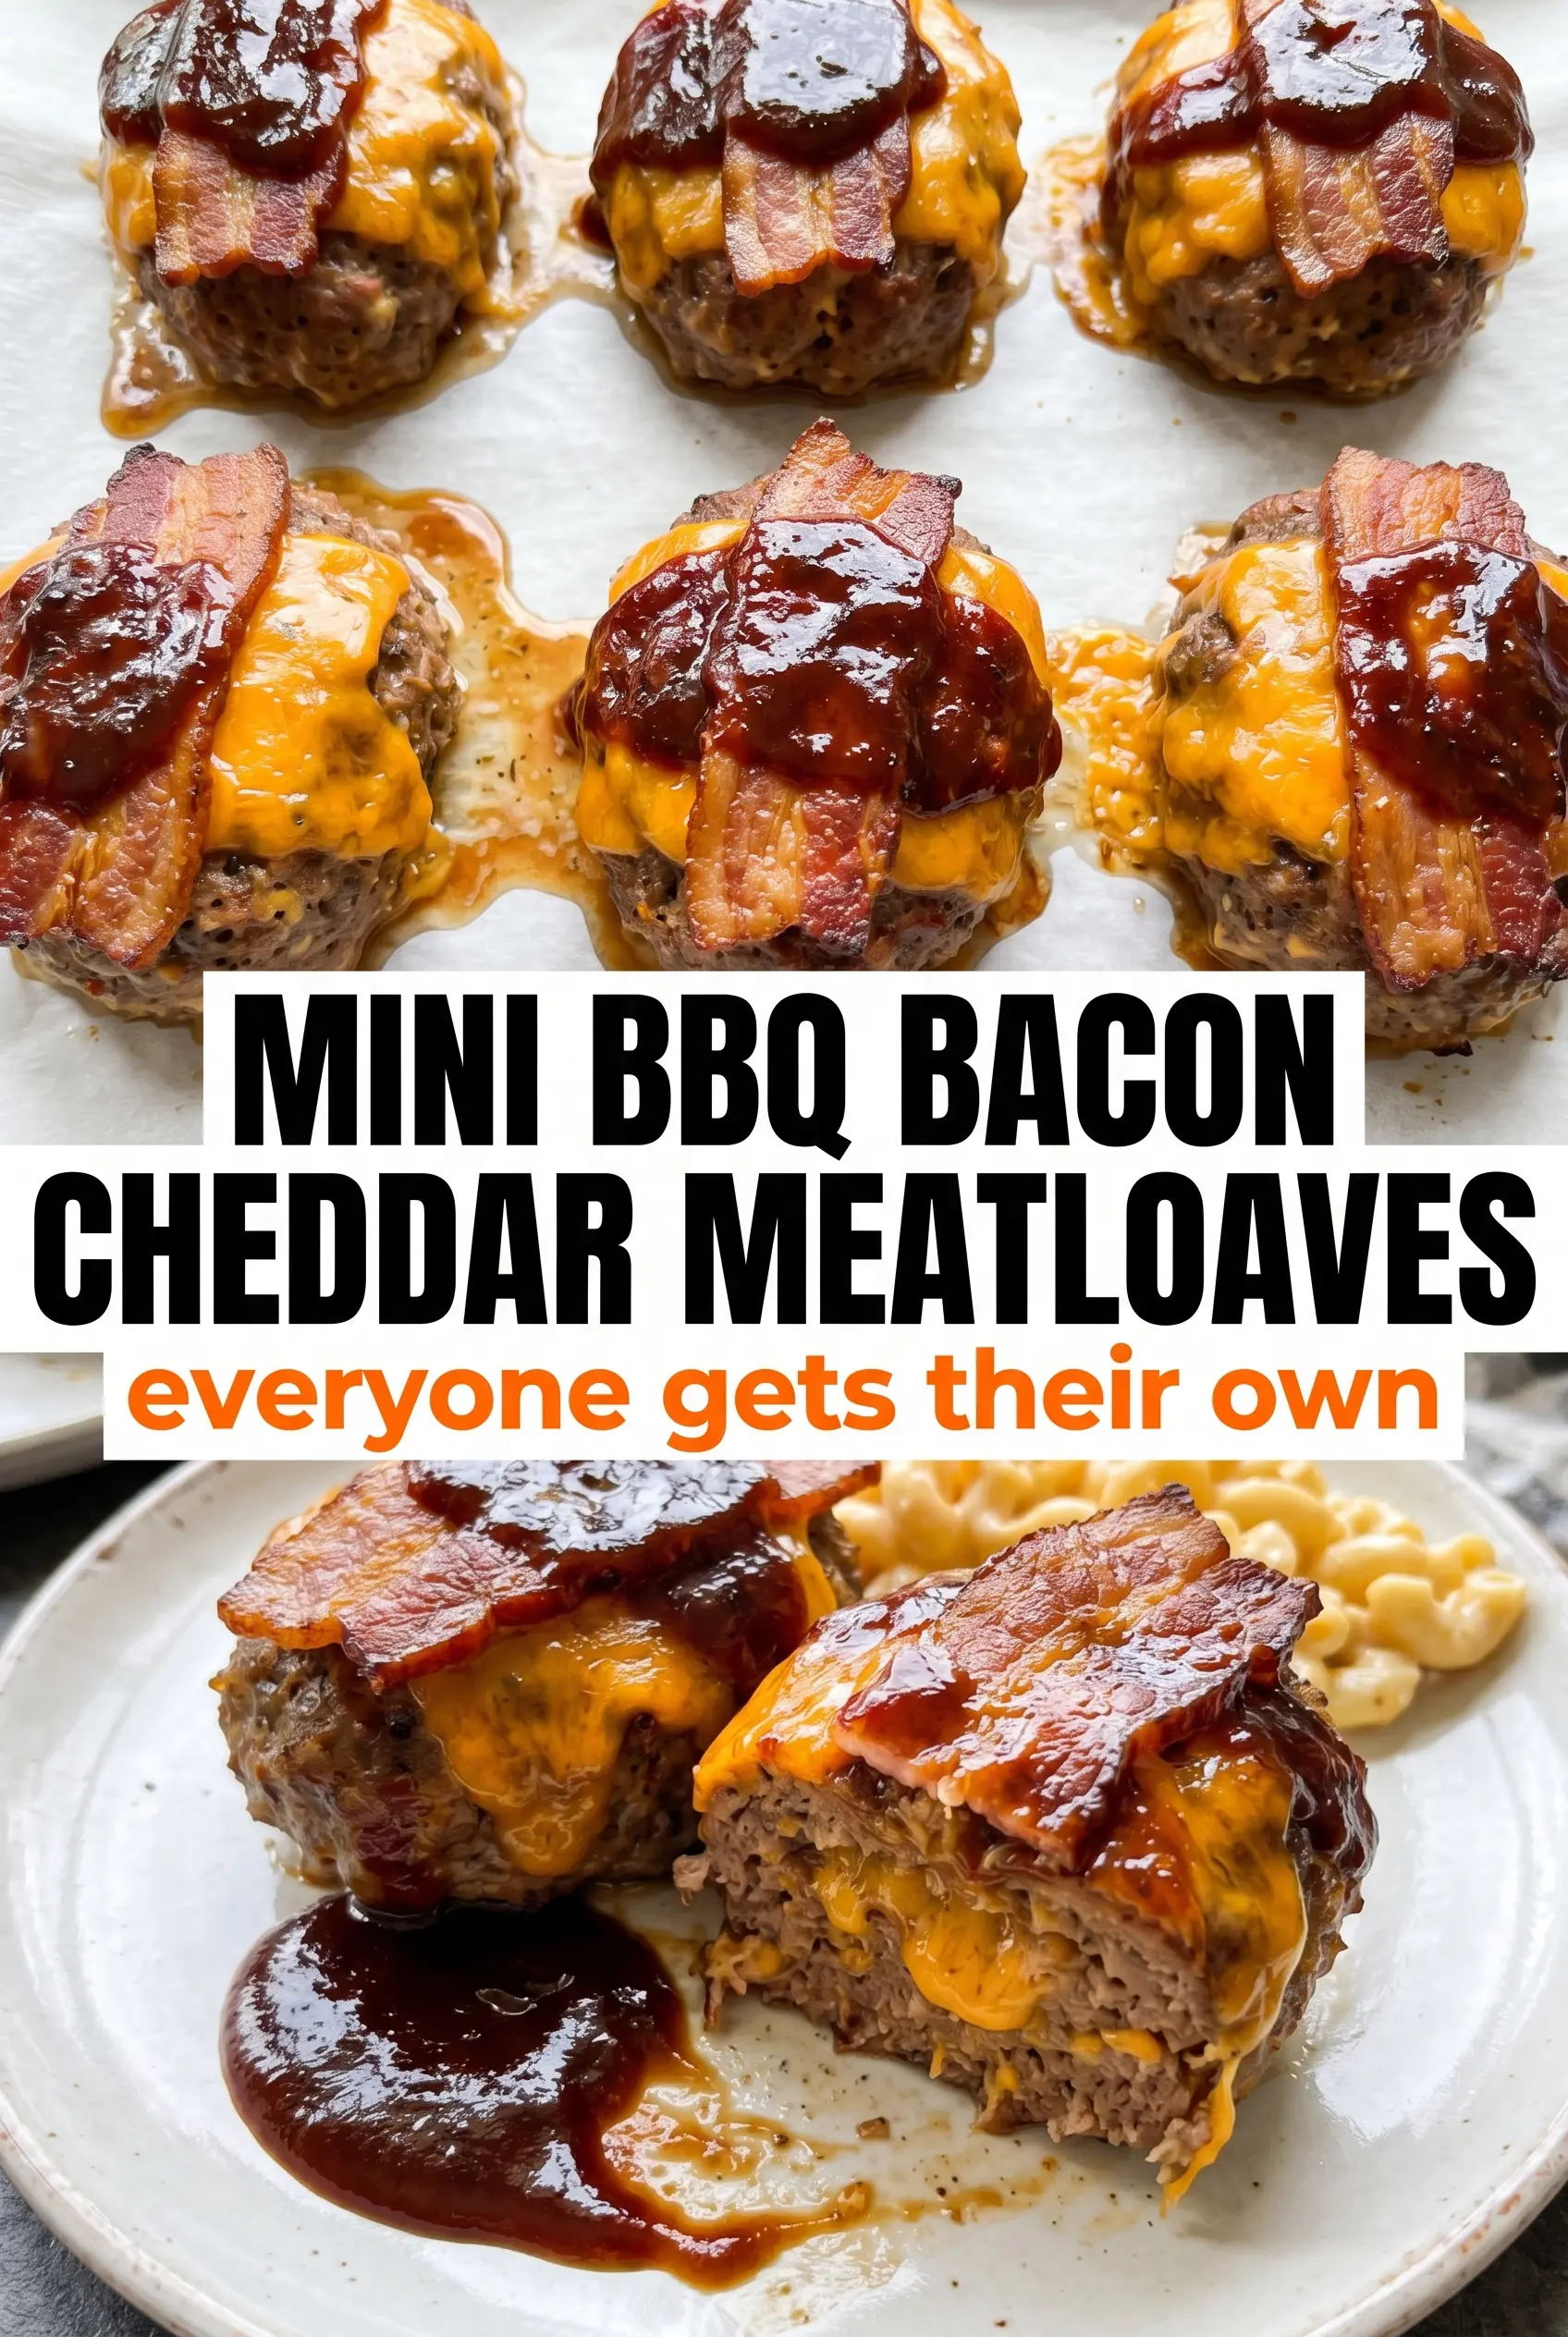
Mini BBQ Bacon Cheddar Meatloaves
Ingredients
Equipment
Method
- Preheat the oven to 375°F and grease a 12-cup muffin tin so the mini meatloaves release cleanly.
- Combine ground beef, breadcrumbs, eggs, milk, grated onion, Worcestershire sauce, smoked paprika, half the crumbled bacon, half the shredded cheddar, salt, and pepper until evenly mixed.
- Divide the mixture evenly among the muffin cups and press gently to pack them so they hold their shape.
- Spoon BBQ glaze over each mini meatloaf to coat the tops.
- Bake for 20 minutes at 375°F, then top each loaf with the remaining cheddar and the remaining bacon.
- Bake 5 more minutes at 375°F until the cheese melts and the internal temperature reaches 160°F, with a caramelized glossy surface on the glaze.
- Rest the mini meatloaves for 5 minutes before removing from the tin so the juices set and the tops stay intact.