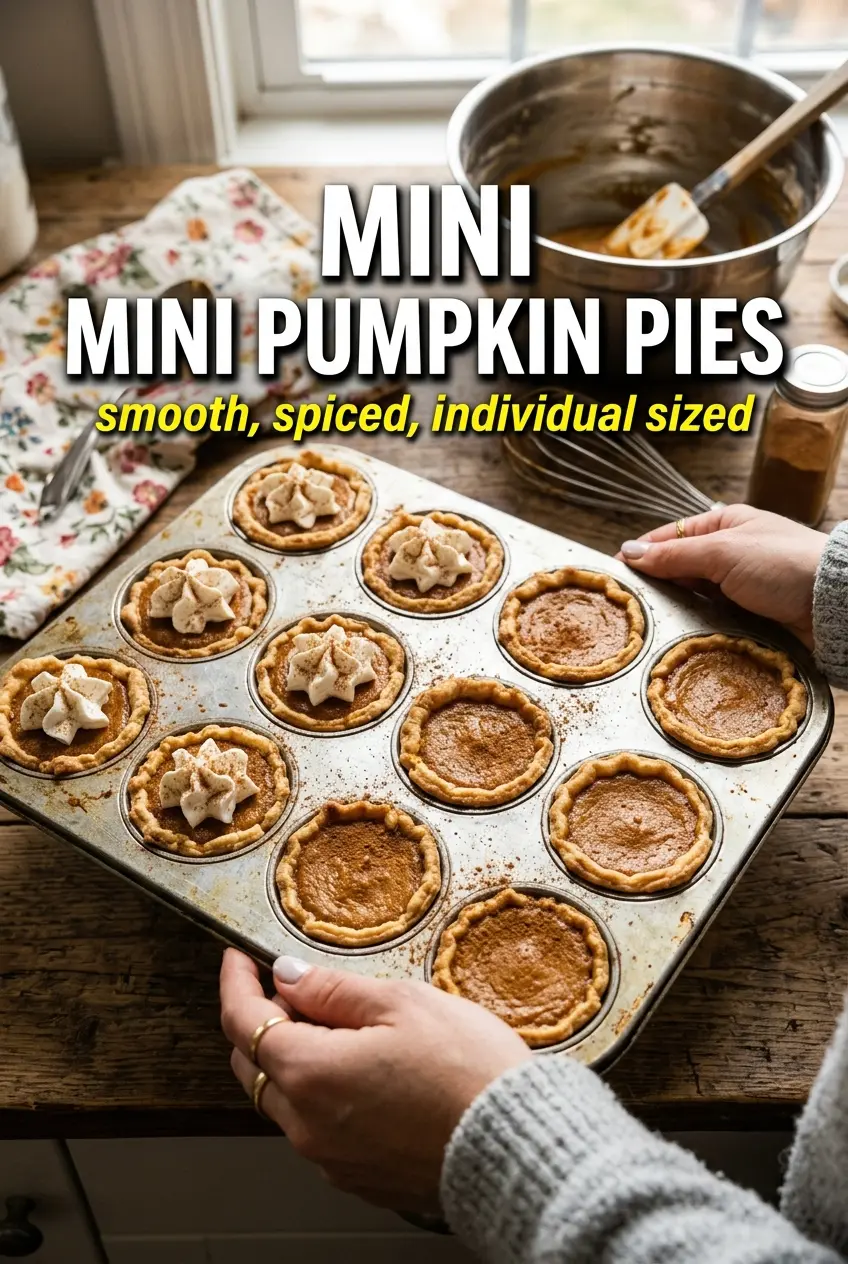
Mini pumpkin pies deliver everything people want from a slice of pumpkin pie, just in a neat little pastry cup that bakes faster and serves cleanly. The crust turns crisp and golden at the edges while the filling sets into a smooth, custardy center that holds its shape when you lift it from the pan. Topped with whipped cream and a little cinnamon, they look like the kind of dessert that disappears before the coffee is finished.
What makes these work is the balance between a quick-baking crust and a filling that stays silky instead of puffing or cracking. Using refrigerated pie crust keeps the pastry tender and reliable, and filling the cups only three-quarters full gives the custard room to set without spilling over. The result is a dessert that feels classic but lands with a little more charm than a full pie.
Below, I’ve included the small details that matter most: how to keep the crust from shrinking, how to tell when the filling is set, and what to do if you want to make them ahead for a party tray.
The filling set up perfectly and the crust edges stayed crisp even after cooling. I made two dozen for Thanksgiving and they were the first dessert gone.
Save these mini pumpkin pies for the kind of dessert tray that needs crisp pastry, smooth custard, and a whipped cream finish.
The Part That Stops the Filling From Overflowing
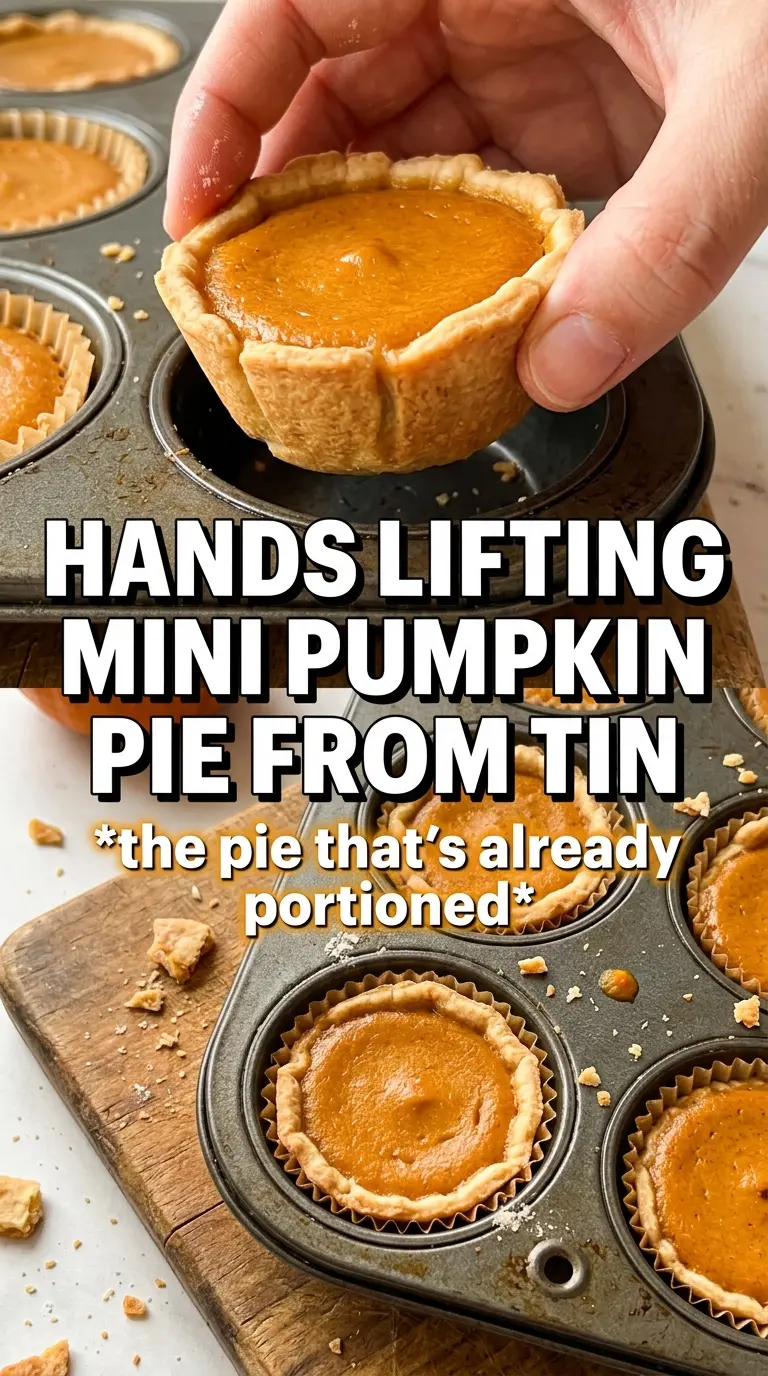
Mini pumpkin pies fail in one predictable way: the custard rises too high, bubbles over, and glues itself to the pan. Keeping the filling at about three-quarters full gives the center enough room to puff slightly without losing the neat little edge that makes these so good on a platter. Bake them until the edges look set and the centers still have the slightest soft wobble. They finish setting as they cool, and that resting time is what gives you a clean, slice-like bite instead of a grainy or cracked top.
The crust matters just as much. If the dough is stretched when you press it into the muffin tin, it shrinks back and steals space from the filling, so press it in gently and evenly. A greased mini muffin tin helps the pastry release cleanly, and the high heat of 375F is enough to crisp the crust before the custard overcooks.
What Each Ingredient Is Actually Doing in This Dessert
- Refrigerated pie crust — This is the shortcut that makes the recipe realistic for a weeknight or a holiday tray. It bakes into a tender, flaky shell fast enough to match the custard, and it’s much more dependable than rolling your own if you’re making two dozen.
- Pumpkin puree — Use pure pumpkin, not pumpkin pie filling. The puree gives you control over sweetness and spice, which matters here because the filling is intentionally simple and the texture depends on the eggs and dairy, not extra starches.
- Evaporated milk or heavy cream — Evaporated milk gives a classic pumpkin pie texture with a little less richness, while heavy cream makes the filling silkier and fuller. Either works; if you want the cleanest custard set, evaporated milk is the safer choice.
- Brown sugar — This adds deeper caramel notes than white sugar and helps the filling taste rounded instead of flat. Light or dark brown sugar both work, though dark will lean a little more molasses-forward.
- Eggs — These are what set the filling. If the pies seem loose after baking, it’s usually because they were pulled before the center had a chance to firm up in the heat of the pan.
- Pumpkin pie spice, cinnamon, ginger, vanilla — These build the warm spice profile without letting any one note dominate. The vanilla softens the edges and keeps the filling from tasting one-dimensional.
Press, Fill, and Bake Until the Centers Just Set
Forming the Pastry Cups
Cut the pie crust into 3.5-inch circles and press each one into a greased mini muffin cup without stretching the dough. If you tug it, it shrinks back in the oven and leaves you with shallow cups that can’t hold enough filling. Press the bottom and sides snugly so the pastry sits flat against the pan and bakes evenly. A fork isn’t needed here; clean edges look better and release more neatly.
Whisking the Custard Smooth
Whisk the pumpkin puree, eggs, dairy, brown sugar, spices, salt, and vanilla until the mixture looks smooth and uniform. Any streaks of egg white or pockets of spice will show up after baking, so keep whisking until the batter looks silky and matte. If you want an extra smooth texture, whisk the brown sugar in first so it dissolves before the eggs fully thicken the mixture. The filling should pour easily, not mound up.
Baking to the Right Set
Fill each cup about three-quarters full and bake at 375F for 18 to 22 minutes. The crust should be golden and the centers should no longer look wet, but a tiny jiggle in the middle is fine because carryover heat finishes the job. If the tops start to puff dramatically, the oven is running hot and the custard is moving past its sweet spot. Pull the tray before the filling gets tight and cracked.
Cooling for a Clean Finish
Let the pies cool completely in the pan before removing them. Warm custard is fragile, and trying to lift them too early can leave the bottoms behind or smear the top. After they’ve cooled, refrigerate them for about an hour so the filling firms up enough to top with whipped cream. That chill time is what gives these their neat bakery-style look.
How to Adapt Mini Pumpkin Pies Without Losing the Custard
Use heavy cream for a richer filling
Swap the evaporated milk for heavy cream if you want a denser, more luxurious custard. The filling will taste richer and a little less old-fashioned, but it still sets well as long as you don’t overbake it.
Make them dairy-free with canned coconut milk
Use full-fat canned coconut milk in place of the evaporated milk or cream. The pies will still set, but the flavor shifts slightly toward coconut, especially once they cool. It’s the best swap if you need a dairy-free dessert that still feels creamy.
Use gluten-free pie dough for the crust
A good gluten-free pie dough works here, but chill it well so it doesn’t crack when you press it into the mini muffin tin. The texture will be a little more delicate and less flaky than standard pie crust, though the custard filling keeps the dessert grounded.
Make them ahead for a party tray
Bake the pies a day in advance and refrigerate them uncovered until fully cold, then cover them lightly once they’re set. Add whipped cream right before serving so the tops stay neat. This is one of those desserts that actually looks better after it has had time to firm up.
Storage and Reheating
- Refrigerator: Store in an airtight container for up to 4 days. The crust softens slightly, but the filling stays smooth.
- Freezer: Freeze without whipped cream for up to 2 months. Wrap tightly and thaw overnight in the refrigerator so the custard doesn’t weep.
- Reheating: These are best served chilled or at cool room temperature. If you want to take the chill off, let them sit out for 15 to 20 minutes instead of microwaving them, which can make the custard grainy.
Questions I Get Asked About This Recipe
Mini Pumpkin Pies
Ingredients
Equipment
Method
- Preheat your oven to 375F. Grease a mini muffin tin and press 3.5-inch circles of refrigerated pie crust into each cup.
- Whisk pumpkin puree, eggs, evaporated milk (or heavy cream), brown sugar, pumpkin pie spice, cinnamon, ginger, salt, and vanilla until smooth and uniform.
- Fill each pastry cup about 3/4 full with the pumpkin mixture. Bake at 375F for 18-22 minutes, until the filling is just set and the crust is golden.
- Cool the mini pies completely at room temperature. Refrigerate for 1 hour to fully chill before serving.
- Top each mini pumpkin pie with whipped cream and dust with cinnamon right before serving. Serve chilled for the cleanest set custard texture.