Crispy-edged chicken coated in a dark, sticky Mongolian sauce is one of those dinners that disappears fast because every bite hits salty, sweet, garlicky, and just a little bit spicy. The sauce clings to the chicken instead of pooling in the pan, and the green onions stay bright enough to cut through all that richness. It tastes like takeout, but fresher and sharper, with the kind of gloss that makes a plain bowl of rice feel like enough.
The trick here is getting the chicken coated in cornstarch before it hits the pan. That thin layer helps it brown quickly and gives the sauce something to grab onto later. The sauce itself is built with soy sauce, brown sugar, hoisin, and a cornstarch slurry, which means it thickens fast without turning muddy or overly sweet.
Below you’ll find the small details that matter most: how to keep the chicken crisp, when to add the garlic so it doesn’t burn, and which swaps still keep the sauce balanced. If you’ve had Mongolian chicken come out pale or thin before, this version fixes both problems.
The chicken stayed crisp even after tossing it in the sauce, and the glaze thickened up in just a couple minutes. I used a little extra ginger and served it over rice, and my husband went back for seconds before I even sat down.
Love the sticky glaze and crisp chicken in this Mongolian chicken? Save it to Pinterest for a fast takeout-style dinner that actually stays glossy and bold.
The Chicken Has to Brown Before the Sauce Goes In
The biggest mistake with Mongolian chicken is crowding the pan and expecting the sauce to fix it later. It won’t. If the chicken steams instead of sears, you lose the crisp edges that make the final dish feel worth making at home. Work in a hot skillet or wok, and let the chicken sit long enough to develop a deep golden crust before you turn it.
The cornstarch coating does two jobs here: it protects the chicken from drying out and helps the sauce cling in that thin, glossy layer everyone wants. Once the sauce goes in, the heat should stay high enough to bring it to a boil, then drop just enough when the slurry goes in so it thickens instead of turning grainy or sticky in clumps.
- Thin-sliced chicken breasts — Slice them evenly so they cook fast and brown before the coating overcooks. If the pieces are thick in spots, those pieces will release moisture and soften the crust.
- Cornstarch — This is what gives the chicken its light, crisp edge and helps thicken the sauce later. Flour won’t give you the same sheen or that clean takeout-style finish.
- Hoisin sauce — It adds depth and a little roundness that plain soy sauce doesn’t have. If you skip it, the sauce still works, but it tastes flatter and more one-note.
What Each Ingredient Is Actually Doing in This Dish
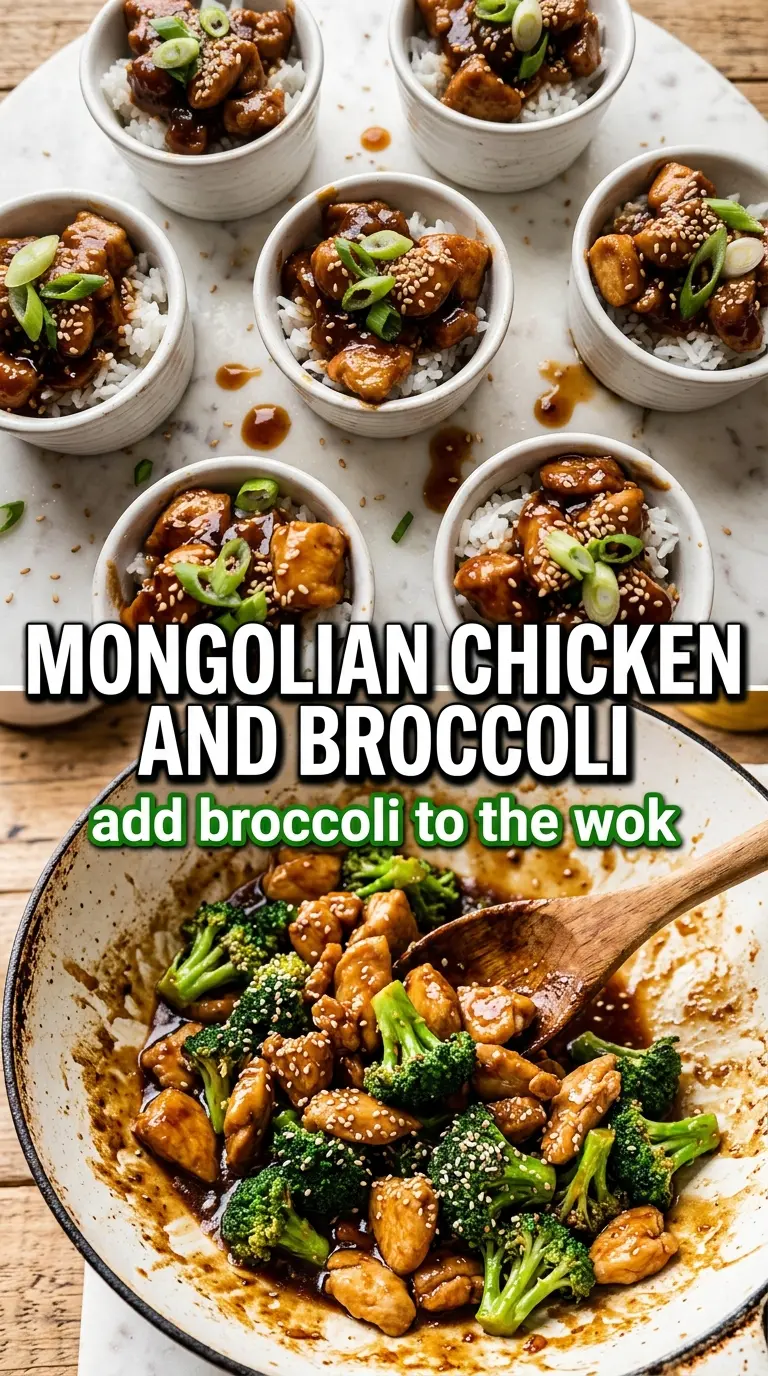
- Chicken breasts — They cook quickly and stay tender when sliced thin. Chicken thighs work too if you want a juicier, slightly richer result.
- Soy sauce — This is the backbone of the glaze, so use a brand you like. Regular soy sauce is the safest choice; low-sodium works if you want more control over the saltiness.
- Brown sugar — This gives the sauce its signature sticky finish and helps it caramelize slightly in the pan. Dark brown sugar makes the sauce deeper and a little more molasses-heavy.
- Fresh ginger and garlic — These are worth using fresh because they wake the whole dish up. Jarred garlic can work in a pinch, but the flavor is softer and less sharp.
- Green onions — Add them at the end so they keep some bite. If they cook too long, they lose that fresh onion snap that balances the sweet sauce.
Getting the Sauce Glossy Without Making the Chicken Soft
Coating the Chicken
Toss the sliced chicken with cornstarch, salt, and pepper until every piece looks lightly dusted, not heavily caked. That thin coating is enough to brown and then help the sauce cling later. If the chicken looks wet in spots, add a little more cornstarch; if it looks pasty, shake off the excess before it hits the pan.
Building the Glaze
Whisk the soy sauce, brown sugar, water, hoisin, sesame oil, and red pepper flakes before the pan even gets hot. That keeps the sugar from clumping and lets the sauce hit the skillet ready to reduce. When the garlic and ginger go in, stir for just 30 seconds; if they sit too long, they turn bitter fast.
Finishing the Toss
Once the slurry goes in, the sauce should turn glossy and coat the back of a spoon within a minute or two. Put the chicken and green onions back in and toss just until everything is lacquered. If you let it sit on the heat too long after that, the chicken loses its crisp edges and the onions go limp.
Make It Gluten-Free Without Losing the Sticky Finish
Use a gluten-free soy sauce or tamari and check that your hoisin is gluten-free too. The sauce still gets glossy and bold, and the cornstarch keeps the texture on track.
Swap in Chicken Thighs for a Juicier Bite
Boneless skinless thighs stay a little more tender and forgiving if you cook them a minute longer than intended. They give the dish a richer mouthfeel, though the sauce will taste slightly less lean and sharp.
Turn Down the Sweetness
Cut the brown sugar back by 2 to 3 tablespoons if you want a less sweet glaze. The sauce will still thicken, but it reads more savory and a little closer to a classic stir-fry sauce.
Add More Heat Without Changing the Texture
Increase the red pepper flakes or add a little chili paste with the sauce. That keeps the same sticky finish but gives the dish more back-end heat instead of changing the balance of the glaze.
Storage and Reheating
- Refrigerator: Store leftovers in an airtight container for up to 4 days. The chicken softens a little as it sits, but the flavor holds well.
- Freezer: It freezes, but the sauce can loosen slightly after thawing. Freeze in a sealed container for up to 2 months and thaw overnight in the refrigerator.
- Reheating: Reheat gently in a skillet over medium-low heat with a splash of water to loosen the sauce. The common mistake is blasting it in the microwave, which dries the chicken and makes the glaze go sticky in the wrong way.
Questions I Get Asked About This Recipe
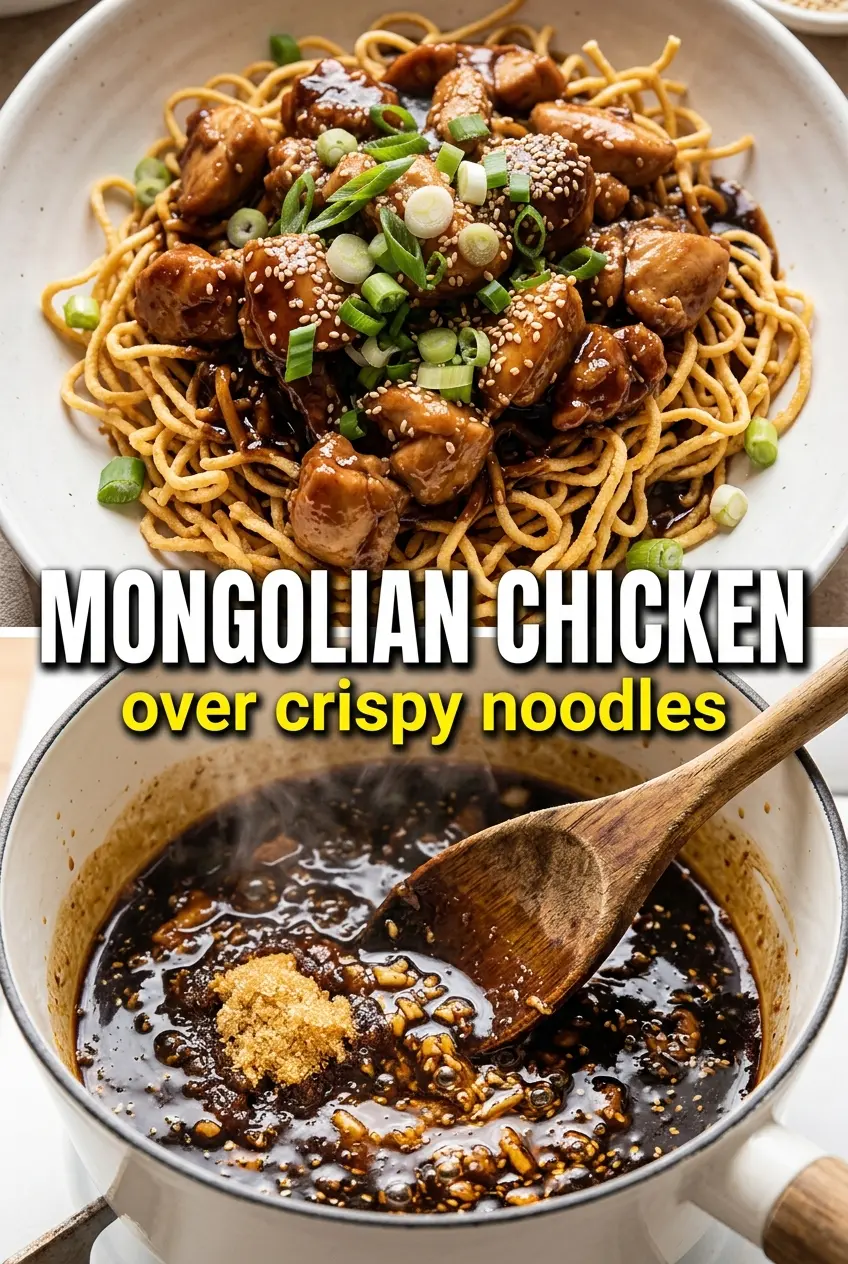
Mongolian Chicken
Ingredients
Equipment
Method
- Toss the thinly sliced chicken with cornstarch, salt, and pepper until coated, evenly dusting every piece with a light layer.
- Whisk together soy sauce, brown sugar, water, hoisin sauce, sesame oil, and red pepper flakes until the sugar dissolves and the mixture looks smooth.
- Heat the vegetable oil in a large skillet or wok over high heat, until shimmering, then add the chicken in a single layer.
- Cook the chicken for 3-4 minutes per side until deeply golden and cooked through, then remove to a plate.
- Add the garlic and ginger to the same pan and stir-fry for 30 seconds until fragrant and lightly sizzling.
- Pour in the sauce and bring to a boil, watching for bubbles that actively reduce and darken the glaze.
- Stir in the cornstarch slurry and cook for 1-2 minutes until thickened and glossy, with a sauce that coats the back of a spoon.
- Return the chicken to the pan, add the green onions, and toss until everything is evenly glazed and the green onions are bright and slightly charred.
- Serve the Mongolian chicken over steamed rice with sesame seeds on top, making sure the glossy dark sauce clings to the chicken and onions.