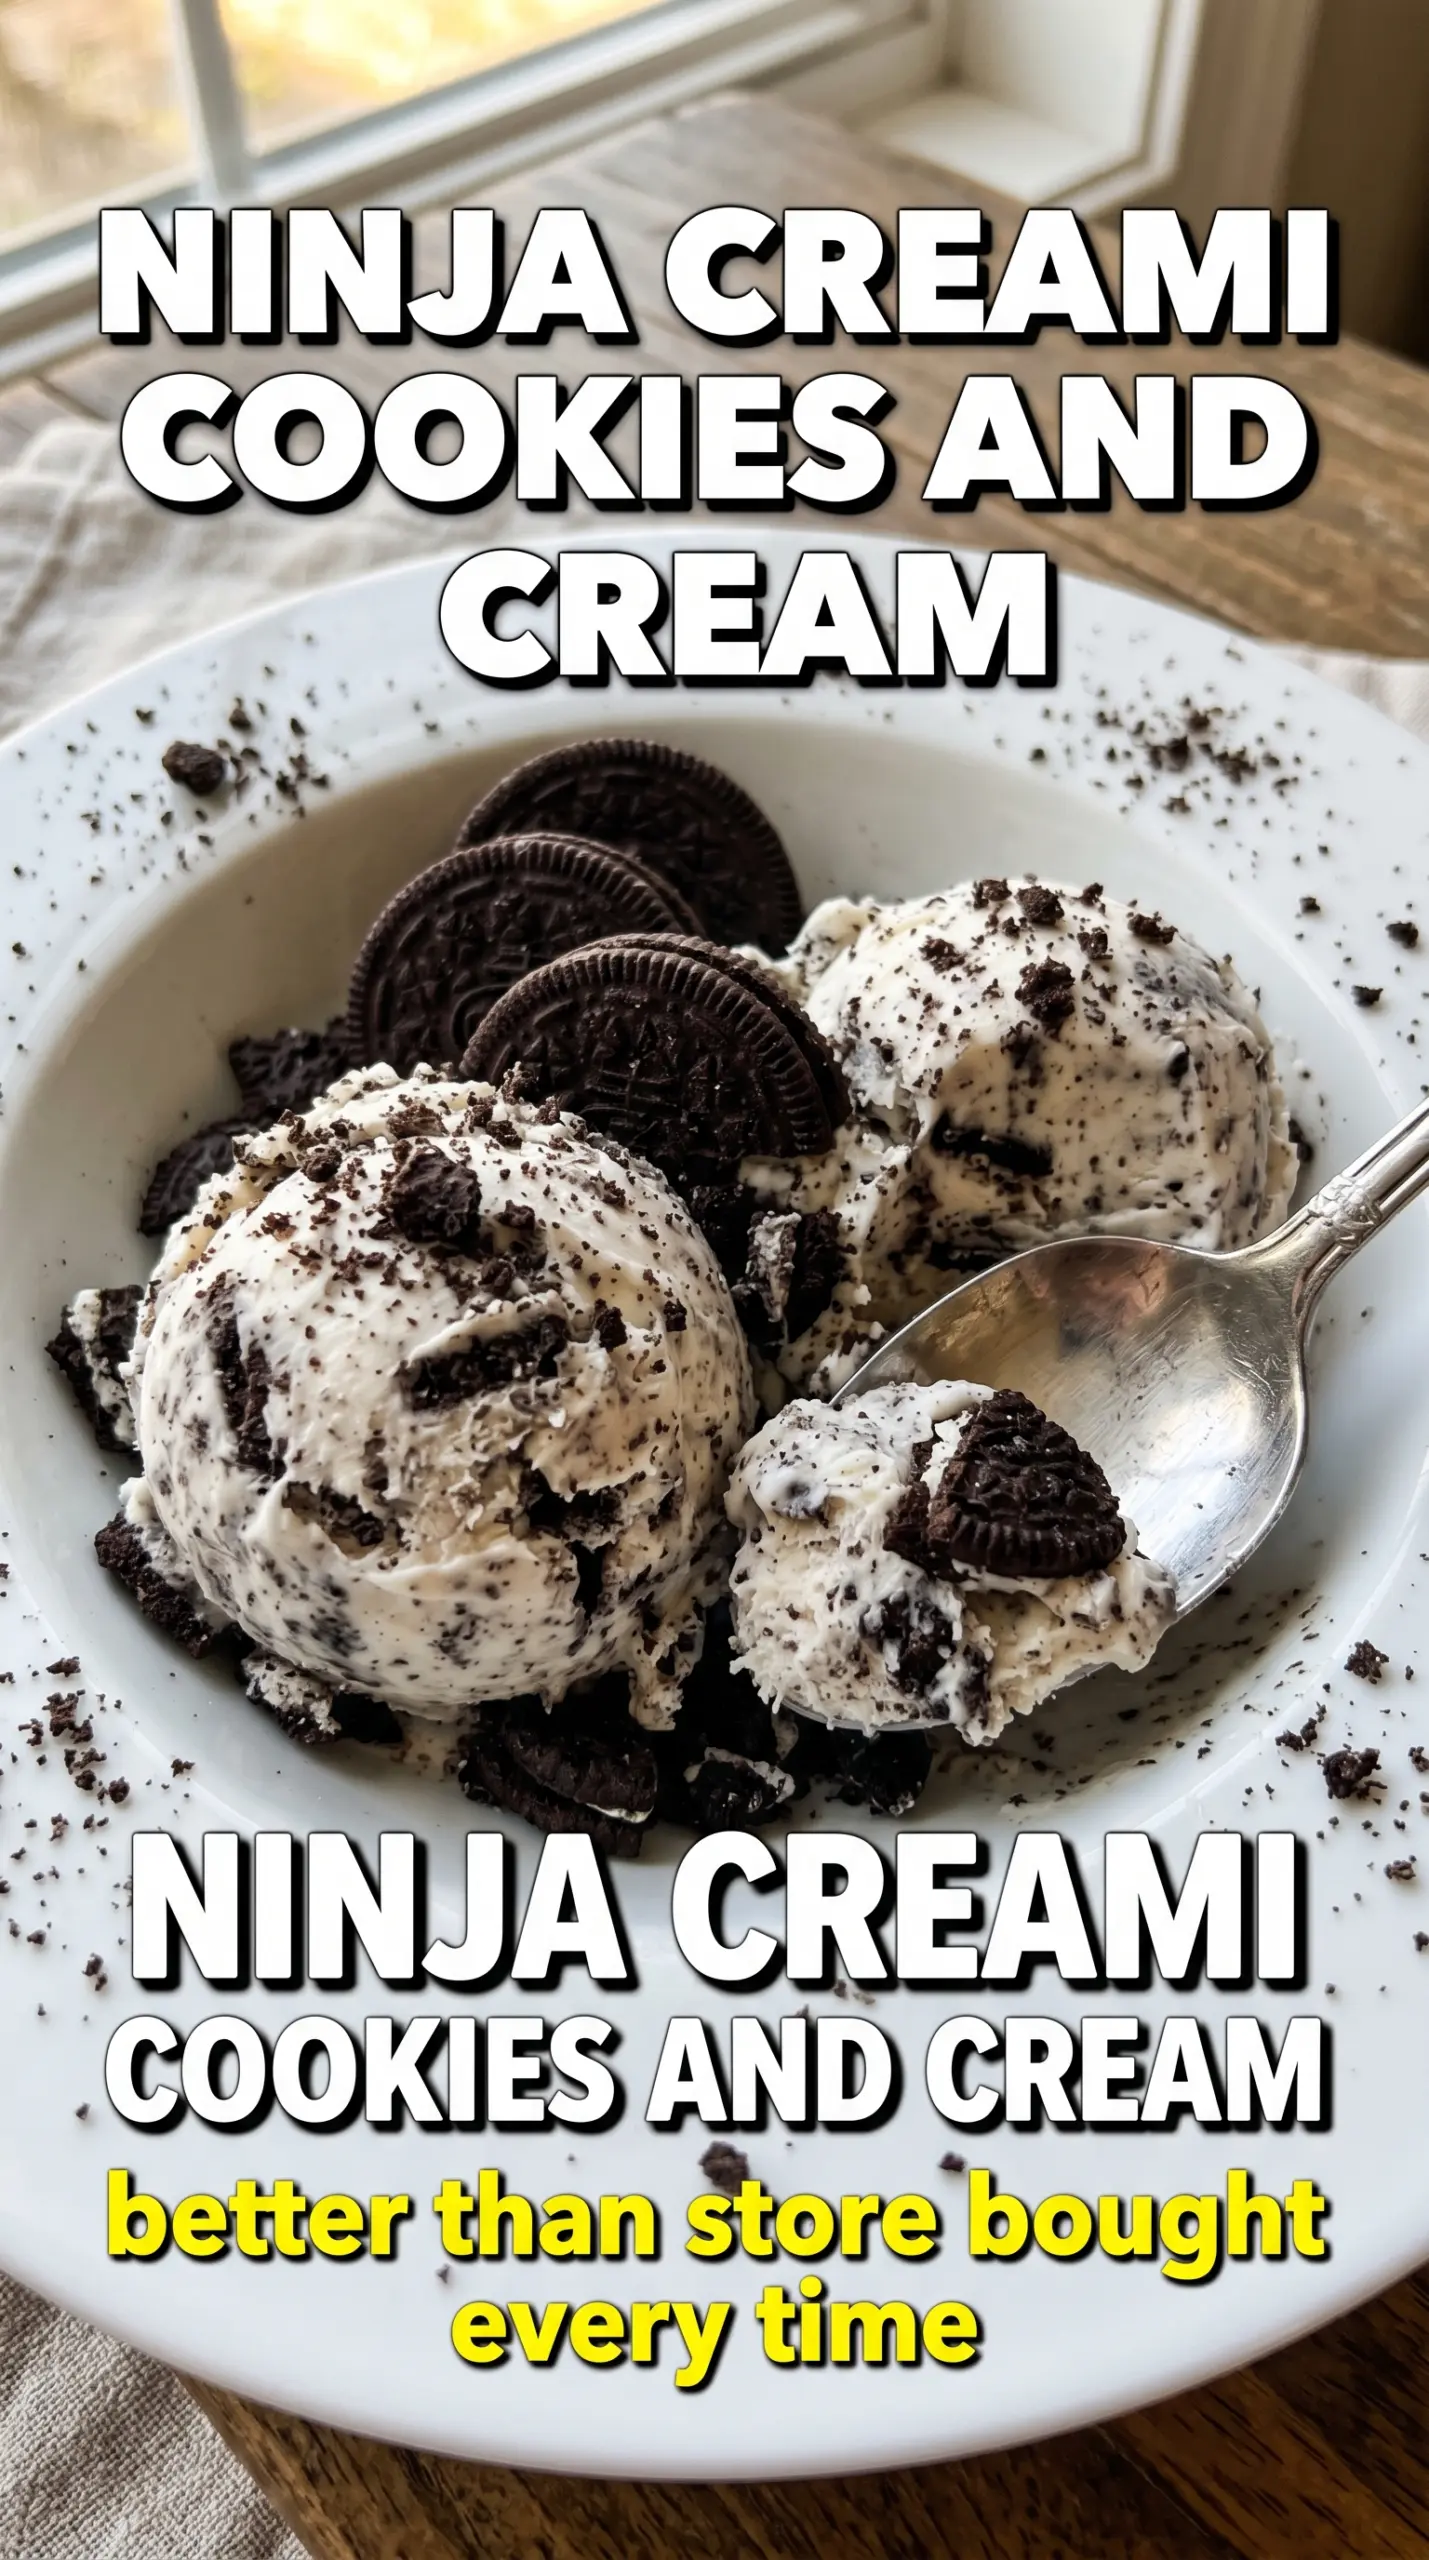
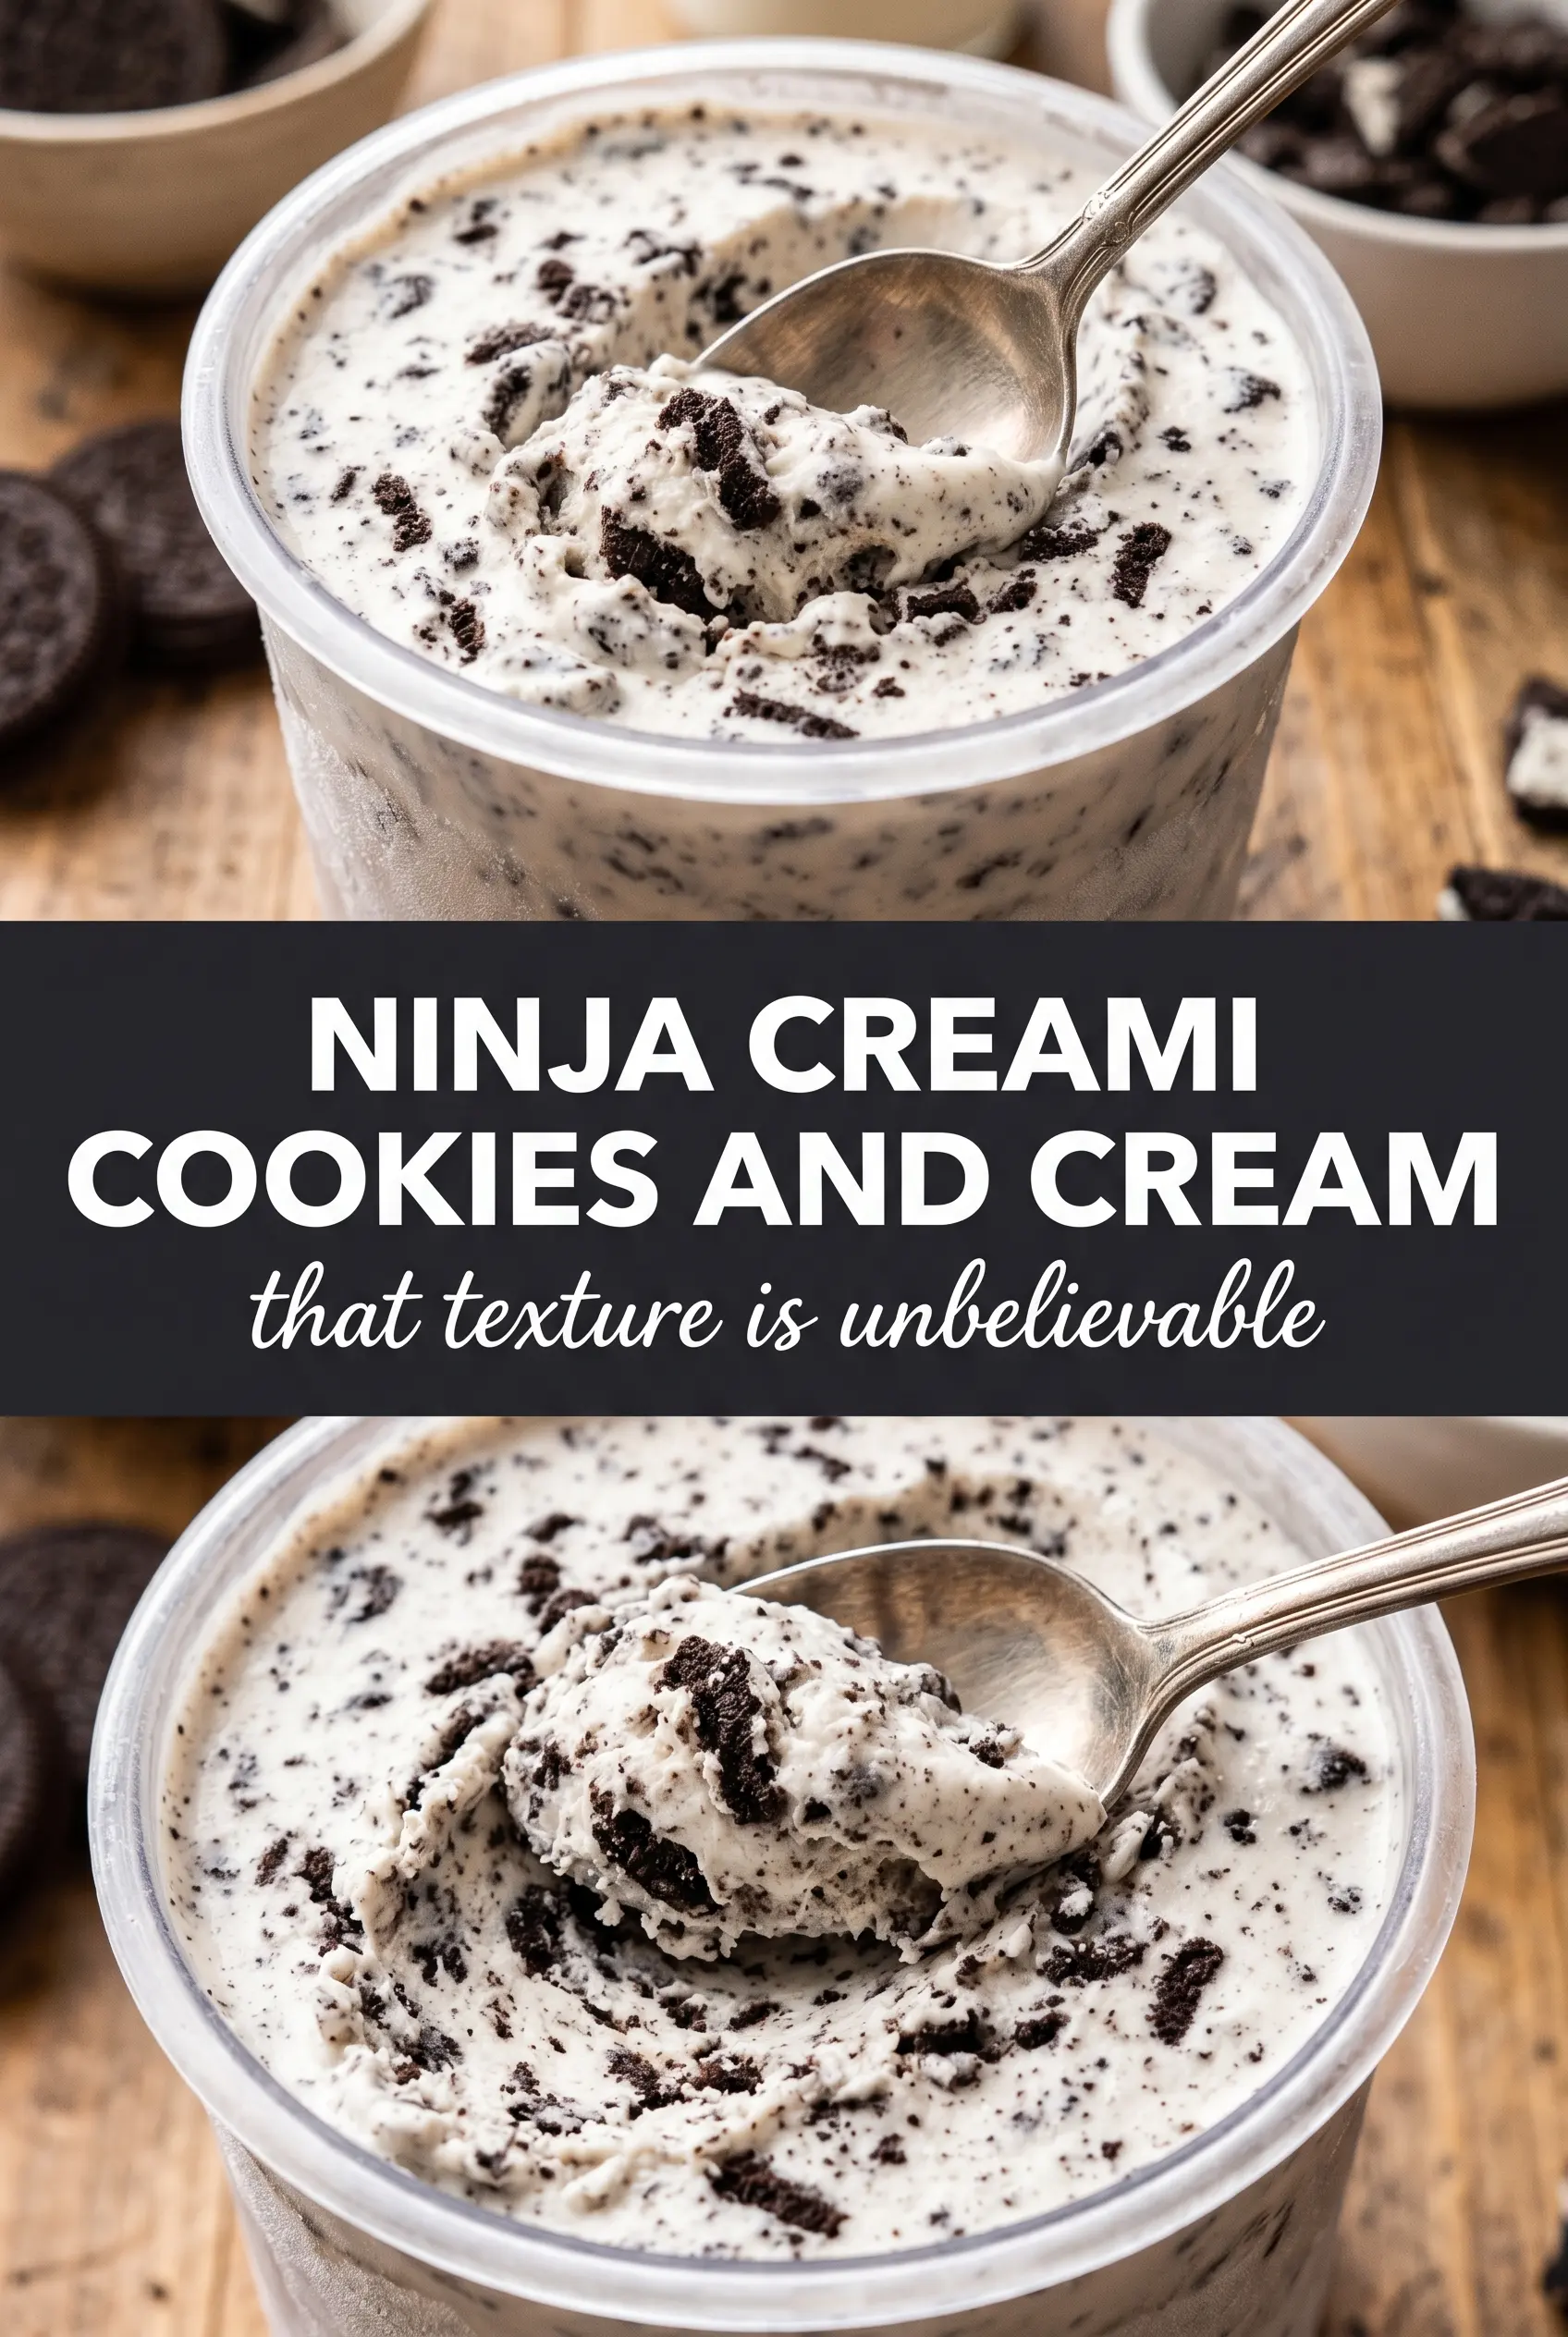
Cookies-and-cream ice cream gets its best texture in the Ninja Creami when the base freezes hard, spins clean, and then gets folded with cookie pieces at the end. The result is a dense, scoopable pint with a creamy vanilla base and those little chocolate cookie bursts in every bite. It tastes like the good kind of homemade ice cream: cold, rich, and full of actual cookie pieces instead of a vague cookie flavor.
The part that makes this version work is the cream cheese in the base. It doesn’t taste tangy once everything is blended, but it gives the frozen pint a little body so the ice cream spins smoother and doesn’t turn icy. Using crushed cookies as a mix-in instead of blending them in from the start also keeps the base from turning muddy. You get a cleaner vanilla look and a better cookie crunch.
Below, I’m walking through the one step people tend to rush, the ingredient that matters more than it looks like it should, and a few useful swaps if you want to lighten it up or make it dairy-free.
The base came out creamy instead of icy, and the cookie pieces stayed crunchy after the mix-in. I added the extra tablespoon of milk for the first spin and it was perfect.
Like this Ninja Creami cookies and cream pint? Save it for the nights when you want thick, creamy ice cream with real cookie chunks.
The Freeze That Makes or Breaks the Pint
The biggest mistake with Ninja Creami ice cream is spinning a pint that hasn’t frozen solid all the way through. If the center is even a little soft, the machine has to shave and churn instead of processing the frozen base cleanly, and that’s when you get a crumbly texture or a sandy top. A full 24 hours in the freezer isn’t overkill here. It’s what gives you that dense, scoopable finish.
The other thing people miss is headspace. That 1 inch at the top matters because the base expands as it freezes. If you fill the pint to the rim, the top can dome and freeze unevenly, which makes the first spin harder than it needs to be. A level, fully frozen pint is what gives you the smoothest result on the first pass.
- Freezing time — Give the pint a full 24 hours. If your freezer runs warm, go longer rather than shorter.
- Headspace — Leave room at the top so the base can expand without pushing against the lid.
- First spin texture — Expect the top to look dry or powdery before the Re-spin. That’s normal and not a sign anything went wrong.
- Re-spin with milk — Add milk only if the pint looks too crumbly after the first spin. Too much liquid turns the texture soft fast.
What Each Ingredient Is Actually Doing in This Ice Cream
- Base ingredient (cream, milk, or custard) — This provides the foundation and richness. Quality matters.
- Sweetener (sugar, honey, or condensed milk) — This sweetens and prevents ice crystals. The ratio is critical.
- Flavor element (vanilla, fruit, chocolate, coffee, or other) — This defines the ice cream personality. Use quality ingredients.
- Egg yolks (if making custard base) — These create richness and silky texture. Optional but elevates ice cream.
- Churning (if using ice cream maker) — This incorporates air and prevents ice crystals. Critical for smooth texture.
- Freezing temperature and time — Proper freezing prevents rock-hard texture. Store at 0°F or below.
- Mix-ins (chocolate, cookies, fruit, or swirls) — These add texture and prevent one-dimensional flavor. Add near end of churning.
- Serving temperature (slightly soft, not rock hard) — This provides creamy mouthfeel. Remove from freezer 5 minutes before serving.
What the Cream Cheese Is Doing in the Base
- Whole milk — This gives the base enough water content to freeze properly without turning heavy. Lower-fat milk works, but the texture won’t be as rich.
- Heavy cream — This is what gives the finished ice cream that lush, full-bodied mouthfeel. Half-and-half will work in a pinch, but the pint will be a little lighter and less velvety.
- Cream cheese — The small amount here helps the base stay smooth after freezing. It blends in completely, but only if it’s softened first. Cold cream cheese leaves little bits behind, and those bits don’t disappear in the freezer.
- Chocolate sandwich cookies — Crush them after the base is frozen and processed, not before. That keeps the cookie pieces distinct instead of turning the whole pint gray.
- Vanilla extract — This rounds out the milk and cream and makes the base taste like ice cream instead of sweet cream. Use a good one here because the vanilla flavor stays front and center.
Getting the Base Smooth Before It Freezes
Blending Everything Until the Cream Cheese Disappears
Blend the milk, cream, sugar, softened cream cheese, vanilla, and salt until the mixture looks completely smooth and no cream cheese flecks remain. This part matters because any little bits of unmixed cream cheese will freeze into tiny lumps that the machine won’t fully rescue later. If you’re using a blender, scrape down the sides once and blend again for a few seconds. The base should look glossy and even before it goes into the pint.
Freezing the Pint Flat and Firm
Pour the mixture into the Ninja Creami pint and stop about 1 inch from the top. Put it on a level shelf in the freezer where it won’t get bumped or tilted. A crooked pint freezes unevenly, and that can give you a lopsided spin or a rough top. Let it freeze untouched for the full 24 hours so the center sets as solid as the edges.
Spinning, Then Adding the Cookies
Run the Ice Cream setting first. If the pint comes out powdery or looks like it’s pulling away from the wall in dry shavings, add 1 tablespoon milk and use Re-spin. Once the base turns creamy, add the crushed cookies with the Mix-In function. That keeps the cookies from getting pulverized and gives you proper cookie pieces instead of gray streaks.
Ways to Tweak the Pint Without Losing the Good Texture
Dairy-Free Version
Use full-fat coconut milk in place of the milk and cream, and swap the cream cheese for a dairy-free cream cheese that softens well. The texture will still be creamy, but the flavor picks up a light coconut note. That works nicely with chocolate cookies, though it won’t taste exactly like classic dairy ice cream.
Lighter Ice Cream Base
Replace the heavy cream with more whole milk for a lighter pint. It will still spin, but the finished ice cream won’t be as rich and may need a touch more Re-spin time to smooth out. This version is good if you want a less heavy dessert, not if you’re chasing the thickest possible texture.
Extra Cookie Pieces
If you want a chunkier pint, reserve a few extra cookies and stir them in after the first mix-in pass. That gives you bigger cookie bites instead of fine crumbs throughout. Don’t add them before freezing, or they’ll soften and disappear into the base.
Storage and Reheating
- Refrigerator: This isn’t a fridge dessert. The texture melts fast and turns loose within an hour, so plan to serve it right after spinning.
- Freezer: You can refreeze leftovers in the pint, but the cookies will soften and the texture gets firmer and a little less creamy.
- Reheating: There’s no reheating here. If the pint hardens after refreezing, let it sit at room temperature for 10 to 15 minutes, then run another Ice Cream or Re-spin cycle.
Questions I Get Asked About This Recipe
Ninja Creami Cookies and Cream Protein Ice Cream
Ingredients
Equipment
Method
- Blend whole milk, heavy cream, granulated sugar, softened cream cheese, vanilla extract, and salt until completely smooth and the cream cheese is fully incorporated, with no visible streaks.
- Pour the mixture into the Ninja Creami pint container, leaving 1 inch of headspace, and tap to level the surface as needed.
- Freeze for 24 hours until solid.
- Process on the Ice Cream setting; if the pint is too firm, add 1 tablespoon milk and Re-spin to achieve a creamy, evenly processed texture.
- Use the Mix-In function to fold in crushed chocolate sandwich cookies, so cookie pieces are distributed throughout without clumping.
- Serve immediately for a dense, creamy scoopable texture, or return the pint to the freezer until ready to eat.