No Bake Pumpkin Cheesecake Balls have that sweet spot between creamy and sturdy: a chilled, tangy center with enough pumpkin spice to taste like autumn without turning heavy. The graham cracker coating gives each bite a soft crunch, and the filling stays smooth instead of grainy when the pumpkin is handled the right way. They disappear fast because they eat like a truffle but taste like cheesecake.
The part that makes this recipe work is moisture control. Pumpkin puree looks harmless, but if it goes in wet, the mixture turns loose and sticky and never rolls cleanly. Blotting it dry first, then adding a little graham cracker crumb to the filling, gives you a mixture that firms up in the fridge and holds its shape on the tray. That extra chill time isn’t optional; it’s what turns a soft bowl of filling into neat little balls.
Below, you’ll find the one step that keeps them from getting messy, plus a few smart swaps and storage notes so you can make them ahead without losing that cheesecake texture.
I was worried they’d be too soft, but chilling the pumpkin first made the mixture roll perfectly. The cinnamon graham coating gave them a nice little crunch, and the centers stayed creamy even after a day in the fridge.
Save these no bake pumpkin cheesecake balls for the days when you want a creamy pumpkin dessert with a spiced graham cracker finish.
The Reason Pumpkin Cheesecake Mixtures Turn Soft Before They Roll Cleanly
The biggest mistake with no-bake cheesecake balls is treating pumpkin puree like it behaves the same way cream cheese does. It doesn’t. Pumpkin carries a lot of water, and that extra moisture loosens the filling fast, which is why so many batches end up sticky, greasy, or impossible to shape. Blotting the pumpkin dry before it ever hits the bowl keeps the texture closer to a truffle filling than a spoonable dip.
The other thing that matters here is the graham cracker crumbs mixed into the filling, not just the coating. Those crumbs act like a quiet little stabilizer, giving the mixture enough body to scoop without becoming dense or pasty. If the mixture still feels soft after chilling, it usually needs more time in the fridge, not more sugar. Sugar can make it taste sweeter, but it won’t fix a loose base.
- Dry pumpkin puree — This is the non-negotiable part. Blot it between paper towels until it stops leaving a wet mark, or the mixture will never firm up properly.
- Softened cream cheese — Cream cheese has to beat smooth before anything else goes in. Cold cream cheese leaves little lumps that don’t disappear later.
- Graham cracker crumbs in the filling — They help tighten the mixture from the inside. Skip them and you’ll need much longer chilling time, and the balls may slump after rolling.
- Chilling before rolling — The fridge time isn’t just for convenience. It gives the fats in the cream cheese time to set so the scoops hold their shape.
What the Cream Cheese, Pumpkin, and Coating Are Each Doing Here
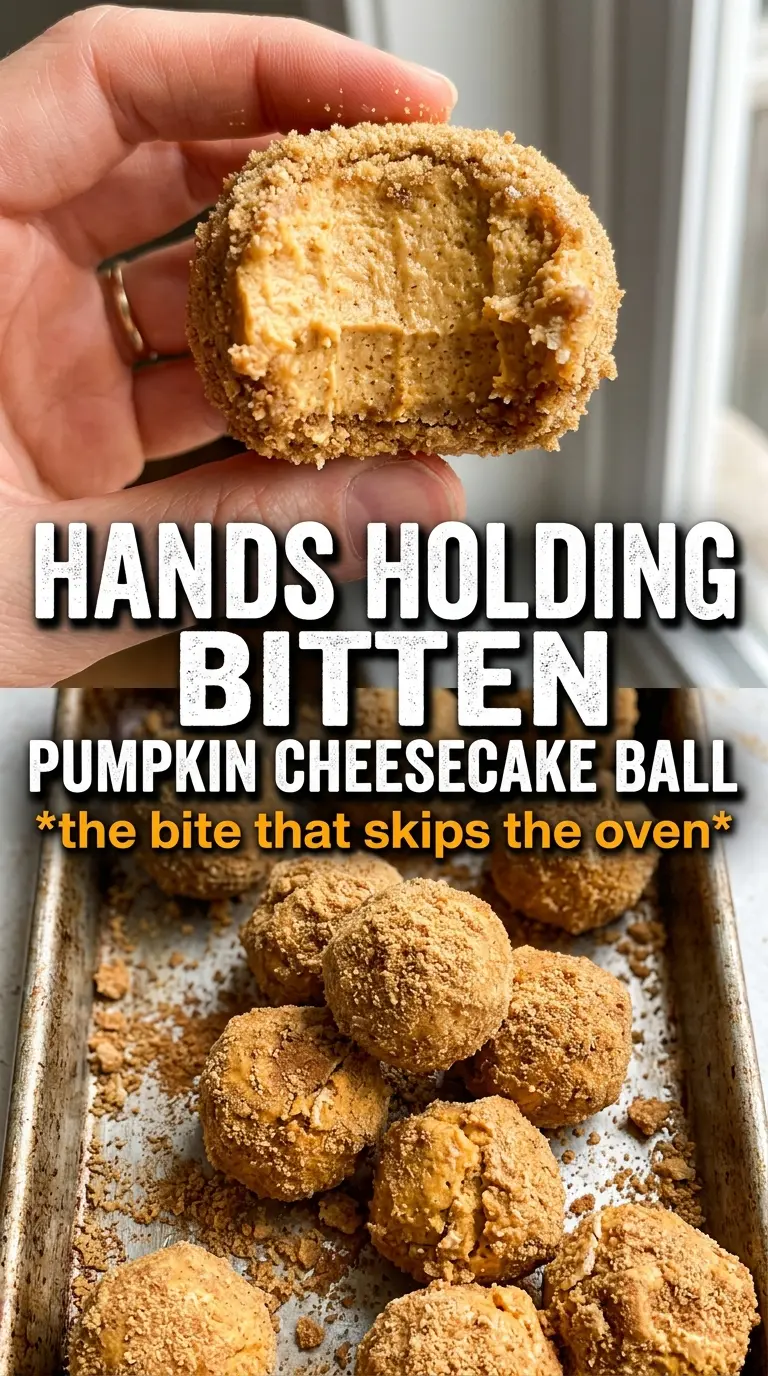
- Cream cheese — Use full-fat cream cheese for the best texture. The low-fat kind can work, but it tends to soften faster and gives you a less rich center.
- Pumpkin puree — Use plain pumpkin puree, not pumpkin pie filling. Pie filling already has sugar and spices mixed in, which throws off both flavor and texture.
- Powdered sugar — This sweetens the filling without adding grit. Granulated sugar won’t melt the same way and can leave the mixture slightly sandy.
- Graham cracker crumbs — A fine crumb blends into the filling better than coarse crumbs. If yours are chunky, pulse them a few times so the texture stays smooth.
- Cinnamon and pumpkin pie spice — The coating gets most of its aroma from these two. The filling tastes balanced without being overly spiced, but the outer layer gives each bite that familiar pumpkin dessert finish.
- Vanilla — A small amount rounds out the tang from the cream cheese. It doesn’t taste like vanilla dessert; it just softens the edges.
Rolling Them Before They Warm Up Too Much
Building the Base
Beat the softened cream cheese until it looks completely smooth and glossy, with no stubborn lumps stuck to the side of the bowl. Add the blotted pumpkin, powdered sugar, pumpkin pie spice, cinnamon, and vanilla, then mix until the color is even and the mixture looks thick but still scoopable. If it starts to look loose, don’t keep beating it; stop mixing and move straight to the crumbs. Overmixing won’t help here, and it can make the filling feel softer than it should.
Using the Crumbs to Firm the Filling
Stir in the 1/2 cup of graham cracker crumbs by hand. The mixture should look a little like thick cheesecake frosting, not a wet batter. That crumb addition is what keeps the balls from slumping once they’re scooped, so don’t skip it even if the bowl seems firm enough at first glance. Refrigerate for about 45 minutes, until the mixture feels cold and scoopable but not hard.
Coating and Shaping
Mix the coating crumbs with cinnamon and pumpkin pie spice in a shallow bowl, then scoop the filling into 1-inch portions. Roll quickly between your palms and drop each ball into the crumb mixture before it has a chance to soften from hand warmth. If the mixture starts sticking to your hands, chill it for another 10 to 15 minutes instead of fighting it. A quick roll works better than a heavy press; too much pressure turns the balls dense and can crack the coating.
Final Chill for a Clean Bite
Set the coated balls on a lined tray and refrigerate until serving. This last chill helps the coating settle onto the outside and gives the centers their best texture. If you want a firmer bite, give them a full hour in the fridge before serving. They hold best straight from the refrigerator, when the filling is cool and the coating still has a little crunch.
How to Adapt These Pumpkin Cheesecake Balls Without Losing the Texture
Dairy-Free Version with Plant-Based Cream Cheese
Use a sturdy dairy-free cream cheese block, not a whipped tub spread. Whipped versions are softer and can turn the filling too loose, especially once the pumpkin goes in. Keep the chilling time on the longer side and expect a slightly softer bite than the dairy version.
Gluten-Free Coating Swap
Use gluten-free graham-style crumbs or finely crushed gluten-free cookies. The flavor stays close to the original, but the texture can be a little more delicate, so let the balls chill fully before moving them. A finer crumb coats more evenly and keeps the outside looking neat.
Chocolate-Coated Pumpkin Cheesecake Balls
Skip the graham coating and dip the chilled balls in melted white or semisweet chocolate for a more dessert-shop finish. The chocolate shell adds snap and hides minor shape imperfections, but it also makes the pumpkin spice less obvious, so the filling should be a little bolder with cinnamon. Chill the dipped balls until the coating sets completely before serving.
Make-Ahead Storage
- Refrigerator: Store in an airtight container for up to 4 days. The coating softens a little after the first day, but the centers stay creamy.
- Freezer: Freeze in a single layer until solid, then transfer to a sealed container for up to 1 month. Thaw in the fridge so the outside doesn’t get sticky.
- Reheating: These aren’t meant to be reheated. Let them sit at room temperature for 5 to 10 minutes if you want a softer bite, but don’t warm them or the filling will lose its shape.
Answers to the Questions Worth Asking
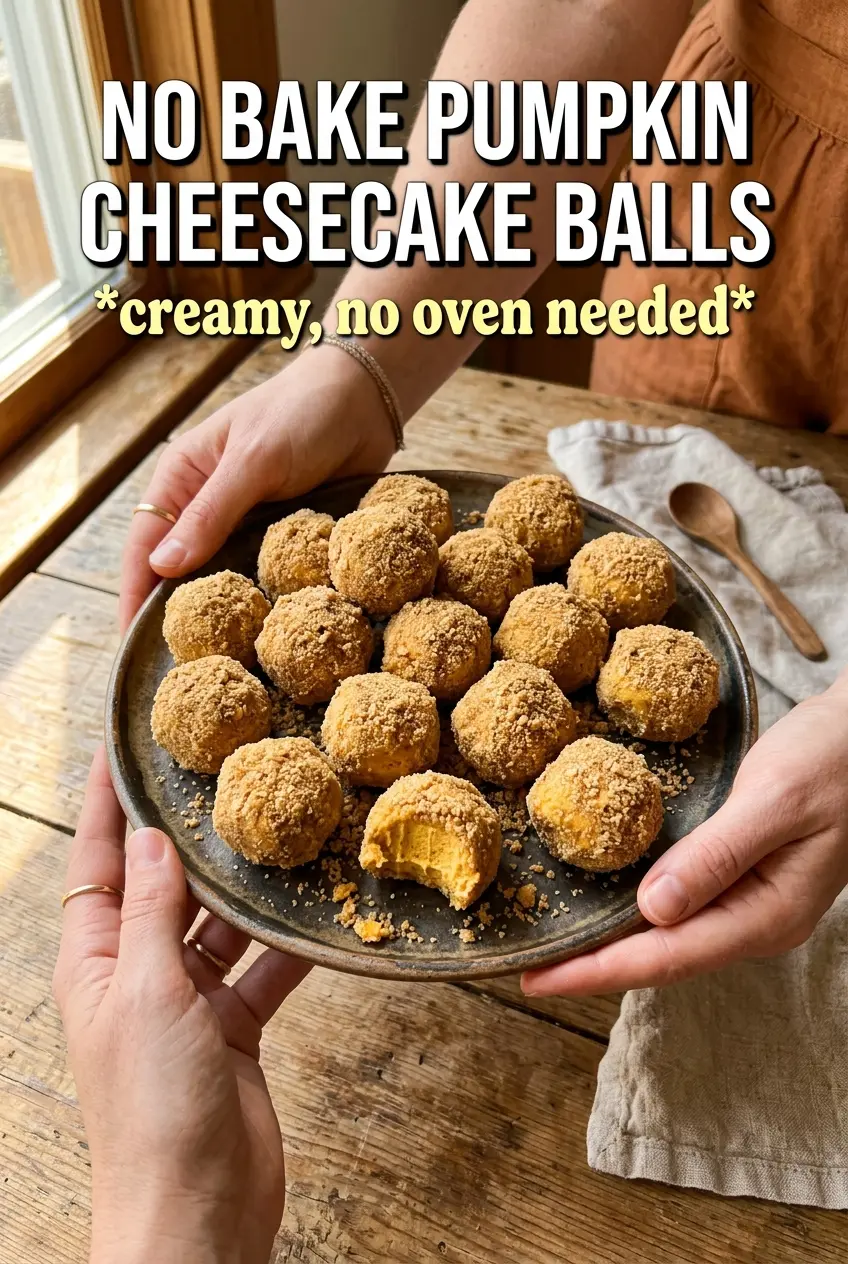
No Bake Pumpkin Cheesecake Balls
Ingredients
Method
- Blot the pumpkin puree very dry with paper towels so the mixture firms up properly.
- Beat the cream cheese until smooth, then beat in the blotted pumpkin puree, powdered sugar, pumpkin pie spice, cinnamon, and vanilla until evenly combined.
- Fold in 1/2 cup graham cracker crumbs to help firm the mixture.
- Refrigerate the mixture for 45 minutes until firm enough to roll.
- In a shallow bowl, mix the coating crumbs with the cinnamon and pumpkin pie spice.
- Scoop into 1-inch balls and roll each one in the spiced graham cracker coating, pressing lightly so it adheres.
- Refrigerate the coated balls until serving, keeping them chilled for the best texture.