These no bake pumpkin dream bars cut cleanly, hold their shape, and bring that cold-creamy pumpkin pie feeling without turning on the oven. The crust stays buttery and firm, the filling stays light instead of dense, and the whipped topping on top gives each bite a soft finish that keeps the whole pan from feeling heavy.
The trick is keeping every layer properly chilled. A pressed graham crust needs time to set so it doesn’t crumble under the filling, and the pumpkin layer works best when the cream cheese is beaten smooth before anything else goes in. That little bit of extra care keeps the filling from going grainy and helps the bars slice neatly after they rest.
Below you’ll find the small details that make these bars behave: how long to chill each layer, why the whipped topping gets folded in instead of beaten hard, and the best way to get those clean squares for serving.
The crust set up perfectly after chilling and the pumpkin layer stayed fluffy instead of heavy. I made them the night before and the bars sliced cleanly the next day with no mess at all.
Save these no bake pumpkin dream bars for the make-ahead dessert that slices cleanly and stays fluffy straight from the fridge.
The Chill Time That Keeps the Layers Separate
These bars only look effortless when each layer gets time to set. If the crust is still loose, the filling will drag crumbs into the pumpkin layer and the bottom will turn messy instead of neat. The first chill is there to lock the crust in place before the softer filling goes on top.
The second chill matters even more. The filling starts out soft from the whipped topping and pumpkin puree, and it needs those hours in the refrigerator to firm up enough for a clean cut. If you rush it, the bars will taste fine but they won’t slice into tidy squares.
- Pressed graham crust — Pack it down firmly with the bottom of a measuring cup or glass. Loose crumbs won’t support the soft filling.
- Cream cheese — Softened cream cheese beats smooth fastest and keeps the filling from turning lumpy. Cold cream cheese leaves little bits behind that never fully disappear.
- Pumpkin puree — Use plain pumpkin puree, not pumpkin pie filling. Pie filling is already sweetened and spiced, which throws off the balance here.
- Whipped topping — Thawed whipped topping gives the layer its airy texture. Homemade whipped cream won’t hold quite the same shape over a long chill.
What Each Ingredient Is Actually Doing in These Bars
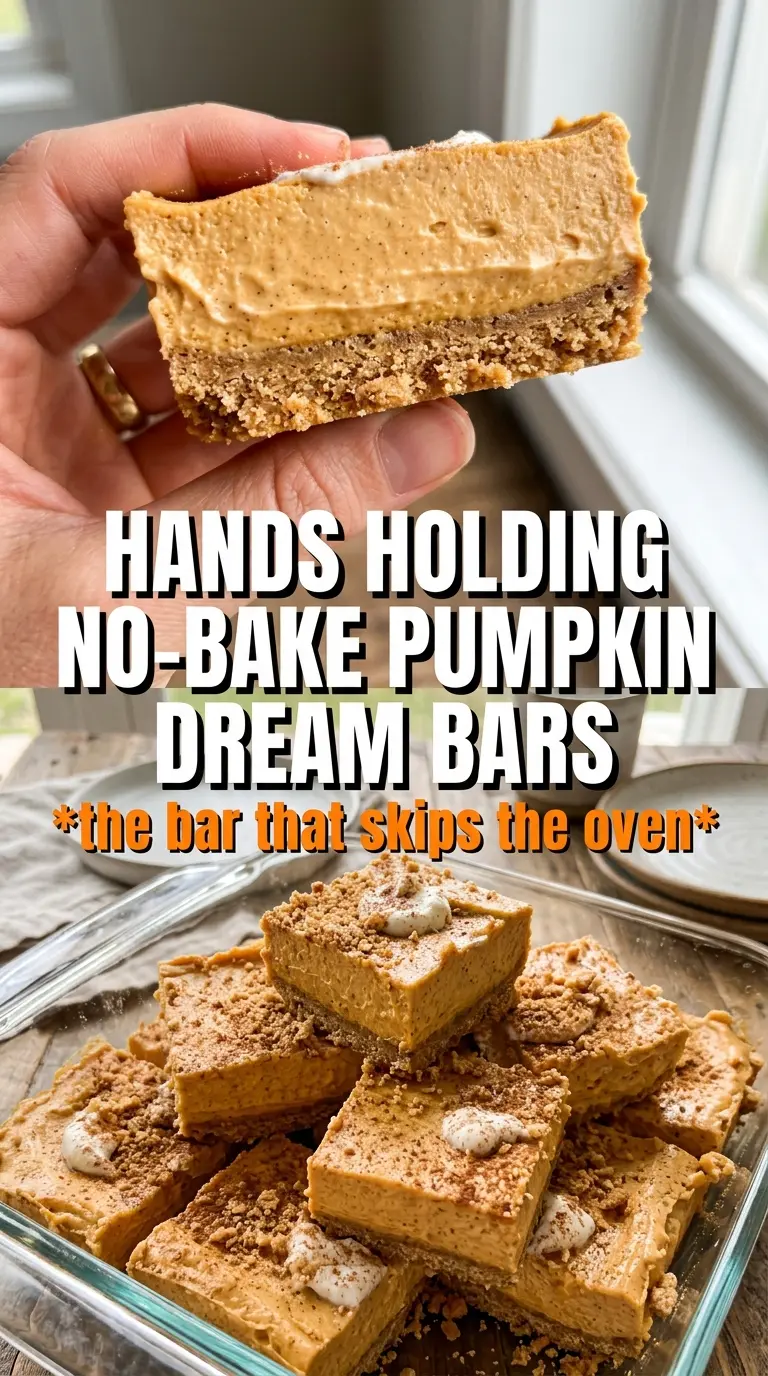
- Graham cracker crumbs — They give the bars that classic pie-like base without baking. Fine crumbs press more evenly than chunky ones, so crush them well before mixing.
- Sugar in the crust — This isn’t just sweetness. It helps the crust taste more like dessert and gives the crumbs a little more structure once the butter firms back up.
- Melted butter — Butter is what turns dry crumbs into a crust you can slice. If the mixture looks sandy and won’t hold when squeezed, it needs a little more butter.
- Cream cheese — This is the backbone of the filling. Full-fat cream cheese gives the best body and tang, and reduced-fat versions can turn looser.
- Pumpkin puree — It adds flavor and color, but it also brings moisture, which is why the filling depends on powdered sugar and chilling to set.
- Pumpkin pie spice and cinnamon — Pumpkin pie spice brings the familiar holiday-style warmth, while cinnamon sharpens the flavor so the filling doesn’t taste flat.
- Whipped topping — Folding it in keeps the filling light and mousse-like. Stirring too hard knocks out the air and makes the layer heavier.
- Crushed gingersnap cookies — The topping adds a spicy crunch that breaks up the creamy layers. Graham crumbs on top work in a pinch, but gingersnaps give the bars a better finish.
Building the Bars So They Slice Cleanly
Pressing and Chilling the Crust
Mix the graham crumbs, sugar, and melted butter until the texture looks like damp sand, then press it firmly into the pan. A loose crust falls apart the moment you cut into it, so take a minute to pack the corners and edges well. Slide the pan into the refrigerator for at least 20 minutes until the surface feels set.
Making the Pumpkin Filling Smooth First
Beat the cream cheese until there are no lumps left before adding the pumpkin and sugar. If you add the pumpkin too early, the mixture can stay streaky and take longer to smooth out. Once the base is silky, add the spices and vanilla, then mix until everything looks evenly colored.
Keeping the Whipped Topping Light
Fold in about two-thirds of the whipped topping with a spatula instead of beating it in. Folding protects the air in the topping, which is what keeps the filling soft and dreamy instead of dense. Stop as soon as the streaks disappear; overmixing is how you lose that mousse-like texture.
Finishing and Setting the Pan
Spread the pumpkin layer over the chilled crust with a light hand so you don’t pull up crumbs from the bottom. Add the remaining whipped topping, dust on cinnamon, and finish with crushed gingersnaps. Refrigerate for at least 4 hours, or overnight if you want the cleanest possible cuts.
How to Adapt These Pumpkin Dream Bars Without Losing the Texture
Make them gluten-free
Swap in gluten-free graham crackers for the crust and use gluten-free gingersnaps on top. The filling doesn’t need any changes, and the texture stays the same as long as the crumbs are ground fine and pressed firmly.
Use homemade whipped cream instead of Cool Whip
Whip 1 1/2 cups cold heavy cream with a little powdered sugar until you get medium-stiff peaks, then fold it in just like the whipped topping. The bars will taste a little fresher, but they won’t hold as long in the fridge, so serve them within a day or two.
Make a deeper-spiced version
Add an extra 1/2 teaspoon cinnamon or a pinch of ginger if you want the filling to lean more warmly spiced. Keep the balance in mind, though, because too much spice can overpower the cream cheese and make the bars taste sharp instead of mellow.
Storage and Reheating
- Refrigerator: Store covered for up to 4 days. The crust stays best on day 1 and 2, while the topping may soften slightly after that.
- Freezer: These bars freeze well if you cut them first and wrap them tightly. Thaw in the refrigerator overnight for the cleanest texture; don’t thaw at room temperature or the filling gets weepy.
- Reheating: No reheating needed. Serve them cold straight from the fridge, and wipe the knife between cuts if you want tidy squares.
Questions I Get Asked About This Recipe
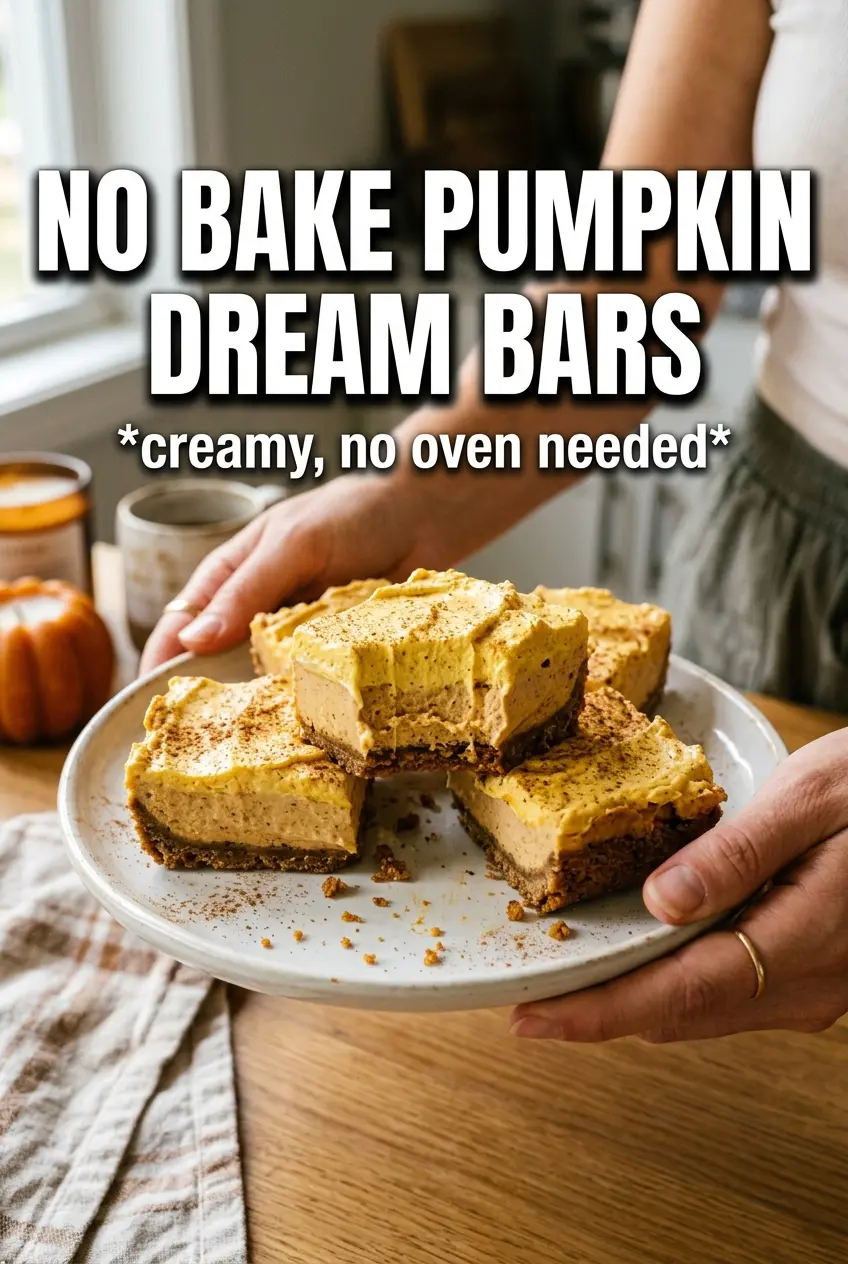
No Bake Pumpkin Dream Bars
Ingredients
Equipment
Method
- Press graham crust mixture (graham cracker crumbs, sugar, and melted butter) firmly into a 9x13 pan, then refrigerate for 20 minutes to set.
- Confirm the crust looks compact and slightly firm before continuing.
- Beat cream cheese with an electric hand mixer until smooth.
- Add pumpkin puree, powdered sugar, pumpkin pie spice, cinnamon, and vanilla, then mix until thick and evenly combined.
- Fold in 2/3 of the whipped topping (Cool Whip) until no streaks remain.
- Spread the pumpkin cream cheese layer over the chilled crust in an even layer.
- Spread the remaining whipped topping (Cool Whip) over the pumpkin layer.
- Dust the top with cinnamon and scatter crushed gingersnap cookies.
- Refrigerate for 4 hours or overnight until firm, then cut into bars.