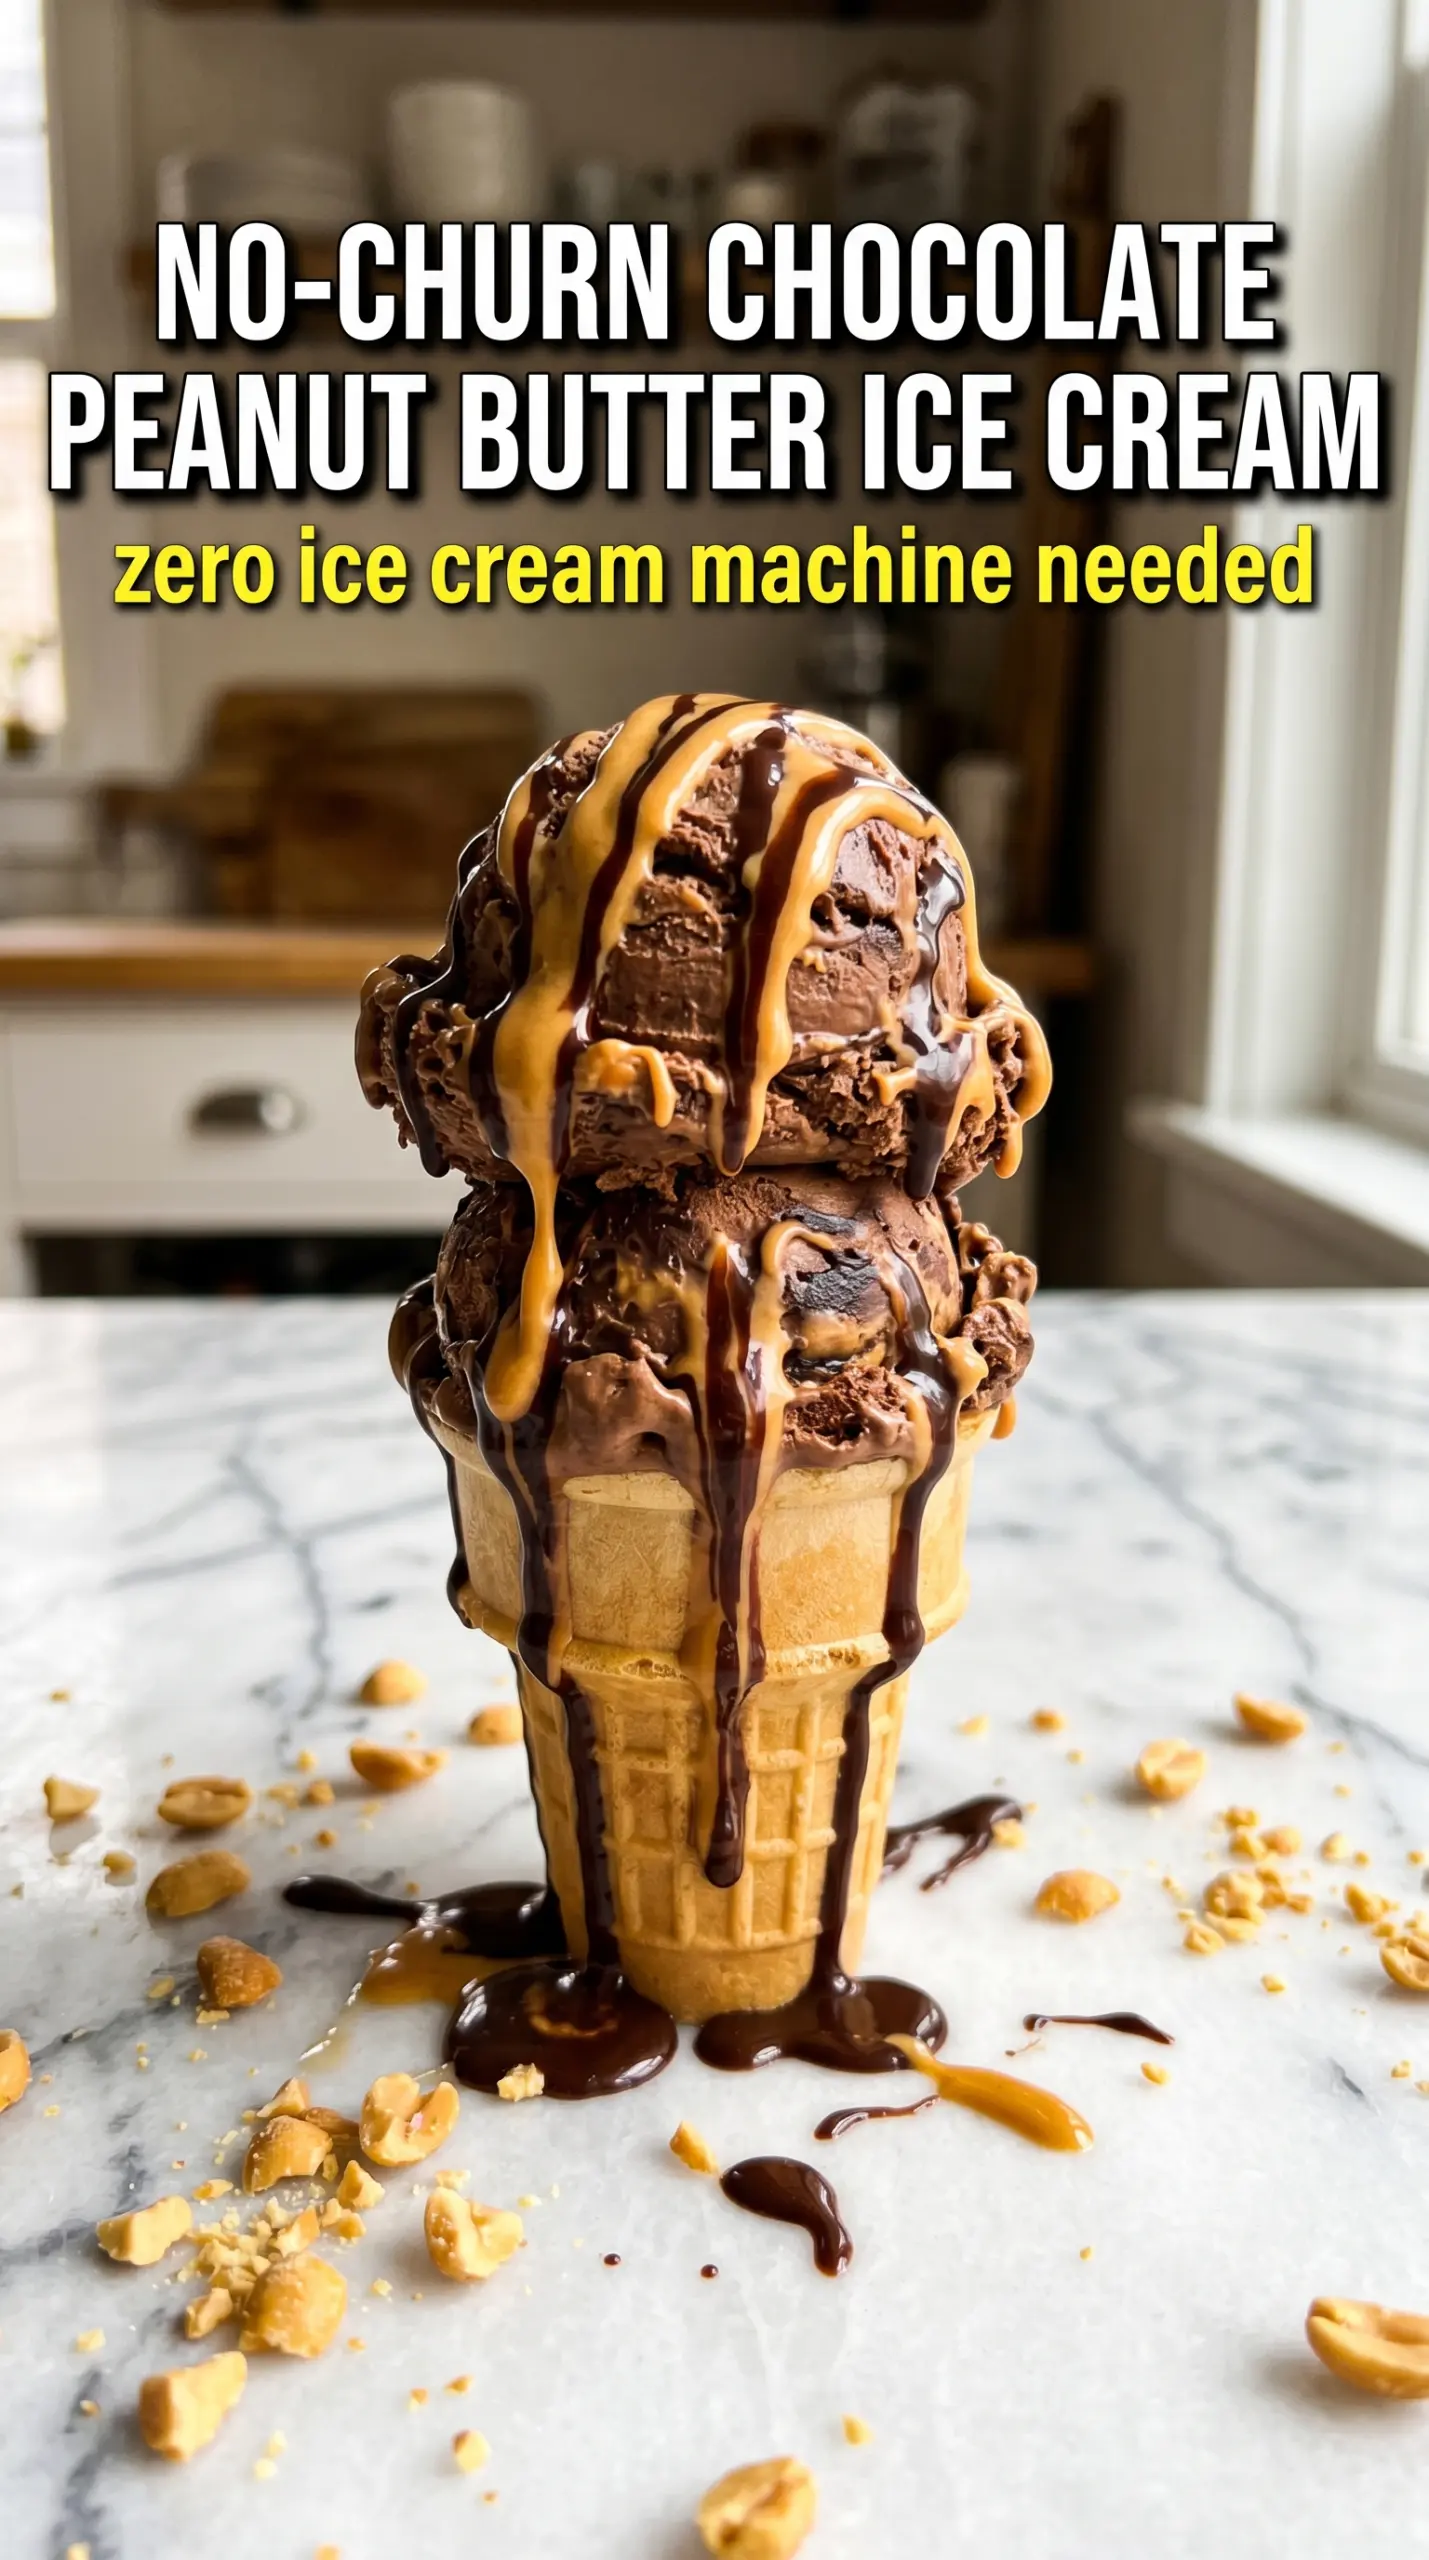
Fudgy chocolate ice cream with thick peanut butter ribbons is hard to beat, especially when it sets up silky and scoopable without an ice cream maker. The base stays rich instead of icy, and the peanut butter stays in defined swirls instead of disappearing into the mix. You get that classic chocolate-and-peanut-butter pairing in a form that feels special but never fussy.
The texture depends on two things: whipped cream for air, and a gentle fold so the mixture keeps that air instead of going flat. Sweetened condensed milk does the heavy lifting for sweetness and body, while cocoa powder gives you a deep chocolate flavor without needing melted chocolate or a custard base. Warming the peanut butter matters too, because it drizzles cleanly and creates those thick ribbons through the pan.
Below, I’ll show you how to keep the swirl visible, how long to freeze it, and what to change if you want a darker chocolate base or a nut-free version.
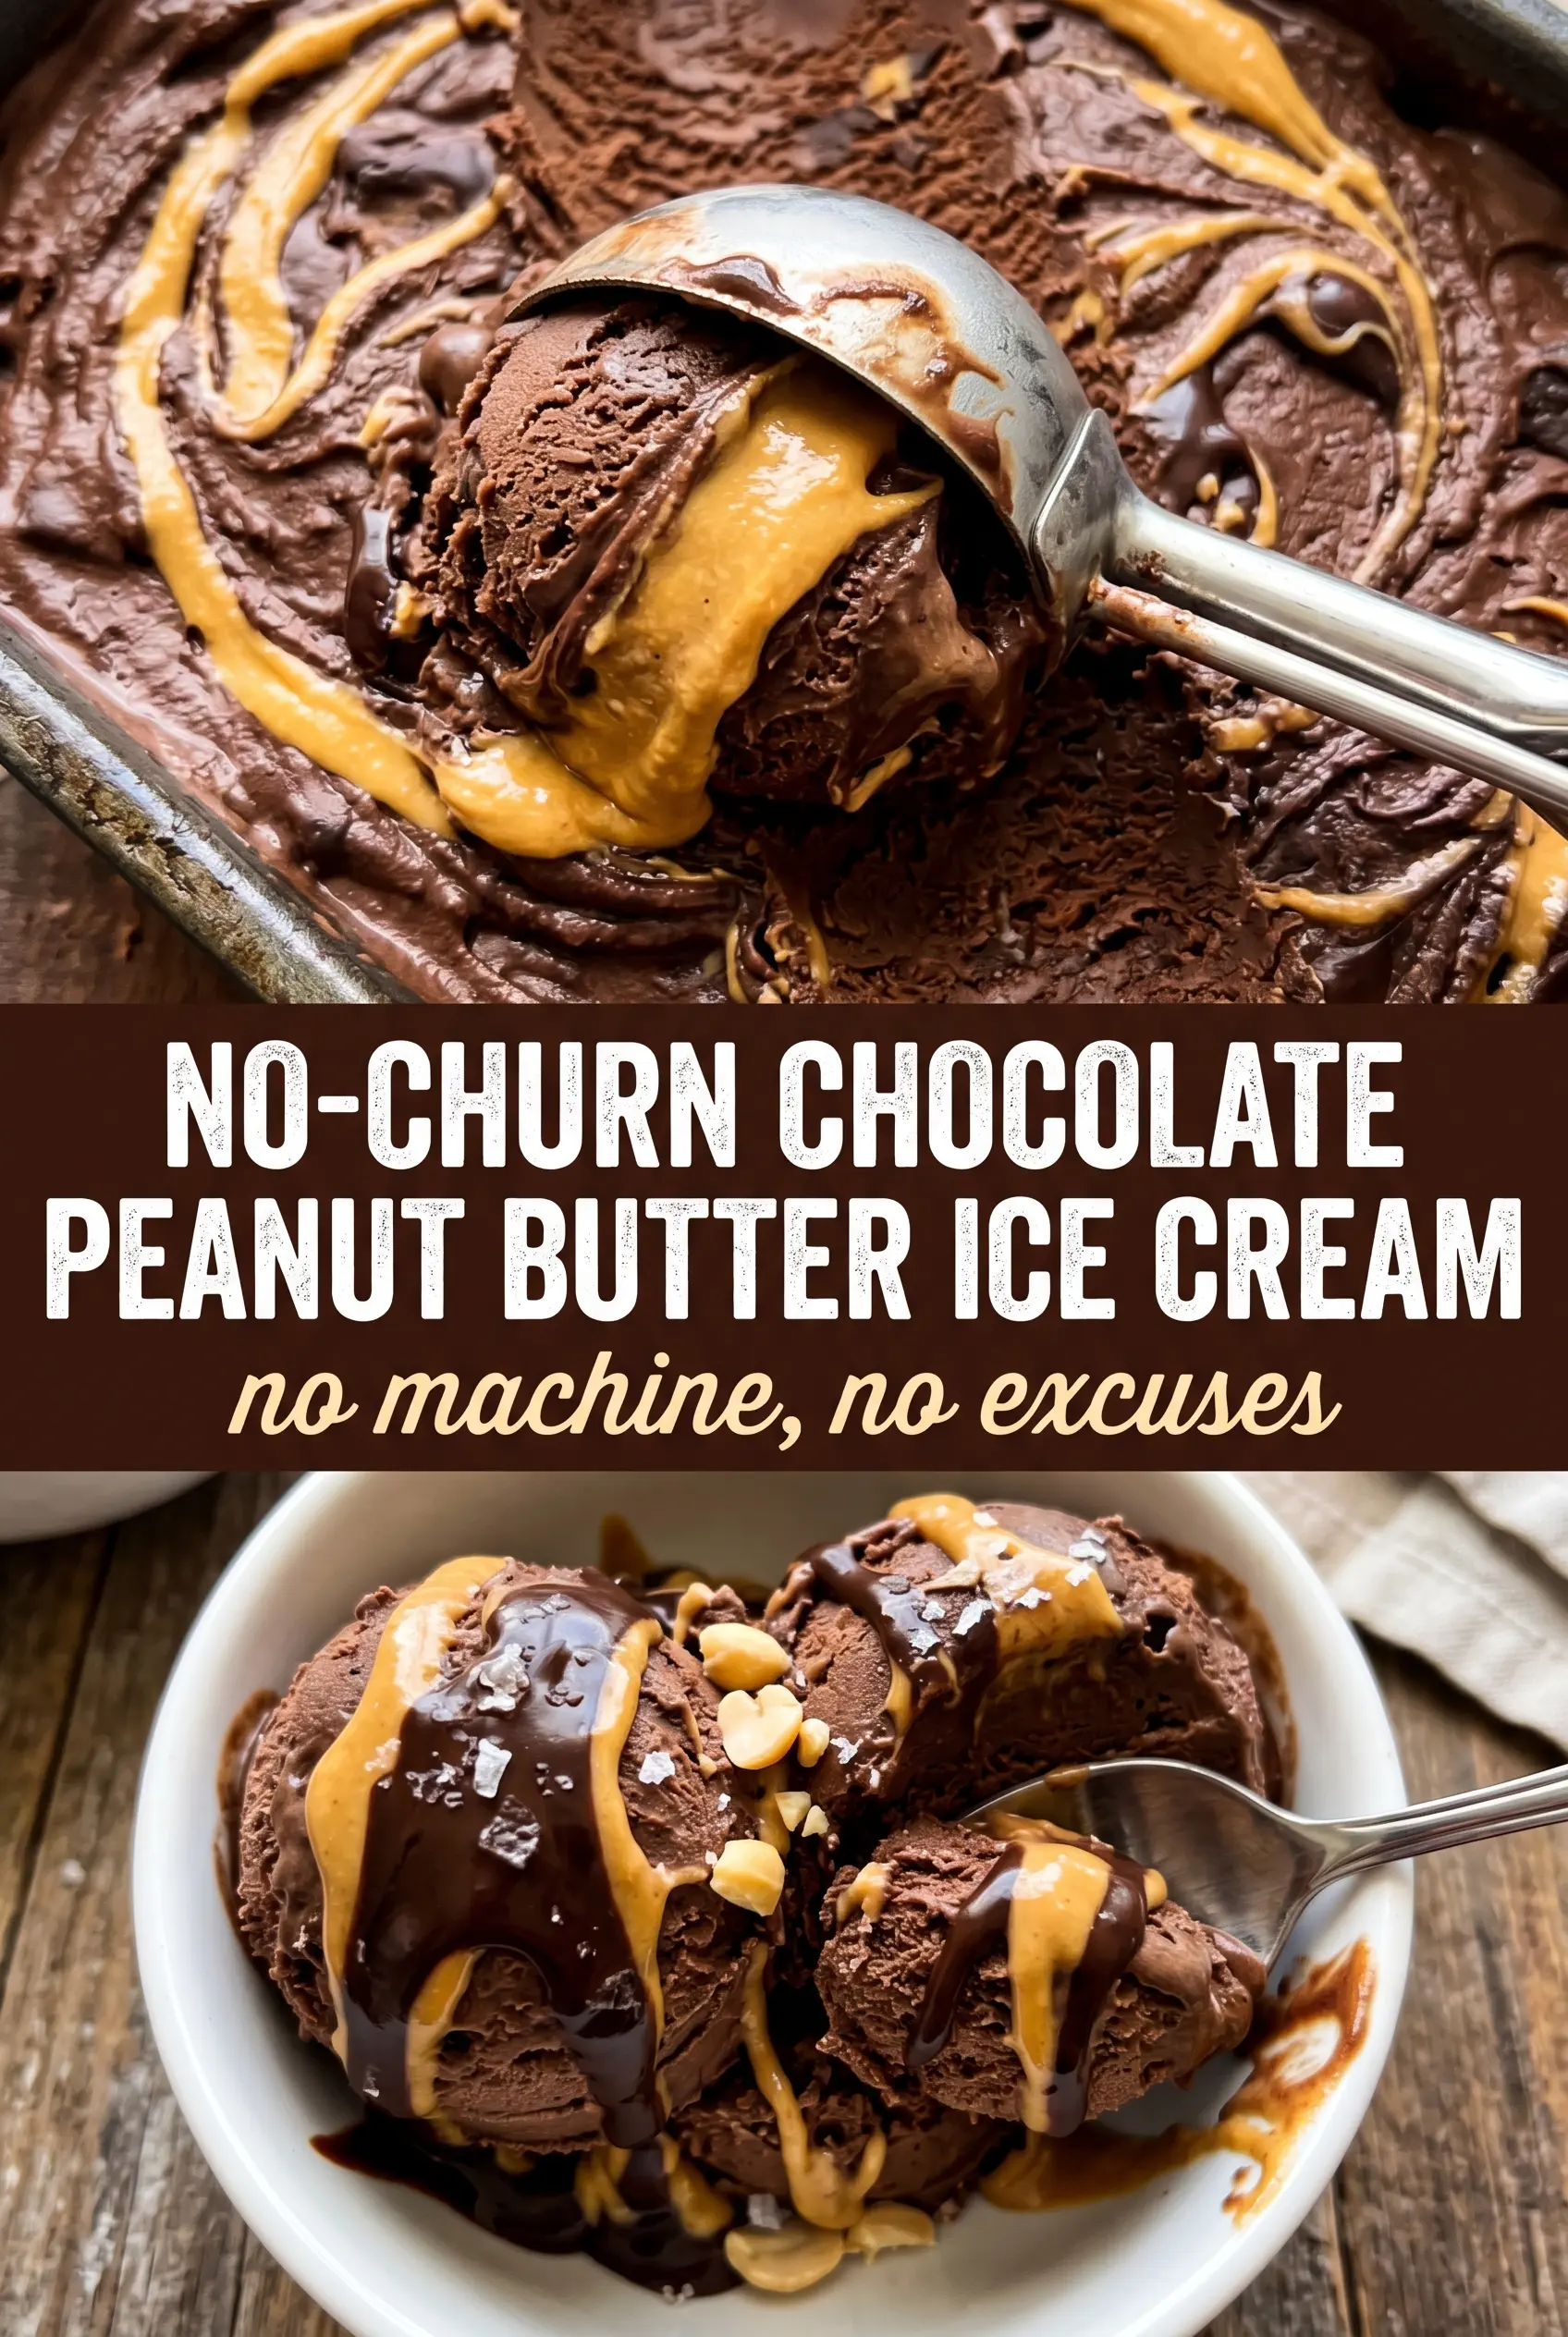
The swirl stayed separate and the ice cream scooped cleanly after overnight freezing. I loved that the chocolate base wasn’t icy at all, and the peanut butter ribbons were still soft enough to taste in every bite.
Save this no-churn chocolate peanut butter ice cream for the nights when you want thick chocolate swirls and a peanut butter ribbon in every scoop.
The Trick That Keeps the Swirl From Vanishing
The mistake most people make with no-churn ice cream is stirring the peanut butter straight into the base. That turns the whole batch muddy and you lose the contrast that makes this dessert worth making. Warm peanut butter drizzled in layers gives you thick ribbons that stay visible after freezing, and a knife makes those broad swirls instead of a total mix-in.
Another thing that matters here is the texture of the whipped cream. Stop at stiff peaks, not soft ones, or the base won’t have enough structure once it freezes. If you whip it past the point where it looks smooth and glossy, it can turn grainy and a little clumpy, which shows up in the final scoop.
- Heavy cream — This is what gives the ice cream its body and soft scoop. Light cream won’t whip the same way, and you’ll end up with a denser, icier texture.
- Sweetened condensed milk — Don’t swap in regular milk here. You need the concentrated sugar and milk solids for sweetness and a creamy freeze without churning.
- Unsweetened cocoa powder — Cocoa gives a deep chocolate base without thinning the mixture. Dutch-process makes the flavor darker and smoother, but natural cocoa works fine if that’s what you have.
- Creamy peanut butter — Use a smooth, shelf-stable style for the cleanest swirl. If yours is thick, warm it just until loosened, not hot enough to melt into the base.
What Each Ingredient Is Actually Doing in This Ice Cream
- Base ingredient (cream, milk, or custard) — This provides the foundation and richness. Quality matters.
- Sweetener (sugar, honey, or condensed milk) — This sweetens and prevents ice crystals. The ratio is critical.
- Flavor element (vanilla, fruit, chocolate, coffee, or other) — This defines the ice cream personality. Use quality ingredients.
- Egg yolks (if making custard base) — These create richness and silky texture. Optional but elevates ice cream.
- Churning (if using ice cream maker) — This incorporates air and prevents ice crystals. Critical for smooth texture.
- Freezing temperature and time — Proper freezing prevents rock-hard texture. Store at 0°F or below.
- Mix-ins (chocolate, cookies, fruit, or swirls) — These add texture and prevent one-dimensional flavor. Add near end of churning.
- Serving temperature (slightly soft, not rock hard) — This provides creamy mouthfeel. Remove from freezer 5 minutes before serving.
Building the Base Without Deflating It
Whip the Cream to the Right Point
Whip the cream in a large bowl until it holds tall peaks that stand up when you lift the beaters. That structure is what keeps the ice cream creamy after freezing. If the cream is underwhipped, the final mixture will freeze dense and heavy. If it starts looking dry or lumpy, you’ve gone too far.
Mix the Chocolate Base Until It’s Smooth
Whisk the condensed milk, cocoa powder, vanilla, and salt in a separate bowl until there are no dry streaks left. Cocoa likes to clump, so press those lumps out before it meets the whipped cream. The mixture should look glossy and thick, not gritty. If you see specks of dry cocoa now, you’ll taste them later.
Fold, Don’t Stir
Add the chocolate mixture to the whipped cream in two additions and fold it gently with a spatula. Sweep from the bottom of the bowl and turn the mixture over itself until just combined. The goal is a light, uniform base with no big white streaks, but stop as soon as it comes together. Overmixing knocks out the air that makes no-churn ice cream work in the first place.
Make It Darker and More Fudgy
Swap 2 tablespoons of the cocoa powder for Dutch-process cocoa if you want a deeper, less sharp chocolate flavor. The base will taste richer and a little more bakery-style, but it won’t change the freezing behavior.
Nut-Free Version
Use sunflower seed butter in place of peanut butter for a similar ribbon effect. It tastes a little earthier and less sweet than peanut butter, but it still swirls well when warmed.
Gluten-Free by Default
This recipe is naturally gluten-free as written, as long as your cocoa powder and peanut butter are certified gluten-free if cross-contact matters in your kitchen.
Storage and Reheating
- Refrigerator: Not applicable. This dessert needs the freezer to hold its texture.
- Freezer: Store covered for up to 2 weeks. Press parchment or plastic wrap directly on the surface before covering the pan to help prevent ice crystals.
- Reheating: Not needed. Let the pan sit at room temperature for 5 to 10 minutes before scooping. Cutting into it straight from the freezer is the fastest way to crush the texture.
Questions I Get Asked About This Recipe
No-Churn Chocolate Peanut Butter Ice Cream
Ingredients
Equipment
Method
- Whip the heavy cream in a large bowl to stiff peaks, about 3–5 minutes, so it holds a peak when you lift the whisk (visual cue: surface looks thick and stand-up).
- Whisk the sweetened condensed milk, unsweetened cocoa powder, vanilla extract, and salt together in a separate bowl until smooth, with no cocoa streaks (visual cue: mixture looks glossy and fully combined).
- Gently fold the condensed milk mixture into the whipped cream until just combined, avoiding overmixing so the foam doesn’t deflate (visual cue: no white streaks, but mixture stays airy).
- Pour half of the mixture into a 9x5 loaf pan and drizzle with half of the warm peanut butter, then swirl with a knife (visual cue: dark base with thick golden ribbons).
- Pour the remaining ice cream mixture into the pan and top with the remaining peanut butter, then swirl again with a knife (visual cue: another layer of peanut butter ribboning across the surface).
- Freeze for at least 6 hours or overnight until firm and scoopable (visual cue: set edges with no visible jiggle when the pan is tapped).