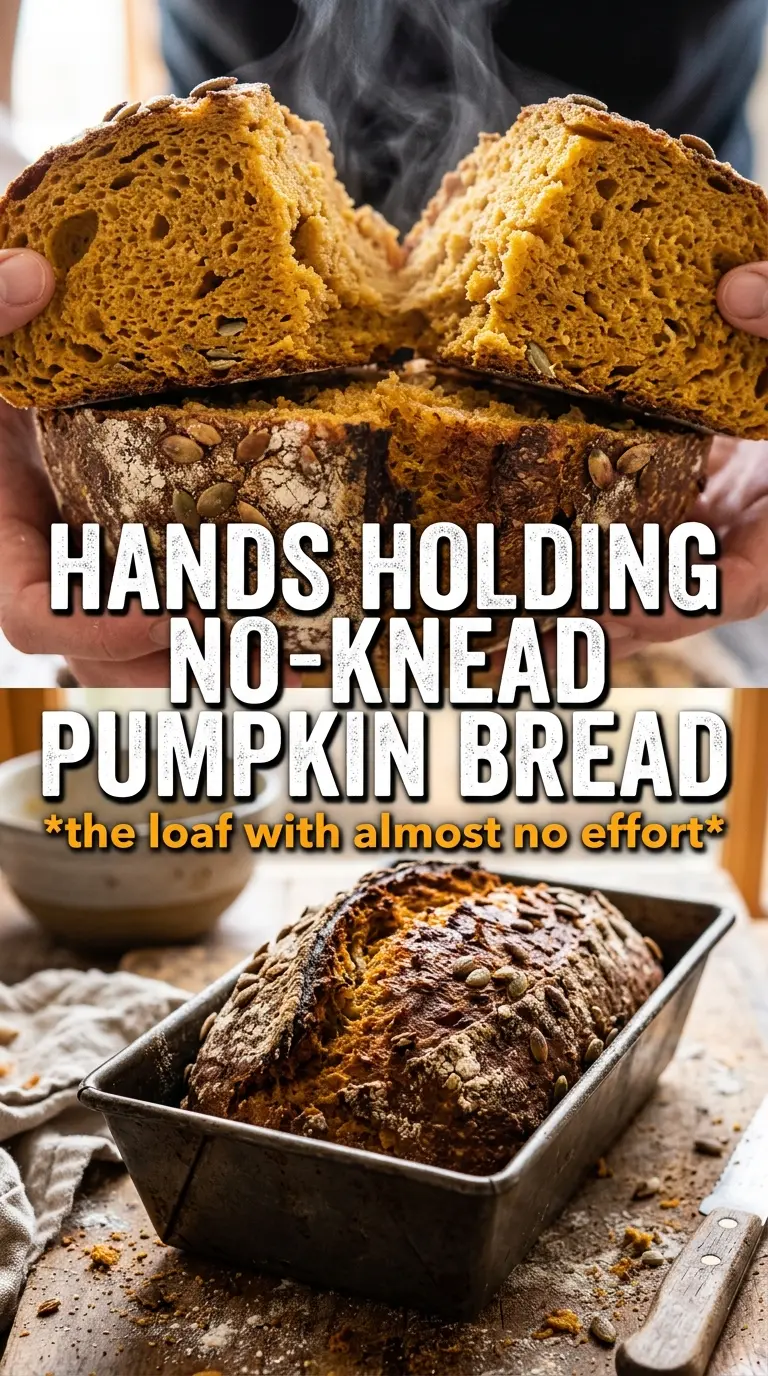
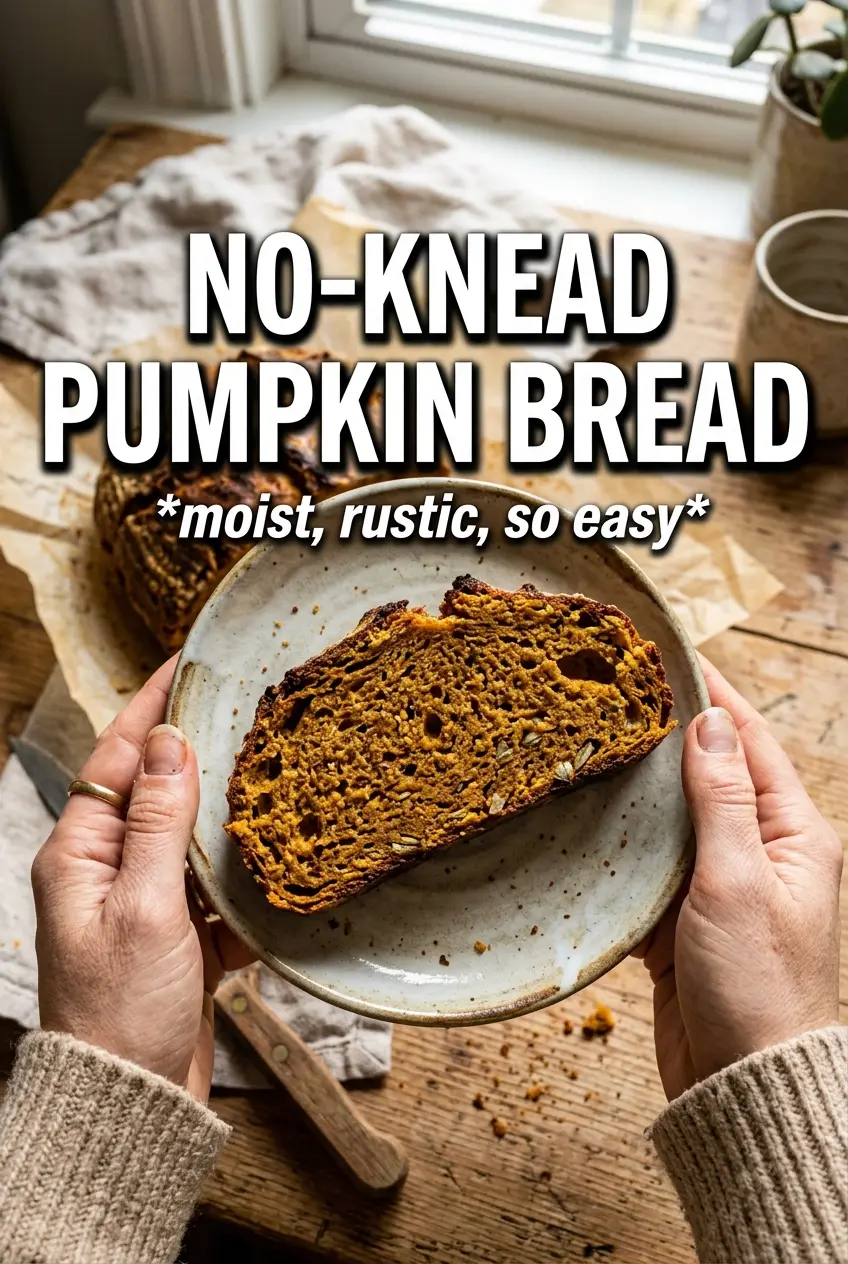
Crackled on the outside and soft, open, and tender inside, no-knead pumpkin bread gives you the kind of loaf that feels bakery-made without any actual kneading. The crust turns deeply golden in a hot Dutch oven, while the crumb stays moist and lightly amber from the pumpkin. It slices cleanly once cooled, but the texture is still relaxed and rustic, not tight or bready the way quick pumpkin loaves can be.
The long rest is doing most of the work here. A tiny amount of yeast and an overnight rise build structure and flavor while the pumpkin puree adds color and softness without turning the dough heavy. The warm milk, water, and maple syrup give the dough enough moisture and a little extra depth, but the real trick is keeping the dough loose and sticky so it can bake into that open, artisan-style crumb.
Below, I’ve included the part that matters most: how to handle the sticky dough without overworking it, why the Dutch oven setup matters, and what to change if you want a slightly sweeter loaf or need to adjust for what you already have on hand.
The dough was sticky the next morning, but it baked up with a crackly crust and a soft, airy crumb that sliced beautifully once it cooled.
Save this no-knead pumpkin bread for the mornings when you want a crackly crust, a tender pumpkin crumb, and almost no hands-on work.
The Part Most People Rush: Letting the Dough Stay Loose
The dough for this loaf is supposed to look rough and sticky. That’s not a problem to fix; it’s the whole reason the bread bakes up with an open crumb instead of a dense, muffin-like texture. If you add too much flour during the mix or shape, the loaf gets tight and loses the rustic lift that makes it worth baking. The long rest gives the yeast time to develop flavor and the gluten time to organize itself without kneading.
The other big piece is heat. A preheated Dutch oven traps steam for the first part of baking, which lets the loaf expand before the crust sets. Without that covered bake, the outside firms up too soon and the bread stays flatter and less dramatic. If your loaf seems soft when it comes out, don’t panic — it firms up as it cools.
What the Pumpkin and Maple Are Actually Doing Here
- Pumpkin puree — This brings the warm color, gentle sweetness, and soft texture. Use plain pumpkin puree, not pumpkin pie filling, or the loaf turns overly sweet and spiced in a way that muddies the bread.
- Bread flour — The higher protein level gives the dough enough structure to hold onto those big, irregular bubbles after the overnight rise. All-purpose flour works in a pinch, but the loaf will be a little less chewy and less lofty.
- Instant yeast — You only need a tiny amount because the long rise does the heavy lifting. Active dry yeast can work too, but dissolve it in the warm liquid first and expect the rise to take a little longer.
- Maple syrup or honey — This doesn’t make the loaf dessert-sweet. It rounds out the pumpkin and helps the crust color during baking.
- Warm milk and warm water — The liquid has to be warm, not hot, so the yeast stays active. Too much heat can slow the rise before it ever gets started.
From Sticky Dough to Crackly Loaf Without Overthinking It
Mix Until It Looks Shaggy, Not Smooth
Whisk the dry ingredients first so the yeast and spice are evenly distributed, then stir in the pumpkin mixture until you get a sticky, rough dough. Stop as soon as the flour is hydrated. If you keep stirring trying to make it look neat, you’ll tighten the dough and lose the airy texture that develops during the long rest.
Let the Overnight Rise Do the Work
Cover the bowl and leave it at room temperature for 12 to 18 hours. By the morning, the dough should be very bubbly, domed, and a little jiggly when you nudge the bowl. If your kitchen runs cold, lean toward the longer end of the rise; if it’s warm, watch for surface bubbles and a stretched, alive-looking dough instead of going by the clock alone.
Shape Gently and Bake in a Fully Heated Pot
Turn the dough onto a heavily floured surface and shape it with just enough handling to form a loose ball. Let it rest 15 minutes while the Dutch oven preheats, then lower it in carefully. That hot pot is what gives you the deep crust and the oven spring; if it isn’t fully preheated, the loaf spreads more and bakes up duller on the outside.
Finish the Crust, Then Let It Cool
Covered baking sets the loaf’s shape, and the final uncovered minutes deepen the color and crisp the exterior. Pull it when the crust is deeply golden and the loaf feels firm when tapped. Cool it on a rack for at least an hour before slicing or the steam inside will collapse the crumb and make the middle look gummy.
How to Adjust This Loaf Without Losing the Texture
Make it dairy-free
Swap the milk for unsweetened almond milk, oat milk, or soy milk. The loaf will still rise and brown well, though whole soy or oat milk gives a slightly richer crumb than thinner non-dairy options.
Use honey instead of maple syrup
Honey works exactly where maple syrup does, and it adds a slightly deeper floral note. It also browns a touch faster, so keep an eye on the last uncovered minutes if your oven runs hot.
Add a sweeter breakfast edge
Add 1 to 2 tablespoons of brown sugar to the wet ingredients if you want a loaf that leans a little more toward breakfast bread than rustic table bread. More sugar than that starts to make the crumb softer and less artisan-like, so keep the adjustment small.
Gluten-free note
This recipe depends on bread flour for structure, so a direct gluten-free swap won’t behave the same way. If you need a gluten-free pumpkin loaf, this method needs a different flour blend and usually a different hydration level altogether.
Storage and Reheating
- Refrigerator: Store wrapped at room temperature for up to 2 days or refrigerate for up to 4 days. The crust softens a bit after the first day.
- Freezer: Slice and freeze well-wrapped portions for up to 2 months. This loaf freezes better in slices than whole because you can rewarm only what you need.
- Reheating: Warm slices in a toaster or a 300F oven for a few minutes until the edges crisp again. Avoid the microwave if you want to keep the crust from going leathery.
Questions I Get Asked About This Recipe
No-Knead Pumpkin Bread
Ingredients
Equipment
Method
- Whisk bread flour, instant yeast, salt, pumpkin pie spice, and cinnamon in a large bowl until evenly combined.
- Whisk pumpkin puree, warm water, warm milk, and maple syrup or honey, then stir into the flour mixture until a shaggy dough forms.
- Cover with plastic wrap and rest at room temperature for 12-18 hours until the dough is very bubbly.
- Preheat the oven to 450F and place a Dutch oven inside for 30 minutes.
- Turn the dough onto a well-floured surface, shape into a ball, and rest 15 minutes.
- Carefully lower the dough into the hot Dutch oven, cover, and bake at 450F for 30 minutes.
- Uncover and bake at 450F for 12-15 more minutes until the crust is deeply golden.
- Cool on a wire rack for 1 hour before slicing.