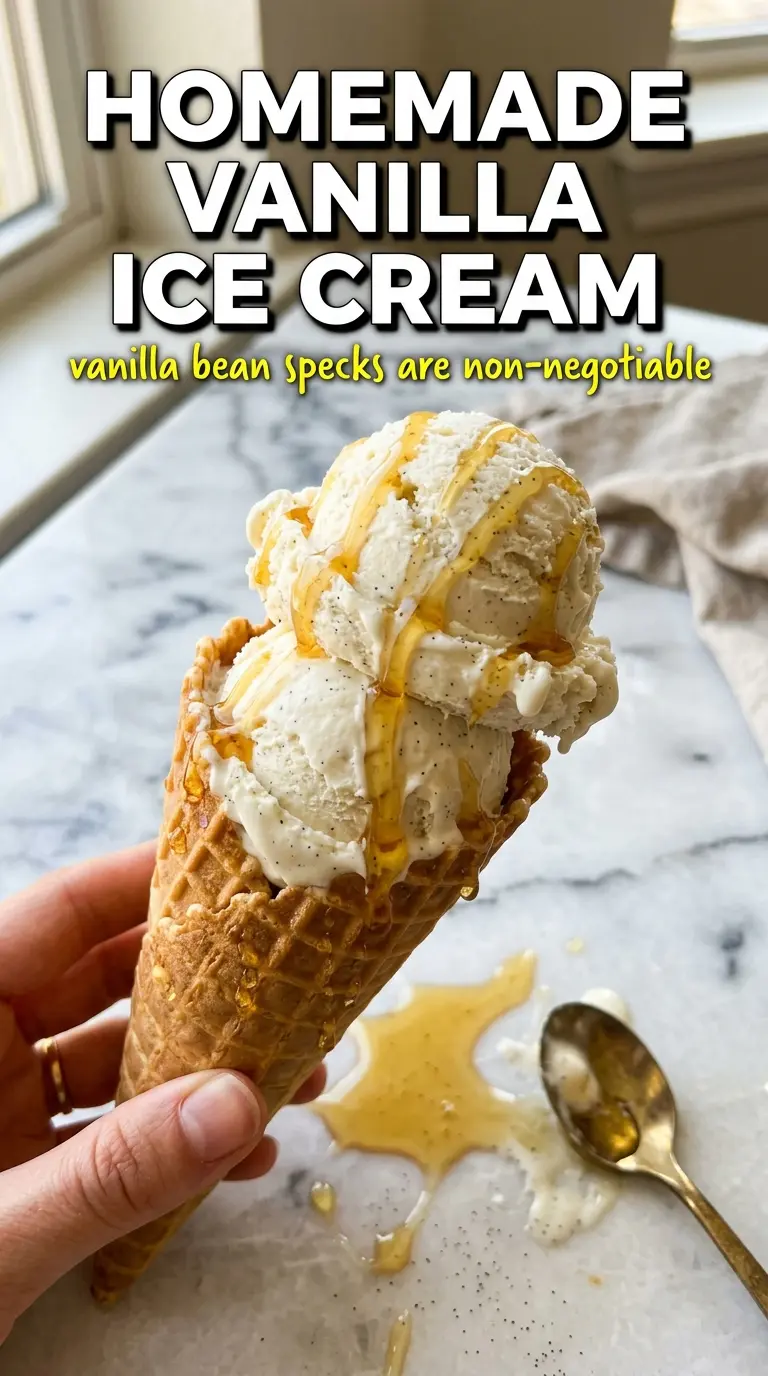
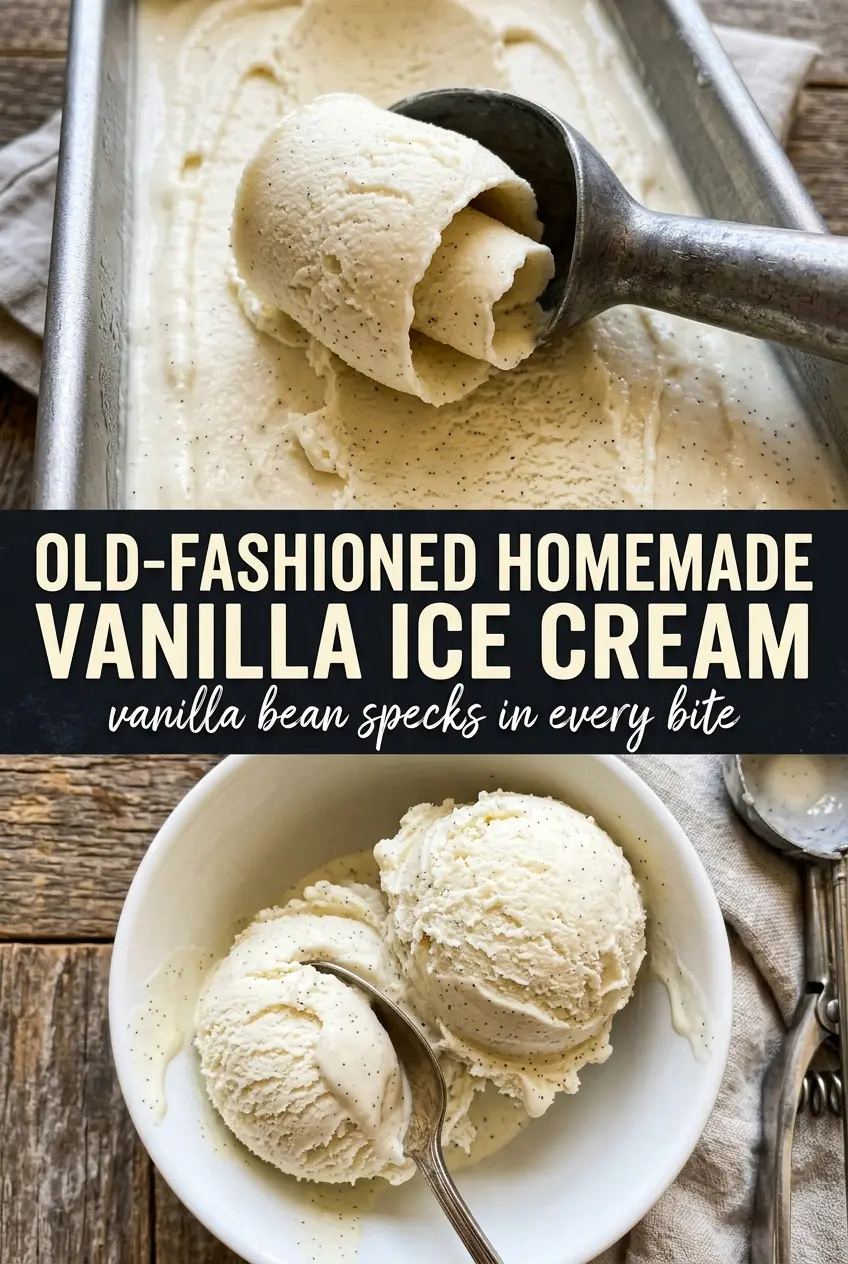
Pale golden vanilla ice cream with those tiny bean specks running through every scoop has a way of making store-bought tubs feel flat by comparison. The custard base gives this version a dense, creamy body that melts slowly on the tongue, with a clean vanilla flavor that tastes fuller and more rounded than extract alone ever does.
What sets this old-fashioned version apart is the custard method. Egg yolks give the ice cream its plush texture, but they also ask for patience: the base has to be cooked gently enough to thicken without scrambling, then chilled thoroughly before it ever touches the machine. That extra care is what keeps the finished ice cream smooth instead of icy.
Below you’ll find the small details that matter most, from how to know the custard is ready to the best way to get that deep vanilla flavor whether you’re using a bean or extract. If you’ve had trouble with grainy or thin homemade ice cream before, this version fixes the usual weak spots.
The custard base thickened exactly like you said, and the vanilla bean flavor came through even after freezing overnight. It scooped beautifully, not icy at all.
Like this old-fashioned vanilla ice cream? Save it for the custard method and those rich vanilla bean specks that make every scoop worth the wait.
The Custard Stage Is Where Most Ice Cream Goes Wrong
The biggest mistake in homemade ice cream is rushing the custard. If the heat climbs too fast, the egg yolks tighten and you get little bits of scrambled egg instead of a smooth base. Keep the burner at medium-low when the yolks go back into the saucepan, and stir constantly with attention at the corners of the pan where the custard wants to catch first.
You’re looking for a texture that coats the back of a spoon and leaves a clean trail when you run a finger through it. At around 175F, the custard is thick enough to churn into a creamy ice cream but still soft enough to stay silky after freezing. Pull it off the heat the moment it reaches that point; going much higher makes the finished ice cream taste a little eggy and can leave it grainy.
What Each Ingredient Is Actually Doing In This Ice Cream
- Heavy cream — This is the richness engine. It gives the ice cream its plush, smooth body and keeps the frozen texture from turning hard. Don’t swap in light cream if you want the same scoopable finish.
- Whole milk — Milk keeps the base from tasting overly heavy and helps the custard churn into something balanced, not just fat-rich. Lower-fat milk will work in a pinch, but the texture gets thinner and a little icier.
- Egg yolks — Yolks are what make this old-fashioned rather than Philadelphia-style. They emulsify the fat and liquid, which is why the ice cream feels dense and custardy instead of fluffy. If the custard is silky before chilling, the final texture will be much better after freezing.
- Vanilla bean or pure vanilla extract — A vanilla bean gives the deepest flavor and all those specks people love, while extract is the easier backup when you don’t have a bean on hand. If you use extract, stir it in after the custard comes off the heat so the flavor stays bright.
- Sugar — Sugar does more than sweeten. It lowers the freezing point, which helps keep the ice cream soft enough to scoop straight from the freezer. Skimping here makes the finished texture harder and icier.
- Salt — Just a little bit sharpens the vanilla and keeps the custard from tasting flat. It doesn’t make the ice cream salty; it just gives the flavor some lift.
How to Turn the Base Into Smooth, Scoopable Ice Cream
Steeping the Vanilla
Heat the cream and milk until they just begin to steam, then take the pan off the burner and let the vanilla steep for 15 minutes. That rest gives the bean time to perfume the base without boiling away the aroma. If you see a hard simmer, the heat was too high and you’ll lose some of the delicacy that makes vanilla taste expensive.
Whisking the Yolks and Sugar
Whisk the yolks and sugar until the mixture turns pale and thicker, almost ribbon-like. This dissolves the sugar and starts building a smoother custard before any heat is involved. If the yolks sit too long with the sugar without whisking, they can become grainy and harder to temper evenly.
Tempering Without Scrambling
Pour the warm cream in slowly while whisking constantly. A thin stream is safest because it warms the yolks little by little instead of shocking them. If you dump it in all at once, the eggs can curdle, and no amount of straining will fully save that texture.
Cooking the Custard to the Right Thickness
Return everything to the saucepan and stir over medium-low heat, scraping the bottom and edges with a spatula. The custard is ready when it lightly coats the back of a spoon and the thermometer reads 175F. If it reaches a boil, you’ve gone too far; the eggs tighten fast and the base loses that smooth, creamy finish.
Chilling Before Churning
Strain the custard through a fine mesh sieve, stir in the salt, then cool it over an ice bath before refrigerating. That strain catches any stray egg bits or vanilla pod pieces, and the full chill helps the ice cream maker freeze the base faster. If you churn it while it’s still warm, the mixture stays soft too long and you’ll end up with a looser, icier texture.
Freezing After the Churn
Churn until the ice cream reaches the consistency of soft serve, then transfer it to a cold container and freeze until firm. The machine gives you the body, but the freezer finishes the structure. If you want clean scoops, give it a few hours to harden; trying to serve it too soon leaves it slumping in the bowl.
How to Adapt This Custard Ice Cream for Different Kitchens
Vanilla Bean or Extract
Use a split vanilla bean for the deepest flavor and the classic speckled look. If all you have is extract, stir in 2 teaspoons after the custard comes off the heat so the flavor stays clean. You won’t get the visual specks, but the ice cream will still taste like real vanilla instead of sweet cream.
Dairy-Free Version
For a dairy-free batch, use full-fat canned coconut milk in place of the cream and milk. The texture will be a little softer and the flavor will carry a faint coconut note, but the custard method still gives it body. Keep the same egg yolk base if you want the closest match to the original texture.
No Ice Cream Maker
You can freeze the custard in a shallow pan and stir it every 30 minutes until it sets, but the texture won’t be as smooth as a churned batch. An ice cream maker whips in air while freezing, and that’s what keeps this recipe creamy instead of dense and icy. If you’re skipping the machine, expect a firmer scoop and a little more work.
Storage and Reheating
- Refrigerator: The custard base can be held in the fridge for up to 2 days before churning. Keep it covered so it doesn’t pick up other flavors.
- Freezer: The churned ice cream keeps well for about 2 weeks. After that it starts to pick up ice crystals, especially if the container gets opened often.
- Reheating: Not needed, but if the ice cream is rock hard, let it sit at room temperature for 5 to 10 minutes before scooping. Microwaving is the mistake here; it melts the edges before the center softens.
Questions I Get Asked About This Recipe
Old-Fashioned Homemade Vanilla Ice Cream
Ingredients
Equipment
Method
- Split the vanilla bean and scrape the seeds, then add the pod and seeds to a saucepan with the heavy cream and whole milk.
- Heat over medium heat until steaming and just beginning to simmer, then remove from the heat and let steep for 15 minutes before removing the vanilla pod.
- Whisk the egg yolks and granulated sugar together until pale and thick.
- Slowly pour the warm cream mixture into the yolks while whisking constantly to temper.
- Return the mixture to the saucepan and cook over medium-low heat, stirring constantly, until it thickens to coat the back of a spoon at 175°F.
- Strain the custard through a fine-mesh sieve, stir in the salt, and cool over an ice bath.
- Refrigerate at least 4 hours (or overnight), then churn in an ice cream maker and freeze until firm.