Golden chicken thighs perched over creamy Parmesan rice make this one-pan dinner feel like a lot more effort than it actually takes. The skin stays crisp because it starts in a hot skillet, then finishes uncovered in the oven, while the rice underneath soaks up garlic, broth, and Parmesan until it turns rich and savory without becoming heavy.
The trick is building the rice in the same pan after the chicken sears. Those browned bits on the bottom are the best seasoning in the dish, and they give the broth a deeper, cooked-all-day taste. Toasting the rice for a couple of minutes before adding liquid also keeps the grains separate instead of soft and sticky.
Below, I’ll walk through the part that keeps the chicken skin crackling instead of soggy, plus a few swaps that work when you need to stretch the meal or adjust for what’s in the pantry.
The rice turned out creamy without going mushy, and the chicken skin stayed crisp even after baking. I served it straight from the skillet and there wasn’t a grain left.
Save this one-pan garlic Parmesan chicken and rice for the nights when you want crispy chicken thighs and creamy rice from the same pan.
The Crisp Skin Is Won Before the Oven Ever Starts
The biggest mistake in a chicken-and-rice bake is tucking raw chicken straight onto the rice and hoping the oven does all the work. That usually leaves you with soft skin and unevenly cooked rice. Searing the thighs skin-side down first renders out fat, starts the browning, and gives you the flavor base for the rice at the same time.
Uncovered baking matters too. Covered pans trap steam, and steam is the enemy of crisp skin. If your chicken looks pale at the end, it usually means the pan was too crowded, the oven ran cool, or the thighs never got that first hard sear in the skillet.
What Each Ingredient Is Actually Doing in This Dish

- Bone-in, skin-on chicken thighs — These bring the most flavor and stay juicy through the bake. Boneless thighs work in a pinch, but you lose the built-in fat that keeps the meat tender and the skin crisp.
- Long-grain white rice — This is the rice that holds its shape best in a one-pan bake. Short-grain rice turns softer and stickier here, and brown rice needs too much extra liquid and time for this method.
- Chicken broth — Broth gives the rice depth that water can’t match. Use a good one if you can, because the rice absorbs every bit of it.
- Parmesan cheese — Grated Parmesan melts into the broth and gives the rice its salty, nutty finish. Freshly grated Parmesan melts smoother than the shelf-stable kind, which can stay a little grainy.
- Garlic and onion — These build the base of the dish before the rice goes in. Cook them until the onion is soft and the garlic smells sweet, not sharp, or the finished dish can taste harsh.
- Olive oil — This helps the skin brown and keeps the aromatics from sticking while they cook. There’s no good swap here if you want the same flavor, but another neutral oil will work for the sear.
Building the Rice So It Stays Creamy, Not Gluey
Render the Chicken Fat First
Set the thighs skin-side down in the hot oil and leave them alone for 6 to 7 minutes. You’re looking for deep golden skin that releases from the pan without fighting you. If the skin tears when you lift it, it wasn’t ready yet. Pull the chicken out once the skin is browned, not fully cooked, because it’s going back into the oven later.
Toast the Rice in the Same Pan
Cook the onion until it softens, then stir in the garlic for just a minute. Add the rice and let it toast for about 2 minutes so the grains get coated in fat and pick up the browned bits from the pan. That short toast helps the rice stay fluffy and separate instead of collapsing into a soft mash.
Finish in the Oven Without Stirring
Once the broth and Parmesan go in, bring everything to a simmer and stop stirring. Nestle the chicken thighs on top, skin-side up, and let the oven handle the rest. Stirring after the chicken goes in can break the rice and push the skin below the surface, which is how you lose both texture and crispness. When it’s done, the rice should be tender and just creamy at the edges, not wet.
How to Adjust This When You Need a Different Pantry or Dietary Fit
Make It Dairy-Free
Skip the Parmesan and add 2 to 3 tablespoons of nutritional yeast with a little extra salt. You won’t get the same nutty richness, but the rice still turns savory and satisfying without the cheese.
Use Boneless Chicken Thighs
Boneless thighs cook faster and are easier to serve, but they won’t drape over the rice with the same dramatic crisp skin. Start checking them 8 to 10 minutes earlier than bone-in thighs so they stay juicy.
Swap in a Different Cheese
Pecorino Romano makes the dish saltier and sharper, while Asiago gives it a milder finish. Avoid pre-shredded blends if you can; they don’t melt as smoothly and can make the rice look a little chalky.
Add Vegetables Without Wrecking the Rice
Stir in a handful of peas or baby spinach near the end of baking so they keep their color and texture. Denser vegetables like mushrooms or chopped bell pepper need to be cooked with the onion first or they’ll release too much moisture into the rice.
Storage and Reheating
- Refrigerator: Keep leftovers in an airtight container for up to 4 days. The rice firms up as it chills, but the flavor holds well.
- Freezer: The rice freezes okay, though the texture softens a bit after thawing. Freeze in portions for up to 2 months and thaw overnight in the fridge.
- Reheating: Reheat covered in the oven at 325°F with a splash of broth or water until warmed through. The biggest mistake is blasting it in the microwave until the rice dries out and the chicken skin turns rubbery.
Answers to the Questions Worth Asking
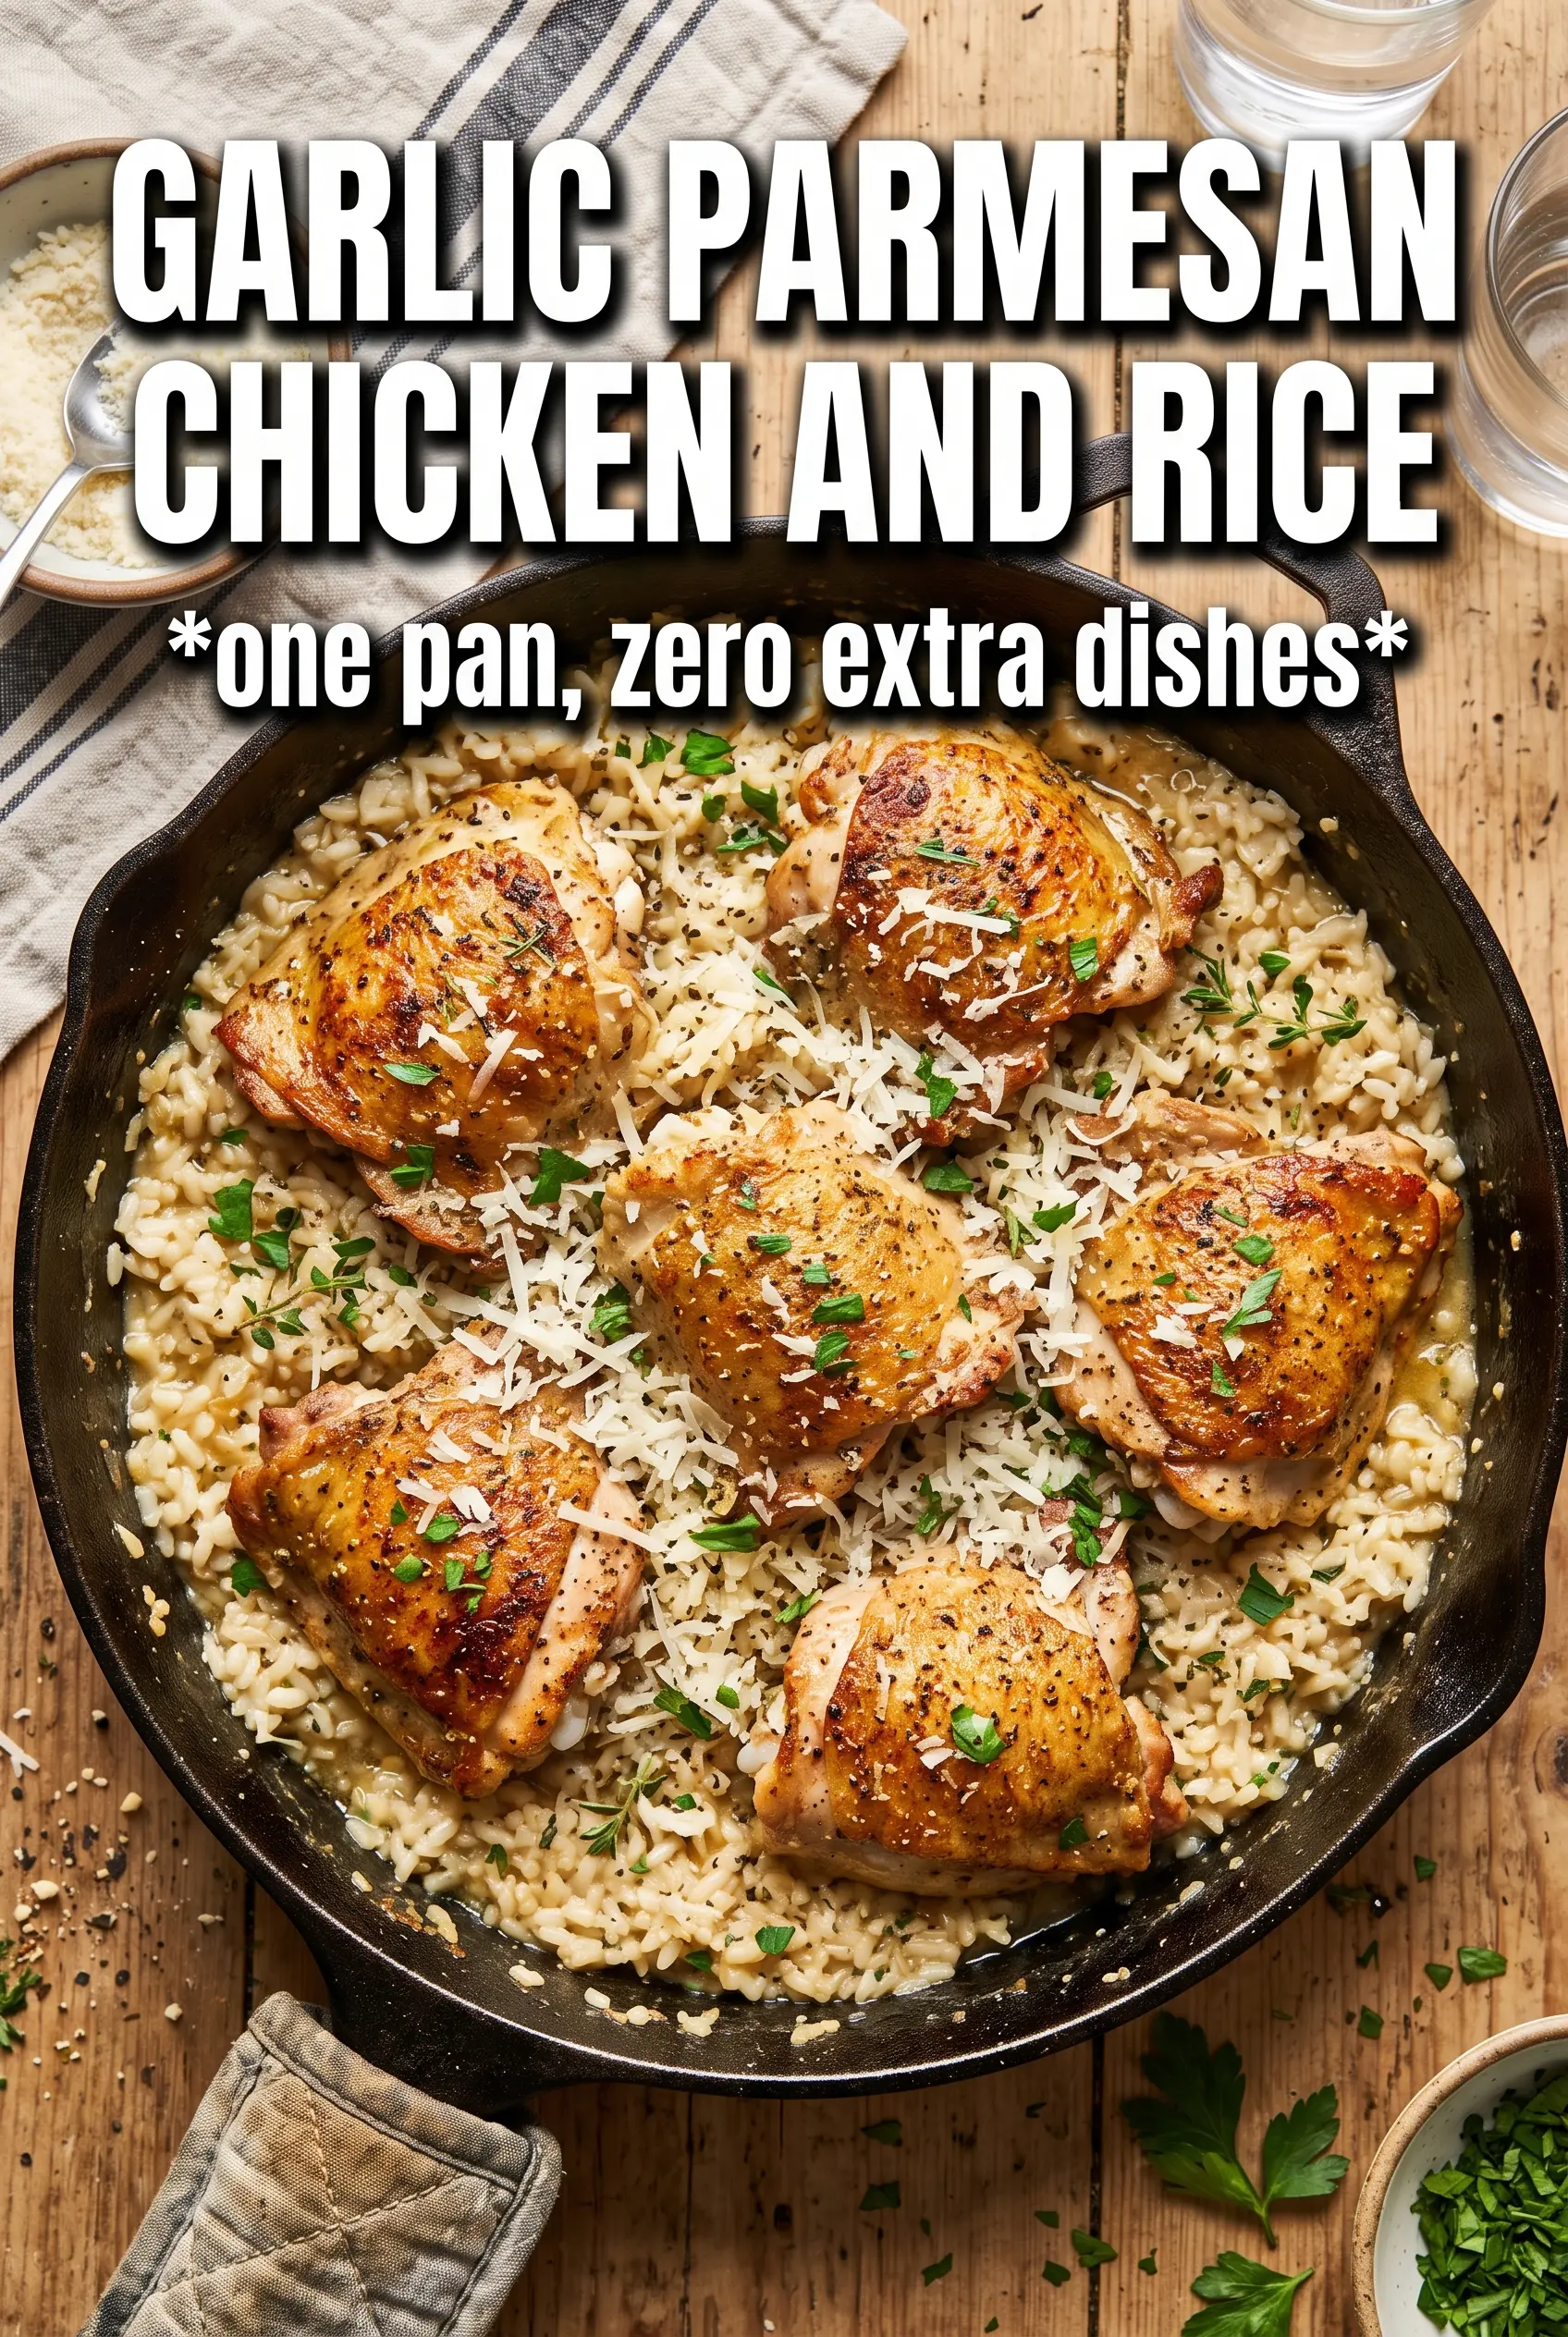
One-Pan Garlic Parmesan Chicken and Rice
Ingredients
Equipment
Method
- Preheat the oven to 400°F, then season the chicken thighs with salt, pepper, garlic powder, Italian seasoning, and smoked paprika. Keep the skin-side on top for the best crisping later (visual cue: all thighs look evenly seasoned).
- Heat olive oil in a large oven-safe skillet over medium-high heat, then sear the chicken skin-side down for 6-7 minutes until the skin is golden. Transfer the chicken to a plate (visual cue: the skin should look crisp and crackly).
- In the same skillet, cook the diced onion for 3 minutes until softened. Add the minced garlic and cook for 1 minute until fragrant (visual cue: garlic smells aromatic, not browned).
- Add the uncooked long-grain white rice and toast for 2 minutes, stirring to coat in the onion-garlic oil. The rice should look slightly glossy and lightly toasted (visual cue: edges begin to look golden).
- Pour in the chicken broth, then stir in Parmesan and dried Italian seasoning and bring to a simmer. Scrape up any browned bits as the mixture thickens slightly (visual cue: steady small bubbles across the surface).
- Nestle the chicken thighs skin-side up into the rice, spacing them so the skin stays above the surface. Sprinkle extra Parmesan over the top of the chicken (visual cue: cheese highlights the browned edges).
- Transfer the skillet to the oven and bake uncovered for 30-35 minutes at 400°F until the rice is cooked and the chicken skin is golden. Let it rest briefly before serving so the rice finishes absorbing liquid (visual cue: chicken skin looks deeply golden with crisp edges).
- Garnish with fresh parsley and serve hot. (Visual cue: bright green parsley contrasts with the golden chicken and creamy rice.)