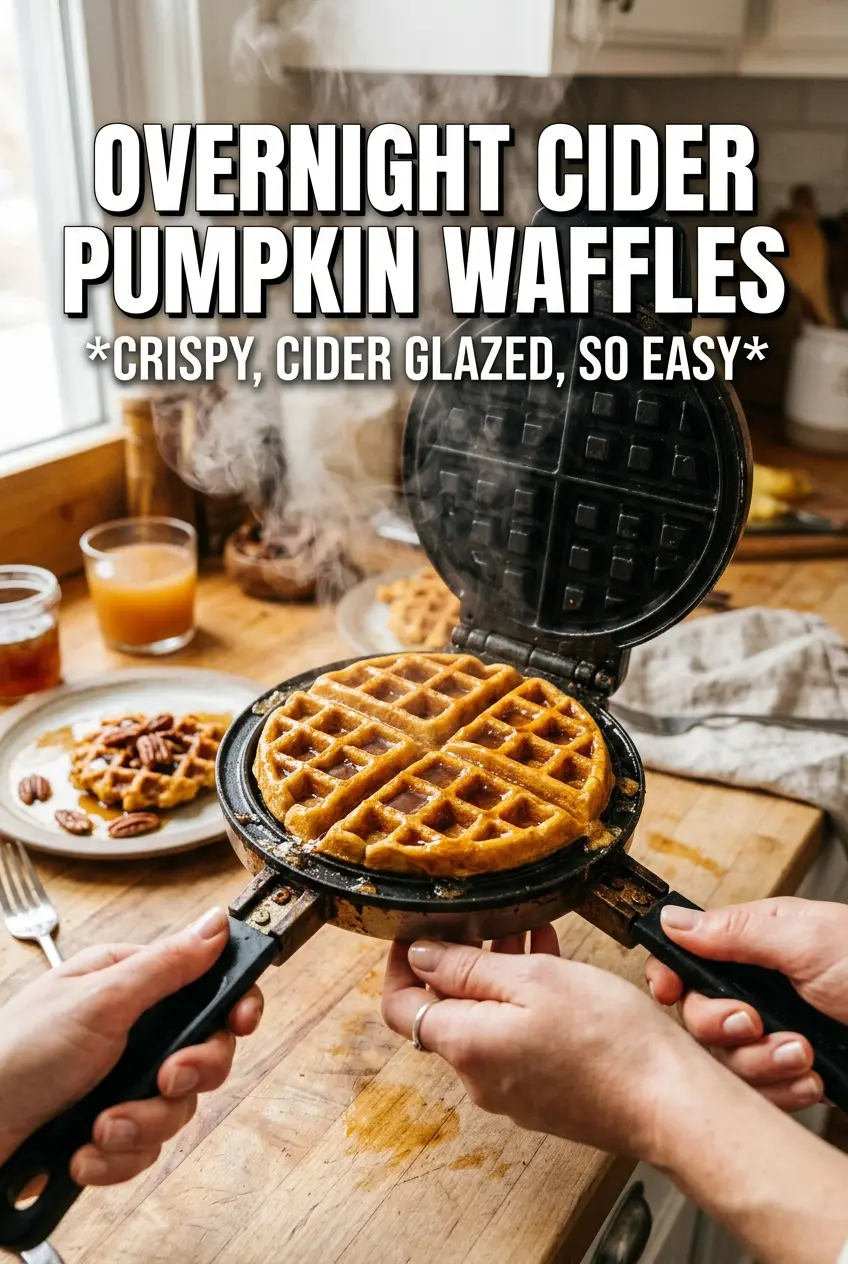
Overnight cider pumpkin waffles come out with crisp edges, a tender middle, and that slow, bready lift that only an overnight batter can give. The apple cider brings a clean fruit note that keeps the pumpkin from tasting flat, and the warm spice mixture carries all the way through instead of sitting on top like an afterthought. These are the kind of waffles that disappear fast, especially once the cider caramel hits the grid and starts soaking into the corners.
The trick here is yeast, not baking powder. The batter rests long enough to develop flavor and a little natural tang, which gives the waffles more depth and a better texture than a quick mix ever will. Warmed cider and milk help the yeast get moving, while the baking soda goes in the next morning to give the batter its final burst of lift. That two-stage leavening is what keeps the waffles light instead of dense.
Below, I’m walking through the part that matters most: how to keep the batter smooth after its overnight rest, how to get the waffle iron hot enough for a real crust, and how to make the cider caramel without letting it turn grainy.
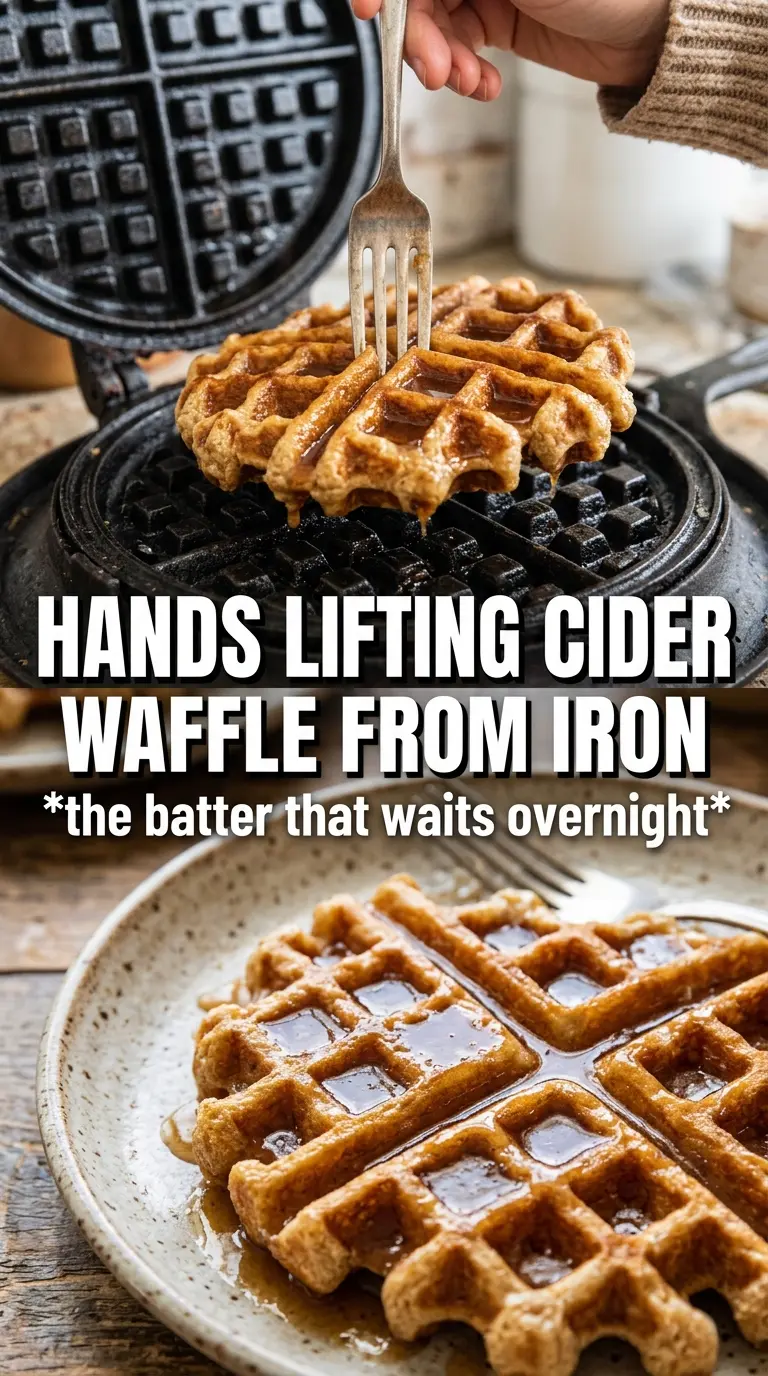
The batter puffed up overnight and the waffles came out with crisp edges and a soft center even after sitting on the plate for a few minutes. The cider caramel made them taste like bakery waffles instead of plain pumpkin waffles.
Like this recipe? Save these overnight cider pumpkin waffles for the mornings when you want crisp edges, a soft center, and that cider caramel on top.
The Yeast Rest Is What Gives These Waffles Their Lift
Most pumpkin waffles rely on baking powder alone, which gives you a quick rise but not much character. Here, the overnight rest does two jobs at once: it hydrates the flour fully and lets the yeast build flavor before the batter ever touches the iron. That’s why these waffles taste deeper and bake up with a lighter interior instead of a heavy, damp crumb.
The most common mistake is treating the batter like a standard quick mix. It’s supposed to look loose before the chill, and it should rise a bit in the fridge without overflowing. If your batter seems thin in the morning, that’s fine; once the eggs and baking soda go in, the structure tightens up enough for a proper waffle.
- Instant yeast — This is what gives the batter its overnight rise. Active dry yeast can work, but it needs a little extra time to dissolve and wake up, so the batter may take a bit longer to puff.
- Warm apple cider and milk — Warm, not hot. You want them comfortable to the touch so the yeast starts moving without getting shocked. If the liquid is too hot, it can kill the yeast and leave you with flat waffles.
- Pumpkin puree — Use pure pumpkin, not pumpkin pie filling. The puree adds body and moisture without extra sugar or spices that would throw off the balance.
- Baking soda in the morning — Don’t add it the night before. It reacts fast once it meets the acidic batter, and that last-minute lift is what helps the waffles crisp outside while staying tender inside.
What the Cider Caramel Is Doing Beyond Sweetening the Top
The cider caramel isn’t just a topping. It echoes the apple cider in the batter and ties the whole waffle together with a clean, cooked-down apple note that tastes warmer than plain syrup. Reducing the cider first concentrates the flavor, and the brown sugar gives it a deeper edge than white sugar would.
- Apple cider — Use real cider, not apple juice if you can help it. Cider has more body and a more rounded apple flavor, which matters once it reduces.
- Brown sugar — This melts into a softer, more molasses-kissed caramel than white sugar. It also helps the sauce thicken a little more smoothly.
- Cream and butter — These turn the reduction from sticky syrup into a pourable caramel. Add them after the cider has reduced so the sauce doesn’t separate or stay too thin.
- Vanilla in the batter — It rounds out the pumpkin and cider without making the waffles taste like dessert. Leave it in; it keeps the spice from feeling sharp.
Getting the Waffle Iron Hot Enough for a Real Crust
Wake the Batter Up Gently
In the morning, the batter should look thicker and a little bubbly. Stir in the eggs, vanilla, and baking soda until the mixture is smooth again, but don’t beat it hard or you’ll knock out some of the air the yeast built overnight. If the batter looks slightly lumpy, that’s better than overmixing it into a gluey batter. Let it sit for a minute while the waffle iron heats so the baking soda can start working.
Preheat and Grease the Iron Well
A properly hot waffle iron is what gives you the deep golden exterior. If the iron is only halfway heated, the waffles steam before they set and you lose the crisp edge. Brush or spray the plates generously, especially the first round, because pumpkin batter likes to cling. The waffle should release cleanly when it’s ready; if it pulls apart, give it another minute.
Cook Until the Steam Slows
Spoon the batter in and close the lid without pressing it down. Most irons need 4 to 5 minutes, but the real cue is steam: when the heavy rush starts to fade, the waffle is usually close. If you open too early, the center tears and the grid stays pale. Pull them when they’re deeply golden and lift them to a rack instead of stacking them on a plate, or the bottoms soften fast.
Reduce the Cider Until It Coats a Spoon
For the caramel, simmer the cider and brown sugar first so the mixture loses that sharp, watery edge. Once it looks darker and slightly syrupy, stir in the cream and butter and keep it at a gentle simmer until it coats the back of a spoon. If you crank the heat, the sauce can boil over or turn grainy. A slow simmer gives you a glossy finish that pours cleanly over the waffles.
How to Adapt These Waffles Without Losing the Good Parts
Dairy-Free Version
Swap the milk for an unsweetened non-dairy milk and use a plant-based butter in both the batter and the caramel. The waffles still rise and crisp well, but the caramel will taste a little lighter and less rich than the cream version. Use a thicker non-dairy milk if you can, since very thin options can make the batter spread too much.
Gluten-Free Swap
A 1:1 gluten-free flour blend can work here, but the texture will be a little more delicate and the overnight batter may thicken more than the wheat version. If it seems too stiff in the morning, loosen it with a splash of milk before adding the eggs. The waffles won’t have quite the same chew, but you’ll still get good lift and crisp edges.
No Yeast, Shorter Rest
If you don’t want to wait overnight, you can skip the yeast and use 2 teaspoons baking powder plus 1/2 teaspoon baking soda instead. The waffles will be faster and a little more cake-like, with less of that fermented depth. They’re still good, but they won’t have the same flavor or the same airy, bready bite.
Storage and Reheating
- Refrigerator: Store cooked waffles for up to 4 days in an airtight container. They soften a little in the fridge, but they crisp right back up in the toaster or oven.
- Freezer: These freeze well. Cool them completely, then freeze in a single layer before packing into a freezer bag with parchment between layers.
- Reheating: Reheat in a toaster, toaster oven, or 375°F oven until hot and crisp again. The mistake people make is microwaving them, which turns the edges soft and leaves the center chewy in the wrong way.
Answers to the Questions Worth Asking
Overnight Cider Pumpkin Waffles
Ingredients
Equipment
Method
- In a large bowl, whisk all-purpose flour, sugar, instant yeast, pumpkin pie spice, cinnamon, and salt until evenly combined.
- Stir in warmed apple cider, warmed milk, pumpkin puree, and melted unsalted butter until smooth.
- Cover loosely and refrigerate overnight for about 8 hours.
- Stir eggs, vanilla, and baking soda into the chilled, risen batter until just incorporated.
- Preheat the waffle iron and grease well.
- Cook waffles for 4–5 minutes until deeply golden, then transfer to a rack or plate.
- In a saucepan, simmer apple cider, brown sugar, cream, and butter for 5 minutes, stirring, until thickened.
- Pour the apple cider caramel over the warm waffles before serving.