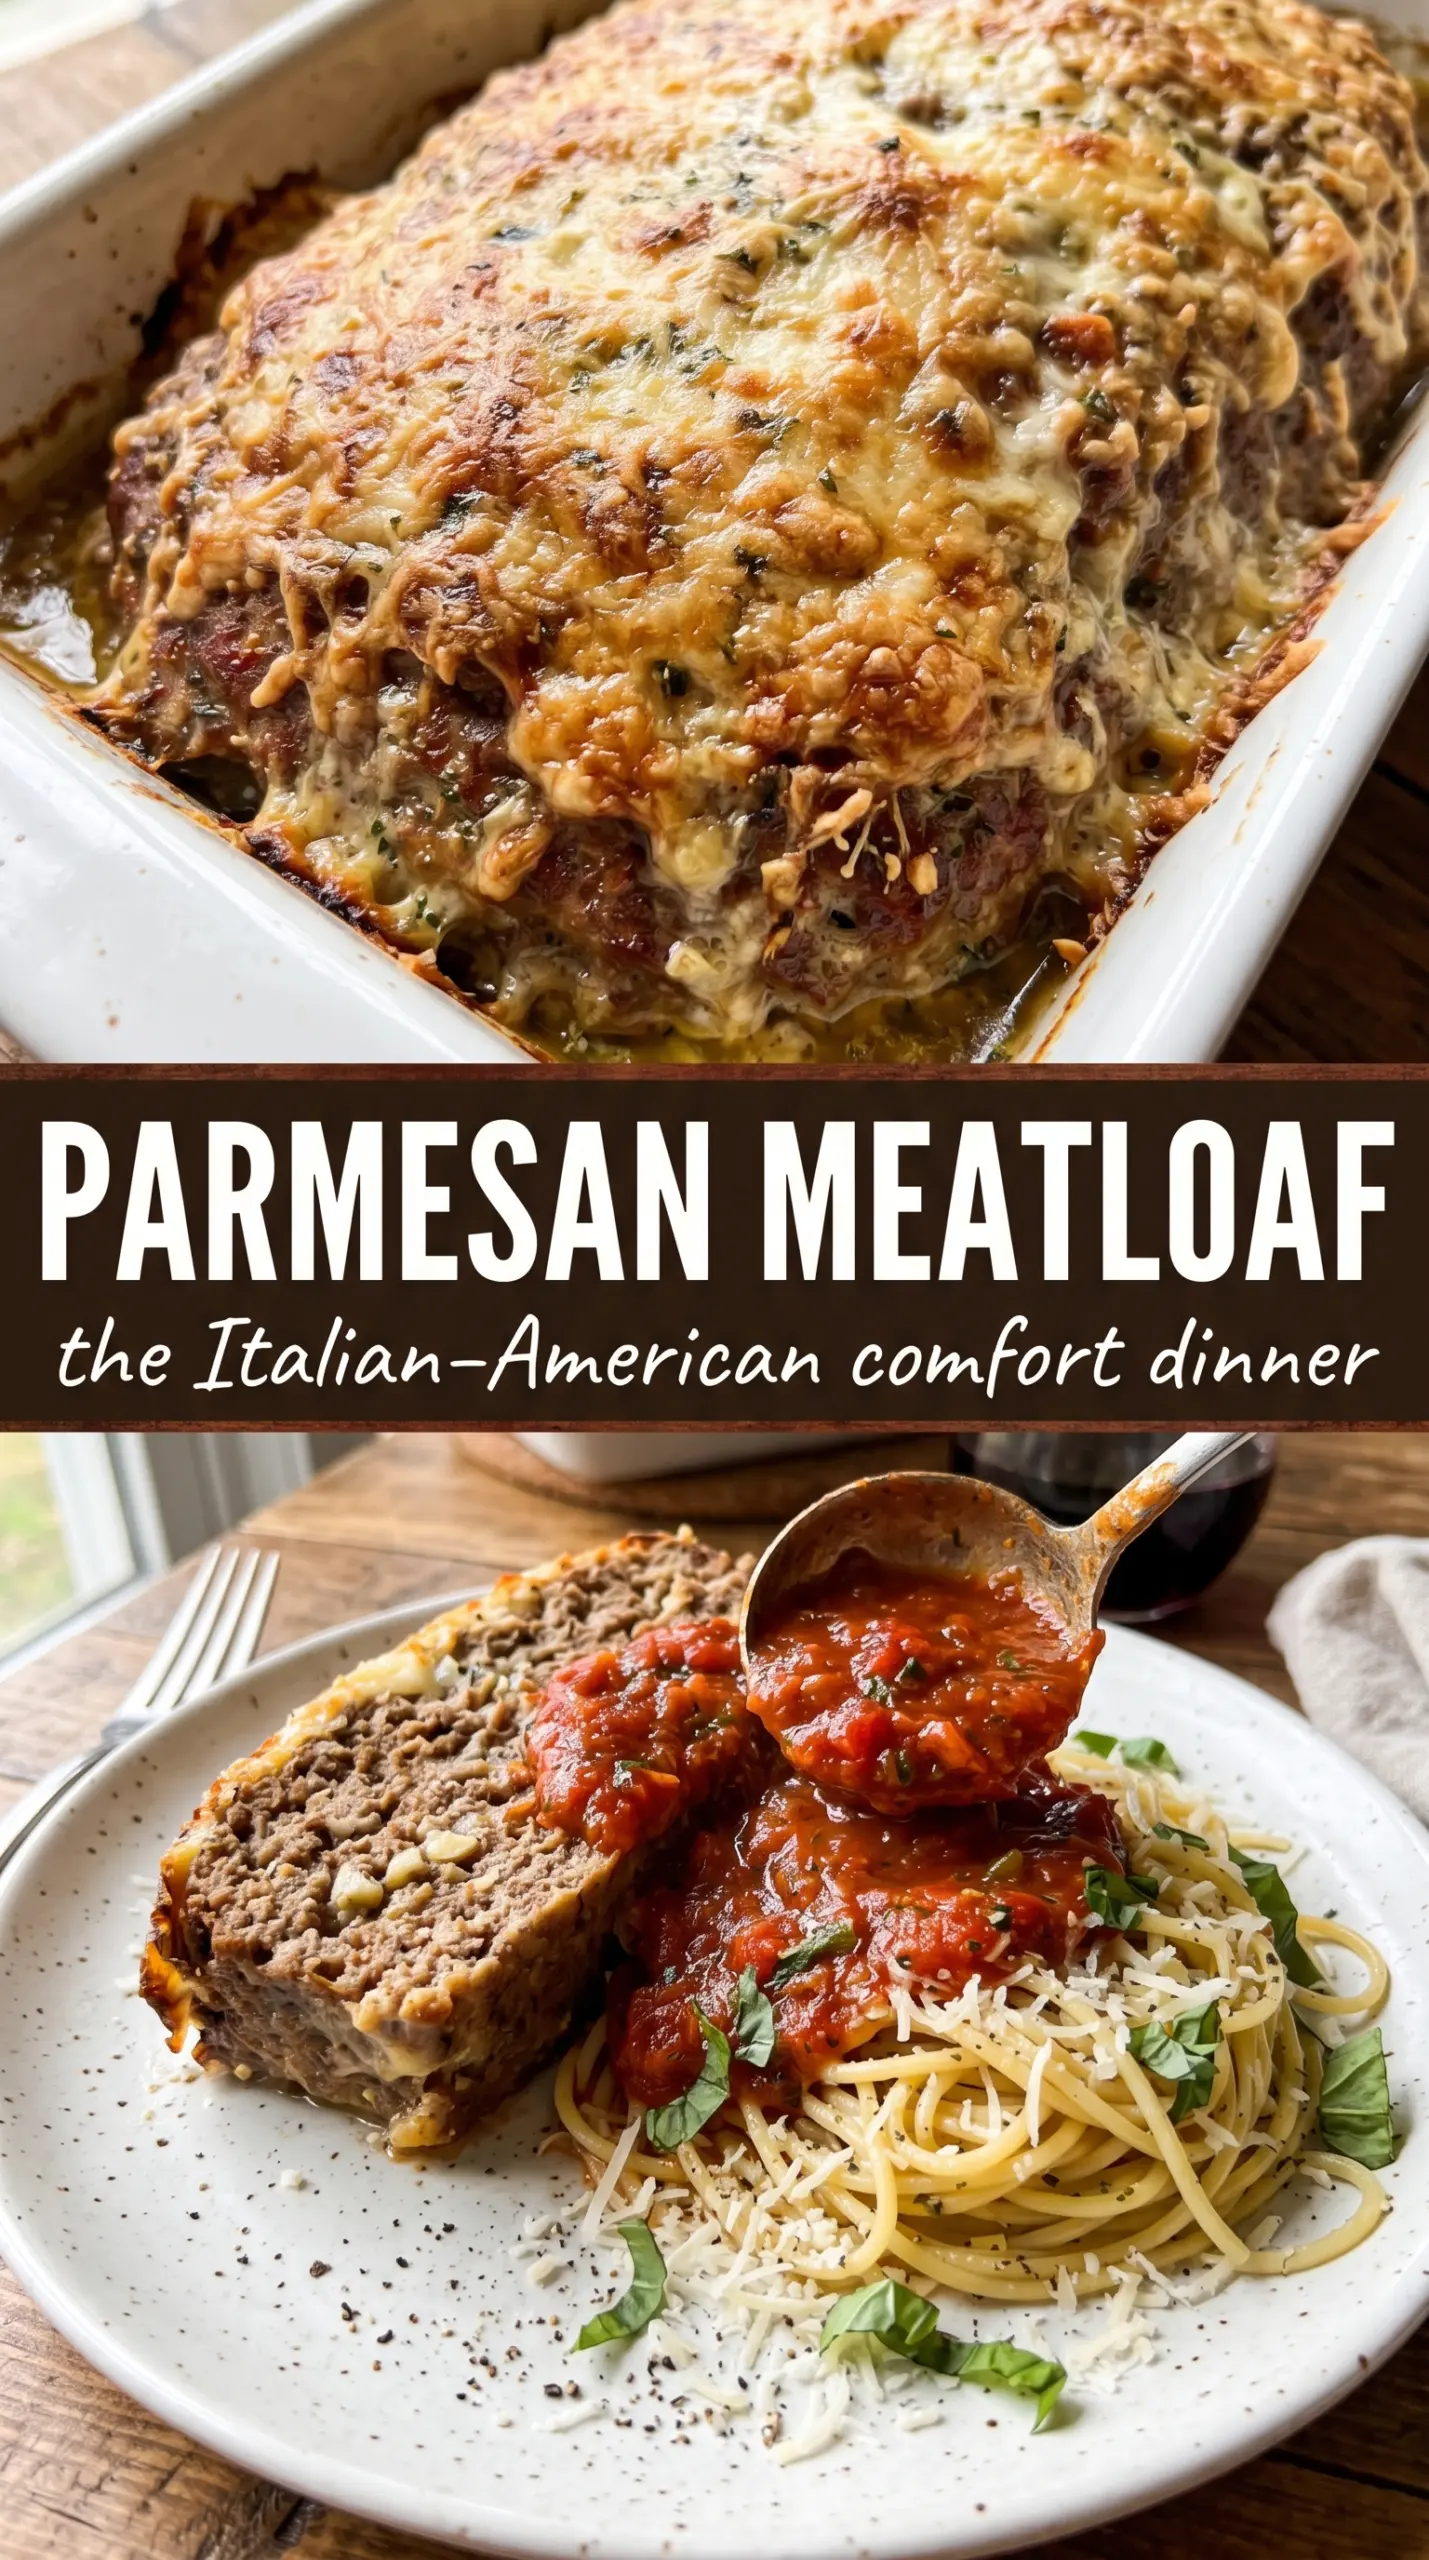
Golden parmesan baked right into meatloaf changes the whole experience: the slices hold together cleanly, the edges turn deeply savory, and the top gets that cheesy crust that makes people go back for a second piece before the pan even hits the table. The garlic butter brushed over the loaf near the end gives the exterior a glossy finish and keeps the flavor from tasting flat or overly heavy.
What makes this version work is balance. The breadcrumbs and milk keep the loaf tender, while the parmesan adds saltiness and helps the interior stay richly flavored without needing a thick glaze. Mixing just until everything comes together matters here; overworking the meat is the fastest way to end up with a dense slice instead of a moist one.
Below, I’m walking through the small details that make a meatloaf worth repeating, including how to keep it from drying out and what to swap if you need to adjust the ingredients.
The parmesan stayed in little savory pockets and the loaf sliced cleanly after resting. My husband kept sneaking pieces off the cutting board, and the garlic butter on top made it taste like something from a good Italian restaurant.
Like this cheesy Parmesan Meatloaf? Save it to Pinterest for an easy weeknight dinner with a golden garlic butter crust.
The trick is stopping the loaf from packing down
Meatloaf turns dry or rubbery for one main reason: it gets mixed and packed like a burger patty. This version stays softer because the ingredients are combined just until the breadcrumbs disappear and the loaf is shaped lightly by hand. Free-form baking on a sheet pan helps too, since more surface area means better browning and less steaming than a loaf pan would give you.
The parmesan does more than add flavor. It seasons the meat from the inside and gives the loaf a tighter, sliceable structure without making it heavy. If your meatloaf usually falls apart, it’s often because it didn’t rest long enough or it was cut too soon; those 10 minutes after baking let the juices settle back into the loaf.
What the parmesan and garlic butter are really doing here
- Ground beef — Use 80/20 if you can. It has enough fat to stay juicy through the bake, but not so much that the loaf turns greasy. Leaner beef works, though the texture will be a little firmer and you may lose some of that rich, classic meatloaf feel.
- Parmesan cheese — Grated parmesan melts into the meat and seasons every bite. Freshly grated gives the cleanest flavor and better distribution; the shelf-stable kind works in a pinch, but it won’t melt quite as smoothly. Keep extra for the top so you get that browned, savory crust.
- Italian breadcrumbs — These hold onto the milk and help the meat stay tender. If you only have plain breadcrumbs, add a little extra Italian seasoning and a pinch more salt. Crush them finer if they look overly coarse, since big dry crumbs can make the loaf feel uneven.
- Milk and eggs — This is the binder that keeps everything cohesive without turning dense. Whole milk gives a slightly richer result, but 2% is fine. Don’t cut the liquid too much or the loaf will bake up dry before the center reaches temperature.
- Garlic butter brush — This is what gives the top its glossy finish and keeps the parmesan on the surface tasting full, not dusty. Brush half on early and the rest near the end so the garlic doesn’t scorch. Fresh garlic matters here because the butter has nowhere to hide; jarred garlic can taste muddy after baking.
Building the loaf so the top browns and the center stays juicy
Mixing the base without compacting it
Combine the beef, parmesan, breadcrumbs, eggs, milk, garlic, parsley, Italian seasoning, Worcestershire sauce, salt, and pepper in a large bowl, then stop as soon as the mixture looks even. The texture should feel cohesive but still loose, not paste-like. If the mixture looks wet, let it sit for a minute so the breadcrumbs can absorb the liquid before shaping.
Shaping for better browning
Form the mixture into a free-form loaf on a parchment-lined baking sheet. A sheet pan lets the sides expose to heat, which means the parmesan on top turns golden instead of pale. If you press the loaf too tightly, the outside seals up before the middle cooks properly, so keep the shape firm but gentle.
Watching the bake, not the clock
Bake at 350°F for 55 to 65 minutes, and start checking early if your loaf is on the thinner side. The top should be browned, the edges set, and the internal temperature should reach 160°F in the center. If the top colors too fast, tent it loosely with foil for the last stretch instead of dropping the heat and drying the loaf out.
Finishing with garlic butter and rest time
Brush on the remaining garlic butter at the 40-minute mark, then let the loaf rest for 10 minutes after baking. That rest is what keeps the slices neat and the juices where they belong. If you cut too soon, the parmesan-rich juices run out onto the board and the texture turns crumbly.
How to adapt it when you want a different finish
Make it gluten-free
Swap the Italian breadcrumbs for a gluten-free breadcrumb blend in the same amount. The loaf will still hold together, but some blends absorb more moisture than others, so if the mixture looks dry, add a tablespoon of milk. Choose a brand with fine crumbs for the closest texture to the original.
Use a pork-beef blend for a richer loaf
Replace 1 pound of the beef with ground pork if you want a softer, richer result. Pork brings more fat and a sweeter finish, which pairs well with the parmesan and garlic butter. The loaf may need a few extra minutes in the oven because the higher fat content can slow browning slightly.
Skip the butter brush for a dairy-light finish
If you want the flavor without the extra butter, brush the top with a little olive oil and extra parsley instead. You’ll lose some of the glossy richness, but the parmesan still gives the loaf plenty of savoriness. This version works well if you want a cleaner finish for leftovers or sandwiches the next day.
Storage and Reheating
- Refrigerator: Store sliced or whole in an airtight container for up to 4 days. The parmesan flavor gets a little deeper by day two, and the texture stays good if you keep it covered.
- Freezer: It freezes well. Wrap slices tightly and freeze for up to 3 months, then thaw in the fridge overnight before reheating.
- Reheating: Warm slices covered in a 300°F oven with a splash of beef broth or water in the pan so they don’t dry out. The common mistake is blasting meatloaf in the microwave until the edges turn tough; gentle heat keeps the center tender.
Answers to the questions worth asking
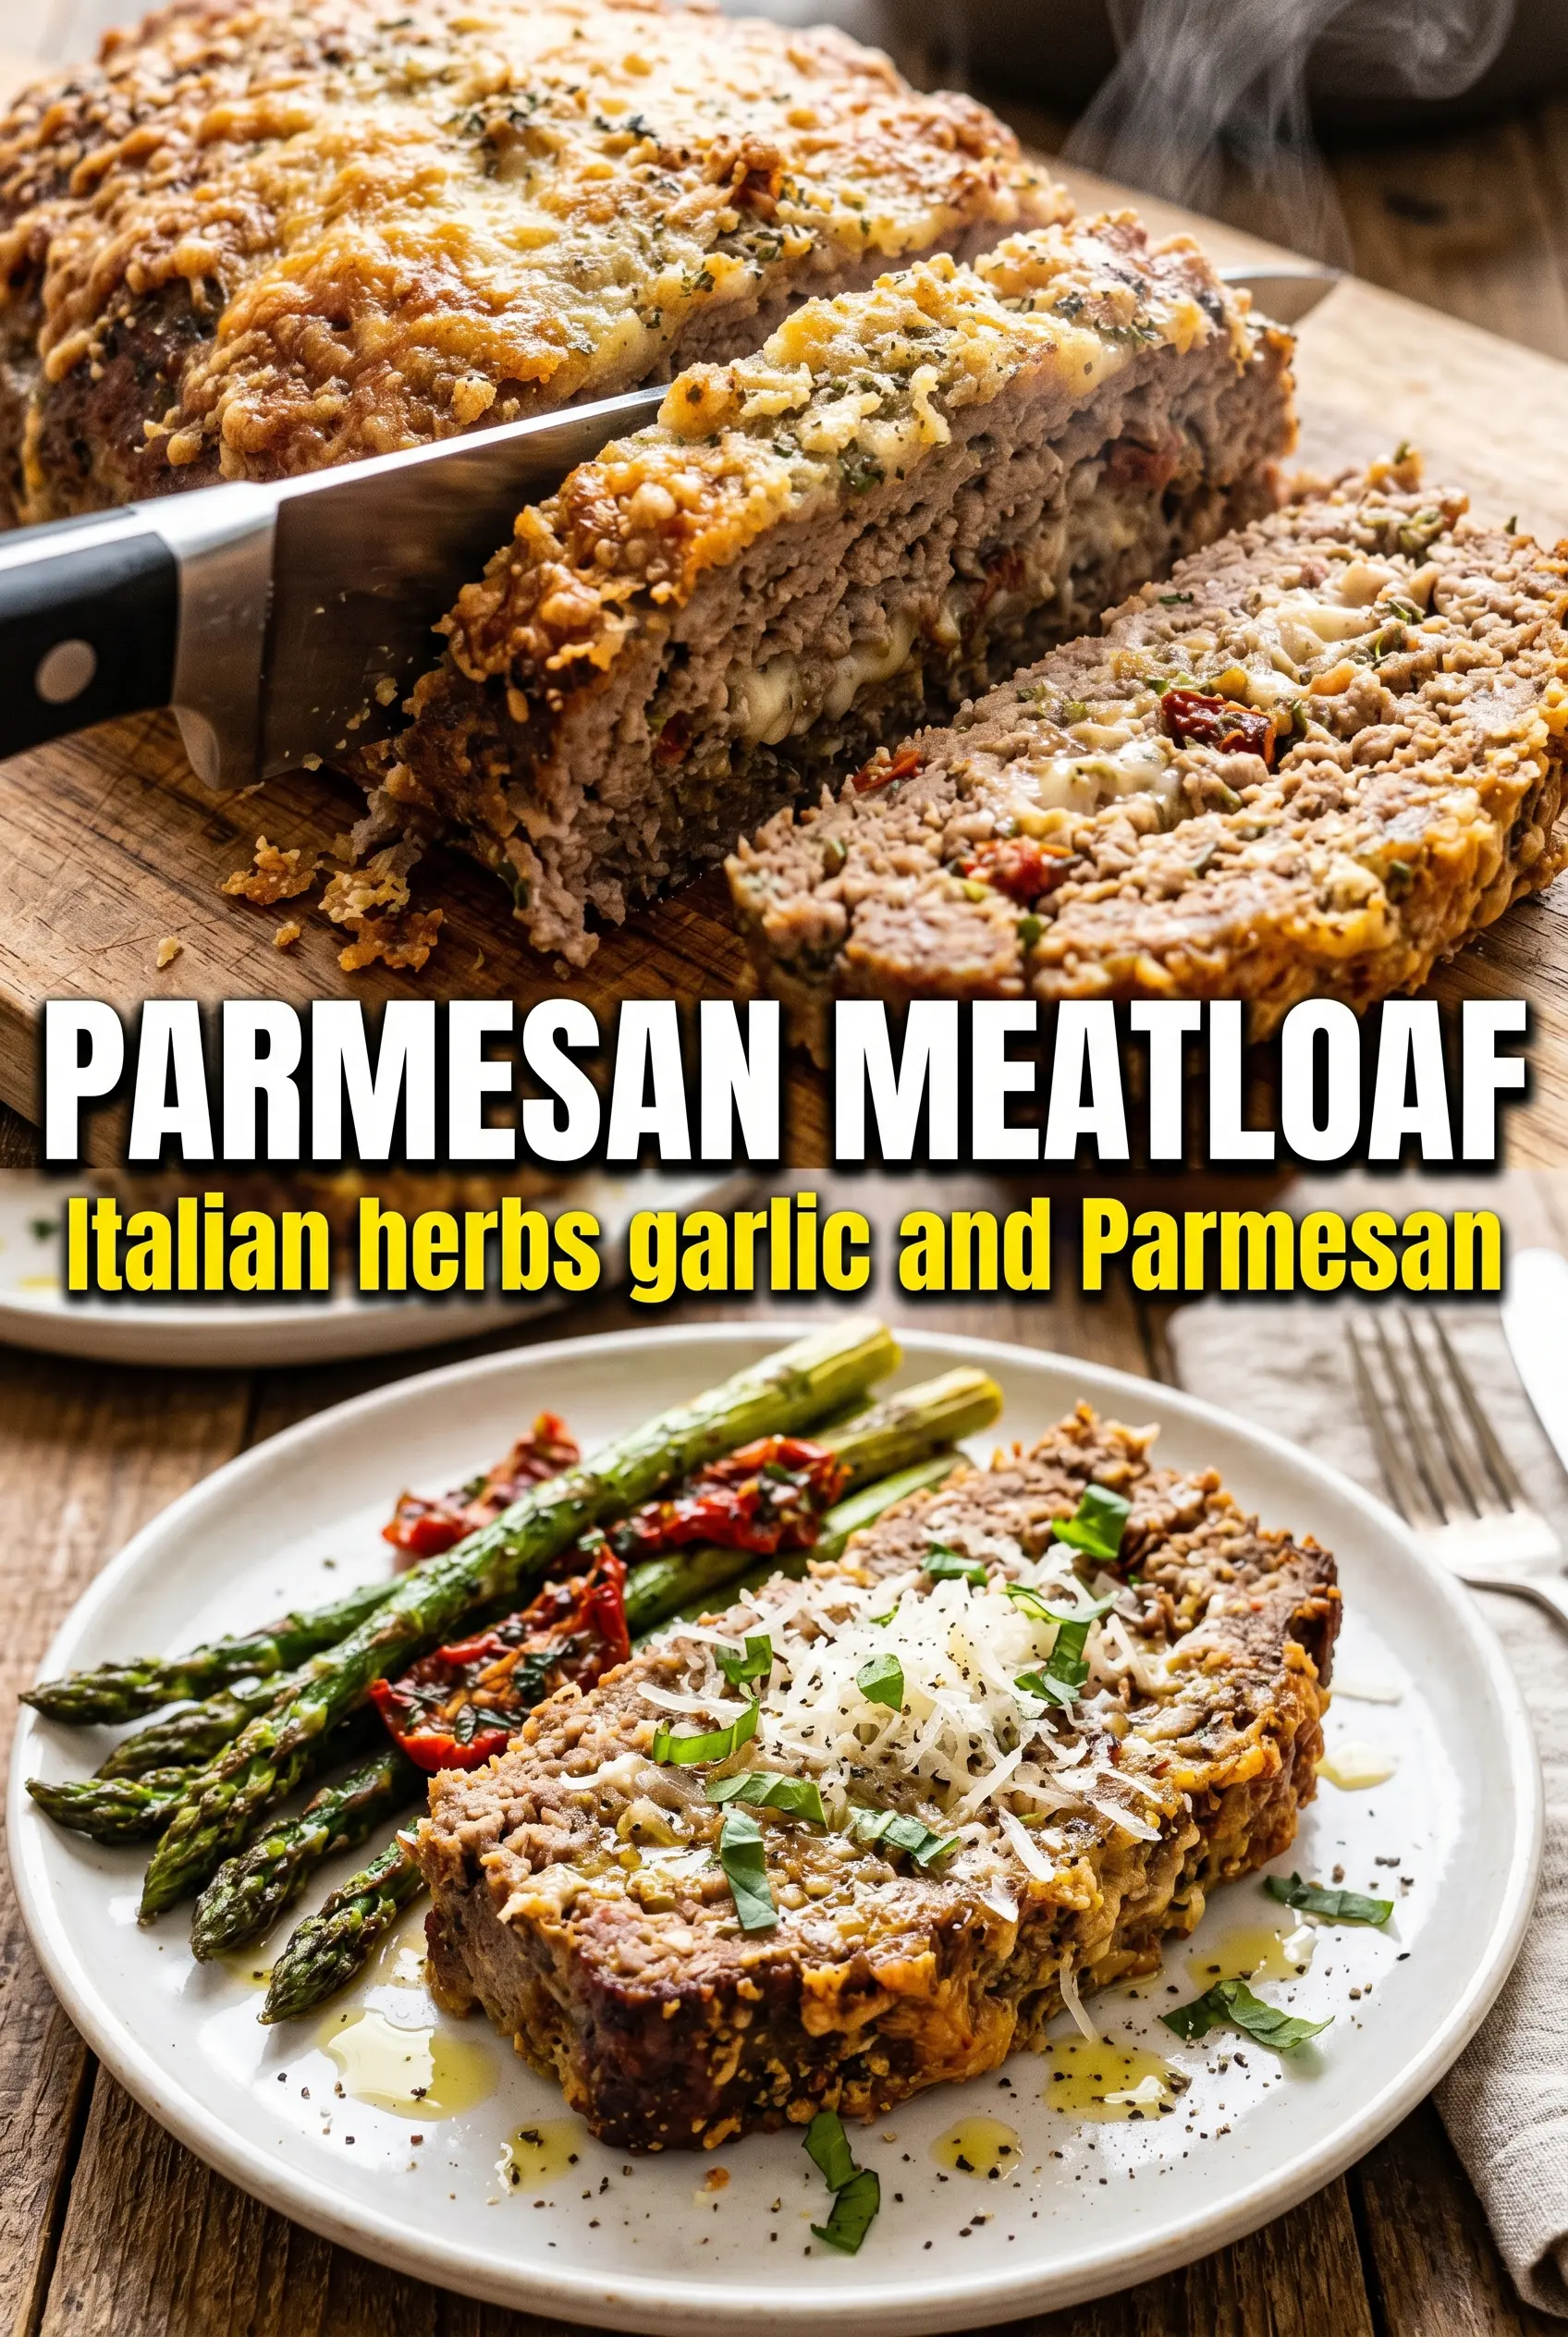
Parmesan Meatloaf
Ingredients
Equipment
Method
- Preheat the oven to 350°F and line a sheet pan with parchment for easy release and browning.
- Combine ground beef, parmesan cheese, Italian breadcrumbs, eggs, whole milk, garlic, fresh parsley, Italian seasoning, Worcestershire sauce, and salt and black pepper until just mixed.
- Shape the mixture into a free-form loaf on the lined sheet pan so more surface area can brown.
- Press extra parmesan onto the top, then brush with half of the garlic butter to start forming a cheesy crust.
- Bake at 350°F for 55–65 minutes until the internal temperature reaches 160°F, brushing with the remaining garlic butter at the 40-minute mark for extra flavor.
- Rest the meatloaf for 10 minutes before slicing so the juices settle and the loaf holds its shape.
- Slice and garnish with extra fresh parsley to serve.