Silky turkey gravy is one of those side dishes that can quietly steal the whole meal. When it’s done right, it pours in a smooth ribbon, clings to mashed potatoes, and turns every slice of turkey into something worth going back for. The difference between flat gravy and the kind people remember is usually in the base: proper roux color, warm stock, and enough time for the flour to cook out without turning the gravy pasty.
This version leans on the roasted pan drippings first, then builds depth with warm stock and a little soy sauce for the kind of savory backbone that tastes like you worked on it longer than you did. Thyme keeps it tasting like holiday turkey, not just thickened broth. The order matters here. If the stock goes in cold or all at once, you’ll fight lumps and lose that smooth finish before it has a chance to develop.
Below, I’m breaking down the part that most often goes wrong, plus the small details that keep the gravy glossy and spoon-coating instead of thin or gluey.
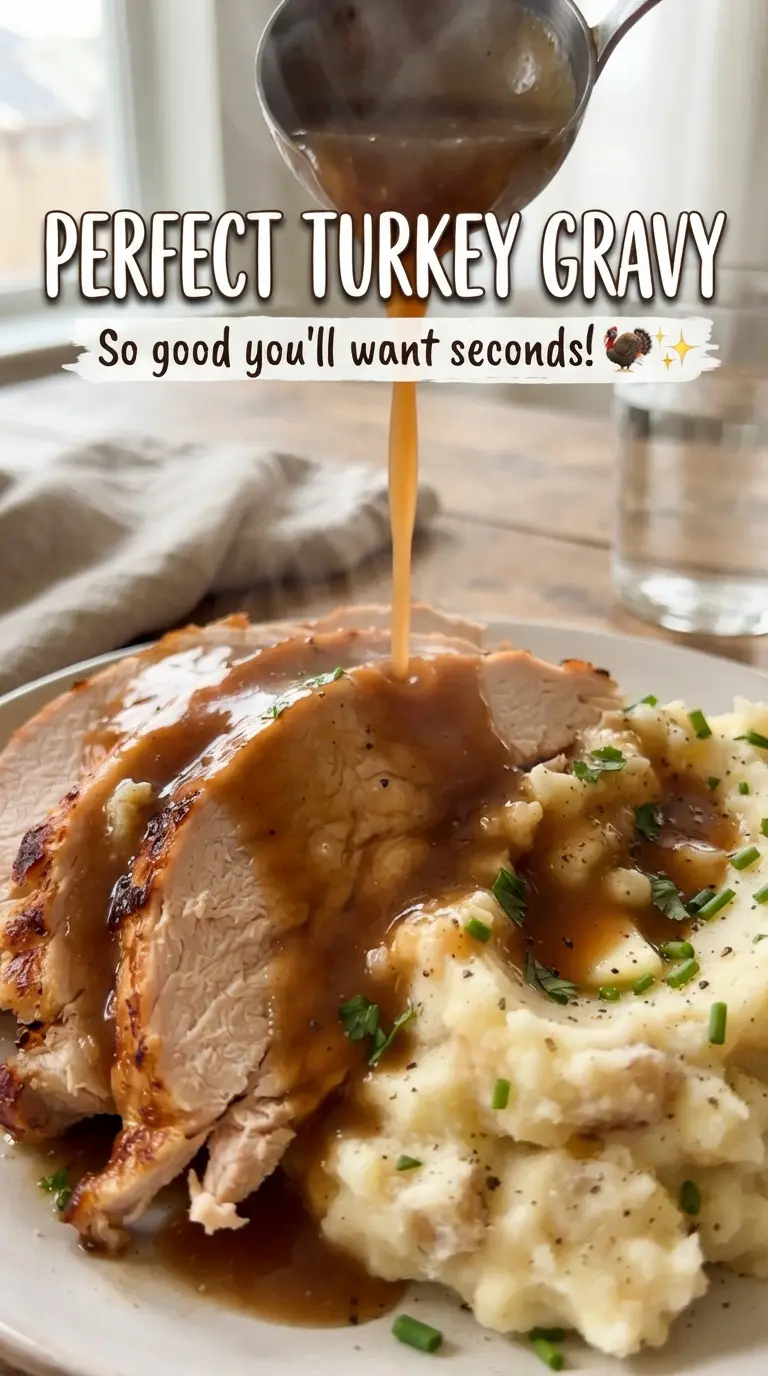
The gravy came out glossy and smooth, and the soy sauce added just enough depth without tasting salty. I strained it before serving and it coated the spoon beautifully.
Save this turkey gravy for the kind of silky, spoon-coating finish that belongs on mashed potatoes and roast turkey.
The Reason Gravy Turns Lumpy Before It Ever Thickens
The most common gravy mistake is rushing the liquid into the roux. When cold stock hits hot flour all at once, the outside of those flour particles clumps before they can disperse, and you end up chasing lumps instead of building body. Warm stock changes that completely. It loosens the roux gradually, which gives you a smooth base that thickens evenly as it simmers.
The roux also needs a little color. Pale roux can work, but a few minutes of whisking until it turns golden brown adds a toasted, roasted note that tastes like turkey instead of plain flour. If the roux smells raw or chalky, it hasn’t cooked long enough yet. If it goes much darker than light brown, it starts to taste bitter and can overpower the gravy.
What Each Ingredient Is Actually Doing In This Gravy
- Turkey pan drippings — This is where the deepest flavor lives. The fat helps build the roux, and any browned bits left in the pan carry roasted turkey flavor into the gravy. If you don’t have enough drippings, use butter for the fat and make up the flavor with good stock and the deglazed pan juices.
- All-purpose flour — Flour gives the gravy its body and that spoon-coating texture. There isn’t a true equal substitute if you want the classic finish, because cornstarch thickens differently and gives a glossier, thinner-set sauce. Cook it with the fat long enough to lose the raw taste before adding stock.
- Warm turkey or chicken stock — Warm stock dissolves into the roux smoothly. Cold stock makes lumps more likely, and weak stock gives you bland gravy no matter how well you season it. If your stock is unsalted, that’s fine; you’ll just need to finish with more salt at the end.
- Fresh thyme leaves — Thyme adds the herbal note that makes the gravy taste tied to the roast. Dried thyme can work in a pinch, but use less because it reads sharper and more concentrated. Crush it lightly between your fingers before adding it so the oils bloom in the hot liquid.
- Soy sauce — This is the quiet depth-builder. It doesn’t make the gravy taste Asian; it adds umami and rounds out the savory edges when the stock tastes thin. Use a small amount and taste before salting, since soy sauce brings salt with it.
Building the Roux and Finishing the Gravy Without Graininess
Separating the Fat and Measuring the Base
Pour the roasting pan drippings into a measuring cup and give them a minute to separate. You want the fat on top, because that’s what coats the flour and forms the roux. If the drippings are very dark and full of burnt bits, strain them before using them so the gravy doesn’t pick up bitter flavors. If you don’t have enough fat, top it off with butter until you have a full 1/4 cup.
Cooking the Roux Until It Smells Toasted
Whisk the flour into the hot fat and keep it moving over medium heat. At first it will look paste-like and a little dusty, then it will smooth out and begin to smell nutty. After 3 to 4 minutes, it should be golden brown, not blonde and not deep chestnut. That small bit of color is what gives the gravy a cooked, savory base instead of a raw flour finish.
Whisking in the Stock a Little at a Time
Add the warm stock gradually while whisking constantly. The mixture will thicken in patches at first, then loosen into a smooth gravy as the liquid goes in. If you dump in all the stock at once, the roux can seize into soft lumps before it has a chance to disperse. Keep whisking until the mixture is completely smooth, then stir in the defatted pan juices.
Simmering to the Right Spoon-Dragging Thickness
Let the gravy simmer for 8 to 10 minutes, stirring often so it doesn’t catch on the bottom. You’re looking for a texture that lightly coats the back of a spoon and leaves a clean path when you run a finger through it. If it still looks thin, give it another minute or two; it thickens more as it cools slightly. Add the thyme and soy sauce during this simmer so their flavor has time to blend into the base.
Seasoning and Straining for a Silky Finish
Taste before adding much salt, because pan drippings and stock can already bring plenty. Pepper goes in at the end for a fresh bite. If you want a restaurant-smooth finish, strain the gravy before serving; that catches any stray bits of herb or browned flour and leaves you with a glossy pour. Serve it hot, because gravy thickens fast once it sits.
Three Ways To Adjust This Gravy For Real Life
Use Butter When You Don’t Have Enough Drippings
If your roasting pan doesn’t give you a full 1/4 cup of fat, finish the amount with butter. You’ll lose a little roasted depth, but the texture will still be right, and the stock plus pan juices will carry the turkey flavor. This is the best fallback when the bird was lean or the drippings were sparse.
Make It Gluten-Free With A Cornstarch Slurry
Skip the flour and whisk cornstarch into a little cold stock first, then stir it into the hot drippings and broth at the end. The gravy will turn glossier and a bit more translucent, with a slightly lighter body than the flour version. Don’t boil it hard after it thickens, or it can thin back out.
Use Chicken Stock For A Milder Gravy
Chicken stock works when turkey stock isn’t available. The gravy will taste a little softer and less distinctly roasted, so the pan drippings and soy sauce matter even more for depth. This swap keeps the recipe usable without changing the method at all.
Storage and Reheating
- Refrigerator: Store in an airtight container for up to 4 days. It will thicken as it chills.
- Freezer: It freezes well for up to 2 months, though the texture may loosen slightly after thawing. Freeze in a flat container and stir well after reheating.
- Reheating: Warm it gently over low heat and whisk in a splash of stock or water until it loosens again. High heat can make it break or taste starchy, especially after chilling.
Answers To The Questions Worth Asking

Perfect Turkey Gravy
Ingredients
Equipment
Method
- Pour the roasting pan drippings into a measuring cup and let the fat rise to the top for clear separation.
- Spoon 1/4 cup of the fat into a saucepan over medium heat, then whisk in the all-purpose flour.
- Cook the roux for 3-4 minutes, whisking constantly, until golden brown with a smooth paste.
- Gradually whisk in the warm turkey or chicken stock and the deglazed pan juices until the mixture is smooth and lump-free.
- Add the fresh thyme leaves and soy sauce, then simmer for 8-10 minutes until thick enough to coat a spoon.
- Season with salt and pepper to taste, then strain if desired and serve hot.