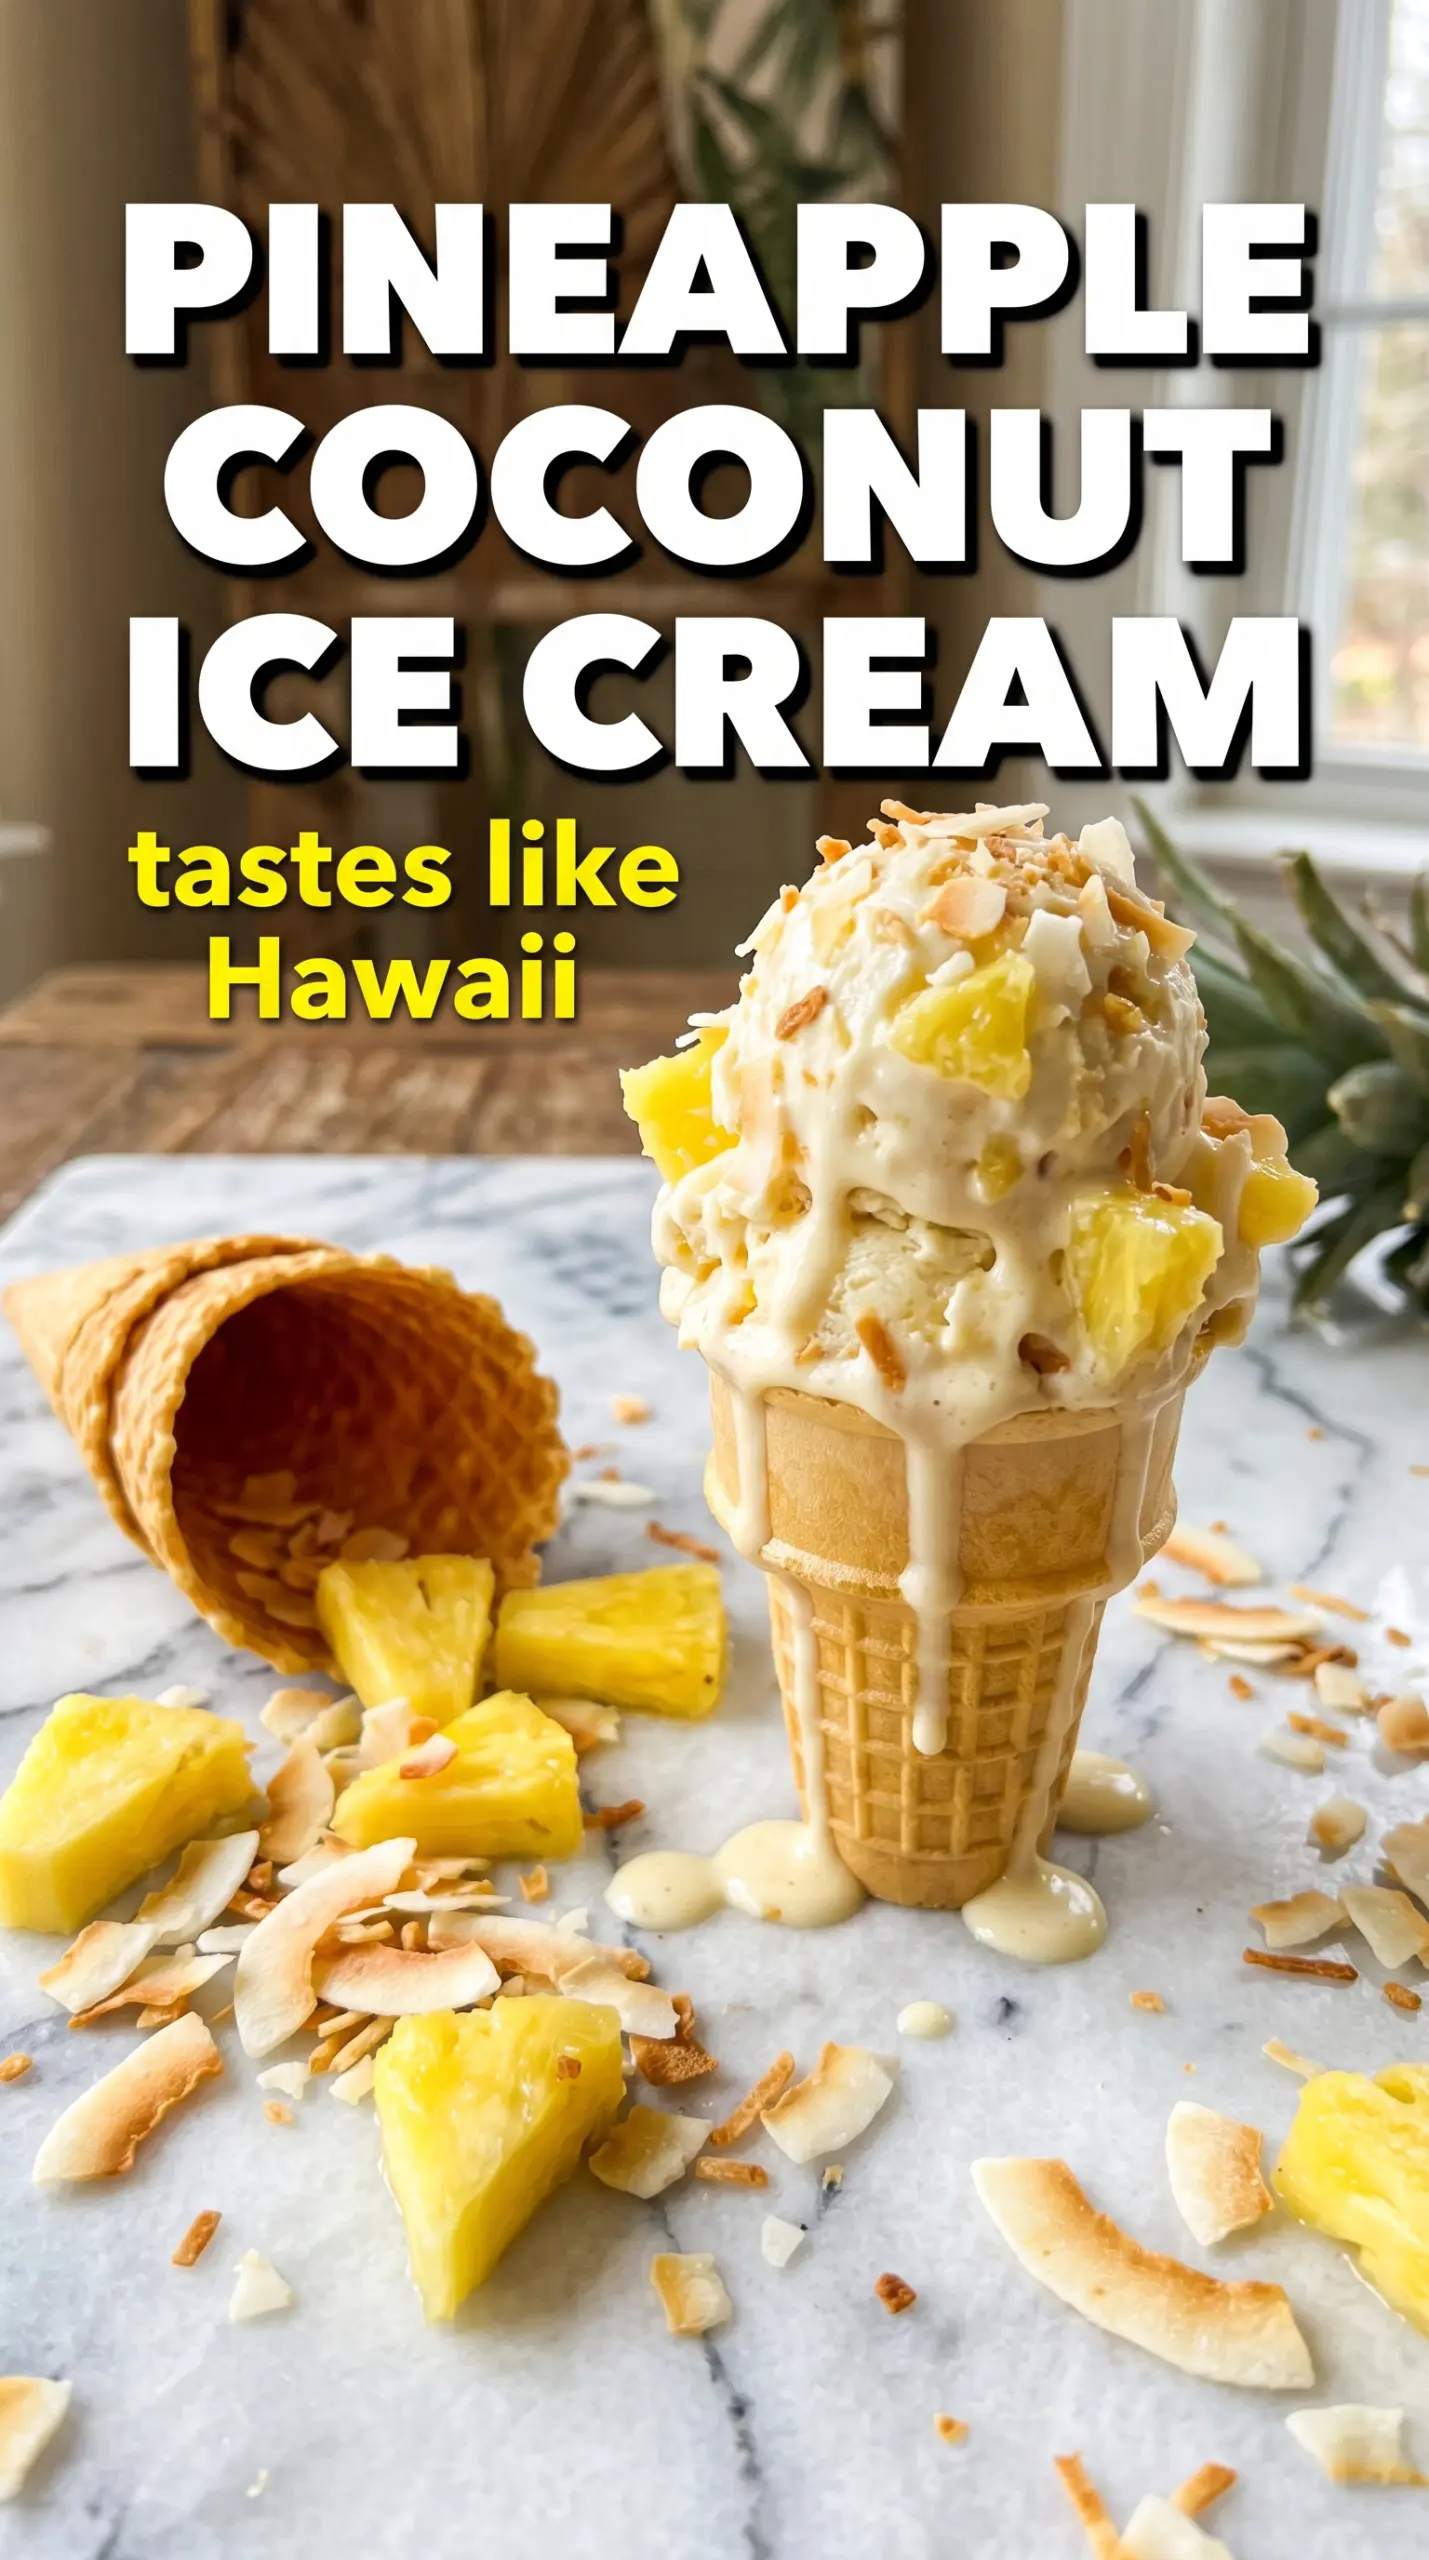
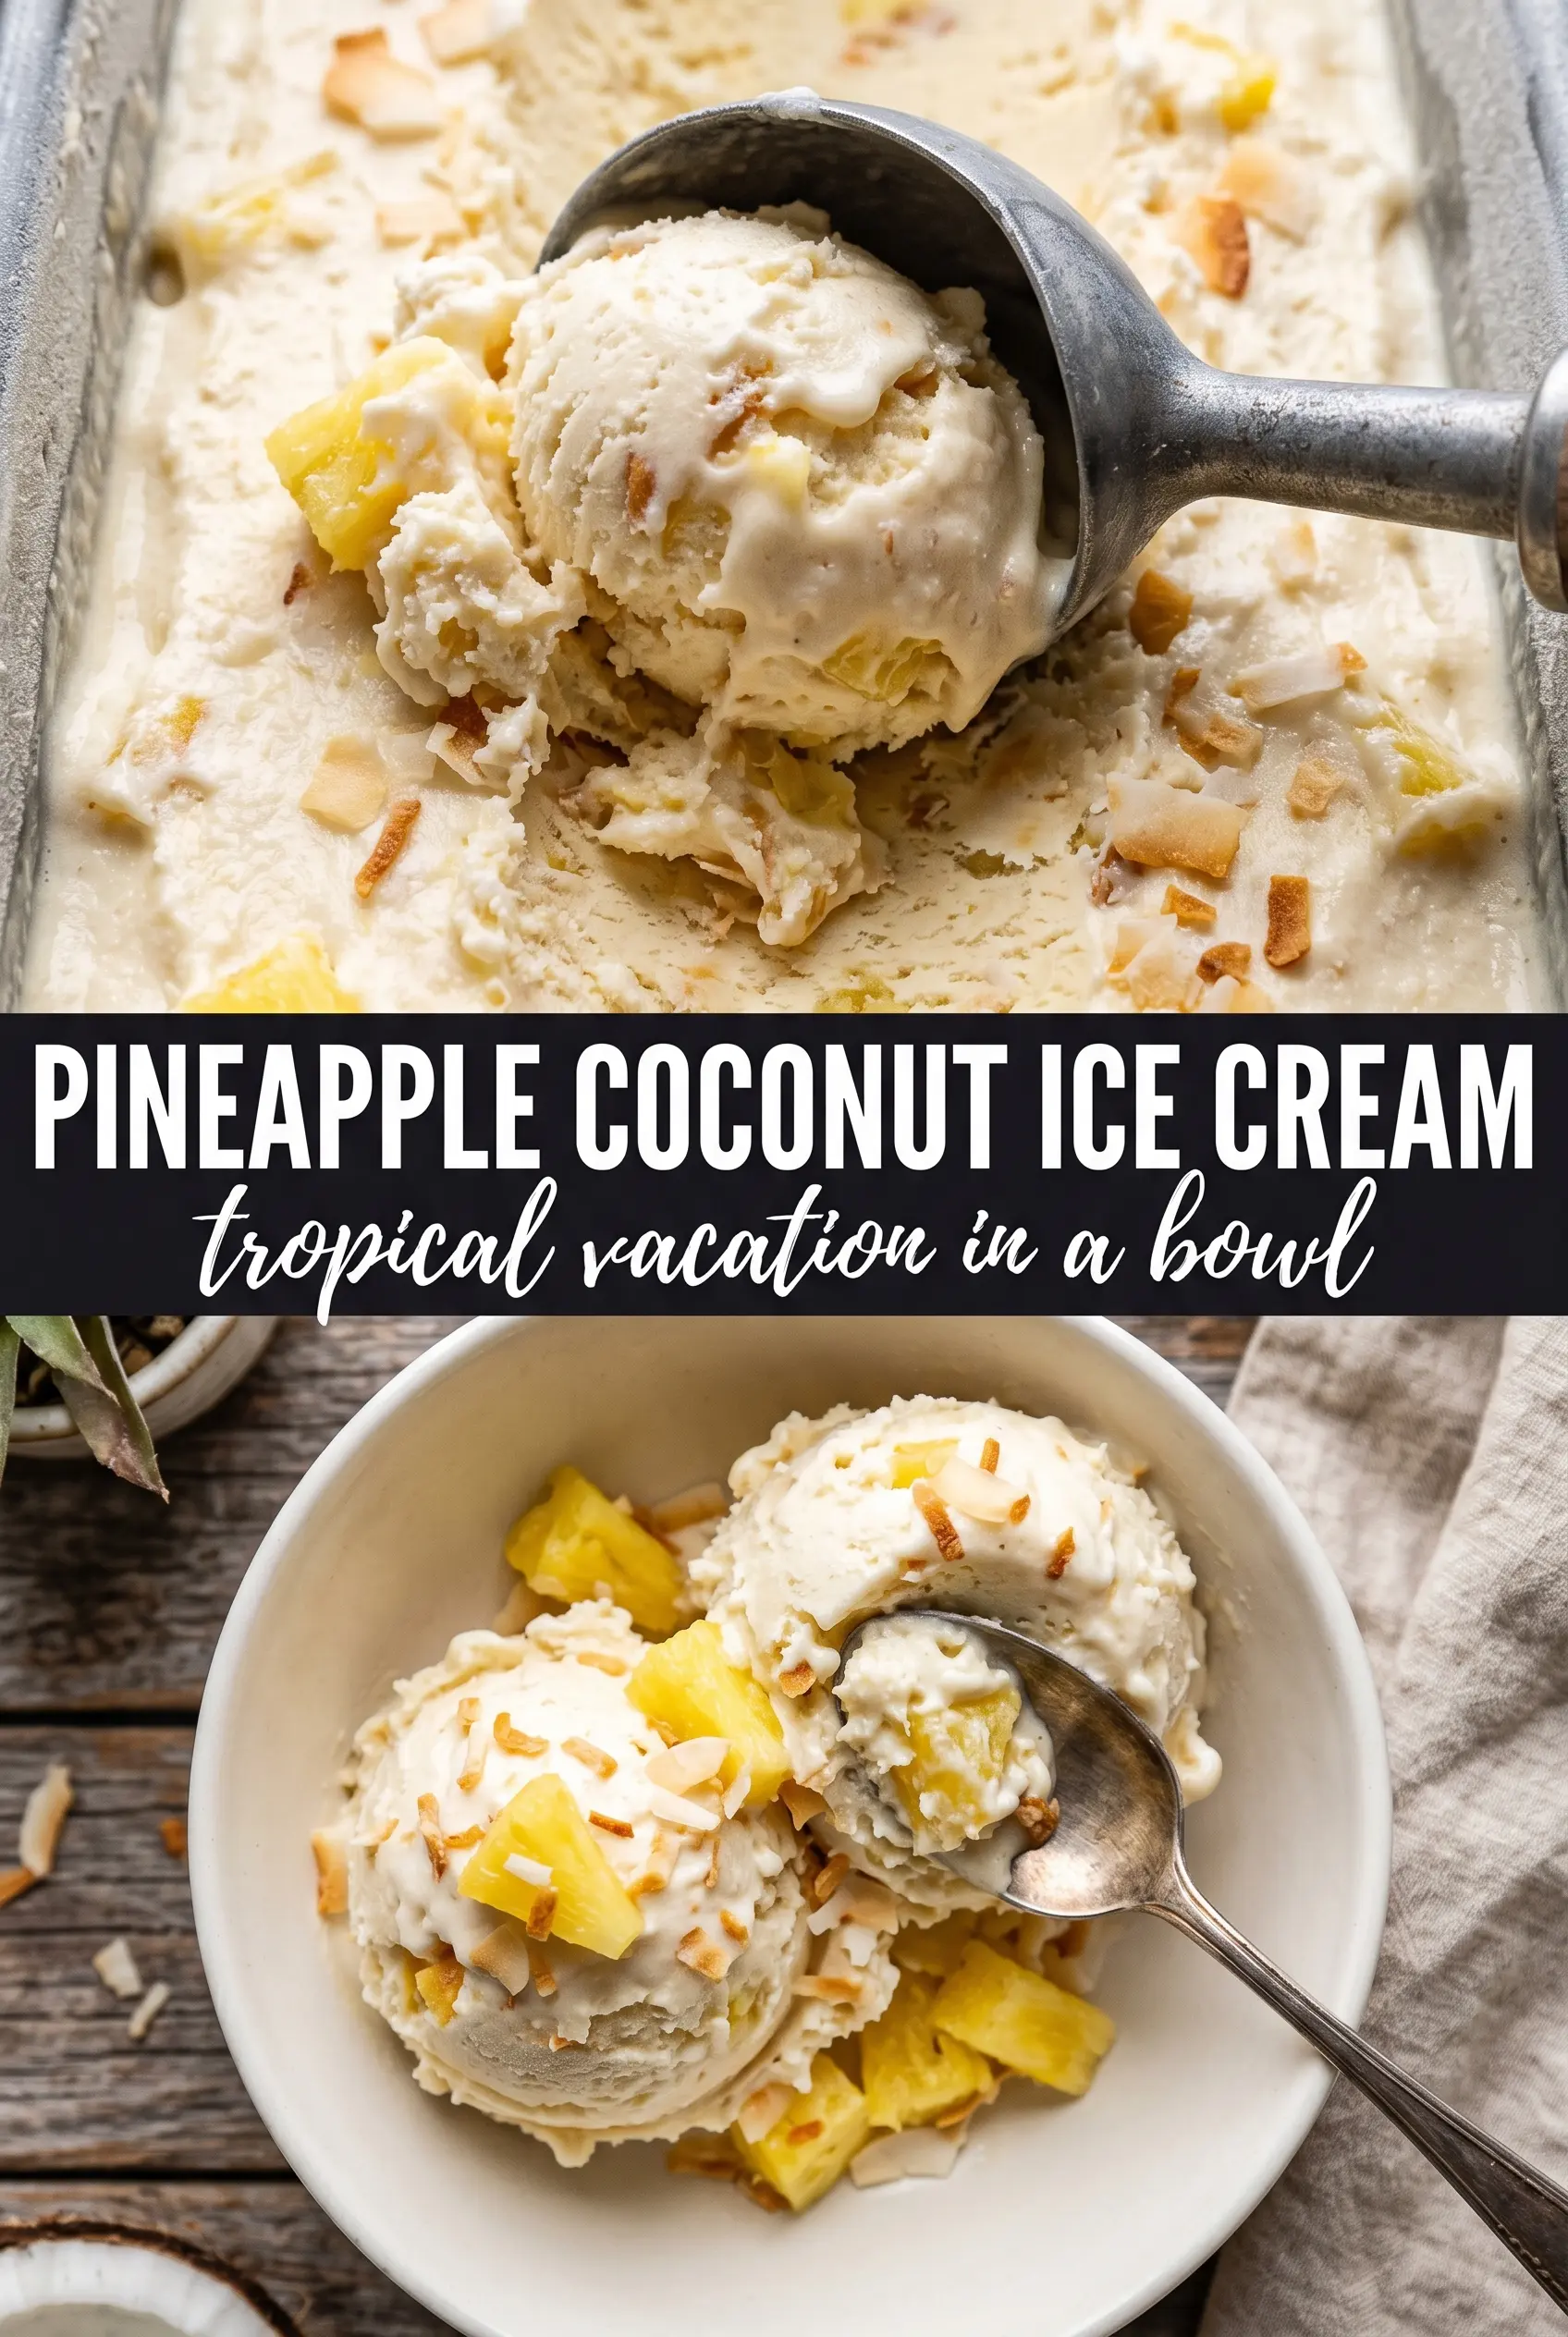
Pineapple coconut ice cream lands with that soft, creamy scoop that still manages to taste bright and lively. The coconut brings the rich base, but the pineapple keeps it from feeling heavy, and the little bits of fruit scattered through each bite make the texture more interesting than a plain custard ice cream. Toasted coconut on top gives it a final crackle and a little nutty depth that makes the whole bowl feel finished.
What makes this version work is the balance between the custard and the fruit. The base cooks to a proper custard temperature, which gives the ice cream body and a clean melt, then the pineapple gets folded in near the end so it stays distinct instead of disappearing into the mixture. Using both coconut milk and heavy cream keeps the coconut flavor present without making the texture icy or thin.
Below, I’ve included the small details that matter most: when to add the pineapple, how to keep the custard smooth, and what to do if you want a stronger coconut flavor or a dairy-free version. Those little choices make the difference between a decent frozen dessert and one that tastes like a real treat.
The custard turned out silky, and the pineapple stayed in little juicy pieces instead of getting lost. I added the toasted coconut at the end just like you said, and it gave every scoop a great crunch.
Pineapple coconut ice cream with juicy fruit pieces and toasted coconut is worth keeping handy for the next time you want a frozen dessert that tastes bright and creamy.
The Custard Needs Gentle Heat Before the Pineapple Goes Anywhere Near It
The biggest mistake with homemade ice cream like this is rushing the base or adding fruit too early. Pineapple is acidic and full of water, so if it goes into the custard before the base is cooked and chilled, it can throw off the texture and make the ice cream taste flat or icy. The custard needs to be cooked until it coats the back of a spoon and reaches about 175F, which gives it enough body to freeze smoothly without turning eggy.
Straining the custard after cooking matters here. That catches any tiny bits of cooked egg before they show up in the finished ice cream, and it also gives you a cleaner, silkier base that can carry the pineapple and coconut without feeling grainy. Once the base is cold, the churn does the rest of the work.
- Cook the custard low and steady — High heat is the fastest route to scrambled yolks. Stir constantly and keep the pan moving across the burner so the mixture thickens evenly.
- Chill completely before churning — Warm custard won’t freeze properly in the machine, and you’ll end up with soft, loose ice cream that takes forever to firm up.
- Add the fruit late — The diced pineapple goes in during the last few minutes of churning so it stays in pieces instead of sinking or getting broken down.
- Toast the coconut first — That gives it a deeper, less chewy flavor and keeps the topping from tasting raw in the finished scoop.
What Each Ingredient Is Doing in This Frozen Dessert
- Full-fat coconut milk — This brings the coconut flavor and the fat that helps the ice cream stay creamy. Light coconut milk won’t give you the same body and usually freezes harder.
- Heavy cream — It softens the coconut milk and keeps the final texture rich instead of icy. If you want a stronger coconut note, don’t replace too much of it, because the cream is part of what keeps the scoop smooth.
- Egg yolks — These build the custard base and make the ice cream richer and more stable. There isn’t a true one-to-one substitute here if you want that classic custard texture.
- Fresh pineapple — Fresh pineapple gives the cleanest sweet-tart flavor and the best texture in the churn. If you use canned, drain it very well and pat it dry, or extra juice will make the ice cream icier.
- Coconut extract and vanilla — The coconut extract boosts the coconut flavor without needing more coconut milk, while vanilla rounds out the fruit and keeps the base from tasting one-note. Use both, but keep them light-handed so the pineapple still shines.
- Toasted shredded coconut — This adds texture and a deeper coconut flavor at the end. If you skip the toasting, the coconut can taste flatter and the finished ice cream loses some of its contrast.
Churning the Base Without Losing the Pineapple Pieces
Building the Custard
Warm the coconut milk, cream, and sugar just until the sugar dissolves and the mixture is steaming. Then whisk a little of the hot liquid into the yolks first so they don’t shock and curdle, and slowly pour the yolk mixture back into the pan. Stir constantly as the custard thickens; you’re looking for a texture that lightly coats a spoon, not a bubbling pot. If the custard starts to look grainy, pull it off the heat immediately.
Cooling It the Right Way
Strain the finished custard into a clean bowl and stir in the coconut extract, vanilla, and salt. The bowl should go into the fridge uncovered at first until the steam is gone, then covered once it’s cold so it doesn’t pick up fridge smells. Don’t rush this part. A fully chilled base churns faster and freezes with a smoother texture.
Adding the Fruit and Coconut
Churn the custard until it’s thick and softly frozen, then add the pineapple and toasted coconut in the last few minutes. That timing keeps the fruit pieces visible and prevents the coconut from getting waterlogged. Once it comes out of the machine, it will still look soft, but that’s normal. Freeze it in a container until it’s scoopable, and press a piece of parchment directly on the surface if you want to keep ice crystals down.
How to Adapt This Ice Cream for Different Needs
Dairy-Free Version
Swap the heavy cream for more full-fat coconut milk or a thick canned coconut cream. The result will taste even more coconut-forward, but it may freeze a little firmer, so let it sit on the counter for a few minutes before scooping.
No Ice Cream Maker
Pour the chilled custard into a shallow freezer-safe pan and stir every 30 to 45 minutes as it freezes, folding in the pineapple and toasted coconut when it reaches a slushy stage. The texture won’t be as airy as churned ice cream, but it still freezes into a scooped dessert if you keep up with the stirring.
Stronger Pina Colada Flavor
Add a little more coconut extract and finish the bowl with extra toasted coconut on top. If you want a rum-like note without alcohol, use a tiny splash of rum extract, but keep it restrained so it doesn’t overpower the pineapple.
Storage and Reheating
- Refrigerator: Ice cream doesn’t store in the fridge; it will melt. Keep the base chilled there before churning, not after freezing.
- Freezer: Store in an airtight container for up to 2 weeks for the best texture. After that, it can start picking up ice crystals and lose some of its creaminess.
- Serving: Let it sit at room temperature for 5 to 10 minutes before scooping. If it’s rock hard, the freezer was too cold or it stayed frozen too long without being sealed well.
Answers to the Questions Worth Asking
Pineapple Coconut Ice Cream
Ingredients
Equipment
Method
- Heat the coconut milk and heavy cream with the granulated sugar in a saucepan until the sugar dissolves, whisking to keep it smooth.
- Slowly whisk the hot coconut mixture into the egg yolks until fully combined, then return everything to the saucepan.
- Cook at 175F, stirring constantly, until the custard thickens enough to coat the back of a spoon.
- Strain the custard into a bowl, then stir in the coconut extract, vanilla extract, and salt.
- Cool completely, then refrigerate at least 4 hours until very cold.
- Churn the cold custard in an ice cream maker, then add the diced pineapple and toasted shredded coconut in the last 5 minutes.
- Freeze the churned ice cream until scoopable, keeping it stored until serving.