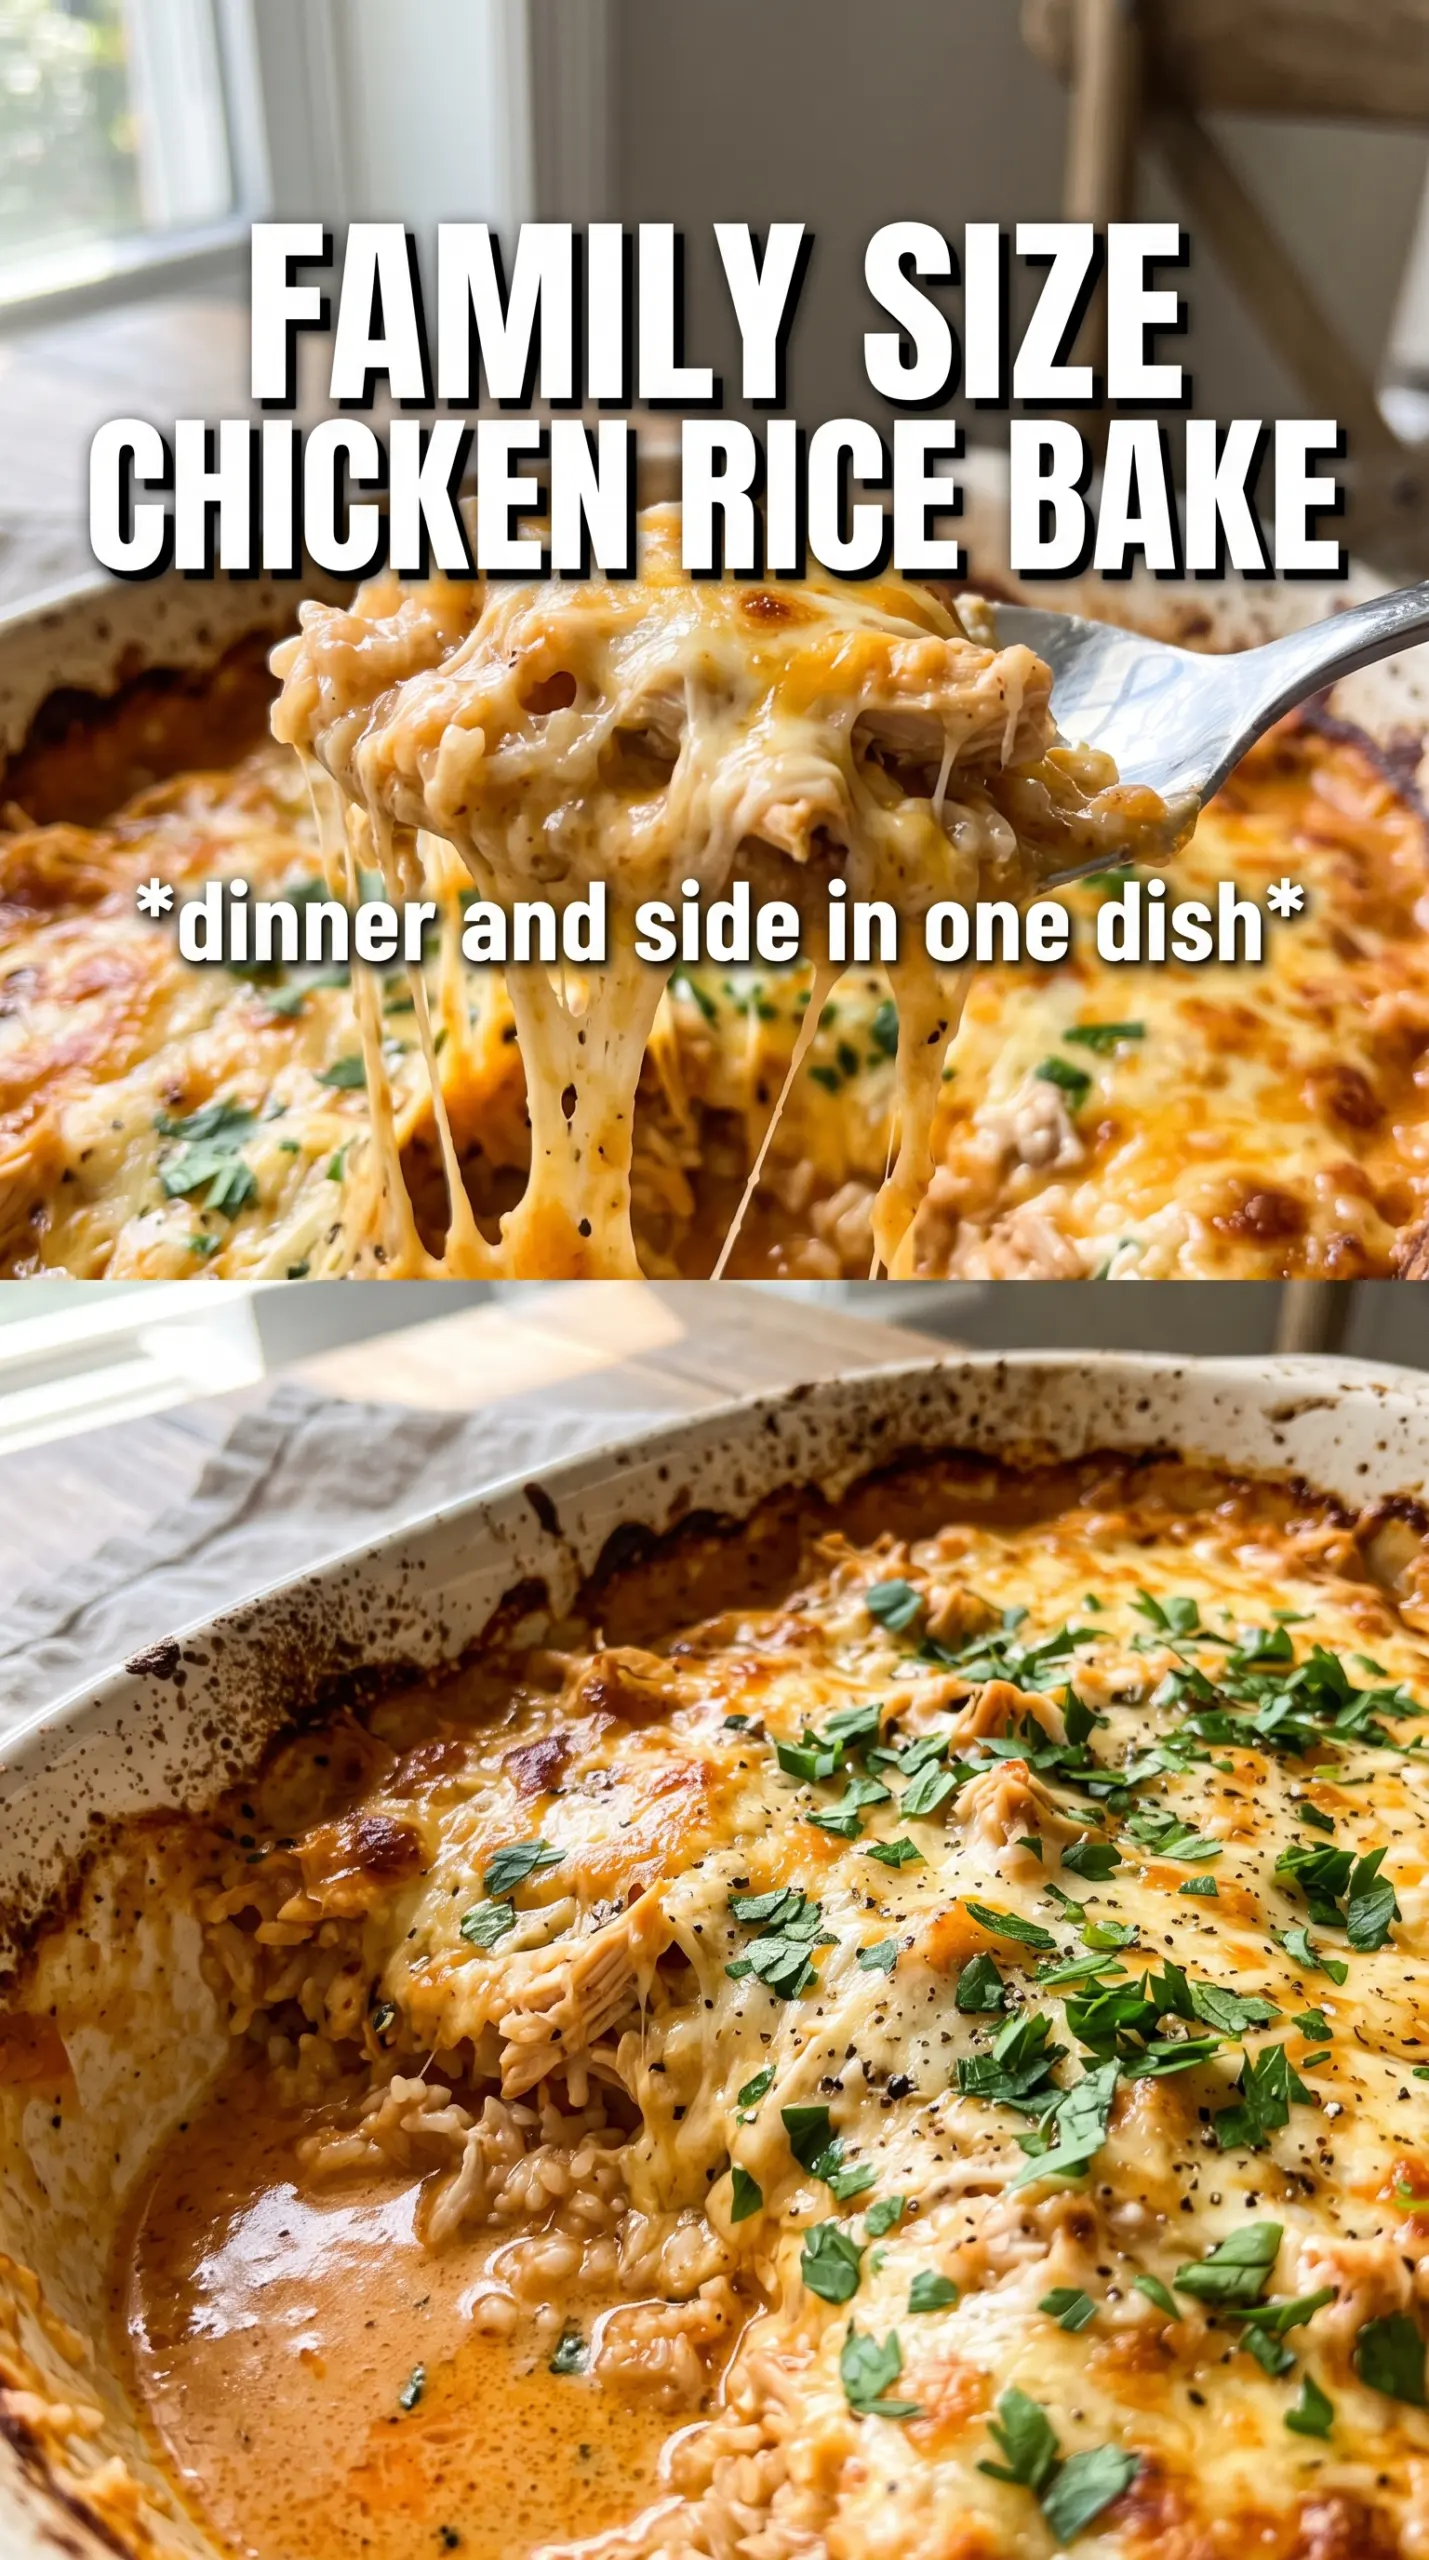
Golden chicken and deeply savory rice bake into the kind of casserole that disappears fast at the table. The chicken skin turns bronzed and crisp on top while the rice underneath soaks up every bit of seasoned broth and pan drippings, leaving the whole dish rich, tender, and full of old-school comfort without much fuss.
The reason this version works is the layering. The rice starts in a wet, seasoned base of soup and broth, which keeps it from drying out before the chicken is done. The chicken goes skin-side up, so the fat renders over the rice instead of steaming in it, and the onion soup mix does double duty by seasoning both the meat and the casserole beneath it.
Below you’ll find the small details that matter most, including how to keep the rice from turning mushy and what to swap if you want a lighter version or need to work with what’s in the pantry.
The rice came out fluffy on the bottom and soaked up all the soup flavor without getting gluey. I used bone-in thighs and the chicken skin got perfectly crisp after the foil came off.
Save this chicken rice bake for the nights when you want a full comfort-food dinner with one pan and very little cleanup.
The Rice Stays Tender Because It Cooks Under the Chicken, Not Beside It
With a casserole like this, the biggest mistake is treating the rice like a separate side dish. It needs enough liquid to finish cooking, but not so much that the bottom turns pasty. This version works because the rice sits in a thin, well-seasoned sauce and the chicken protects it from blasting heat while the oven does the rest.
The foil matters during the first hour. It traps steam so the rice can absorb liquid evenly, and it keeps the chicken from drying out before the grains are close to done. When the foil comes off, the top gets the last stretch of direct heat, which is what gives the skin its color and keeps the rice from staying soft and damp.
- Long-grain white rice — This is the right rice for the job because it stays separate and fluffy instead of clumping. Medium- or short-grain rice will give you a softer, stickier texture here.
- Bone-in chicken pieces — Bone-in chicken brings more flavor to the rice and stays juicier through the long bake. If you use boneless chicken, reduce the final bake time or it can dry out before the rice is ready.
- The soups — The canned soups build the creamy base that seasons the rice without any extra effort. Cream of mushroom gives the deepest savory note, but if mushroom isn’t your thing, another can of cream of chicken works fine.
- Onion soup mix — This is the shortcut that makes the whole dish taste seasoned all the way through. Stir some into the rice and use the rest on the chicken so every layer tastes intentional.
What Each Ingredient Is Actually Doing in This Recipe
- Primary ingredient (the star) — Quality matters most. Choose the best you can find.
- Cooking medium (oil, butter, or broth) — This carries flavors and prevents dryness.
- Seasonings (salt, pepper, spices, herbs) — Layer flavors so nothing overpowers. Build depth gradually.
- Aromatics (garlic, onion, herbs) — Cook with fat to bloom flavors. Become the foundation.
- Supporting ingredients — Complement the main ingredient without overpowering it.
- Sauce or liquid (if applicable) — Brings flavors together. Balance richness with acid.
- Acid (lemon, vinegar, wine, or other) — Brightens and prevents flat-tasting results.
- Final finish (garnish, glaze, or sauce) — Prevents one-dimensional taste and adds visual appeal.
Getting the Chicken Browned While the Rice Finishes Below It
Build the base first
Whisk the soups, rice, and water or broth directly in the baking dish until the mixture looks evenly blended. You want every grain coated before the chicken goes in, because dry pockets of rice at the edges can stay undercooked. The mixture will look loose at this stage, and that’s right; the rice needs that liquid to absorb as it bakes.
Season the chicken generously
Salt, pepper, garlic powder, and paprika need to go on with a heavier hand than you might use for a stovetop dinner. The rice steals some of that seasoning as it bakes, and the chicken skin needs enough spice to stand out after 90 minutes in the oven. Nestle the pieces skin-side up so the tops stay exposed and can brown instead of stewing in the sauce.
Bake covered, then uncover for color
Cover the dish tightly with foil and bake until the rice has absorbed most of the liquid and the chicken is starting to look opaque and almost cooked through. If the foil isn’t sealed well, steam escapes and the rice can dry before it softens. Once you uncover the dish, keep baking until the top is golden and the rice is tender all the way through; if there’s still a puddle at the bottom, give it a few more minutes before serving.
Three Ways to Change the Pan Without Losing the Comfort
Use chicken thighs for richer flavor
Bone-in thighs bring more fat and stay tender even if they bake a little longer than expected. The rice picks up that extra richness, and the finished dish tastes more savory and less lean than it does with breast pieces.
Make it gluten-free with the right soups
Use certified gluten-free cream soups and onion soup mix, since the boxed seasoning blends often hide wheat flour or maltodextrin from questionable sources. The texture stays the same, but the flavor is cleaner if you choose a brand with a stronger mushroom or chicken base.
Swap in broth instead of water for a deeper base
Chicken broth gives the rice more backbone than water, especially if your soups are mild. Use low-sodium broth if your onion soup mix runs salty, because the seasoning can get away from you fast in a casserole this concentrated.
Stretch it with vegetables if you want a fuller bake
Stir in a handful of sliced mushrooms or peas near the end of the first covered bake so they don’t overcook. Vegetables add bulk and color, but too much raw produce can throw off the liquid balance, so keep the add-ins modest.
Storage and Reheating
- Refrigerator: Store leftovers covered for up to 4 days. The rice firms up a bit in the fridge, but the flavor stays good.
- Freezer: This freezes well in portions. Cool completely, wrap tightly, and freeze for up to 2 months; the rice softens a little after thawing, but it still reheats nicely.
- Reheating: Reheat covered in a 325°F oven with a splash of broth to wake the rice back up. The common mistake is blasting it in the microwave until the chicken tightens and the rice turns dry at the edges.
Answers to the Questions Worth Asking

Pioneer Woman Chicken Rice Bake
Ingredients
Equipment
Method
- Preheat the oven to 350°F and grease a large 9x13 baking dish.
- Whisk together the cream of mushroom soup, cream of chicken soup, cream of celery soup, uncooked long-grain white rice, and water (or chicken broth) directly in the prepared dish until combined.
- Sprinkle half of the onion soup mix into the rice and stir to distribute.
- Season the chicken pieces generously with salt, pepper, garlic powder, and paprika; nestle the chicken skin-side up into the rice.
- Sprinkle the remaining onion soup mix over the chicken.
- Cover tightly with foil and bake at 350°F for 1 hour, until the rice is nearly tender.
- Remove the foil and bake another 25-30 minutes at 350°F until the chicken is golden and the rice has absorbed all liquid.