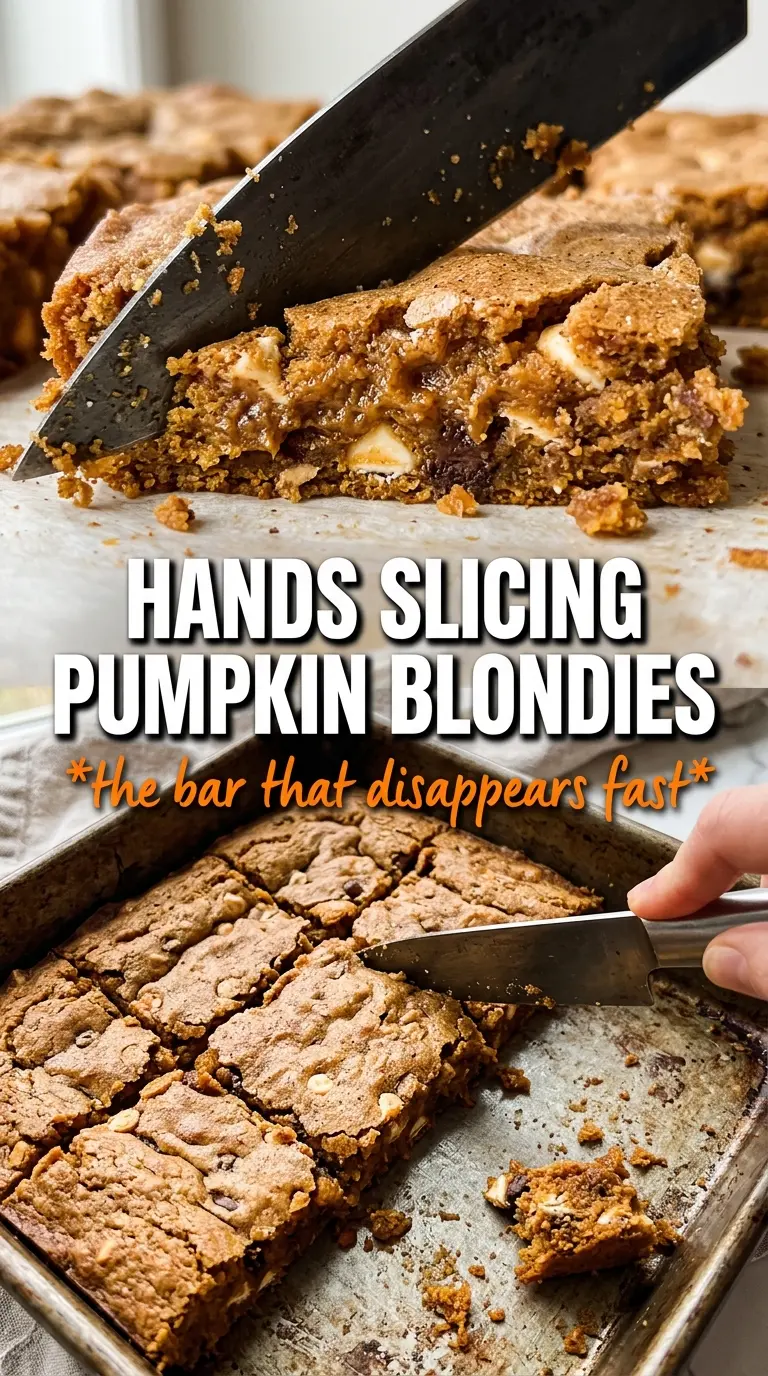
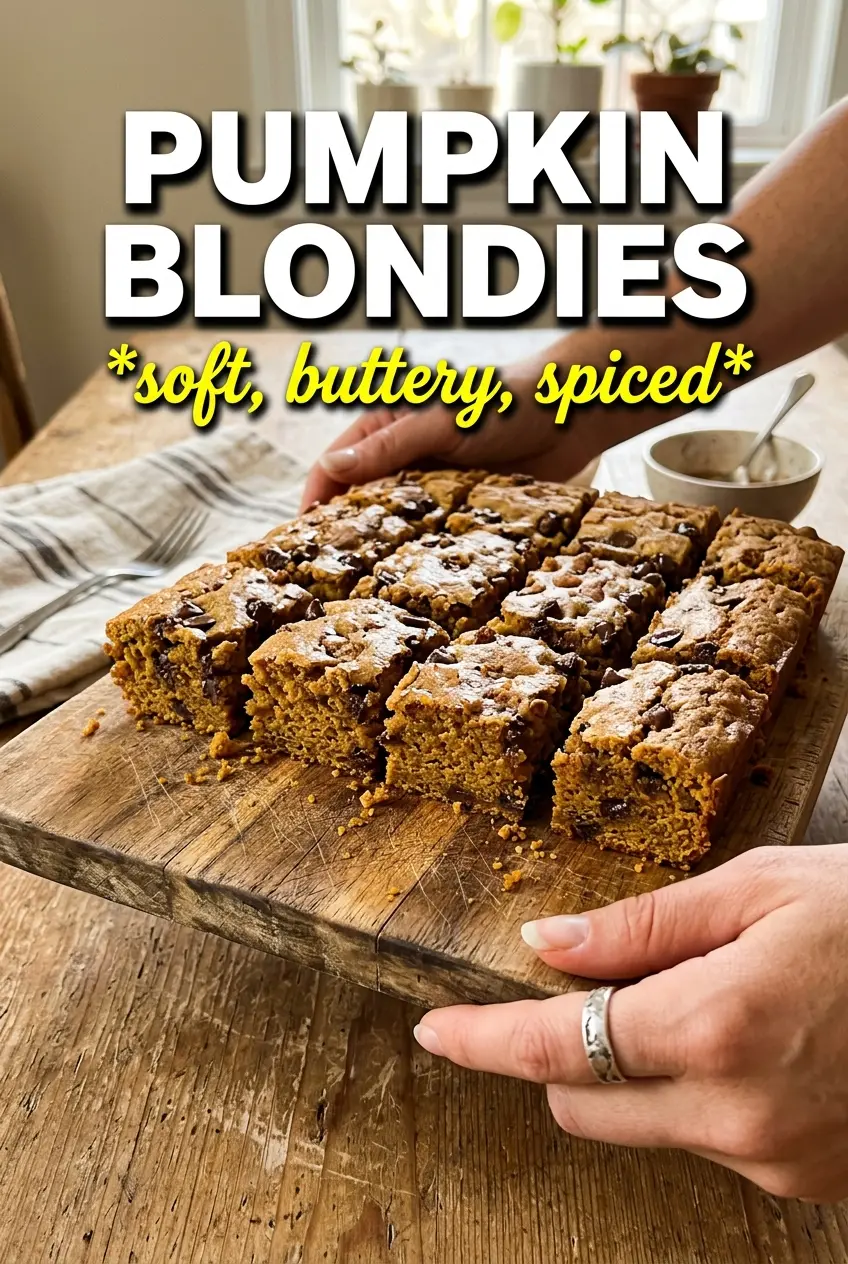
Pumpkin blondies land in that sweet spot between chewy cookie bars and soft cake, with browned butter giving them a deeper, toasty edge than most pumpkin bars ever get. The center stays tender and dense, the edges bake up a little firmer, and the caramel drizzle with flaky salt on top pulls the whole pan into something people keep circling back to for one more square.
What makes this version work is restraint. There’s just enough pumpkin puree to bring flavor and a warm color without turning the bars spongy, and blotting it dry matters more than most people think. Browning the butter also earns its keep here. It adds a nutty note that plays against the spice and keeps the bars from tasting flat or one-note.
Below, I’ll show you the small cues that tell you when the batter is mixed just enough and when the pan is ready to come out of the oven. Those two details make the difference between chewy blondies and bars that bake up soft in the middle for the wrong reason.
The browned butter made these taste almost toffee-like, and the center stayed chewy even after cooling. I followed the pumpkin blotting tip and they baked up perfectly in 29 minutes.
Save these pumpkin blondies for the caramel-drizzled bars with browned butter, chewy centers, and flaky salt on top.
The Trick Is Keeping the Pumpkin From Turning These Cakey
Pumpkin is wonderful in baked bars, but it brings a lot of moisture and not much fat. That’s where most blondies go sideways. Too much pumpkin, or pumpkin that hasn’t been blotted, pushes the texture toward soft cake instead of dense chew.
The other place people lose the structure is overmixing after the flour goes in. Stir until the dry streaks disappear, then stop. The batter should look thick and glossy, not whipped. Brown butter helps here too because it adds flavor without adding more water, which is one reason this recipe stays more bar-like than many pumpkin desserts.
- Blotted pumpkin puree — This is the difference between chewy and gummy. Spread the puree on a paper towel or clean kitchen towel and press out the extra moisture before measuring it.
- Browned butter — Melted butter works, but browned butter gives the bars a toasted, almost caramel note that makes the pumpkin spice taste fuller.
- Brown sugar — Packed brown sugar keeps the crumb soft and adds the molasses note blondies need. White sugar won’t give the same chew or depth.
What Each Ingredient Is Actually Doing in These Bars
- All-purpose flour — The base structure. Measure it lightly so you don’t pack in too much and end up with dry bars.
- Bakings powder — Just enough lift to keep the center from feeling heavy without making the blondies fluffy.
- Pumpkin pie spice and cinnamon — The spice blend brings the familiar pumpkin flavor, while extra cinnamon sharpens it and keeps the bars from tasting muted.
- Browned unsalted butter — Unsalted butter gives you control over the salt level, and browning it adds a nutty finish that pairs well with caramel on top.
- Blotted pumpkin puree — Use plain pumpkin puree, not pumpkin pie filling. The filling contains added sugar and spices that throw off both texture and seasoning.
- Eggs — They bind the batter and help the bars set cleanly. Add them after the sugar and pumpkin are mixed so the batter stays smooth.
- Caramel sauce and flaky sea salt — These finish the bars with contrast. The caramel adds stickiness and shine; the salt keeps the sweetness from feeling heavy.
Mix the Batter, Stop at the Right Moment, and Let the Pan Finish the Job
Brown the butter until it smells nutty
Set the butter over medium heat and keep it moving as the foam settles and the milk solids sink. You’re looking for golden bits at the bottom and a smell that’s toasted and nutty, not burnt. Pull it from the heat and let it cool for about 10 minutes before mixing, because hot butter can scramble the eggs and make the batter greasy.
Build the wet mixture without overworking it
Whisk the browned butter with the brown sugar first so the mixture loosens and looks shiny. Then whisk in the blotted pumpkin, eggs, and vanilla until the batter is smooth. If the pumpkin was still wet, this is where you’ll notice the batter looking loose instead of thick and ribboned, which usually leads to a softer, less chewy bar.
Fold in the dry ingredients just until the flour disappears
Add the flour, baking powder, spices, and salt, then fold with a spatula instead of beating with a whisk. Stop as soon as you no longer see dry flour in the bowl. Overmixing here develops too much gluten and turns the bars tough on the edges and dense in a bad way.
Bake until the center is set but not dry
Spread the batter in a greased 9×13 pan and bake at 350°F until a toothpick comes out with a few moist crumbs, usually 25 to 30 minutes. If the toothpick is completely clean, you’ve likely gone too far and the bars will cool drier than they should. Let them cool all the way before adding caramel and salt, or the topping will slide off and soak in unevenly.
Maple Bourbon Blondies
Replace the caramel drizzle with a quick maple glaze or a spoonful of warm maple syrup if you want a less sticky finish. The bourbon note works with the browned butter and pumpkin spice, but it also makes the bars taste a little more grown-up and less candy-like.
Gluten-Free Pumpkin Blondies
Use a 1:1 gluten-free flour blend with xanthan gum already included. The texture will still be chewy, but the bars may need an extra minute or two in the oven because gluten-free batters often hold onto moisture a little longer.
Dairy-Free Version
Swap the butter for a plant-based baking stick, but skip browning it unless the product clearly browns well. You’ll lose some of the nutty depth, so lean harder on the cinnamon and pumpkin pie spice to keep the flavor full.
Add-Ins That Don’t Ruin the Texture
A handful of chopped toasted pecans or white chocolate chips fits well here, but keep the add-ins modest so the bars still slice cleanly. Too many mix-ins crowd the batter and make the center fall apart when you cut it.
Storage and Reheating
- Refrigerator: Store in an airtight container for up to 5 days. The bars firm up as they chill, which makes them even chewier.
- Freezer: Freeze cut squares without the caramel drizzle for up to 2 months. Wrap them tightly and thaw at room temperature before topping.
- Reheating: Warm a bar for 10 to 15 seconds in the microwave if you want the centers softer. Don’t overheat them or the edges dry out and the caramel topping melts into a mess.
The Things That Trip People Up With These Bars
Pumpkin Blondies
Ingredients
Equipment
Method
- Brown the butter in a skillet until it turns golden and smells nutty, then cool for 10 minutes.
- Preheat the oven to 350F and grease a 9x13 pan.
- Whisk all-purpose flour, baking powder, pumpkin pie spice, cinnamon, and salt until evenly combined.
- Whisk browned butter and packed brown sugar until glossy, then whisk in blotted pumpkin puree, eggs, and vanilla extract.
- Fold the flour mixture into the wet mixture just until no dry streaks remain, then spread the batter in the prepared pan.
- Bake for 25-30 minutes, until a toothpick has just a few moist crumbs and the top looks set.
- Cool the blondies completely before slicing into squares.
- Drizzle with caramel sauce and sprinkle flaky sea salt across the top to finish.