These pumpkin buttermilk pancakes come out light in the middle, tender at the edges, and full of warm spice without turning heavy or cakey. The pumpkin adds color and a soft, custardy richness, while the buttermilk keeps the batter lively enough to rise into pancakes that feel fluffy instead of dense.
The trick is in the balance. Pumpkin puree adds moisture, so the leavening has to do more work than it would in a plain pancake batter. That’s why this recipe uses both baking powder and baking soda, plus a short rest after mixing. The batter thickens just enough to cook up with good height, and the pancakes stay soft without spreading into thin rounds.
Below, I’ll walk through the part that matters most: how to mix the batter without knocking out the lift, how to know when the griddle is at the right heat, and what to look for before you flip.
The batter rested just long enough to thicken, and the pancakes came off the griddle tall and fluffy instead of flat. The pumpkin spice was balanced, and the edges browned without burning.
Love the extra-fluffy pumpkin buttermilk pancakes? Save this stack for the mornings when you want soft centers, golden edges, and real maple syrup on top.
The Secret to Fluffy Pumpkin Pancakes Is Not More Mixing
Pumpkin batter can go wrong fast if you treat it like regular pancake batter. The puree adds weight and moisture, and if you stir until the batter looks perfectly smooth, you push out the little pockets of air that help the pancakes rise. A few lumps are fine here. They disappear on the griddle, and the pancakes cook up lighter for it.
The other thing that matters is heat. Pumpkin pancakes need enough time to set in the center before the outside gets too dark. Medium heat is the sweet spot. If the pan is smoking or the first pancake browns in under a minute, the heat is too high and the middle will lag behind.
- Baking soda — This reacts with the buttermilk and gives the pancakes their lift. Don’t swap in more baking powder and expect the same bounce.
- Buttermilk — It adds tang and helps tenderize the batter. Regular milk won’t give the same rise or texture, though you can use milk plus lemon juice or vinegar in a pinch.
- Pumpkin puree — Use plain puree, not pumpkin pie filling. Pie filling is already sweetened and spiced, and it throws the balance off.
- Brown sugar — This adds a little molasses depth that works well with pumpkin spice. You can use all granulated sugar, but the pancakes will taste flatter.
What Each Ingredient Is Actually Doing in This Recipe
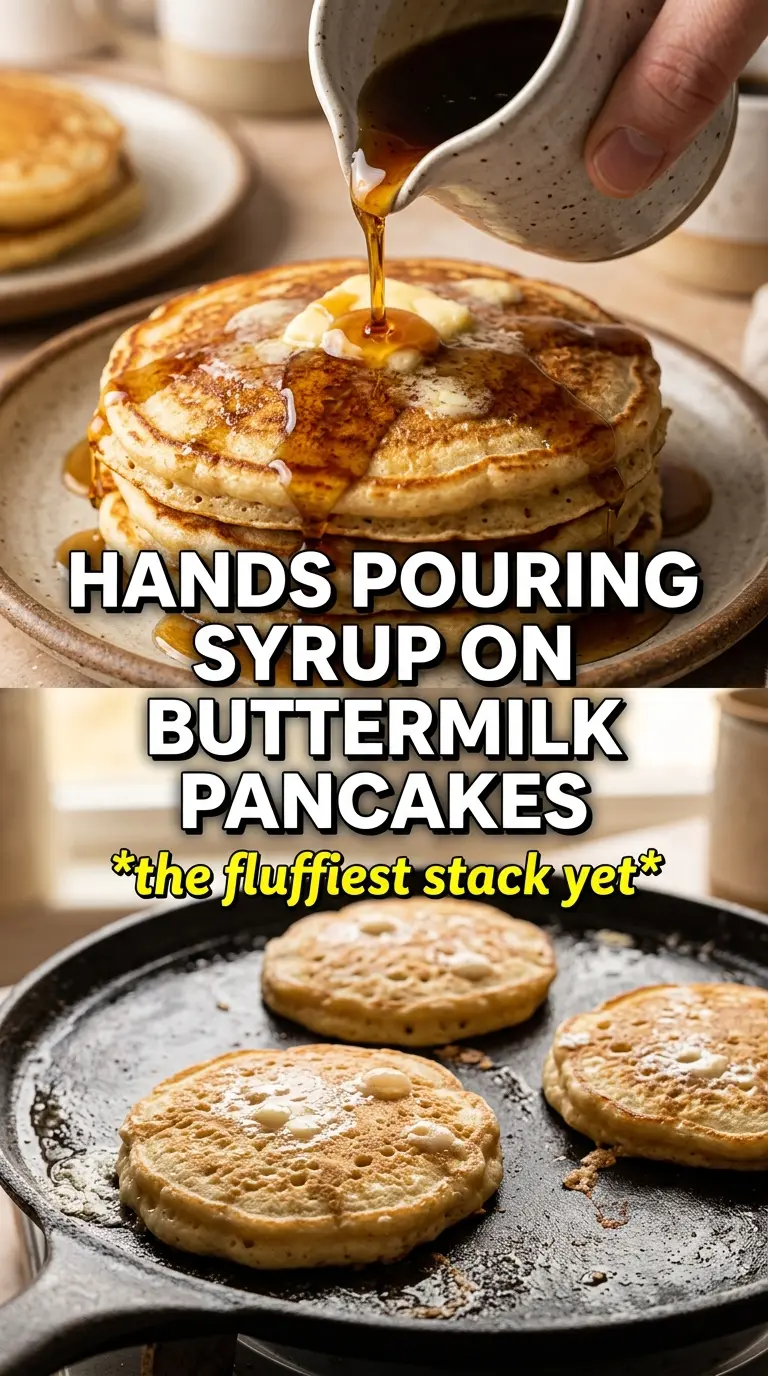
- Primary ingredient (the star) — Quality matters most. Choose the best you can find.
- Cooking medium (oil, butter, or broth) — This carries flavors and prevents dryness.
- Seasonings (salt, pepper, spices, herbs) — Layer flavors so nothing overpowers. Build depth gradually.
- Aromatics (garlic, onion, herbs) — Cook with fat to bloom flavors. Become the foundation.
- Supporting ingredients — Complement the main ingredient without overpowering it.
- Sauce or liquid (if applicable) — Brings flavors together. Balance richness with acid.
- Acid (lemon, vinegar, wine, or other) — Brightens and prevents flat-tasting results.
- Final finish (garnish, glaze, or sauce) — Prevents one-dimensional taste and adds visual appeal.
Building the Batter Without Beating the Air Out
Mix the dry ingredients first
Whisk the flour, sugars, baking powder, baking soda, spices, and salt until the mixture looks evenly speckled. That step keeps the leavening and spice from clumping in one bite and leaving another bland. A fork works, but a whisk does a better job breaking up the brown sugar.
Bring the wet ingredients together separately
Whisk the pumpkin puree, buttermilk, eggs, melted butter, and vanilla until the pumpkin is fully dispersed. The mixture will look thick and orange, and that’s exactly what you want. If the butter is too hot, it can scramble the eggs, so let it cool a minute before adding it in.
Fold, rest, and stop early
Pour the wet mixture into the dry ingredients and fold just until there are no dry streaks left. The batter should look slightly lumpy and thick enough to mound off the spoon. Let it rest 5 to 8 minutes so the flour hydrates and the baking soda starts working; this is when the batter thickens into the right pancake texture. If it sits much longer than that, the leavening loses some power, so cook it soon after the rest.
Cook until the surface tells you it’s ready
Grease a griddle or skillet lightly and set it over medium heat. Pour about 1/4 cup batter per pancake, then wait for bubbles to form across the surface and the edges to look set and matte. Flip once and cook the second side for about 2 minutes, just until it springs back when touched. If you flip too early, the center can collapse and smear; if you wait too long, the bottoms go dark before the middle finishes.
What to Change When You’re Out of Buttermilk or Want a Different Finish
Milk and lemon juice for buttermilk
Stir 1 1/2 tablespoons lemon juice or vinegar into enough milk to reach 1 1/2 cups, then let it sit 5 minutes before using. It won’t have the same thick body as buttermilk, but it will still give the baking soda something acidic to react with. The pancakes will be a touch less tangy and a little lighter in flavor.
Dairy-free pumpkin pancakes
Use an unsweetened non-dairy milk and add 1 tablespoon lemon juice or vinegar to mimic the acidity of buttermilk. The texture will still be soft, though a little less rich, so don’t skip the butter in the batter unless you replace it with a neutral oil. The pancakes brown a bit faster with some plant milks, so watch the heat closely.
Make them a little more dessert-like
Add a handful of mini chocolate chips or chopped toasted pecans after folding the batter together. Both work best stirred in at the very end so you don’t overmix while distributing them. Pecans add crunch; chocolate chips make the pancakes taste richer and sweeter.
Storage and Reheating
- Refrigerator: Store cooked pancakes in an airtight container for up to 3 days. They soften a little as they sit, but they hold up well.
- Freezer: Freeze in a single layer, then stack with parchment between each pancake. They freeze well for up to 2 months.
- Reheating: Warm in a toaster or a 325°F oven until heated through. The common mistake is microwaving too long, which makes them rubbery instead of fluffy.
Questions I Get Asked About This Recipe
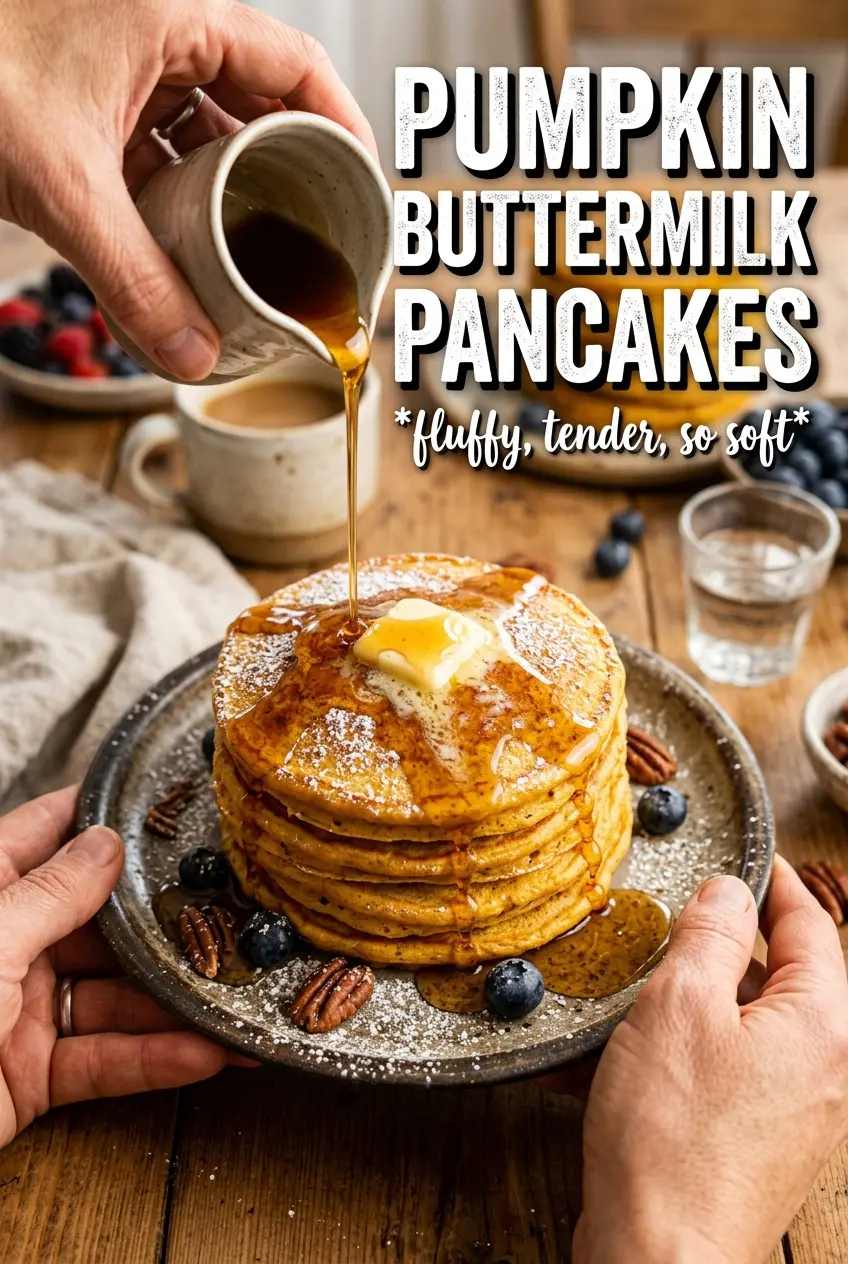
Pumpkin Buttermilk Pancakes
Ingredients
Equipment
Method
- In a bowl, whisk all-purpose flour, granulated sugar, brown sugar, baking powder, baking soda, pumpkin pie spice, cinnamon, and salt until evenly combined, with no visible spice lumps.
- Make sure the dry ingredients are fully mixed so the bubbles from baking soda bake evenly throughout the pancakes.
- In a second bowl, whisk pumpkin puree, buttermilk, eggs, melted butter, and vanilla extract until smooth; the buttermilk reacts with baking soda for extra fluffiness.
- Fold the wet mixture into the dry ingredients just until combined—do not overmix; a few small streaks in the batter are okay.
- Let the batter rest for 5-8 minutes so it thickens slightly and bakes up extra tender.
- Heat a greased griddle over medium heat until it’s hot enough that a drop of batter sizzles lightly.
- Pour batter onto the griddle, using about 1/4 cup per pancake, and cook until bubbles form across the whole surface and the edges look set, about 2-3 minutes.
- Flip once and cook about 2 minutes more, until both sides are golden and the center springs back.
- Serve immediately with butter and plenty of real maple syrup.