Pumpkin cathead biscuits bake up tall, tender, and bronzed at the edges, with a soft center that pulls apart in shaggy layers. The pumpkin brings a gentle earthiness and a warm color, but the real payoff is the texture: a biscuit that feels rustic and generous, not delicate or fussy. Split one open while it’s still hot and the whipped maple butter melts into every pocket.
This version works because the wet ingredients are kept cold and the butter stays in visible pieces until the oven does the rest. That’s what gives you those big, craggy biscuit tops instead of a dense, muffin-like crumb. The cast iron skillet helps the bottoms set quickly, which is what lets the biscuits rise up instead of spreading out.
Below, I’ll walk through the small decisions that matter here: how coarse the butter should look before you add the pumpkin, why the dough should stay shaggy, and how to keep the biscuits light even with pumpkin puree in the mix.
The biscuits rose up big and flaky, and the whipped maple butter melted into the cracks just like you described. I was worried the pumpkin would make them heavy, but they stayed light and the skillet gave the bottoms a great crisp edge.
Like these pumpkin cathead biscuits? Save them to Pinterest for the morning you want big, golden biscuits with whipped maple butter melting into every split.
The Reason These Biscuits Stay Tall Instead of Doughy
Pumpkin adds moisture, and that’s the part that can turn cathead biscuits heavy if the dough gets overworked or the butter disappears into the flour. The trick is to stop mixing while the dough still looks rough and uneven. You want patches of flour, bits of butter, and a dough that holds together only when you scoop it. That shaggy look is a good sign here, not a problem.
Cathead biscuits get their name from the size, and the size matters. Big mounds bake up with a soft middle and a browned exterior before the dough has time to dry out. If you flatten them or smooth them into neat rounds, they lose that rustic rise and start baking more like standard biscuits.
What Each Ingredient Is Actually Doing in These Pumpkin Biscuits
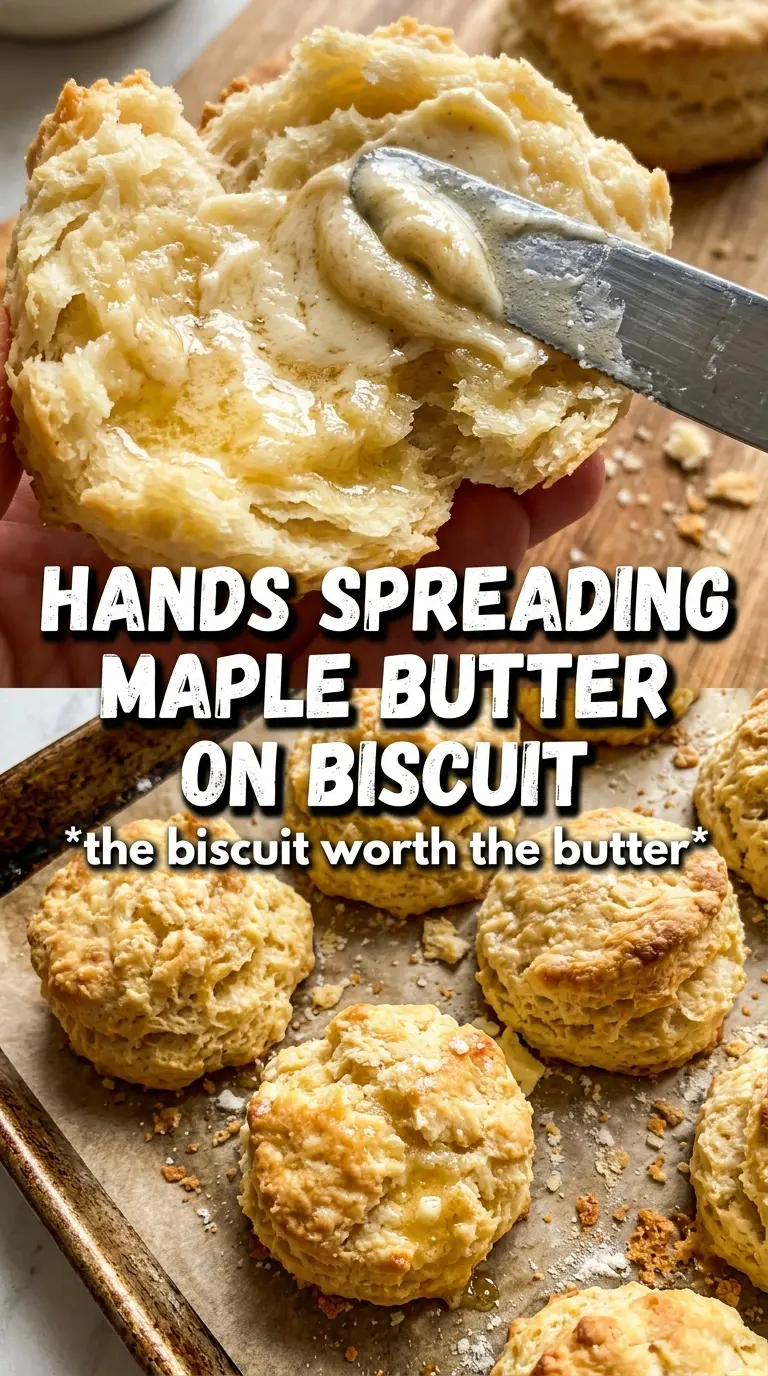
- All-purpose flour — This gives the biscuits enough structure to hold those big scoopfuls without becoming tough. A lower-protein flour can make them a little softer, but all-purpose is the reliable middle ground for a biscuit this substantial.
- Cold unsalted butter — The butter is the lift and the flavor. Keep it cold and cut into small cubes so it stays in pieces long enough to steam in the oven; that’s what creates the tender layers.
- Pumpkin puree — Use plain pumpkin puree, not pumpkin pie filling. The puree adds moisture and body without making the biscuits sweet, and it also gives the dough that warm color. If the puree looks watery, stir it before measuring so you don’t accidentally add extra liquid.
- Cold buttermilk — Buttermilk reacts with the baking soda and helps the biscuits rise while adding a subtle tang that keeps the pumpkin from tasting flat. If you’re out, mix regular milk with a little lemon juice or vinegar, but the texture won’t be quite as plush.
- Baking powder and baking soda — Both matter here. The baking powder gives a steady rise in the oven, while the baking soda reacts with the buttermilk for an extra lift and a better browning on top.
- Maple syrup in the butter — The maple butter is not just a topping; it’s the finishing touch that brings the whole biscuit into focus. Real maple syrup has a rounder, deeper sweetness than pancake syrup, and it whips into the butter more cleanly.
Building the Dough So the Oven Can Do the Heavy Lifting
Mix the Dry Ingredients Thoroughly
Whisk the flour, leaveners, spices, salt, and sugar until the color looks even and the cinnamon is no longer streaky. That keeps the biscuits from tasting patchy, with one bite full of spice and the next one plain. If the baking soda isn’t distributed well, the rise can be uneven and the tops bake with little pale pockets.
Cut the Butter Until It Still Looks Obvious
Work the cold butter into the flour until you have a crumbly mix with pea-size pieces still visible. Those visible bits are what you want. If the butter melts into the flour at this stage, the biscuits lose the pockets that create tenderness and height. A pastry cutter works well, but your fingertips are fine as long as your hands stay quick.
Bring the Dough Together Without Beating It Smooth
Stir the pumpkin and buttermilk together first, then add that mixture to the dry ingredients and mix only until the flour disappears. The dough should look rough and slightly sticky, not polished. If it seems a little loose, let it sit for a minute before deciding it needs more flour; pumpkin takes a moment to hydrate the dough, and overcorrecting is how biscuits turn dry.
Drop Big Mounds and Bake Right Away
Scoop the dough into large mounds and place them close together in the greased cast iron skillet. You’re looking for rough, lofty shapes, not tidy scoops. Bake immediately so the cold butter and leaveners go into the oven before they lose momentum. The biscuits are done when the tops are deep golden and the centers spring back lightly when touched.
Make Them Dairy-Free
Use a good plant butter in both the biscuit dough and the whipped topping, then swap the buttermilk for unsweetened non-dairy milk mixed with 1 tablespoon lemon juice. The biscuits will still rise, but they’ll be a little less tangy and a touch less rich than the original.
Use Brown Butter for a Deeper Flavor
Brown the butter first, then chill it until it firms up again before cutting it into the flour. You’ll get a nutty, toasted note that plays well with pumpkin, but the butter has to be cold again or you’ll lose the biscuit texture.
Turn Them Into Drop Biscuits for a Smaller Batch
Use a spoon or cookie scoop to portion the dough into 8 rustic portions and bake them as written. The shape stays rough, but the biscuits spread a little less and brown a bit more evenly around the edges.
Storage and Reheating
- Refrigerator: Store cooled biscuits in an airtight container for up to 3 days. They’ll soften a little as they sit, especially where the pumpkin keeps the crumb moist.
- Freezer: These freeze well. Wrap individually and freeze for up to 2 months; thaw at room temperature or warm straight from frozen.
- Reheating: Warm in a 325F oven for 8 to 10 minutes until the centers are hot again. The microwave works in a pinch, but it softens the crumb and makes the edges lose their bite.
Answers to the Questions Worth Asking
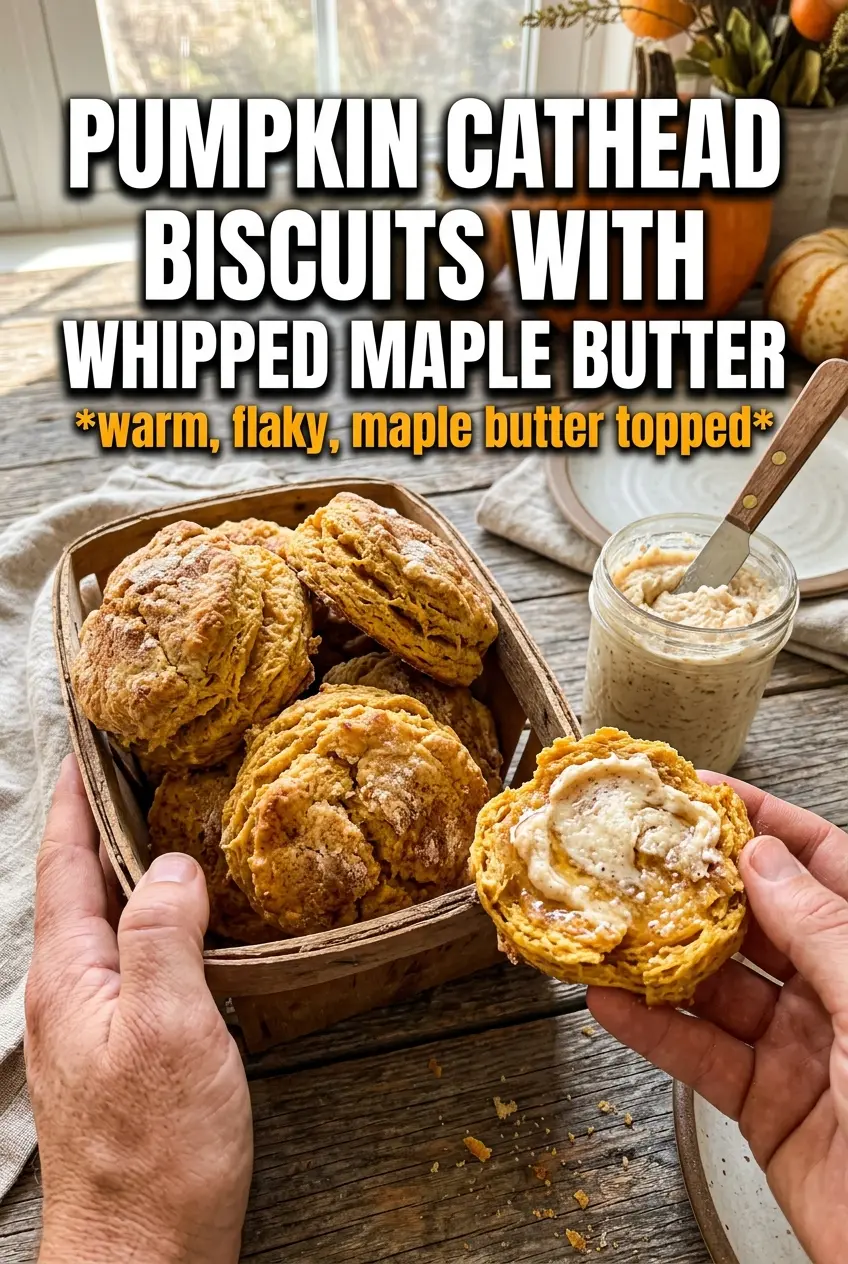
Pumpkin Cathead Biscuits With Whipped Maple Butter
Ingredients
Equipment
Method
- Preheat oven to 425F and grease a 10-inch cast iron skillet so it’s ready for immediate baking.
- Whisk all-purpose flour, baking powder, baking soda, cinnamon, nutmeg, salt, and sugar in a bowl until evenly combined.
- Cut in cold unsalted butter until the mixture looks crumbly with small butter pieces.
- Stir pumpkin puree and cold buttermilk together, then add to the flour mixture and mix until just combined.
- Drop 8 large mounds (about 1/3 cup each) into the skillet, leaving space between them for spreading.
- Bake for 18-20 minutes at 425F until golden, then serve immediately.
- Beat softened butter with maple syrup and cinnamon until fluffy so it can melt into the hot biscuits.
- Serve the biscuits with the whipped maple butter while warm.