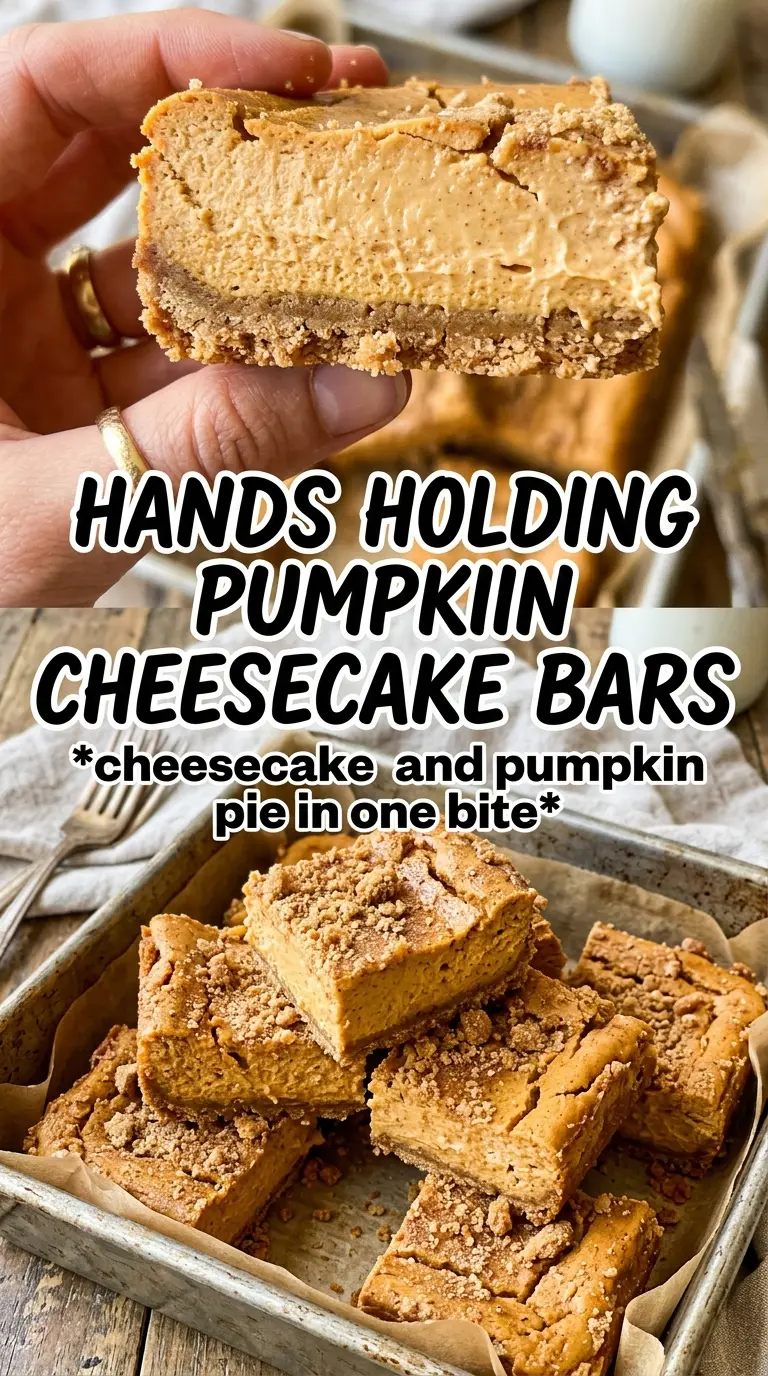
Pumpkin cheesecake bars hit that sweet spot between a pie and a classic cheesecake: sturdy enough to slice cleanly, but still creamy in the center with a spiced pumpkin swirl that stands out against the tangy filling. The gingersnap crust gives every bite a sharp, warm crunch, and it keeps the bars from tasting flat or overly sweet.
What makes this version work is the split filling. Mixing part of the cheesecake base with pumpkin keeps the texture smooth instead of dense, and it gives you a real swirl instead of a muddy orange batter. The crust gets a short bake before the filling goes in, which helps it stay crisp under all that cream cheese.
Below, I’ve laid out the small details that matter most: how to keep the swirl visible, what the bars should look like when they come out of the oven, and how to chill them so they cut into neat squares instead of soft, messy ones.
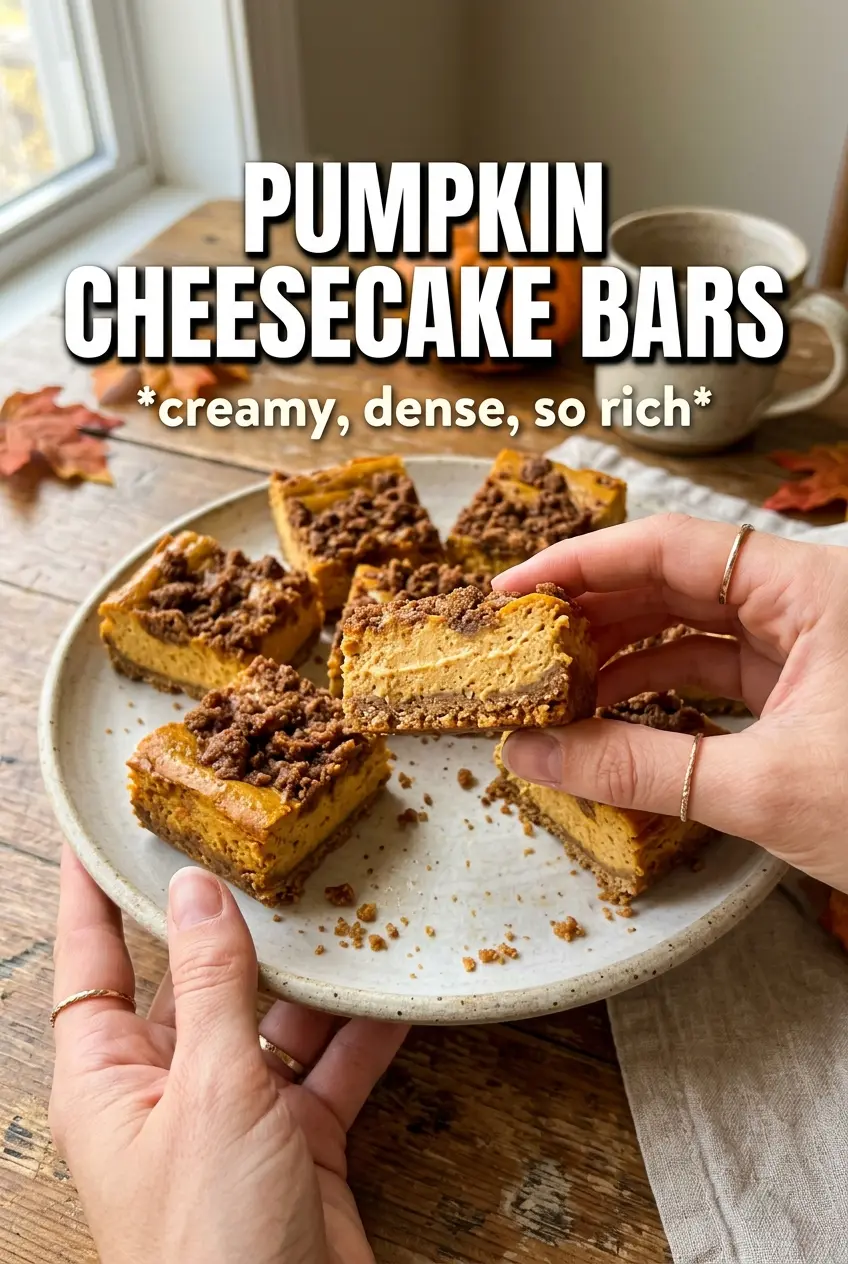
The filling stayed silky, and the pumpkin swirl held its shape after chilling. I used a toothpick to marble it and the bars sliced into clean squares once they were cold.
Save these pumpkin cheesecake bars for a dessert with a crisp gingersnap crust, creamy vanilla base, and a clean pumpkin swirl.
The Swirl Works Because You Don’t Overmix the Pumpkin Layer
Once the pumpkin mixture is folded or whisked into part of the cheesecake base, stop as soon as it looks smooth. If you beat it hard, the filling turns loose and the swirl disappears into one uniform color after baking. You want distinct ribbons of pumpkin, not a fully blended orange batter.
The other place people go wrong is the bake. These bars should come out when the edges are set and the center still has a slight wobble. If the middle looks fully firm in the oven, it’s already headed toward dry cheesecake once it cools.
What Each Layer Is Doing in These Pumpkin Cheesecake Bars
- Gingersnap crumbs — These bring the spice and the snap that a plain graham crust can’t match. They also stand up better under the creamy filling, so the base tastes intentional instead of just sweet.
- Cream cheese — Use full-fat cream cheese and let it soften fully. Cold cream cheese leaves little lumps that never disappear, and those lumps show up after baking.
- Sour cream — This keeps the cheesecake layer tangy and supple. It adds moisture without making the filling runny the way extra milk would.
- Pumpkin puree — Use plain pumpkin puree, not pumpkin pie filling. Pie filling already has sugar and spices mixed in, which throws off both the flavor balance and the texture.
- Pumpkin pie spice and cinnamon — The pumpkin layer needs more seasoning than the cheesecake layer because pumpkin is mild on its own. Cinnamon deepens the flavor and keeps the swirl from tasting one-note.
Building the Base, the Batter, and the Bake
Pressing and Prebaking the Crust
Mix the gingersnap crumbs, sugar, and melted butter until every crumb looks evenly moistened, then press it firmly into the parchment-lined pan. Use the bottom of a measuring cup to pack it down evenly, especially into the corners. The short bake gives the crust a head start, so it stays crisp instead of turning pasty under the filling.
Making the Cheesecake Filling Smooth
Beat the cream cheese and sugar until there are no visible streaks before adding the eggs. Add the eggs one at a time and stop mixing as soon as they disappear. Overbeating at this stage adds air, and air is what causes puffy cheesecake that cracks or sinks as it cools.
Creating the Pumpkin Swirl
Remove about 1 1/2 cups of the plain cheesecake mixture and whisk in the pumpkin puree, brown sugar, pumpkin pie spice, and cinnamon. Pour the remaining plain batter over the crust first, then dollop the pumpkin mixture over the top in spoonfuls. Drag a knife through in broad S-shapes just a few times; if you keep swirling, the layers blend into a single color and you lose the contrast.
Baking Until Just Set
Bake until the edges are firm and the center still jiggles slightly when you tap the pan. That wobble is what you want. The bars finish setting as they cool, and the 3-hour chill is what gives you clean cuts. If you slice them early, the filling will slump and the crust will crumble.
Make Them Gluten-Free with a Different Crust
Use gluten-free gingersnap cookies if you can find them, or swap in gluten-free graham-style crumbs. The texture stays crisp as long as the crumbs are fine and you press them firmly into the pan, but the flavor will be a little less spicy if you move away from gingersnaps.
Dairy-Free Version That Still Slices Well
Use a dairy-free cream cheese and a thick coconut-based sour cream alternative. The bars will still chill into slices, but the filling will be a little softer and less tangy, so keep the full chill time and cut them only when they’re cold.
Swap the Gingersnap Crust for Graham Cracker
A graham cracker crust makes the bars milder and a little sweeter, which works if you want the pumpkin swirl to lead. You’ll lose the deeper spice note, so add a pinch more pumpkin pie spice to the filling if you want the bars to taste balanced.
Storage and Reheating
- Refrigerator: Store covered for up to 5 days. The crust softens slightly after day 1, but the bars stay creamy and sliceable.
- Freezer: These freeze well. Cut into bars, wrap individually, and freeze in a single layer before transferring to a container. Thaw in the refrigerator for the cleanest texture.
- Reheating: Don’t reheat these bars. Cheesecake texture is best cold or cool, and warming them softens the crust and can make the filling weep.
Answers to the Questions Worth Asking
Pumpkin Cheesecake Bars
Ingredients
Equipment
Method
- Preheat the oven to 325F, then line a 9x13 pan with parchment so the paper overhangs for easy lifting.
- Press the gingersnap crumbs, sugar, and melted butter into the lined pan to form an even crust layer.
- Bake the crust for 8 minutes, until it looks slightly set at the edges (visual cue: golden, fragrant crumbs).
- Beat the softened cream cheese and granulated sugar until smooth and lump-free.
- Add the eggs, sour cream, and vanilla, then beat just until the mixture looks glossy and cohesive (avoid overmixing).
- Remove 1-1/2 cups of the cream cheese mixture and whisk it with pumpkin puree, brown sugar, pumpkin pie spice, and cinnamon until the pumpkin portion is uniformly colored.
- Pour the plain cheesecake mixture over the baked crust to cover it completely.
- Dollop the pumpkin mixture over the surface in spoonfuls so it forms a top layer.
- Swirl the top with a knife to create a marbled pattern (visual cue: streaks of orange through the pale cheesecake).
- Bake for 35-38 minutes at 325F until the center is just set but still has a slight wobble when gently nudged.
- Cool the bars at room temperature, then refrigerate for 3 hours to fully firm up.
- Cut into bars and serve with clean edges from the chilled set.