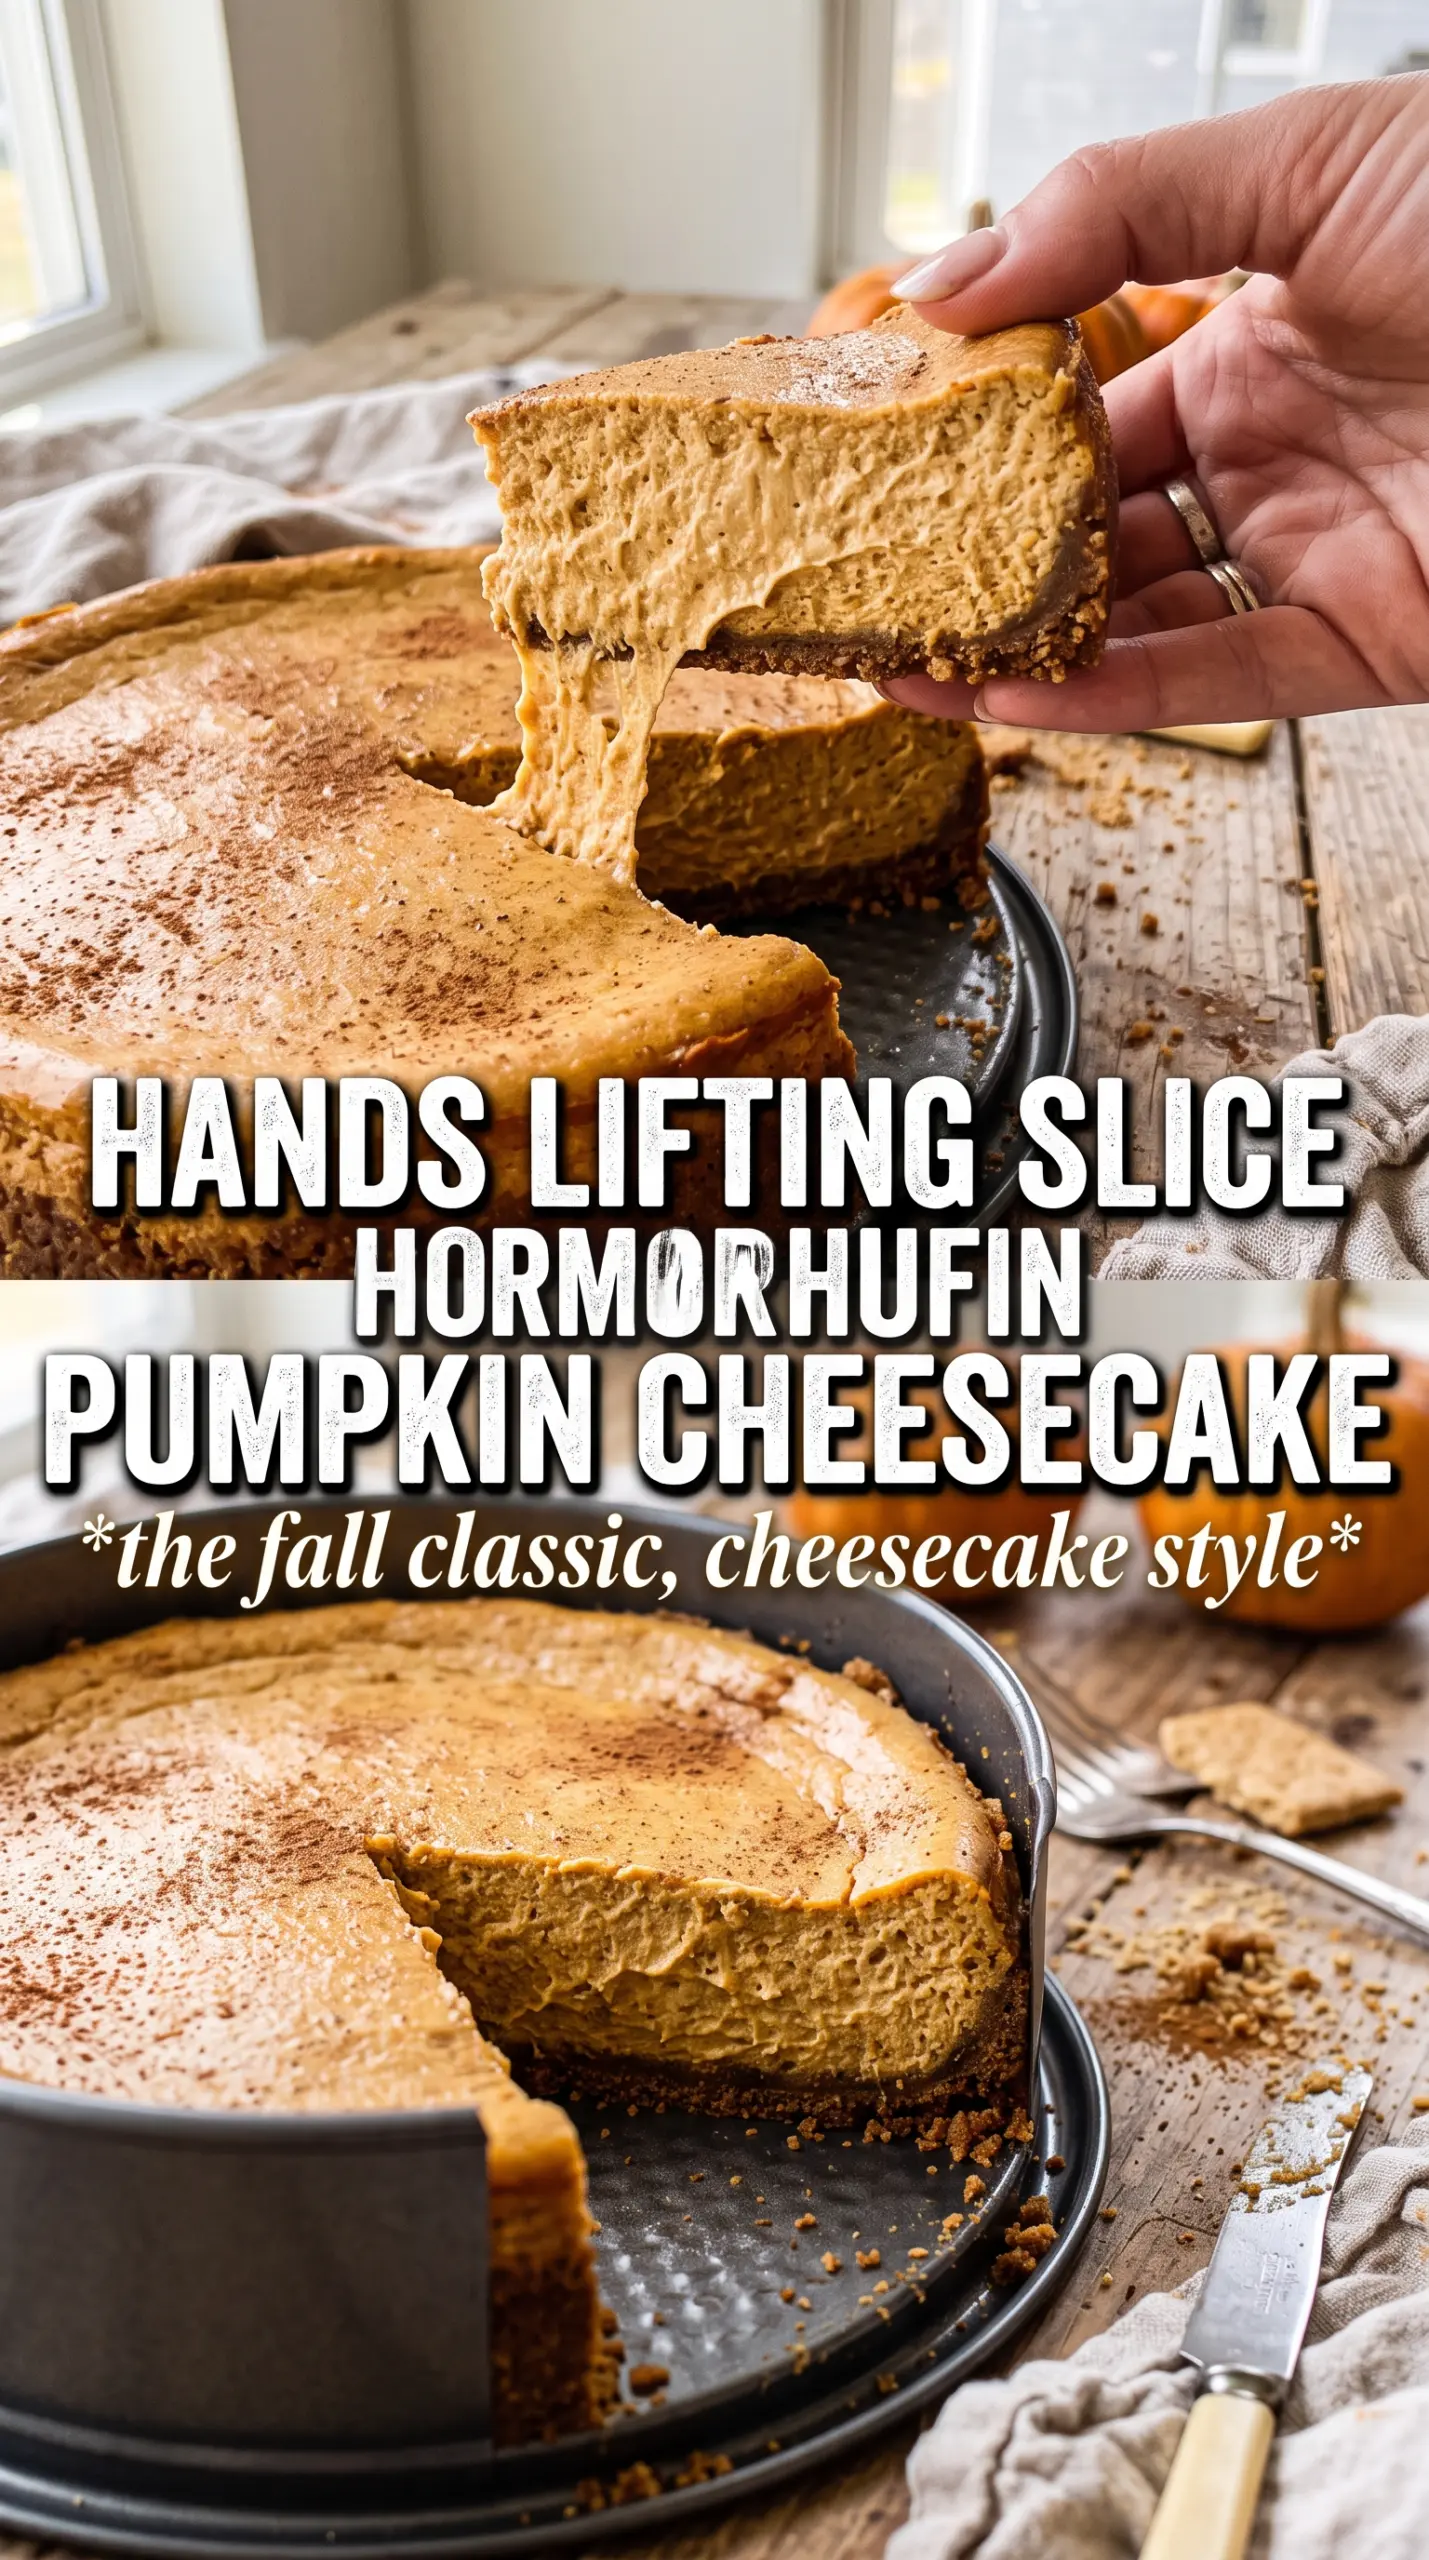
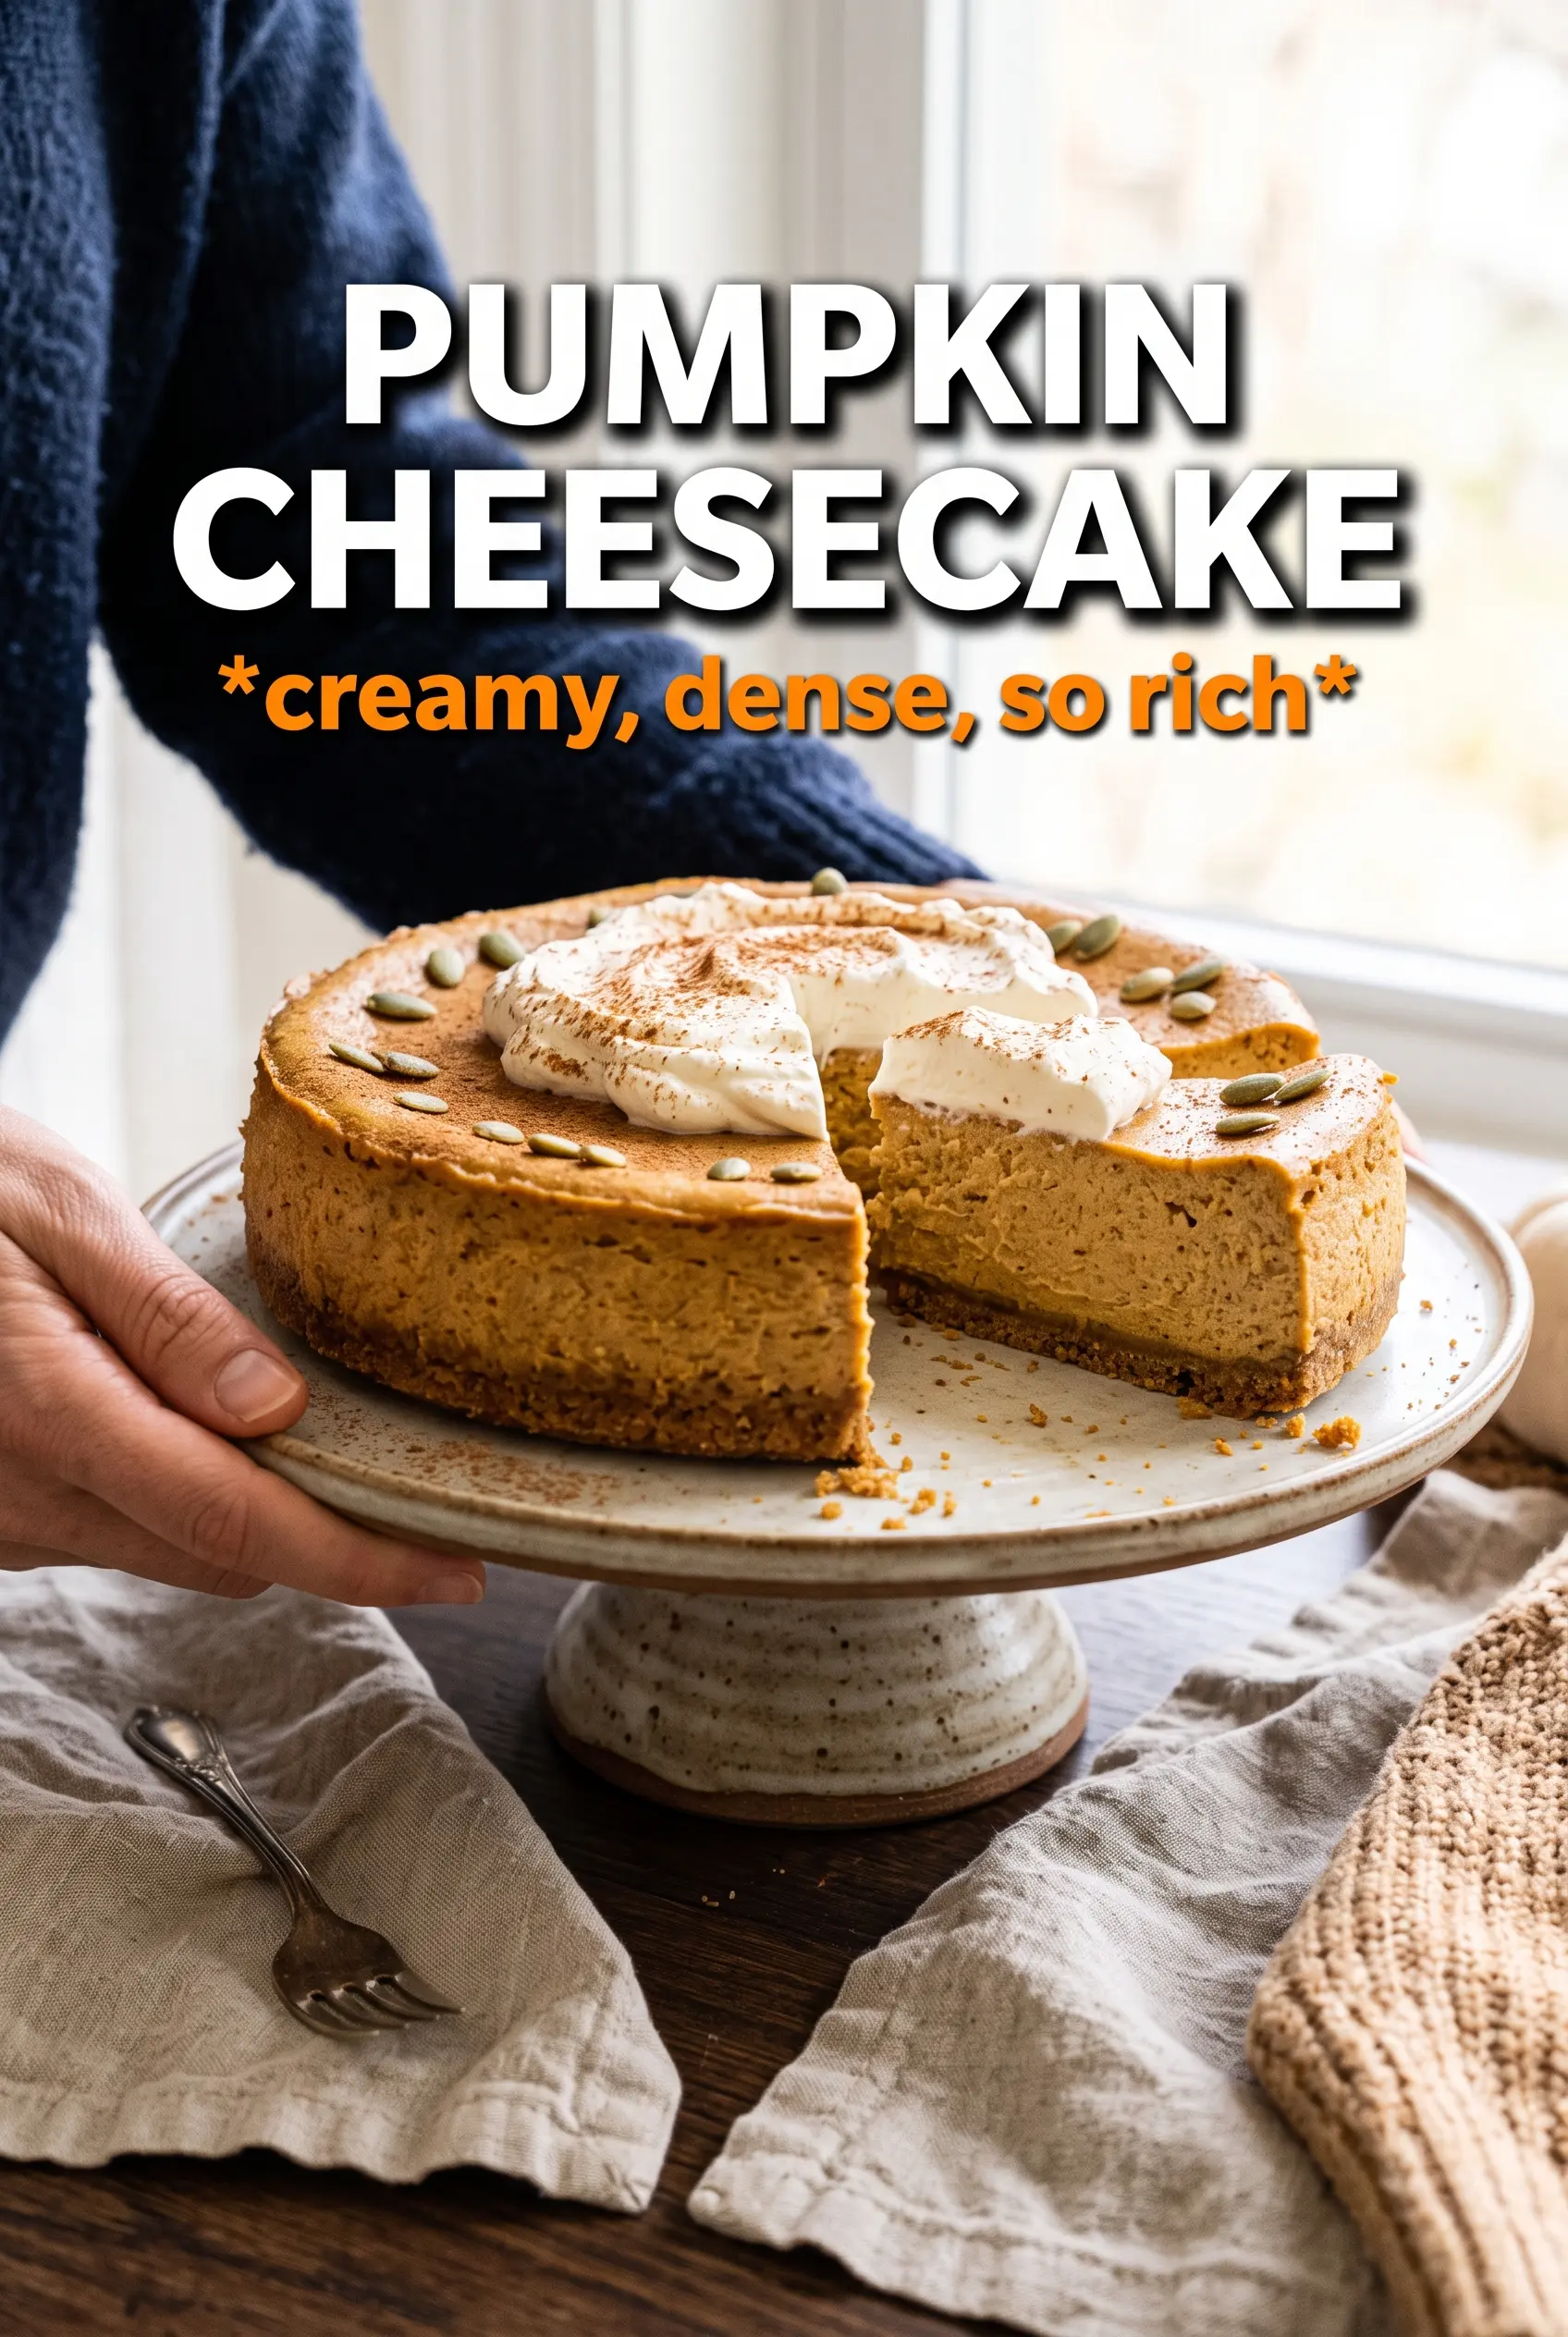
Pumpkin cheesecake lands in that sweet spot between rich and light: dense enough to slice cleanly, but still soft on the tongue with a spiced pumpkin filling that tastes like it belongs on a holiday table. The gingersnap crust gives every bite a warm crunch and keeps the sweetness from turning flat, which is what makes this version worth making again instead of reaching for a boxed mix of flavors that blur together.
The texture here comes from a few small but important choices. Softened cream cheese beats smooth before anything else goes in, which keeps the batter from staying grainy. The pumpkin and sour cream add moisture and a little tang, while the water bath and slow cooling protect the surface so the cheesecake sets without cracking. That last part matters more than most people think; cheesecake usually fails from rushing the bake or the chill, not from the filling itself.
Below you’ll find the trick for keeping the center silky, why the gingersnap crust holds up better than a graham crust here, and the easiest way to tell when the cheesecake is done before you ever touch the timer.
The gingersnap crust stayed crisp even after chilling, and the filling set up with that perfect wobble in the middle. I chilled it overnight and the slices came out neat and creamy with no cracks at all.
Save this pumpkin cheesecake for the gingersnap crust, silky spiced filling, and clean holiday-worthy slices.
The Mistake That Turns Pumpkin Cheesecake Grainy
Cheesecake looks forgiving until the batter goes lumpy or the top splits. The problem usually starts with cold cream cheese or mixing too hard once the eggs go in. Cold cream cheese leaves tiny bits behind that never disappear, and overbeating after the eggs are added traps air that puffs in the oven and collapses on the way out. That collapse is what leaves cracks and a rough surface.
This version avoids both problems by building the base slowly and baking gently. The cream cheese and sugars need to be beaten until the bowl looks glossy and completely smooth before anything else is added. Once the eggs go in, mix only until the yolk streaks disappear. After that, the pumpkin, sour cream, and spices just need enough time to blend. The filling should look thick, satiny, and a little loose before baking; cheesecake firms up in the oven and then again in the fridge.
What the Gingersnap Crust and Sour Cream Are Doing Here
- Gingersnap crumbs — They bring spice and structure in one move. Graham crackers work in a pinch, but they taste milder and you lose that sharp, almost peppery edge that makes pumpkin cheesecake feel complete.
- Butter — Melted butter binds the crust so it packs tightly and slices cleanly. If the crust seems sandy after baking, it was underpacked or didn’t get enough butter to hold together.
- Cream cheese — Use full-fat block cream cheese, not the spreadable tub kind. The tub version has more moisture and stabilizers, which changes the way the cheesecake sets.
- Pumpkin puree — Use plain puree, not pumpkin pie filling. Pie filling already contains sugar and spices, which throws off both texture and flavor balance.
- Sour cream — This softens the filling and adds the light tang that keeps the cheesecake from tasting heavy. Plain Greek yogurt can work, but it adds a little more sharpness.
- Eggs — They set the custard. Add them one at a time so the batter stays smooth and doesn’t curdle-looking or separate before it hits the pan.
Building the Batter Without Whipping Too Much Air Into It
Pressing and Prebaking the Crust
Mix the gingersnap crumbs, sugar, and melted butter until every crumb looks evenly damp, then press the mixture firmly into the springform pan. Pack it up the sides just a little if you want more contrast in each slice. The 10-minute bake sets the crust so it can support the filling without turning soggy. If it still feels loose when you tap it, it needs another minute or two in the oven.
Beating the Base Until It’s Smooth
Start with the cream cheese and both sugars and beat until there are no visible lumps and the mixture looks creamy, not fluffy. Scrape the bowl well, especially at the bottom corners, because those little streaks of unmixed cream cheese show up later as bumps in the finished cheesecake. Add the eggs one at a time and stop mixing as soon as each one disappears. That’s the point where the batter should stay dense and glossy instead of airy.
Finishing the Filling and Setting Up the Water Bath
Mix in the pumpkin, sour cream, pumpkin pie spice, cinnamon, and vanilla until the batter is uniform in color. Pour it over the crust, set the springform pan inside the water bath, and bake until the edges are set but the center still has a soft wobble when you nudge the pan. If the middle looks fully firm in the oven, it’s already overbaked and will dry out as it cools. Turn the oven off, crack the door, and let the cheesecake rest there for an hour before moving it out to cool completely.
Brown Butter Gingersnap Crust
Swap the melted butter for browned butter and let it cool just enough to stay liquid. The crust picks up a deeper, nutty note that plays nicely with the spice, but you’ll lose a little simplicity and need to watch it so the butter doesn’t scorch.
Dairy-Free Version
Use a high-quality dairy-free cream cheese and swap the sour cream for a thick coconut-based alternative. The texture will still set, but it will be a little softer and less tangy than the original, so the chill time matters even more.
Gluten-Free Crust
Use certified gluten-free gingersnap cookies or gluten-free spice cookies in the crust. The filling is already gluten-free, so this swap keeps the same structure and spice while making the dessert work for more guests.
Make-Ahead for Clean Slices
Bake the cheesecake a day ahead and chill it overnight before slicing. That extra time lets the custard fully set, which gives you the cleanest edges and the least sticking when you run a knife through it.
Storage and Reheating
- Refrigerator: Store covered for up to 5 days. The crust softens a little by day two, but the flavor stays excellent.
- Freezer: Freeze whole or in slices, tightly wrapped, for up to 2 months. Thaw overnight in the fridge so the filling doesn’t sweat and turn wet on top.
- Reheating: Cheesecake is best served cold or just barely cool. Don’t microwave it; heat breaks the custard texture and makes the center greasy instead of creamy.
Questions I Get Asked About This Recipe
Pumpkin Cheesecake
Ingredients
Equipment
Method
- Preheat oven to 325F. Press gingersnap crumbs into a 9-inch springform pan and pour melted butter over the crumbs so they hold together when pressed (visual cue: crust looks evenly packed).
- Bake crust for 10 minutes. The crust should smell toasty and look slightly set, then remove from the oven.
- Beat cream cheese and both sugars until completely smooth. Continue mixing until there are no lumps (visual cue: mixture turns glossy and uniform).
- Add eggs one at a time, mixing after each addition. Stop and scrape the sides so the batter stays smooth.
- Mix in pumpkin puree and sour cream until fully combined. The batter should look creamy and evenly orange.
- Add pumpkin pie spice, cinnamon, and vanilla extract, then mix just until incorporated. The batter should be fragrant and consistent in color.
- Pour filling over the crust in the springform pan. Place the springform in a water bath so hot water comes partway up the sides (visual cue: water level reaches about halfway).
- Bake for 60-65 minutes at 325F. Edges should be set while the center still has a slight wobble when the pan is gently nudged.
- Turn the oven off and crack the oven door. Rest the cheesecake in the oven for 1 hour to reduce cracking (visual cue: surface looks set but still tender).
- Cool completely at room temperature before refrigerating. The cheesecake should no longer steam and should feel firm around the edges.
- Refrigerate for 6 hours or overnight. Chill until the center is fully set and slices cleanly (visual cue: when cut, layers hold their shape).
- Serve with whipped cream and a dusting of cinnamon. The top should show a soft whipped cream dollop and a light cinnamon speckle.