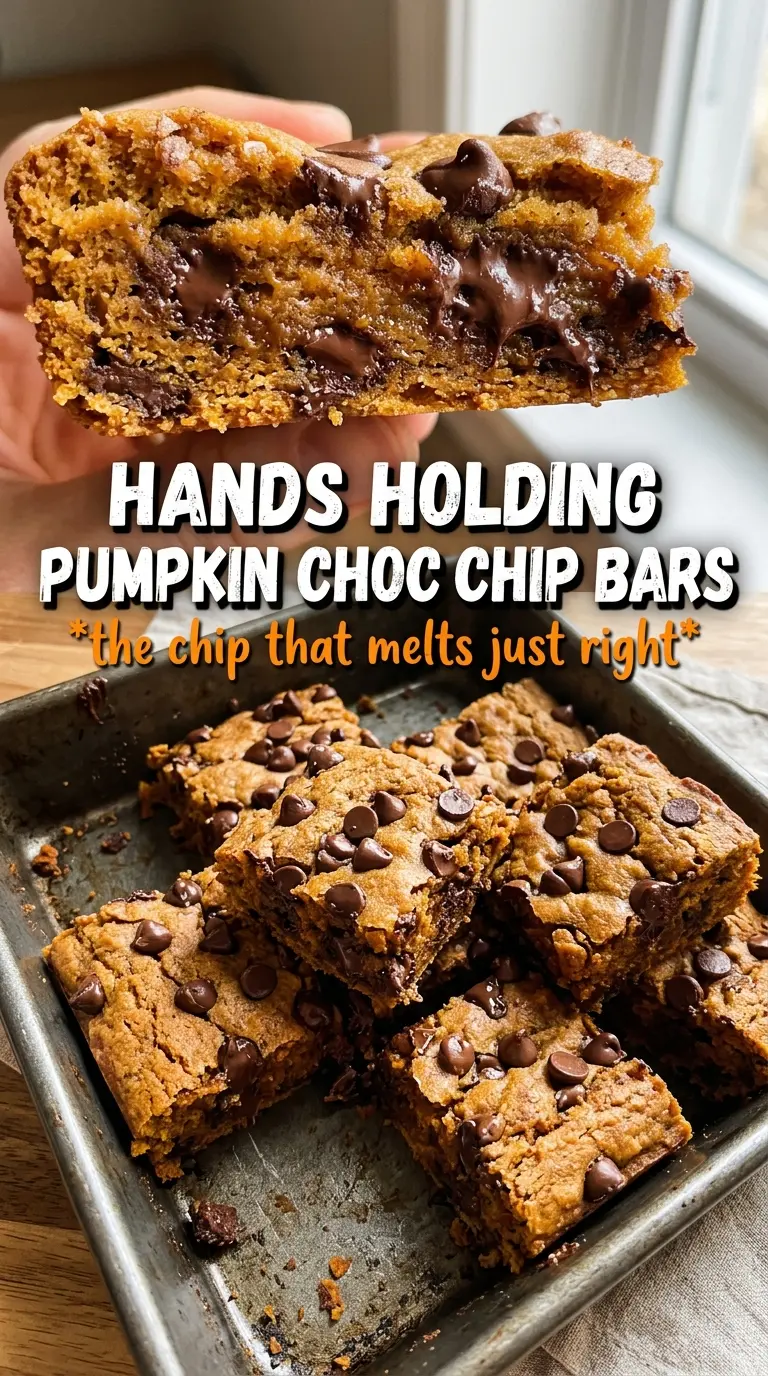
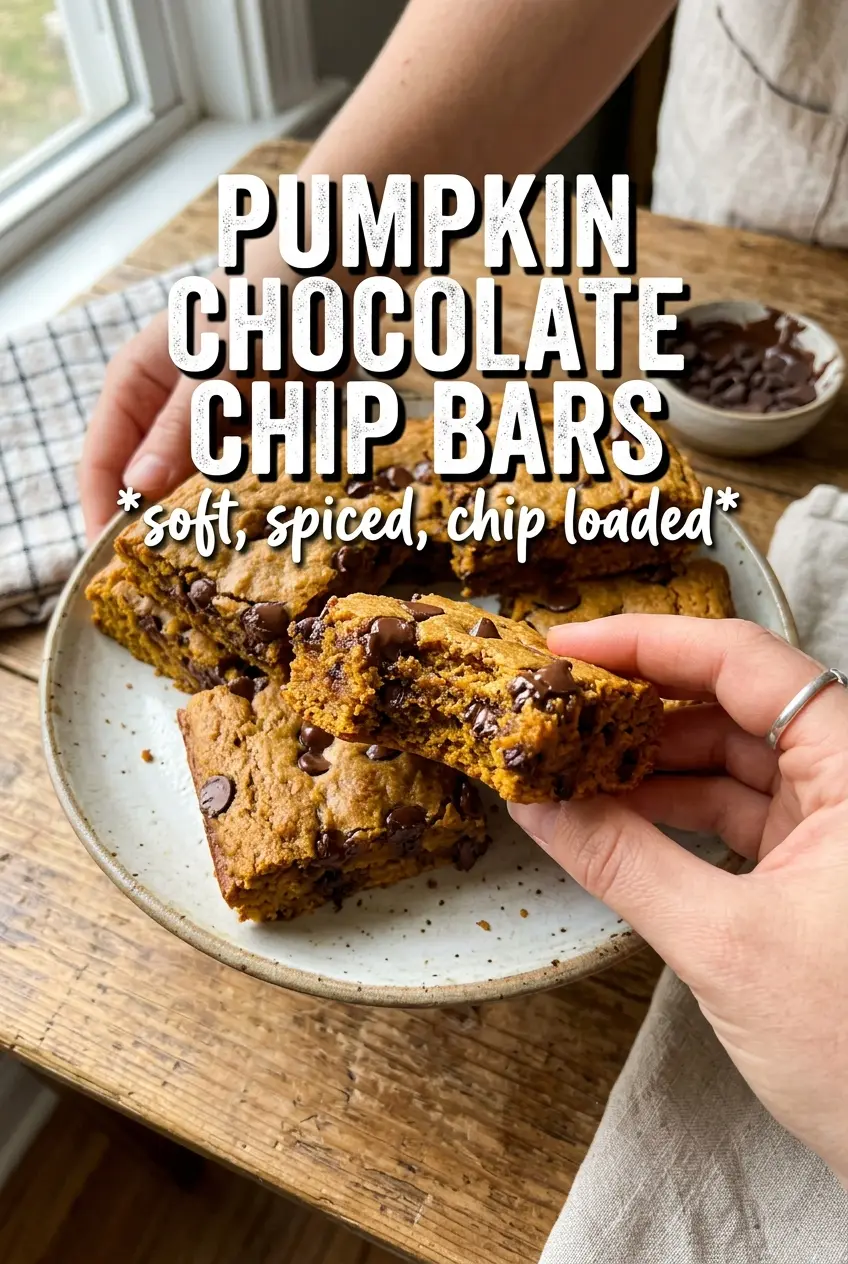
Pumpkin chocolate chip bars bake up soft, moist, and packed with little pockets of melted chocolate in every bite. They slice cleanly once cooled, but the crumb stays tender and almost cake-like, which is exactly why I keep coming back to them when I want something that feels homemade without a lot of fuss. The pumpkin brings moisture and a mellow earthiness, while the chocolate keeps the bars from leaning too sweet.
The trick here is balance. Pumpkin puree adds plenty of moisture, so the dry ingredients need enough structure to hold the bars together without turning them dense. Oil keeps the texture supple for days, and the blend of pumpkin pie spice plus cinnamon gives the bars a warmer, deeper spice note than pumpkin pie spice alone. Folding the chips in gently matters too; overmixing pushes the batter toward tough, and these bars should stay soft.
Below you’ll find the little details that matter most: how to avoid gummy centers, why the bars need a full cool before cutting, and a few smart ways to adapt them without losing that tender crumb.
The bars came out tender and set up perfectly after cooling. I liked that the chocolate stayed in little melted pockets instead of sinking to the bottom.
Save these pumpkin chocolate chip bars for the days when you want a soft, spiced dessert with melted chocolate in every slice.
The Secret to Bars That Stay Tender Instead of Gumgy
With pumpkin bars, the usual failure is a texture that lands somewhere between cakey and heavy because the batter gets overworked or the pan gets overbaked. Here, the goal is a set edge and a center that finishes just as the toothpick comes out clean, not a dry crumb all the way through. Pumpkin puree carries a lot of moisture, so the batter looks looser than a typical blondie batter, but that is normal.
The other thing that matters is mixing. Once the dry ingredients go in, stop as soon as the flour disappears. A few streaks are fine for a moment; they vanish when you fold in the chocolate chips. If the batter is beaten smooth after the flour is added, the bars turn tighter and lose that soft, tender middle that makes them worth baking.
What the Pumpkin, Oils, and Sugars Are Each Doing Here
- Pumpkin puree — This gives the bars their moisture, color, and gentle pumpkin flavor. Use plain pumpkin puree, not pumpkin pie filling, or the bars will end up too sweet and spiced in a way you can’t control.
- Vegetable oil — Oil keeps the crumb soft for days. Butter can work, but it firms up more as the bars cool, which changes the texture from plush to a little denser.
- Brown sugar — The brown sugar adds a deeper, caramel note and helps the bars stay moist. If you only use white sugar, the flavor gets flatter and the bars dry out faster.
- Semi-sweet chocolate chips — Semi-sweet chips balance the sweetness of the batter and hold their shape well in the oven. If you use milk chocolate, the bars get sweeter; if you use dark chocolate, the pumpkin spice comes forward more.
- Pumpkin pie spice and cinnamon — The two together give the bars a warmer, fuller spice than pumpkin pie spice alone. Cinnamon stretches the pumpkin spice flavor without making the bars taste like a candle.
Building the Batter Without Losing the Soft Crumb
Mix the dry ingredients first
Whisk the flour, spices, baking soda, baking powder, and salt together until the color looks even. This keeps the leavening from clumping in one spot, which matters because pumpkin batter doesn’t give you much room to fix uneven mixing later. A quick whisk is enough; you just want the ingredients distributed before they meet the wet mixture.
Make the pumpkin base smooth
Whisk the pumpkin puree, both sugars, oil, eggs, and vanilla until the mixture looks glossy and no streaks of egg remain. The batter should thicken slightly and look uniform, not grainy. If the eggs aren’t fully blended here, you’ll see small pockets of richer, eggy texture in the baked bars.
Fold, don’t beat, once the flour goes in
Add the dry ingredients to the wet mixture and fold only until the flour disappears. A few slow strokes are enough. Then fold in 1 1/2 cups of the chocolate chips. Overmixing at this stage is the fastest way to get tougher bars, and with a 9×13 pan, the batter spreads best when it’s still soft.
Watch the bake, not just the timer
Spread the batter evenly in the pan and scatter the remaining chocolate chips on top so the surface looks generous and speckled. Bake until the edges are set and a toothpick in the center comes out clean or with a few moist crumbs, usually around 25 to 30 minutes. If the center still looks shiny and wet, give it a few more minutes; if you wait for it to look dry all the way across, the bars will be past their best.
Three Ways to Bend These Bars Without Breaking Them
Make them dairy-free without changing the texture
These bars are already naturally dairy-free as written if your chocolate chips are dairy-free. That makes the recipe especially easy to share, and the oil-based batter keeps the same soft crumb without needing any extra swaps.
Use chopped chocolate instead of chips
Chopped chocolate melts into larger puddles and gives the bars a richer, more bakery-style look. Chips hold their shape better, so choose chopped chocolate if you want softer pools of chocolate in every square.
Cut the sugar slightly for a less sweet bar
You can reduce the granulated sugar by 1/4 cup if you prefer the pumpkin and spice to lead. Don’t cut more than that unless you want a drier, less tender bar, because the sugar is doing more than sweetening here — it also helps hold moisture.
Storage and Reheating
- Refrigerator: Store in an airtight container for up to 5 days. The bars stay moist, though the chocolate firms up a little once chilled.
- Freezer: These freeze well. Wrap individual bars tightly and freeze for up to 2 months, then thaw at room temperature.
- Reheating: Warm a bar for 10 to 15 seconds in the microwave if you want the chocolate soft again. Heat it longer and the crumb turns dry fast, so short bursts are best.
Questions I Get Asked About This Recipe
Pumpkin Chocolate Chip Bars
Ingredients
Equipment
Method
- Preheat the oven to 350F, then grease a 9x13 pan.
- Whisk all-purpose flour, pumpkin pie spice, cinnamon, baking soda, baking powder, and salt in a bowl.
- Whisk pumpkin puree, granulated sugar, brown sugar, vegetable oil, eggs, and vanilla extract until smooth.
- Fold the dry mixture into the wet mixture just until combined, then fold in 1-1/2 cups chocolate chips.
- Spread the batter evenly in the pan, then scatter the remaining chocolate chips over the top.
- Bake for 25-30 minutes at 350F, until a toothpick comes out clean.
- Cool completely before cutting into bars, so the crumb sets and slices stay tidy.