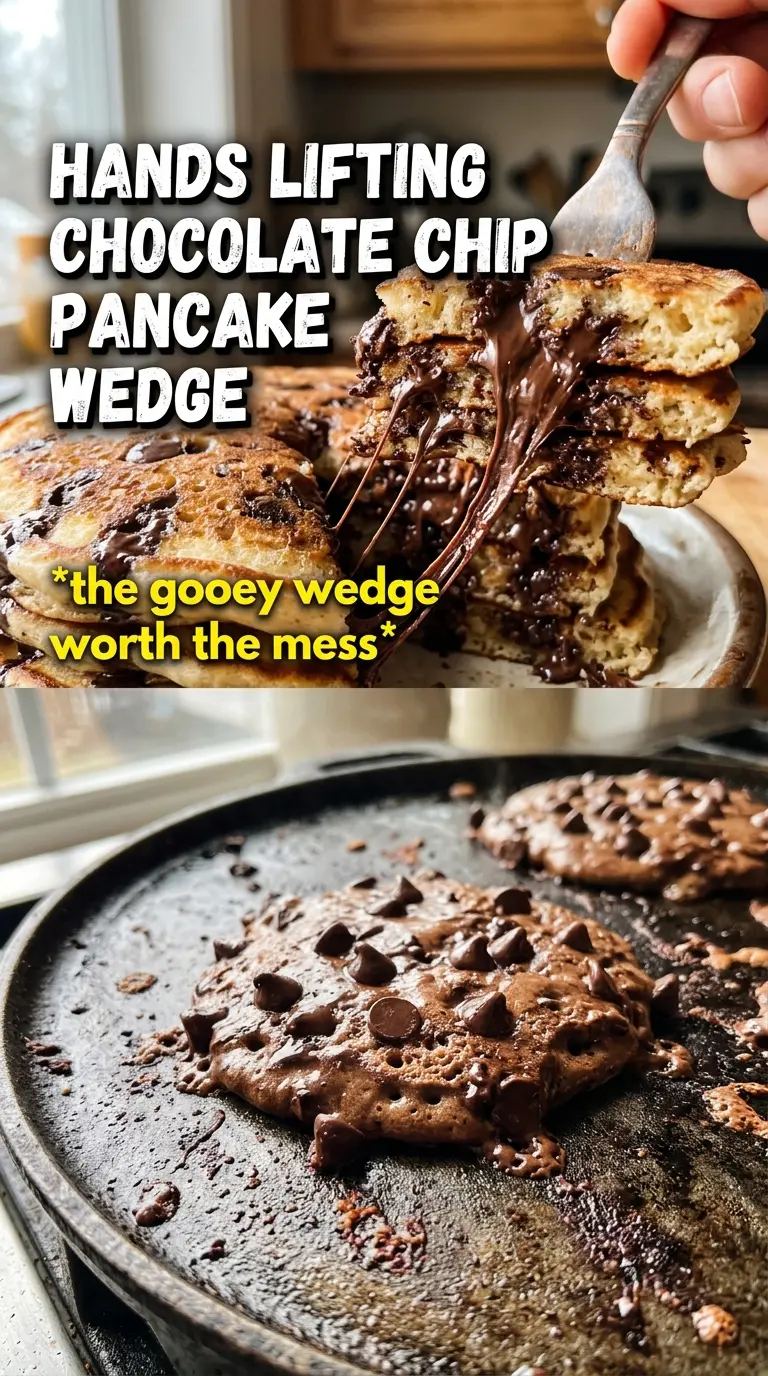
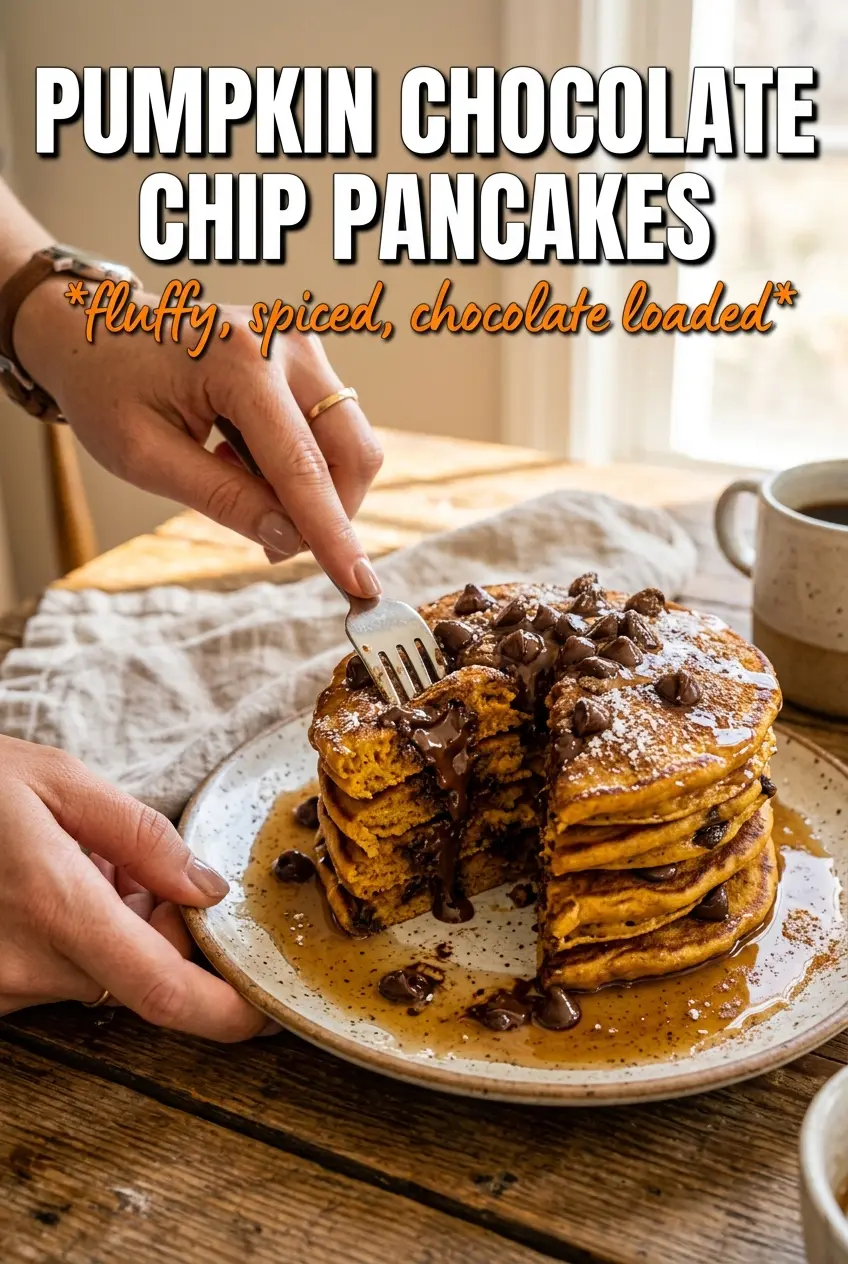
These pumpkin chocolate chip pancakes turn out thick, tender, and lightly spiced, with little pockets of melted chocolate in every bite. The batter cooks up with crisp, bronzed edges and a soft center that stays fluffy instead of heavy, which is exactly what you want when pumpkin is involved.
The trick is keeping the pumpkin flavor balanced so the pancakes taste warm and autumn-spiced without turning dense or wet. Pumpkin puree brings moisture, so the batter needs enough lift from baking powder and baking soda to stay airy. Buttermilk helps with that lift and adds a gentle tang that keeps the sweetness in check. Fold the chocolate chips in at the end and stop as soon as the flour disappears; overmixing is the fastest way to lose the tender crumb.
Below, I’ve included the small details that matter most: how to keep the pancakes from spreading too much on the griddle, which chocolate chips melt best, and what to do if your batter thickens as it sits.
The pancakes were fluffy without feeling cakey, and the chocolate stayed melty even after I stacked them. I liked that the pumpkin flavor came through without tasting heavy.
Save these pumpkin chocolate chip pancakes for the mornings when you want fluffy centers, crisp edges, and melted chocolate in every bite.
The Small Batter Mistakes That Make Pumpkin Pancakes Heavy
Pumpkin batter gets fussy when it’s overworked. The flour starts developing gluten, and the pancakes lose that soft lift that makes them worth cooking in the first place. Stir just until the dry streaks disappear, then stop. A few lumps are a good sign here.
Heat matters just as much. If the pan is too hot, the outsides brown before the centers set, and the chocolate chips can scorch before the pancakes finish cooking. Medium heat gives you time for the bubbles to rise, the edges to set, and the middle to cook through without drying out.
- Pumpkin puree — Use plain pumpkin puree, not pumpkin pie filling. Pie filling already has sugar and spice mixed in, which throws off both the texture and the seasoning.
- Buttermilk — This is the ingredient that keeps the pancakes tender and helps the baking soda do its job. If you need a substitute, mix 1 tablespoon lemon juice or vinegar into 1 1/4 cups milk and let it sit for 5 minutes.
- Chocolate chips — Semi-sweet gives you the best balance against the spice. Dark chocolate works too if you want a deeper, less sweet pancake. Mini chips spread more evenly if you want chocolate in every forkful.
- Melted butter — Butter adds flavor and a softer crumb. Use it while it’s melted, not hot, so it doesn’t scramble the eggs when you whisk the wet ingredients together.
What Each Ingredient Is Actually Doing in This Recipe
- Primary ingredient (the star) — Quality matters most. Choose the best you can find.
- Cooking medium (oil, butter, or broth) — This carries flavors and prevents dryness.
- Seasonings (salt, pepper, spices, herbs) — Layer flavors so nothing overpowers. Build depth gradually.
- Aromatics (garlic, onion, herbs) — Cook with fat to bloom flavors. Become the foundation.
- Supporting ingredients — Complement the main ingredient without overpowering it.
- Sauce or liquid (if applicable) — Brings flavors together. Balance richness with acid.
- Acid (lemon, vinegar, wine, or other) — Brightens and prevents flat-tasting results.
- Final finish (garnish, glaze, or sauce) — Prevents one-dimensional taste and adds visual appeal.
How to Cook Them So the Centers Stay Fluffy
Mix the Dry and Wet Separately
Whisk the dry ingredients in one bowl until the spice is evenly distributed, then whisk the pumpkin, buttermilk, eggs, butter, and vanilla in another. This keeps the leaveners from clumping and makes it easier to stop mixing at the right moment. If the wet mixture looks a little streaky from the pumpkin, that’s fine.
Fold, Don’t Beat
Pour the wet ingredients into the dry and fold with a spatula just until combined. The batter should look thick and a little lumpy, not smooth like cake batter. Fold in the chocolate chips at the end so they don’t get smashed and streak the batter brown.
Watch for the Bubble Stage
Scoop about 1/4 cup batter onto a lightly greased skillet or griddle over medium heat. The pancakes are ready to flip when bubbles form across the surface and the edges look set and matte, usually around 3 minutes. If they’re darkening too fast before that point, turn the heat down; if they’re spreading too much, the pan isn’t hot enough.
Finish on the Second Side
Flip once and cook for about 2 minutes more, until the second side is golden and the center springs back lightly when touched. Don’t press the pancakes down with the spatula. That squeezes out the air you worked to build and makes them dense.
How to Adjust These Pancakes When You Need a Different Kind of Breakfast
Make Them Dairy-Free
Swap the buttermilk for a dairy-free milk mixed with 1 tablespoon lemon juice or vinegar, and use melted coconut oil or a neutral oil instead of butter. You’ll lose a little of the buttery flavor, but the pancakes will still rise and stay tender.
Use Whole Wheat Without Making Them Leaden
Replace half the all-purpose flour with white whole wheat flour. That keeps some of the light texture while adding a nuttier flavor. Going all the way to 100% whole wheat makes the pancakes noticeably heavier unless you add extra liquid and accept a denser crumb.
Skip the Chocolate Chips and Keep the Spice
Leave out the chips and the pancakes turn into a more classic pumpkin breakfast stack. They’ll taste a little less sweet and cook more evenly, which is useful if you’re serving them with lots of maple syrup and butter.
Storage and Reheating
- Refrigerator: Store cooled pancakes in an airtight container for up to 4 days. They soften a little as they sit, but the flavor stays good.
- Freezer: Freeze in a single layer, then stack with parchment between each pancake. They freeze well for up to 2 months and reheat nicely from frozen.
- Reheating: Reheat in a toaster or a 325°F oven until warmed through. The microwave works in a pinch, but it softens the edges and can make the chocolate chips a little greasy.
Questions I Get Asked About This Recipe
Pumpkin Chocolate Chip Pancakes
Ingredients
Equipment
Method
- Whisk all-purpose flour, sugar, baking powder, baking soda, pumpkin pie spice, cinnamon, and salt until evenly combined.
- Whisk pumpkin puree, buttermilk, eggs, melted butter, and vanilla extract until smooth and fully blended.
- Fold the wet mixture into the dry mixture until just combined, then fold in semi-sweet or dark chocolate chips.
- Heat a greased skillet or griddle over medium heat until warm.
- Pour about 1/4 cup batter per pancake and cook until bubbles form and the edges look set, about 3 minutes.
- Flip the pancakes and cook until cooked through, about 2 minutes more.
- Serve warm with maple syrup and top with extra chocolate chips.