Pumpkin cream cheese crumb cake comes out with three things going for it at once: a tender pumpkin-spiced crumb, a cool tangy cream cheese ribbon, and a thick buttery topping that bakes into crunchy little clumps instead of a sandy blanket. That contrast is what makes people go back for a second square before the pan has even cooled.
The trick is keeping the crumb topping cold so it stays chunky in the oven, then spreading the cream cheese layer gently so it doesn’t sink straight through the batter. The pumpkin cake batter is thick enough to support both layers, but it still bakes up soft because of the sour cream and the balance of baking powder and baking soda. The result is a breakfast cake that slices cleanly and eats like a cross between coffee cake and pumpkin cheesecake.
Below, I’ve noted the spots where this recipe can go sideways and how to keep the layers distinct. If you’ve ever had a crumb cake turn dense or lose its swirl, the process section will help with that.
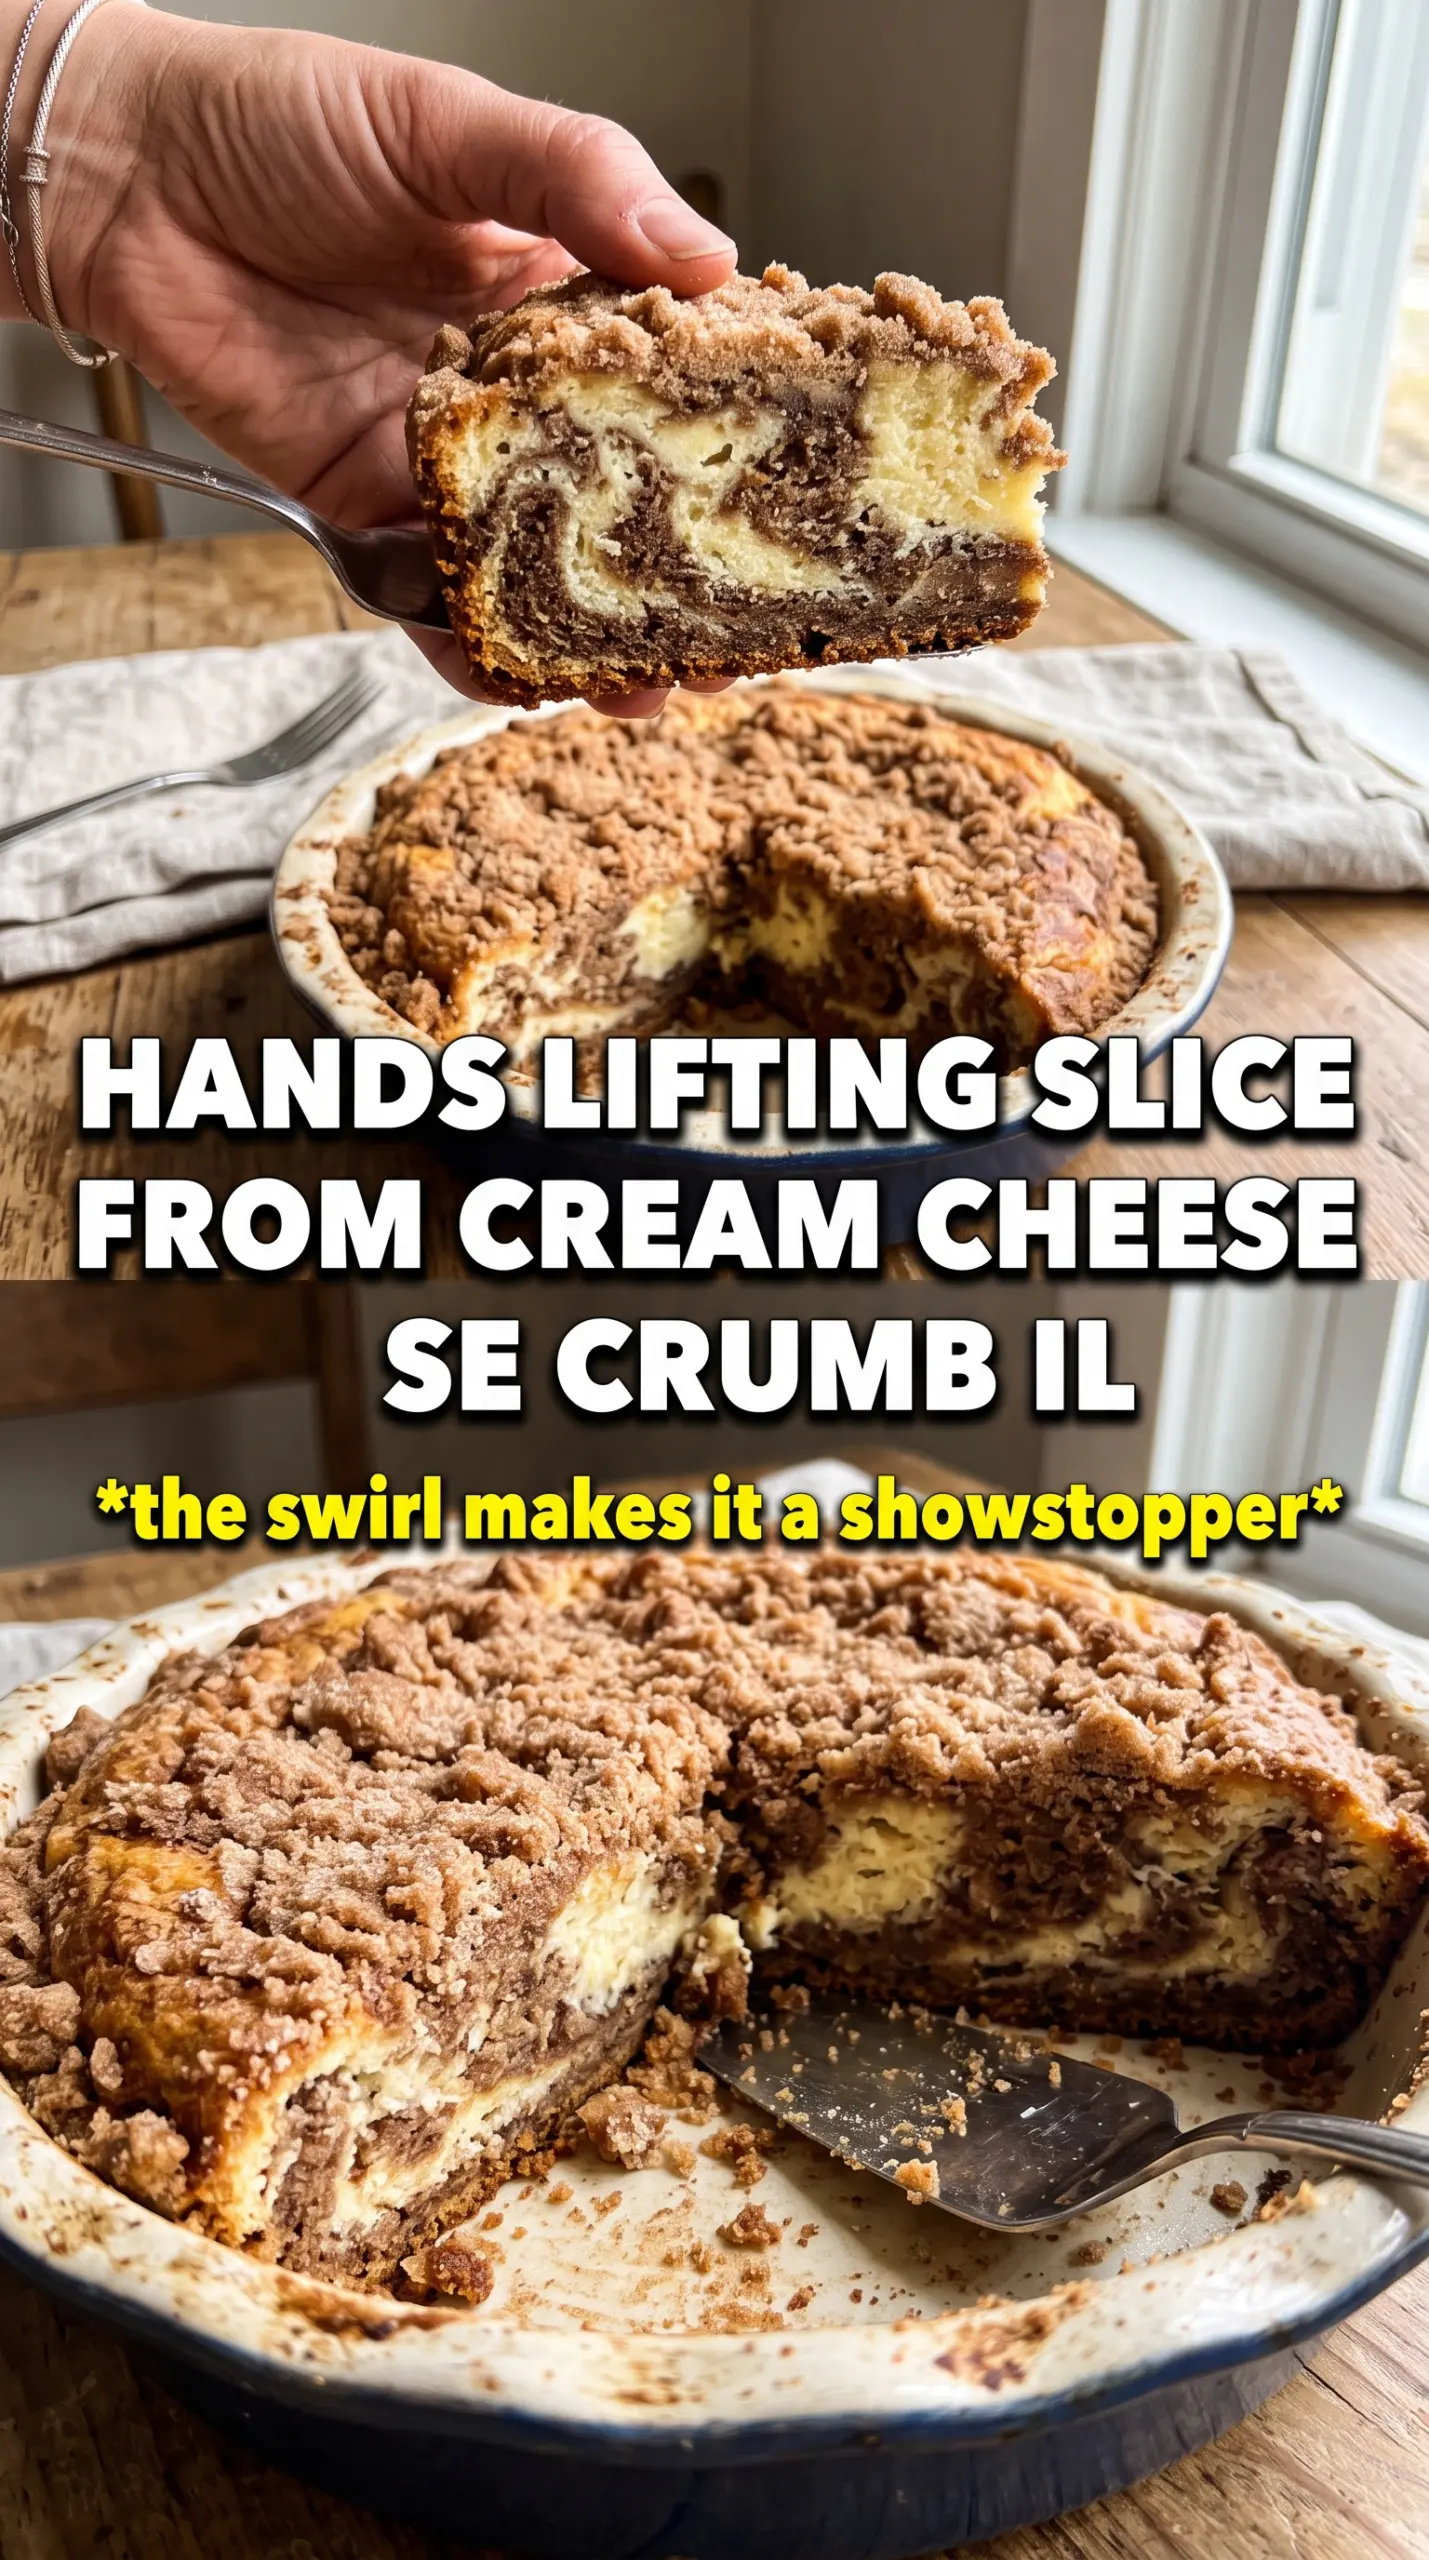
The crumb stayed crisp on top even after sitting overnight, and the cream cheese layer baked into a clean stripe instead of disappearing into the cake. I cut it warm and it still held together beautifully.
Save this pumpkin cream cheese crumb cake for a breakfast that brings a soft pumpkin layer, tangy cream cheese swirl, and crisp cinnamon crumb all in one pan.
The Crumb Needs to Stay Cold, Not Just Mixed
The biggest mistake with crumb cake is treating the topping like a quick stir-together layer. If the butter warms up too much, the flour and sugar melt into paste in the oven, and you lose those jagged, bakery-style crumbs that give the cake its top texture. Chilling the crumb for a few minutes before baking keeps the pieces distinct so they brown on the edges instead of disappearing into the batter.
The other failure point is overworking the pumpkin batter once the dry ingredients go in. Stir only until the flour disappears. If you keep beating it, the cake tightens up and bakes heavy, which makes the cream cheese layer feel dense instead of creamy. This batter should look thick and spoonable, not glossy and overmixed.
What Each Layer Is Actually Doing Here
- Pumpkin puree — Use plain pumpkin puree, not pumpkin pie filling. Pie filling is already sweetened and spiced, which throws off both the flavor and the structure of the cake.
- Sour cream — This is what keeps the crumb tender and gives the pumpkin layer enough moisture to stay soft after baking. Full-fat yogurt can work in a pinch, but the texture won’t be quite as plush.
- Cream cheese — It has to be softened all the way through or the layer turns lumpy. Cold cream cheese leaves little pockets that never fully smooth out, even after baking.
- Brown sugar — Brown sugar belongs in both the crumb and the cake because it adds depth and keeps the topping slightly chewy at the edges. White sugar would taste flatter and dry out the crumb faster.
- Pumpkin pie spice and cinnamon — The two together give the cake a fuller spice note without making it taste like one-note cinnamon bread. If you only have pumpkin pie spice, use it and skip the extra cinnamon in the cake batter.
Building the Layers Without Letting Them Merge
Mix the crumb first and get it out of the way
Combine the flour, brown sugar, cinnamon, and melted butter until the mixture forms large clumps, not a smooth dough. You want uneven pieces, from pea-size to walnut-size, because those bake into the best topping. Put the bowl in the refrigerator while you work on the filling and batter so the butter firms back up.
Make the cream cheese layer smooth enough to spread
Beat the softened cream cheese, sugar, egg, and vanilla until the mixture looks completely uniform and glossy. If it still looks lumpy, it will stay lumpy in the finished cake. Spread it gently over the first layer of batter; don’t press hard or it will punch through and disappear into the bottom half.
Stack the batter in thin layers
Spread half the pumpkin batter in the pan, then dollop the cream cheese mixture over it and ease it toward the edges. Add the remaining batter in spoonfuls rather than dumping it all in one spot, then nudge it into place with an offset spatula. The goal is coverage, not perfection, because a little cream cheese peeking through the crumb topping is what makes the finished cake look homemade in the best way.
Bake until the center is set, not dry
The top should be deeply golden and the crumb should look dry and crisp before you pull the pan. The center can still have the faintest wobble, but a toothpick inserted into the cake portion should come out with moist crumbs, not wet batter. If the crumb gets too dark before the center is done, tent the pan loosely with foil for the last 10 to 15 minutes.
How to Adapt It for Different Pans, Diets, and Timing
Make it dairy-free with a few smart swaps
Use a plant-based cream cheese that bakes well and swap the butter for a dairy-free stick butter with a similar fat content. The crumb will still brown nicely, but the cream cheese layer may be a touch softer and less tangy than the original.
Turn it into a gluten-free crumb cake
Use a 1:1 gluten-free flour blend that includes xanthan gum. The crumb topping still works well, but the cake will need the full bake time and should cool completely before slicing so the middle has time to set.
Bake it in a smaller pan for thicker layers
An 8×8 or 9×9 pan makes a much taller cake, but it needs extra bake time and a lower oven rack if the topping starts to color too quickly. The layers stay more dramatic, though, which is nice if you want a more bakery-style slice.
Storage and Reheating
- Refrigerator: Store covered for up to 5 days. The crumb softens slightly after day one, but the flavor stays good.
- Freezer: Freeze individual squares wrapped tightly and placed in a freezer bag for up to 2 months. Thaw in the refrigerator so the cream cheese layer doesn’t get watery.
- Reheating: Warm slices in a 300F oven for 8 to 10 minutes, or microwave briefly if you don’t mind a softer crumb. Reheating too long makes the cream cheese layer separate and the topping lose its texture.
Questions I Get Asked About This Recipe
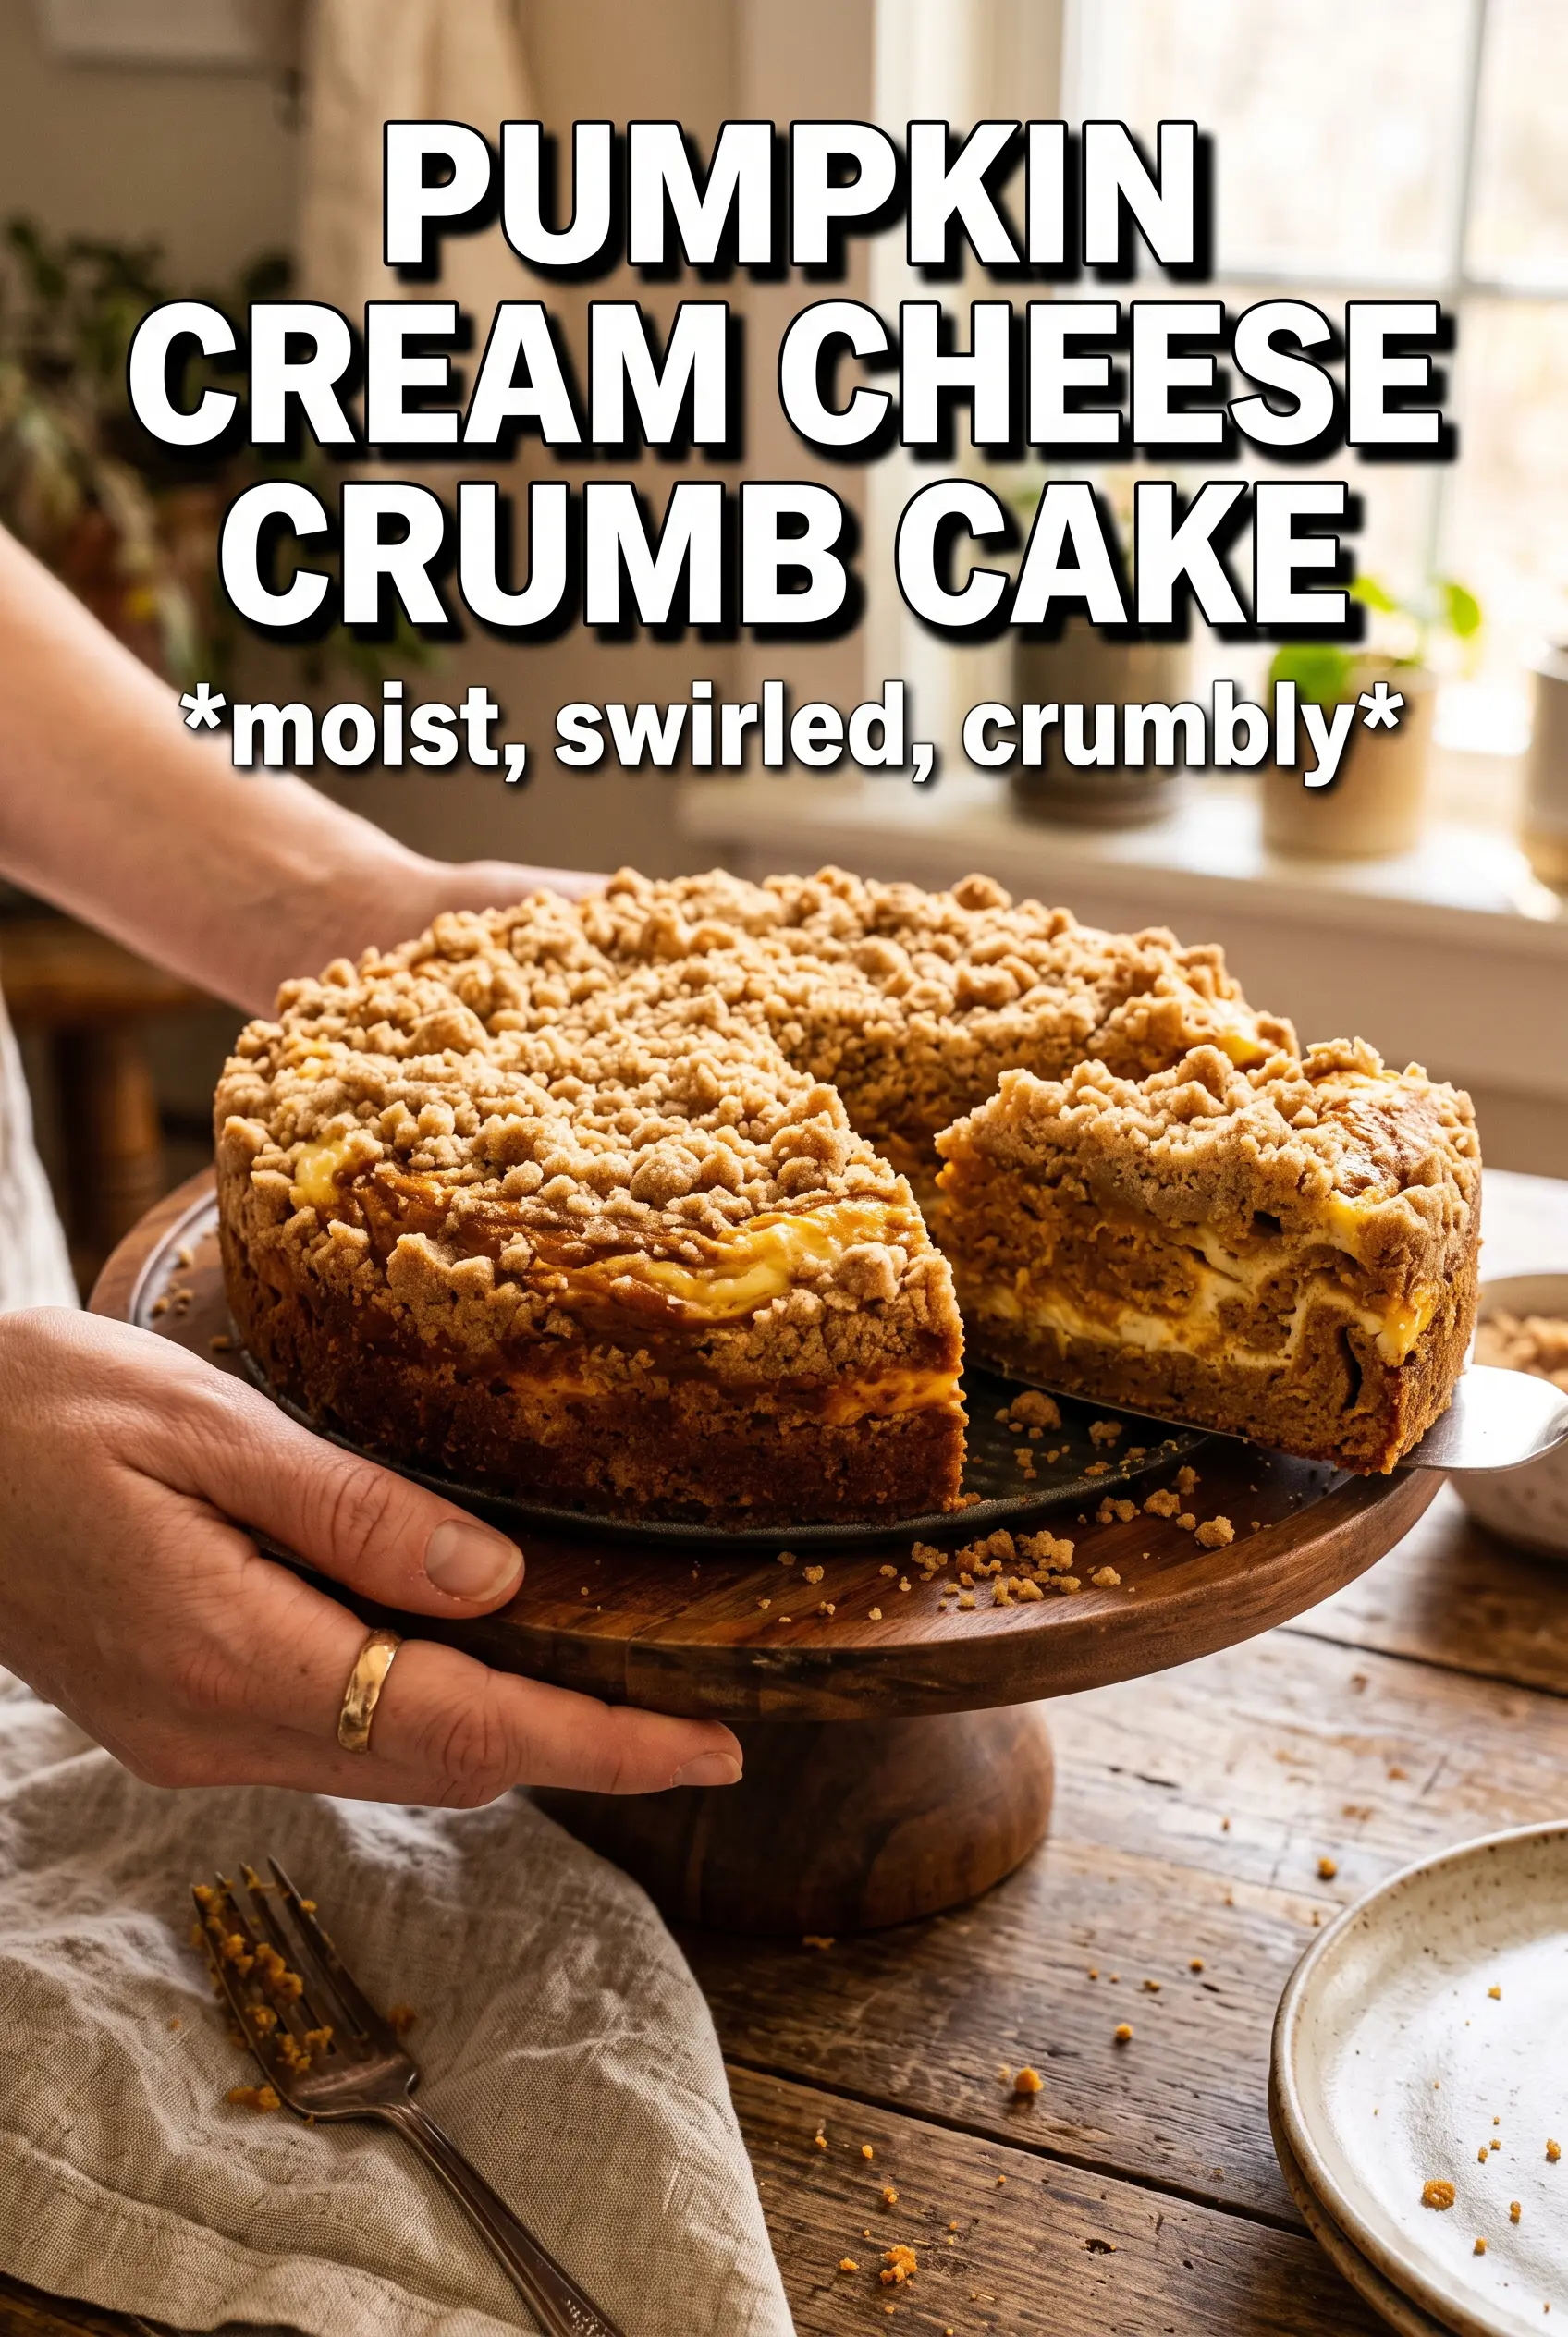
Pumpkin Cream Cheese Crumb Cake
Ingredients
Equipment
Method
- Preheat the oven to 350F and grease a 9x13 pan, making sure the corners are coated for easy release (no sticking marks).
- Make the crumb topping by mixing flour, brown sugar, cinnamon, and melted butter into large crumbs, then refrigerate until you assemble the cake.
- Beat the cream cheese layer ingredients (cream cheese, sugar, egg, and vanilla) until smooth and spreadable, with no lumps visible.
- Beat butter and brown sugar until creamy, then beat in the eggs one at a time until the mixture looks uniform.
- Add pumpkin, sour cream, and vanilla and beat until smooth and evenly colored.
- Fold in the dry ingredients (flour, baking powder, baking soda, pumpkin pie spice, cinnamon, and salt) until just combined, with no dry streaks.
- Spread half the batter in the prepared 9x13 pan to cover the base in an even layer.
- Dollop the cream cheese layer over the batter and spread gently so it forms a visible swirl in spots.
- Top with the remaining batter, then scatter the crumb topping generously over the entire surface so the crumbs are thick.
- Bake at 350F for 50-55 minutes until the center is set and a tester comes out clean with no wet batter clinging.
- Dust with powdered sugar before serving so the top looks lightly speckled and fragrant.