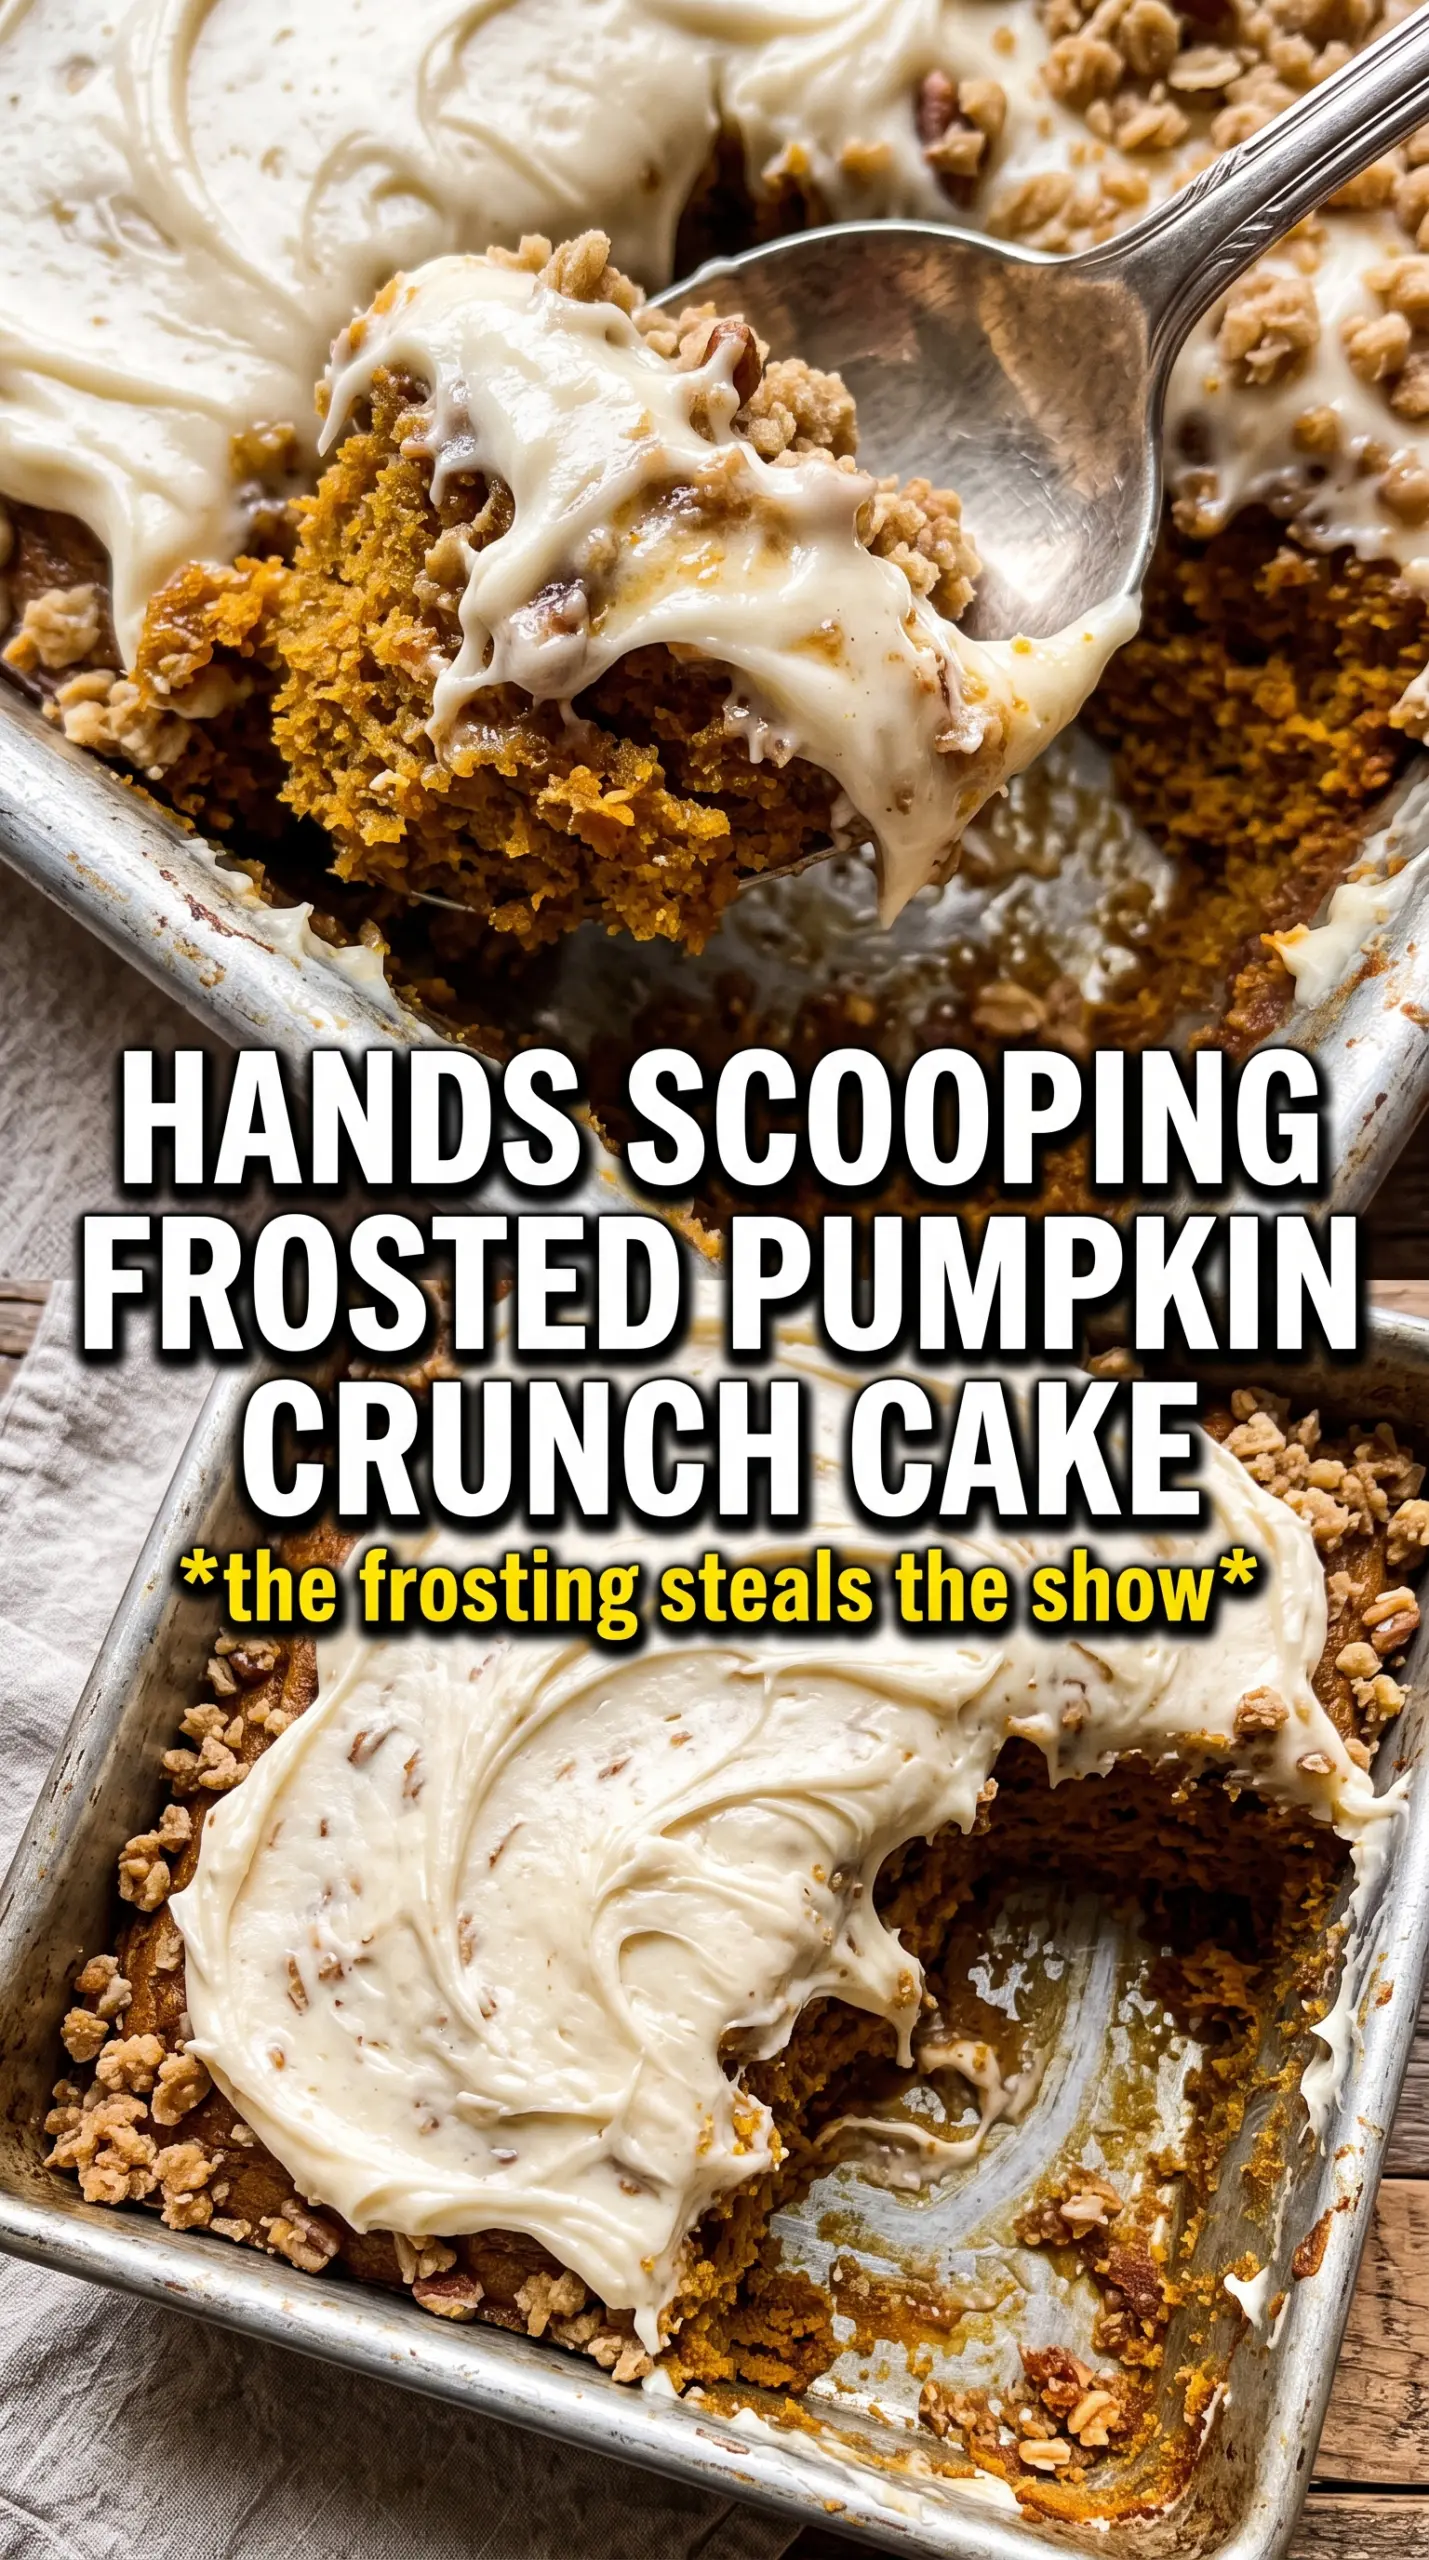
Pumpkin crunch cake turns into something special when the spiced pumpkin layer bakes up custardy underneath a buttery pecan streusel and then gets finished with a thick swipe of cream cheese frosting. The contrast is the whole point: soft, warmly spiced pumpkin at the base, crisp toasted pecans on top, and a tangy frosting that keeps every bite from tasting too sweet. It’s the kind of dessert that disappears fast at a potluck because it slices cleanly, travels well, and tastes even better once the flavors settle in.
What makes this version work is the balance of moisture and structure. The pumpkin filling is loose before baking, which is exactly what it should be, and the dry cake mix stays on top so the butter can seep through it and create those craggy golden bits instead of a cakey blanket. The frosting is generous on purpose; cream cheese and cinnamon cut through the richness of the pumpkin and pecans without burying them.
Below, I’ll walk through the part that matters most: how to bake this so the bottom sets properly, how to flip it without losing the crunch, and how to frost it if you’d rather keep the cake right side up.
The pumpkin layer set up beautifully and the pecans stayed crisp even after frosting. I flipped mine onto a board and the slices held together better than I expected.
Save this pumpkin crunch cake for the version with a buttery pecan top and fluffy cream cheese frosting that slices like a dream.
The Part Most People Get Wrong: Keeping the Crunch on Top
The biggest mistake with pumpkin crunch cake is treating it like a regular sheet cake. It isn’t. The pumpkin layer starts loose, almost like a thin custard, and the topping looks wrong right up until the butter has time to travel through the dry mix and turn it into a crisp, golden crust. If you stir the layers together or pour the butter unevenly, you lose that contrast and end up with a soft top instead of the crackly pecan layer people come back for.
Baking time matters here, but so does the rest after baking. The center should look set with only a faint wobble, not wet or sloshy. If you pull it too early, the bottom stays underbaked and the cake won’t release cleanly when you flip it. Letting it cool all the way is what gives the structure time to settle so the layers hold together instead of sliding apart under the frosting.
What Each Ingredient Is Actually Doing in This Cake
- Pumpkin purée — This is the base of the dessert, and canned pumpkin gives you the thick, consistent texture this cake needs. Pumpkin pie filling is not a swap here; it’s already sweetened and spiced, which throws off both the flavor and the set.
- Evaporated milk — It adds richness without making the filling heavy. Regular milk works in a pinch, but the result is thinner and a little less custardy.
- Yellow cake mix — This is the shortcut that creates the crunchy, buttery middle layer. Don’t mix it into the pumpkin; leave it dry so the butter can create those toasted pockets across the top.
- Pecans — They bring the crunch and the toasted, slightly bitter edge that keeps the dessert from feeling flat. Chopping them gives better coverage, but you can leave a few larger pieces for more texture.
- Cream cheese frosting — This is what makes the cake feel finished instead of just rich. Softened cream cheese and butter whip into a frosting that spreads easily; cold dairy will leave you with little lumps no matter how long you beat it.
Building the Layers So the Cake Bakes Evenly
Mixing the Pumpkin Base
Whisk the pumpkin, evaporated milk, eggs, sugar, spice, cinnamon, and salt until the mixture looks smooth and fully combined. You want a loose, pourable batter with no streaks of egg white, because uneven mixing can leave little custard-like pockets that bake at different rates. Pour it into a greased 9×13 pan and level it once with the back of a spoon so the topping bakes evenly from edge to edge.
Letting the Dry Layer Stay Dry
Sprinkle the dry cake mix directly over the pumpkin mixture and don’t stir. That dry layer is what turns into the crunch, and any mixing will dissolve the structure before it has a chance to bake. Scatter the chopped pecans over the top, then drizzle the melted butter as evenly as you can, aiming for full coverage without dumping it all in one spot. Dry patches stay powdery after baking, so take a moment to check the corners and edges.
Baking Until Set and Golden
Bake until the top is deeply golden and the center no longer looks wet when you gently jiggle the pan. If the middle still ripples like liquid, it needs more time; if the top is browning too fast, loosely tent it with foil. The finished cake should smell toasted and spiced, and the pecans should look darker and glossy from the butter.
Cooling, Flipping, and Frosting
Let the cake cool completely before you try to move it. Warm pumpkin layer plus frosting equals a sliding mess. If you want the classic flipped presentation, turn it onto a board so the pecan crust ends up on top, then frost the sides and a little between the layers if you split it. If you prefer to keep it right side up, frost it generously in place; the cake is sturdy enough once it’s fully cooled.
How to Adapt This for a Different Table
Dairy-Free Version
Use full-fat coconut milk in place of the evaporated milk and swap in a plant-based butter for both the topping and the frosting. The cake will still set, but the flavor shifts a little richer and less classic, with a faint coconut note if you use canned coconut milk. Choose a dairy-free cream cheese that whips well, not one that stays soft and loose.
Nut-Free Option
Leave out the pecans and replace them with extra cake mix crumbles from about 1/2 cup of the dry mix tossed with a tablespoon or two of melted butter. You lose the toasted nut flavor, but you keep the crunchy top layer. If you skip the pecans without replacing them, the top bakes softer and more cake-like.
Gluten-Free Swap
Use a gluten-free yellow cake mix that behaves like a standard boxed mix, then check the bake a few minutes early because some blends brown faster. The texture stays close to the original as long as the mix is one designed for baking, not a gritty all-purpose blend mixed with starches.
Storage and Reheating
- Refrigerator: Store covered for up to 4 days. The frosting stays smooth, and the top layer softens a bit after day one.
- Freezer: Freeze slices tightly wrapped and then sealed in a container for up to 2 months. The texture holds up better than you’d expect, though the crunch softens after thawing.
- Reheating: Bring a slice to room temperature or warm it gently for a few seconds in the microwave if you want the frosting softer. Don’t blast it on high heat; that turns the cream cheese frosting greasy and can make the pumpkin layer weep.
Questions I Get Asked About This Recipe
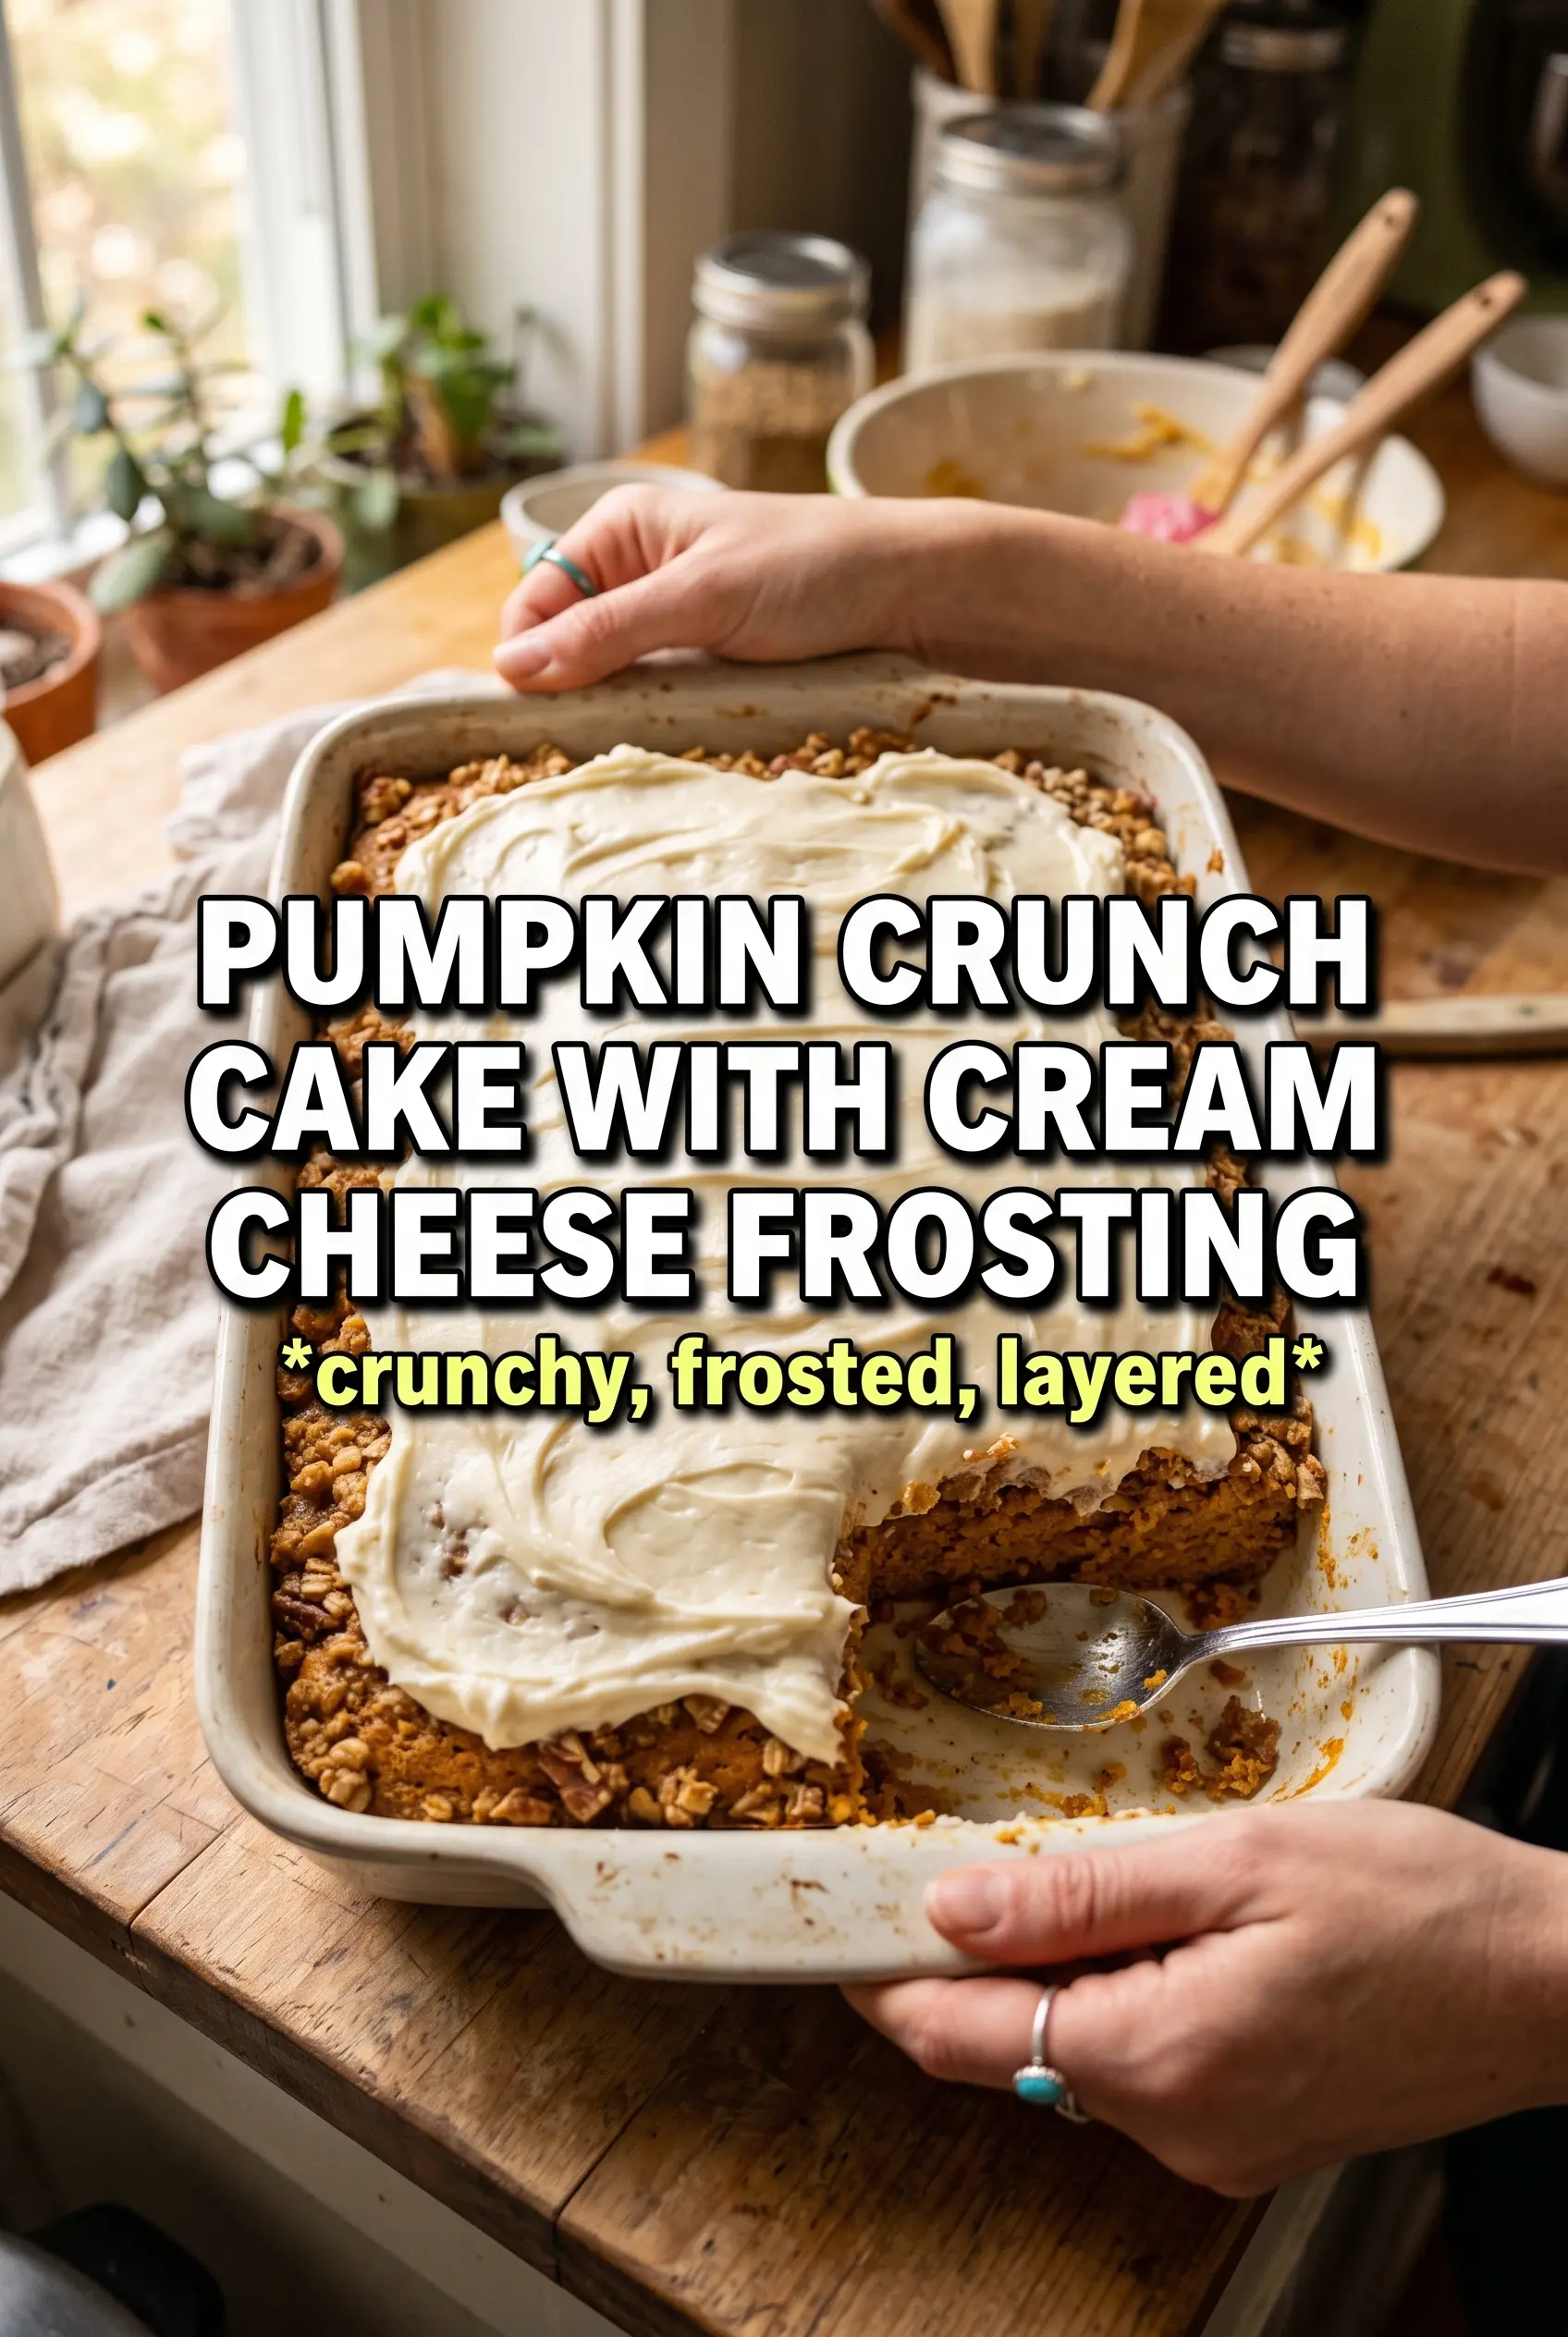
Pumpkin Crunch Cake With Cream Cheese Frosting
Ingredients
Equipment
Method
- Preheat the oven to 350F, then grease a 9x13 pan.
- Pour the pumpkin mixture into the pan.
- Sprinkle the dry yellow cake mix over the pumpkin layer.
- Scatter the pecans, then pour the melted butter evenly over the top.
- Bake for 50-55 minutes, until the cake is golden and set.
- Cool completely for 1 hour so the layers set firmly.
- Flip the cake onto a board with the pecan side up, or frost right side up if you prefer.
- Beat the cream cheese and softened unsalted butter until smooth.
- Beat in the powdered sugar, then add vanilla and cinnamon.
- Continue beating until the frosting is very fluffy.
- Frost the cake generously, covering the top and sides for full coverage.